manuals.online logo
Brands
  1. Home
  2. •
  3. Brands
  4. •
  5. Conair
  6. •
  7. Electric Shaver
  8. •
  9. Conair INFINITI INFNE152C User manual

Conair INFINITI INFNE152C User manual

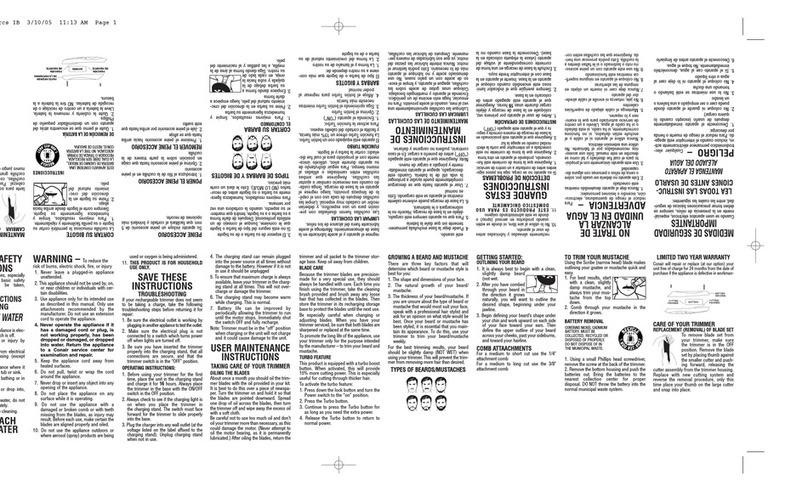
UTILISATION DE LA TONDEUSE
1. Pour poser les piles, enlevez le couvercle
du logement, insérez deux piles AA alcalines,
borne positive vers le
haut comme indiqué sur
l’illustration 1 (des piles
alcalines assurent une
longue durée). Si vous
prévoyez ne pas utiliser
la tondeuse pour une
longue période, ou si les piles sont mortes,
enlevez les piles afin d’assurer un service
prolongé.
2. Une fois les piles insérées, refermez
le couvercle du logement.
3. La tondeuse est prête à être utilisée.*
*Ne l’utilisez pas dans la douche et ne la
plongez pas dans l’eau. Pour la nettoyer,
rincez simplement la lame sous l’eau du
robinet, comme indiqué dans « Nettoyage
de la tondeuse ».
VOUS ÊTES MAINTENANT PRÊT
À UTILISER LA TONDEUSE
1.) La INFNE152C est munie d’une tête
pivotante à 5 posisions pour faciliter l’accès
dans les petites zones sensibles et difficiles
à atteindre. Pour utiliser cette fonction :
2.) Prenez la INFNE152C, le devant de la
tondeuse face à vous. Il y a
un bouton de part et
d’autre de la tête de la
tondeuse. Vous devez
appuyer sur le bouton de
dégagement pour pouvoir
ajuster la position de la tête.
TO OPERATE TRIMMER
1. To insert batteries, remove compartment
cover. Insert two AA alkaline batteries, indicated
in Fig. 1. (Alkaline batteries will insure the best
performance and longest life for your
appliance.) If you are not
going to use the unit for
a long period of time, or
if batteries are dead,
remove batteries from
the unit. This will
increase the life of your
trimmer.
2. After inserting the
batteries
, close the battery compartment.
3. Now your unit is ready to be used.*
4. Press down the lock button and position to
“ON” to start using.
*Do not use in the shower or submerse unit
in water. To clean, simply rinse trimmer
blade under faucet as illustrated under how
"to clean your trimmer”.
NOW YOU’RE READY TO OPERATE YOUR
TRIMMER
1.) Your INFNE152C features a 5 position
pivoting head for easy access when
trimming delicate and hard to reach areas.
To use this feature:
2.)
Pick up your INFNE152C with the front of
the trimmer facing towards
you. There are 2 buttons on
the sides of the trimmer
head. You will need to push
the release button to adjust
unit.
Battery
Compartment
Cover
Battery
Compartment
Push to
release head
Then push
and set at
desired
position
5 Position
Pivoting head
NOSE AND EAR
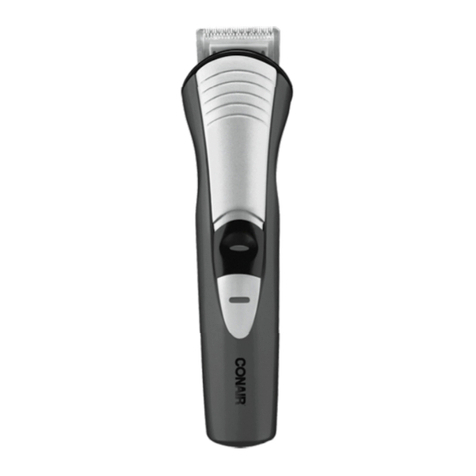
PERSONAL TRIMMER
Model INFNE152C
On/Off Switch
with lock
button
Trimmer Blade
TONDEUSE POUR POILS
DE NEZ ET D’OREILLES
Modèle INFNE152C
Patent Pending
Conair wants to thank you for
choosing our nose/ear trimmer. We
know it will provide you with years
of reliable service.
For your safety and continued
enjoyment of this product, always
read the instruction booklet
carefully before using.
Model INFNE152C
ULTIMATE NOSE AND EAR HAIR TRIMMER
Conair vous remercie d’avoir opté
pour sa tondeuse pour poils
de nez et d'oreilles. Nous savons
que vous en tirerez des
années de service fiable.
Afin que le produit vous procure en
toute sécurité des années de
satisfaction, lisez toujours le livret
de directives avant l’utilisation.
Modèle INFNE152C
TONDEUSE POUR POILS DE NEZ ET D'OREILLES
Presser pour
dégager le pivot
de la tête
Presser et
régler à la
position
voulue
Tête
pivotante à
5 positions
Couvercle du
logement
des piles
En instance de brevet
Logement
des piles
Interrupteur
et loquet
Lame de la
tondeuse
NETTOYAGE DE LA TONDEUSE
Assurez-vous que la tondeuse est éteinte.
Pour enlever le boîtier
de la tête et nettoyer
les lames, tournez le
dessus dans le
sens antihoraire et
enlevez le boîtier.
Ne rincez que les lames sous l’eau du
robinet.
Essuyez les lames et assurez-vous que les
lames demeurent bien centrées, comme
illustré ci-dessous.
Réassemblez le dessus du boîtier et
tournez-le dans le sens horaire jusqu’à ce
que les flèches soient bien alignées.
3.) Ce faisant, poussez la tête de l’autre
main (au point « push » sur le boîtier).
Poussez et réglez la tête à la position la
plus confortable (la tondeuse vient réglée à
la position initiale, mais vous pouvez la
régler à n’importe quelle autre des quatre
positions). Il faudra un certain temps pour
vous habituer à son utilisation; essayez
chaque réglage pour voir lequel vous
convient le mieux. À chaque usage, vous
constaterez à quel point cet appareil est
pratique pour couper les poils du nez et des
oreilles.
4.) Si vous ne voulez pas utiliser la fonction
de tête pivotante, laissez tout simplement la
tête à la position qu’elle se trouve quand
vous la sortez de l’emballage.
COUPER LES POILS DU NEZ
Mettez la tondeuse en marche.
Insérez lentement la tête dans
la narine. Poussez et retirez la
tondeuse lentement, dans un
mouvement circulaire tout en
suivant le contour de la narine.
Évitez d’insérer la tondeuse
plus de 2,5 cm dans la narine.
COUPER LES POILS DES OREILLES
Mettez la tondeuse en marche. Insérez
lentement la tête dans le canal auriculaire
externe, au plus à 2,5 cm de profond. Déplacez
la tondeuse doucement dans un mouvement
circulaire autour de l’ouverture
du canal. Guidez la tondeuse
sur la surface externe pour
couper les poils disgracieux.
N’insérez jamais la tondeuse à
une profondeur de plus de 2,5
cm dans le canal auriculaire.
LIMITED THREE YEAR WARRANTY
Conair will repair or replace, at our option,
your appliance free of charge for 36 months
from the date of purchase if the appliance is
defective in workmanship or materials.
To obtain service under this warranty, return
the defective product to the service centre
nearest you, together with your sales slip and
$5.50 for postage and handling. In the
absence of a receipt, the warranty period shall
be 36 months from the date of manufacture.
ANY IMPLIED WARRANTIES, OBLIGATIONS,
OR LIABILITIES, INCLUDING BUT NOT
LIMITED TO THE IMPLIED WARRANTY OF
MERCHANTABILITY AND FITNESS FOR A
PARTICULAR PURPOSE, SHALL BE LIMITED
IN DURATION TO THE 36 MONTH DURATION
OF THIS WARRANTY.
IN NO EVENT SHALL CONAIR BE LIABLE FOR
ANY SPECIAL, INCIDENTAL, OR CONSEQUENTIAL
DAMAGES FOR BREACH OF THIS OR ANY
OTHER WARRANTY, EXPRESS OR IMPLIED,
WHATSOEVER.
This warranty gives you specific legal rights,
and you may also have other rights which vary
from province to province.
SERVICE CENTRE:
CONAIR CONSUMER PRODUCTS, INC.
156 Parkshore Drive
Brampton, Ontario
L6T 5MI
1-800-472-7606
©2004 CONAIR CONSUMER PRODUCTS, INC.
www.conaircanada.ca
04CN1036
TO CLEAN YOUR TRIMMER
Make sure trimmer is off.
1. To remove top
housing to clean your
trimmer turn top
counterclockwise
and remove from
body.
Rinse cutter only under water.
Shake dry. Make sure that cutter is not
pushed to either side. Cutter should
remain centered as illustrated below.
Reassemble top housing onto body and
turn clockwise until arrows line up.
Acceptable
3.) Now at the same time, using your other
hand, simply push in the pivoting head (it
says “push” on the unit). Push in and set
the head to the setting that is most
comfortable to you (the unit comes
prepackaged at the first setting, but you
can adjust your trimmer to any one of four
other settings.) It will take some time to
get used to your own personal setting, so
try each one until you find a setting that
works for you. As you try each setting, you
will notice how comfortable this unit makes
trimming your nose and ear hairs.
4.) If you do not wish to use the pivoting
head feature, just leave the trimmer as it was
when it was removed from the packaging.
TO TRIM YOUR NOSE HAIR
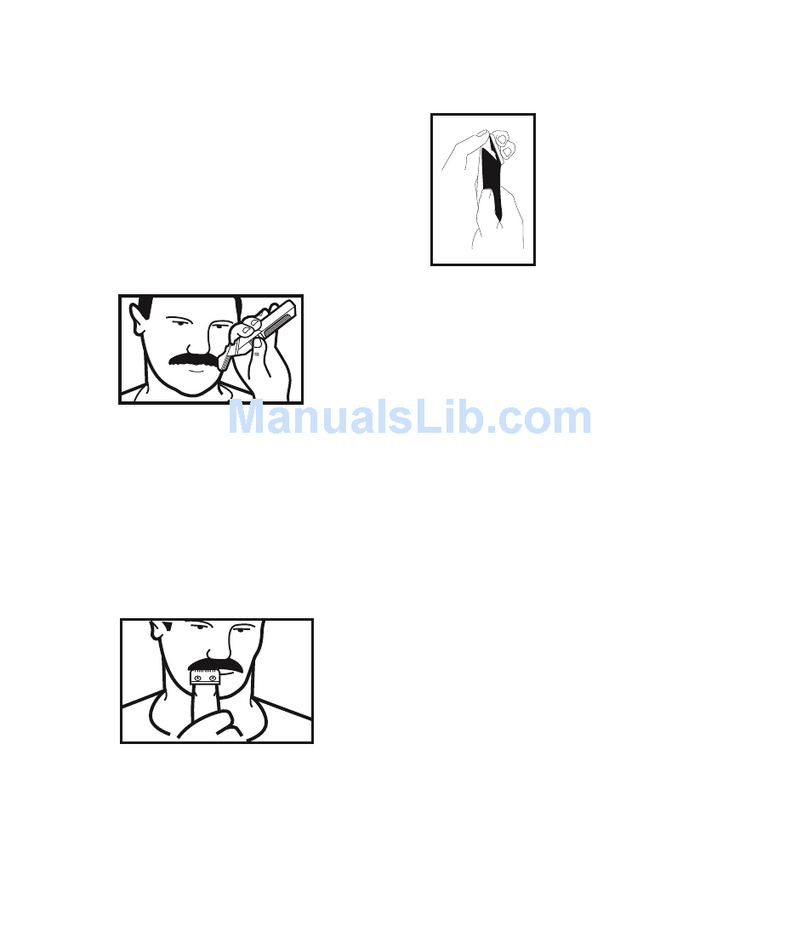
Turn unit on. Gently insert
trimmer head into nostril.
Gently move trimmer in and
out of the nostril using a
circular motion while
rotating the trimmer around
the nostril opening. Avoid
inserting the trimmer more
than 1" to ensure safe trimming.
TO TRIM YOUR EAR HAIR
Turn unit on. Gently insert
trimmer head no more than
1" into outer ear canal.
Gently move trimmer in and
out of the outer ear and
rotate trimmer in a circular
motion around the ear canal
opening. Guide the trimmer
around the outer surface of ear to trim
protruding hairs. Never insert trimmer more
than 1" into ear canal.
Correct
GARANTIE LIMITÉE DE DEUX ANS
Conair, à sa discrétion, réparera ou remplacera sans
frais un appareil si, au cours des 24 mois suivant la
date de l'achat, il affiche un vice de matière ou de
fabrication.
Pour obtenir un service au titre de la garantie,
renvoyer le produit défectueux au service après-vente
le plus près, indiqué ci-dessous, accompagné du bon
de caisse et de 5,50 $ pour les frais de poste et
administratifs. En l'absence du bon de caisse, la
période de garantie sera de 24 mois à compter de la
date de fabrication.
TOUTE GARANTIE IMPLICITE, OBLIGATION OU
RESPONSABILITÉ, Y COMPRIS MAIS SANS Y ÊTRE
LIMITÉ, LA GARANTIE IMPLICITE DE BONNE VENTE
ET D'APTITUDE À ACCOMPLIR UNE TÂCHE
PARTICULIÈRE, SERA LIMITÉE À LA DURÉE DE 24
MOIS DE CETTE GARANTIE LIMITÉE ÉCRITE.
EN AUCUN CAS PEUT-ON TENIR CONAIR
RESPONSABLE DE QUELQUE DOMMAGE SPÉCIAL,
INDIRECT OU FORTUIT QUE CE SOIT POUR LE BRIS
DE CETTE GARANTIE OU DE TOUTE AUTRE
GARANTIE, EXPRESSE OU IMPLICITE QUE CE SOIT.
Cette garantie vous accorde des droits particuliers et
peut vous accorder d’autres droits qui varient d’une
province à l’autre.
SERVICE APRÈS-VENTE:
CONAIR CONSUMER PRODUCTS INC.
156 Parkshore Drive,
Brampton, Ontario
L6T 5M1
1-800-472-7606
©2004 CONAIR CONSUMER PRODUCTS INC.
www.conaircanada.ca
04CN1036 IB-5220
IB-5220

Other Conair Electric Shaver manuals

Conair VS Sassoon THE PRECISION CUT Assembly instructions

Conair

Conair VS Sassoon THE PRECISION CUT Assembly instructions

Conair i-stubble GMT900RC User manual

Conair

Conair i-stubble GMT900RC User manual

Conair LWD1 User manual

Conair

Conair LWD1 User manual

Conair 27 piecee HC318XCSC Guide

Conair

Conair 27 piecee HC318XCSC Guide

Conair MN250 User manual
Conair

Conair MN250 User manual

Conair GMT235CSV User manual

Conair

Conair GMT235CSV User manual

Conair 27 PIECE HC275WC Guide

Conair

Conair 27 PIECE HC275WC Guide

Conair 20-piece HC200WXCSC Guide

Conair

Conair 20-piece HC200WXCSC Guide

Conair HCT495 Guide

Conair

Conair HCT495 Guide

Conair MT140RBC User manual

Conair

Conair MT140RBC User manual

Conair i-stubble User manual

Conair

Conair i-stubble User manual

Conair THE CHOPPER HCT420CSC Guide

Conair

Conair THE CHOPPER HCT420CSC Guide

Conair CleanHead HG300C Guide

Conair

Conair CleanHead HG300C Guide

Conair GMT7420LIC User manual

Conair

Conair GMT7420LIC User manual

Conair GMT180WBCSC User manual

Conair

Conair GMT180WBCSC User manual

Conair HC221 Guide

Conair

Conair HC221 Guide

Conair number cut HC408C Guide

Conair

Conair number cut HC408C Guide

Conair GMT183WCSC User manual

Conair

Conair GMT183WCSC User manual

Conair GMT180RCSC User manual

Conair

Conair GMT180RCSC User manual

Conair GMT171WNCSC User manual

Conair

Conair GMT171WNCSC User manual

Conair TravelSmart TSLT3C Manual

Conair

Conair TravelSmart TSLT3C Manual

Conair Nomad C794296A User manual

Conair

Conair Nomad C794296A User manual

Conair HC241WCHC User manual

Conair

Conair HC241WCHC User manual

Conair GMT170ACS Guide

Conair

Conair GMT170ACS Guide

Popular Electric Shaver manuals by other brands

Philips S100 Series manual

Philips

Philips S100 Series manual

Philips HQ6423 Service manual

Philips

Philips HQ6423 Service manual

Philips QC5015 user guide

Philips

Philips QC5015 user guide

Philips Lumea BRI959/00 manual

Philips

Philips Lumea BRI959/00 manual

Philips HQT502/00 user manual

Philips

Philips HQT502/00 user manual

Eldom G47 operating manual

Eldom

Eldom G47 operating manual

Philips 9000 series Guidance

Philips

Philips 9000 series Guidance

Philips Philishave C242 user manual

Philips

Philips Philishave C242 user manual

Philips HQ7890CC manual

Philips

Philips HQ7890CC manual

Braun 5513 instructions

Braun

Braun 5513 instructions

Braun MG5050 instructions

Braun

Braun MG5050 instructions

Remington WDF4815C smooth & silky manual

Remington

Remington WDF4815C smooth & silky manual

Braun Exact Power EP 100 user guide

Braun

Braun Exact Power EP 100 user guide

Philips HQ7390/16 user manual

Philips

Philips HQ7390/16 user manual

Philips PT717 user manual

Philips

Philips PT717 user manual

Philips HQ9190 instructions

Philips

Philips HQ9190 instructions

Norelco Accuvac T970 manual

Norelco

Norelco Accuvac T970 manual

Norelco 8845 XL user manual

Norelco

Norelco 8845 XL user manual

manuals.online logo
manuals.online logoBrands
  • About & Mission
  • Contact us
  • Privacy Policy
  • Terms and Conditions

Copyright 2025 Manuals.Online. All Rights Reserved.