manuals.online logo
Brands
  1. Home
  2. •
  3. Brands
  4. •
  5. Conair
  6. •
  7. Styling Iron
  8. •
  9. Conair Instant Heat CS41CS User guide

Conair Instant Heat CS41CS User guide

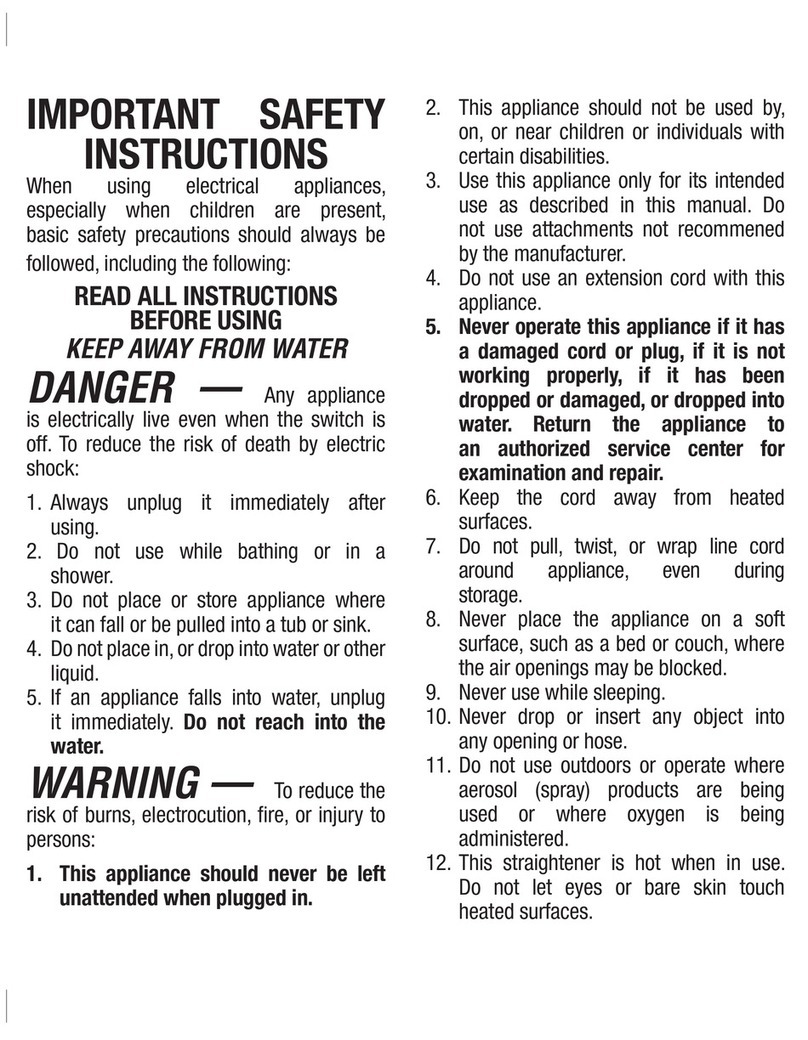
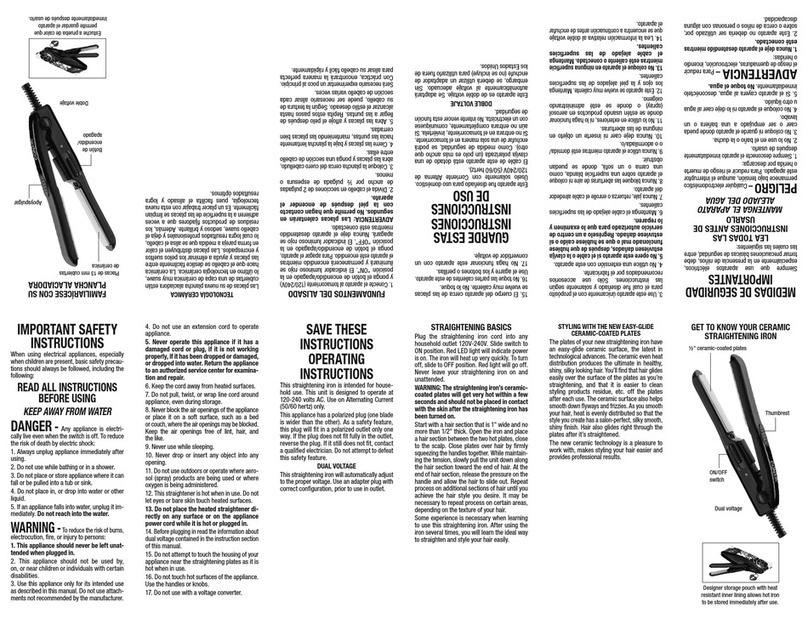
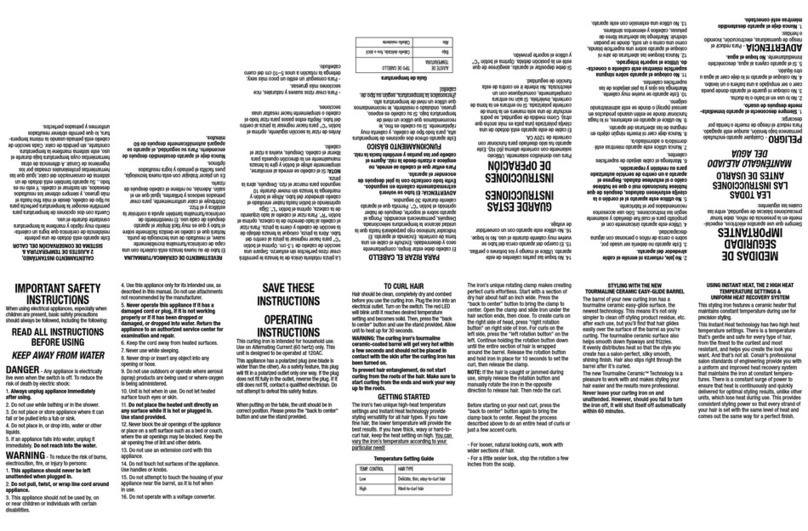
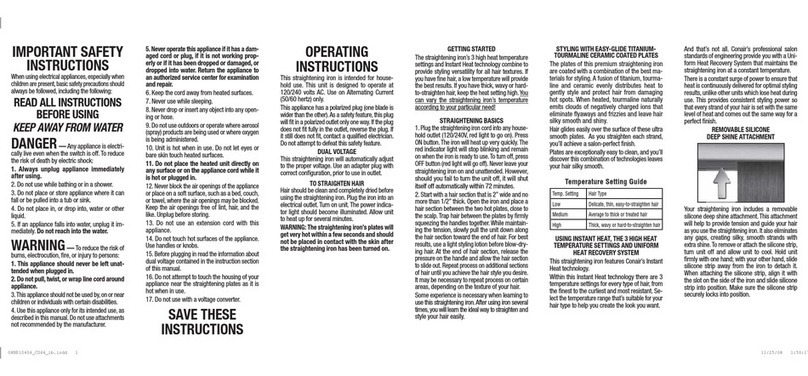
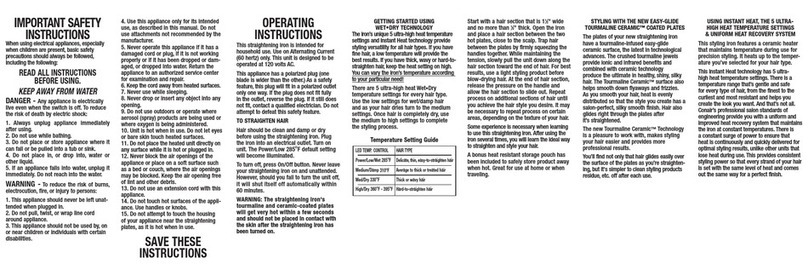
IMPORTANT SAFETY
INSTRUCTIONS
When using electrical appliances, especially
when children are present, basic safety pre-
cautions should always be followed, including
the following:
READ ALL INSTRUCTIONS
BEFORE USING.
KEEP AWAY FROM WATER
DANGER - Any appliance is electrically
live even when the switch is off. To reduce
the risk of death by electric shock:
1. Always unplug appliance immediately
after using.
2. Do not use while bathing.
3. Do not place or store appliance where it
can fall or be pulled into a tub or sink.
4. Do not place in, or drop into, water or other
liquid.
5. If an appliance falls into water, unplug it
immediately. Do not reach into the water.
WARNING - To reduce the risk of burns,
electrocution, fire, or injury to persons:
1. This appliance should never be left unat-
tended when plugged in.
2. Do not pull, twist, or wrap line cord
around appliance.
3. This appliance should not be used by, on
or near children or individuals with certain
disabilities.
4. Use this appliance only for its intended
use, as described in this manual. Do not
use attachments not recommended by the
manufacturer.
5. Never operate this appliance if it has a
damaged cord or plug, if it is not working
properly or if it has been dropped or dam-
aged, or dropped into water. Return the
appliance to an authorized service center
for examination and repair.
6. Keep the cord away from heated surfaces.
7. Never use while sleeping.
8. Never drop or insert any object into any
opening.
9. Do not use outdoors or operate where
aerosol (spray) products are being used or
where oxygen is being administered.
10. Unit is hot when in use. Do not let heated
surfaces touch eyes or bare skin.
11. Do not place the heated unit directly on
any surface while it is hot or plugged in.
12. Never block the air openings of the appli-
ance or place on a soft surface such as
a bed or couch, where the air openings
may be blocked. Keep the air opening
free of lint and other debris.
13. Do not use an extension cord with this
appliance.
14. Do not touch hot surfaces of the
appliance. Use handles or knobs.
15. Before plugging in, read the informa-
tion about dual voltage contained in the
instruction section of this booklet.
16. Do not attempt to touch the housing of
your appliance near the straightening
plates, as it is hot when in use.
SAVE THESE
INSTRUCTIONS
OPERATING
INSTRUCTIONS
This straightening iron is intended for house-
hold use. Use on Alternating Current (50/60
hertz) only. This unit is designed to be oper-
ated at 120/240 volts A/C. The appliace has
a polarized plug (one blade is wider than the
other). As a safety feature, this plug will fit in
a polarized outlet only one way. If the plug
does not fit fully in the outlet, reverse the
plug. If it still does not fit, contact a qualified
electrician. Do not attempt to defeat this
safety feature.
DUAL VOLTAGE
This straightening iron will automatically
adjust to the proper voltage. Use an adapter
plug with correct configuration, prior to use
in outlet.
TO STRAIGHTEN HAIR
Plug the straightening iron cord into any
household outlet (120/240V). The red LED
will come on indicating the unit is plugged in.
Press the On button (the red and green LEDs
will blink indicating that the straightener is
heating up). The red light will shut off once
the iron has reached the optimal heat level.
The iron will heat up very quickly. Hair should
be clean and completely dried before using
the straightening iron. For best results, use
a light styling product before blow-drying
hair. To turn off, press Off button (red light will
go off). Never leave your straightening iron on
and unattended. However, should you fail to
turn the unit off, it will shut itself off automati-
cally within 60 minutes.
WARNING: The straightening iron's ceramic-
coated plates will get very hot within a few
seconds and should not be placed in contact
with the skin after the straightening iron has
been turned on.
GETTING STARTED
The iron’s 20 temperature settings and
Instant Heat technology provide styling
versatility for all hair types. If you have fine
hair, a low temperature will provide the best
results. If you have thick, wavy or hard-to-
straighten hair, keep the heat setting on
high. You can vary the iron’s temperature
straighten and style your hair easily.
STYLING WITH THE NEW EASY-GLIDE
CERAMIC-COATED PLATES
The plates of your new straightening iron
have a Satin Finish®Easy-Glide ceramic-
coated surface, the newest technology. The
ceramic-coated surface also helps smooth
down flyaways and frizzies. It evenly distrib-
utes heat so that the style you create has a
salon-perfect, silky smooth, shining finish.
Hair also slips right through the plates after
it’s straightened. This means it’s not only
simpler to clean off styling product residue,
etc., after each use, but you’ll find that hair
glides easily over the surface of the plates
as you’re straightening.
The new ceramic technology is a pleasure to
work with and makes styling your hair easier
and the results more professional.
USING INSTANT HEAT, THE 20 VARIABLE
TEMPERATURE SETTINGS AND
UNIFORM HEAT RECOVERY SYSTEM
This styling iron features Conair’s Instant Heat
technology. This Instant Heat technology has
20 variable temperature settings. Every type
of hair, from the finest to the curliest and most
resistant, has a temperature range that’s
gentle and safe for it and helps you create
the look you want. And that’s not all. Conair’s
professional salon standards of engineering
provide you with a Uniform Heat Recovery
System that maintains the iron at constant
temperatures. There is a constant flow of
power to ensure that heat is continuously
delivered for optimal styling results, unlike
other units that lose heat during use. This
provides consistent styling power so that
every strand of your hair is set with the same
level of heat and comes out the same way for
a perfect finish.
Temperature Setting Guide
TEMP. CONTROL HAIR TYPE
Low 1- 5 Delicate, thin, easy-to-straighten
Medium 6-10 Average to thick or treated hair
Med-High 11-15 Thick or wavy hair
High 16-20 Hard-to-straighten hair
according to your particular need!
Start with a hair section that is 2" wide
and no more than 1/2" thick. Open the
iron and place a hair section between the
two hot plates, close to the scalp. Trap hair
between the plates by firmly squeezing the
handles together. While maintaining the ten-
sion, slowly pull the unit down along the hair
section toward the end of hair. At the end
of hair section, release the pressure on the
handle and allow the hair section to slide
out. Repeat process on additional sections
of hair until you achieve the hair style you
desire. It may be necessary to repeat process
on certain areas, depending on the texture of
your hair.
Some experience is necessary when learning
to use this straightening iron. After using iron
several times, you will learn the ideal way to

06NP047 CS41CS IB.indd 106NP047 CS41CS IB.indd 1 3/6/07 9:07:34 AM3/6/07 9:07:34 AM
WARNING:
IF YOU THINK THE
POWER IS OFF WHEN
THE SWITCH IS OFF
YOU’RE WRONG.
KEEP AWAY FROM WATER
Everyone knows that electricity and water
are a dangerous combination. But did you
know that an electric appliance is still elec-
trically live even if the switch is off? If the
plug is in, the power is on. So when you
are not using your appliances, keep them
unplugged.
ALWAYS UNPLUG
SMALL APPLIANCES
USER
MAINTENANCE
Your straightening iron is virtually mainte-
nance-free. No lubrication is needed. Keep all
vents and openings clear of dirt and dust. If
cleaning becomes necessary, disconnect the
unit from the power source, allow to cool and
wipe exterior with a cloth. If any abnormal
condition occurs, unplug the unit, allow it to
cool, and return it for repair to an authorized
service representative only. No repairs should
be attempted by the consumer.
CAUTION
NEVER allow the power supply cord to be
pulled, twisted, or severely bent. Never wrap
the cord tightly around the appliance. Damage
will occur at the high flex point of entry into
the appliance, causing it to rupture and short
circuit. Inspect the cord frequently for damage.
Stop use immediately if damage is visible or if
unit stops or operates intermittently.
STORAGE
When not in use, your appliance is easy to
store. Allow appliance to cool, then simply
store out of reach of children in a safe, dry
location. Do not jerk or strain cord at plug
connections. Do not wrap the line cord around
the appliance. Allow the cord to hang or lie
loose and straight at the point of entry into
the appliance.
Service Center
Conair Corporation
Service Department
7475 N. Glen Harbor Blvd.
Glendale, AZ 85307
©2006 Conair Corporation
150 Milford Road, East Windsor, NJ 08520
7475 N. Glen Harbor Blvd., Glendale, AZ 85307
06NP047 IB-6741
Before After
TURNS CURLS INTO
SMOOTH HAIR IN SECONDS
LIMITED TWO-YEAR WARRANTY
Conair will repair or replace (at our option)
your unit free of charge for 24 months from
the date of purchase if the appliance is defec-
tive in workmanship or materials.
To obtain service under this warranty, return
the defective product to the service center
listed below, together with your purchase
receipt and $3.00 for postage and handling.
California residents need only provide proof
of purchase and should call 1-800-3-CONAIR
for shipping instructions. In the absence of a
purchase receipt, the warranty period shall be
24 months from the date of manufacture.
ANY IMPLIED WARRANTIES, OBLIGATIONS,
OR LIABILITIES, INCLUDING BUT NOT
LIMITED TO THE IMPLIED WARRANTY OF
MERCHANTABILITY AND FITNESS FOR A
PARTICULAR PURPOSE, SHALL BE LIMITED
IN DURATION TO THE 24-MONTH DURATION
OF THIS WRITTEN, LIMITED WARRANTY. Some
states do not allow limitations on how long an
implied warranty lasts, so the above limitations
may not apply to you.
IN NO EVENT SHALL CONAIR BE LIABLE
FOR ANY SPECIAL, INCIDENTAL, OR
CONSEQUENTIAL DAMAGES FOR BREACH OF
THIS OR ANY OTHER WARRANTY, EXPRESS
OR IMPLIED, WHATSOEVER. Some states do
not allow the exclusion or limitation of special,
incidental, or consequential damages, so the
above limitation may not apply to you.
This warranty gives you specific legal rights,
and you may also have other rights, which vary
from state to state.
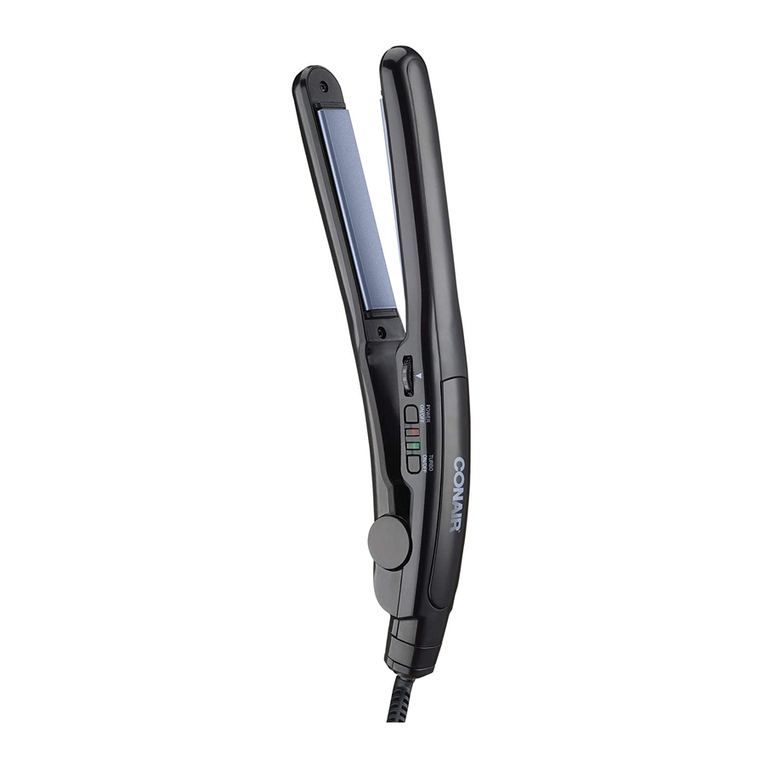
GET TO KNOW YOUR
STRAIGHTENING IRON
Dual Voltage
Cool Tip
Ceramic-coated
Plates
On/Off
Buttons
with LEDs
20 Variable
Temperature
Settings
®
Instruction & Styling Guide
For your safety and continued enjoyment
of this product, always read the instruction
book carefully before using.
Model CS41CS
2" Ceramic
Straightener
Instant Heat
Auto Off
06NP047 CS41CS IB.indd 206NP047 CS41CS IB.indd 2 3/6/07 9:07:34 AM3/6/07 9:07:34 AM

Other Conair Styling Iron manuals

Conair Infinity S5 User guide

Conair

Conair Infinity S5 User guide

Conair ProShine CS66 User guide

Conair

Conair ProShine CS66 User guide

Conair Infinity Hair Designer BC173 User guide

Conair

Conair Infinity Hair Designer BC173 User guide

Conair Shiny Styles CS9ACS User manual

Conair

Conair Shiny Styles CS9ACS User manual

Conair HS10C User manual

Conair

Conair HS10C User manual

Conair Ceramic CD106 User guide

Conair

Conair Ceramic CD106 User guide

Conair CS31, CS32, CS33XR User guide

Conair

Conair CS31, CS32, CS33XR User guide

Conair Unbound CR510 User manual

Conair

Conair Unbound CR510 User manual

Conair Unbound CR510C User manual

Conair

Conair Unbound CR510C User manual

Conair CB890QCS User guide

Conair

Conair CB890QCS User guide

Conair SS7000C User guide

Conair

Conair SS7000C User guide

Conair CS25 User guide

Conair

Conair CS25 User guide

Conair CS86 User guide

Conair

Conair CS86 User guide

Conair Unbound CR330C User manual

Conair

Conair Unbound CR330C User manual

Conair BC84WCS User manual

Conair

Conair BC84WCS User manual

Conair Satin Finish CS13CSC User guide

Conair

Conair Satin Finish CS13CSC User guide

Conair Infinity INFCD93C User guide

Conair

Conair Infinity INFCD93C User guide

Conair CS46RCSC User guide

Conair

Conair CS46RCSC User guide

Conair MiniPro CD63C User guide

Conair

Conair MiniPro CD63C User guide

Conair Hydro Silk MI27CS User manual

Conair

Conair Hydro Silk MI27CS User manual

Conair miniPRO CS56 User manual

Conair

Conair miniPRO CS56 User manual

Conair CS45 User guide

Conair

Conair CS45 User guide

Conair Unbound CR510RC User manual

Conair

Conair Unbound CR510RC User manual

Conair CS25LCSC User guide

Conair

Conair CS25LCSC User guide

Popular Styling Iron manuals by other brands

Rowenta STEAM POD 3 manual

Rowenta

Rowenta STEAM POD 3 manual

BaByliss PRO CRIMPER 210 manual

BaByliss

BaByliss PRO CRIMPER 210 manual

Philips SalonCurl Pro HP4654 manual

Philips

Philips SalonCurl Pro HP4654 manual

Hyundai hs2001 instruction manual

Hyundai

Hyundai hs2001 instruction manual

ISADEE IR-CERAMIC PRO-X1 manual

ISADEE

ISADEE IR-CERAMIC PRO-X1 manual

Philips HP4643/20 user manual

Philips

Philips HP4643/20 user manual

EXALTA EL-290 user manual

EXALTA

EXALTA EL-290 user manual

Panasonic EH-HV20 operating instructions

Panasonic

Panasonic EH-HV20 operating instructions

Philips SalonStraight HP4688 manual

Philips

Philips SalonStraight HP4688 manual

SEVERIN HC 6859 Instructions for use

SEVERIN

SEVERIN HC 6859 Instructions for use

Sunbeam HS9500 Instruction booklet

Sunbeam

Sunbeam HS9500 Instruction booklet

HOFFEN BE-390224 user manual

HOFFEN

HOFFEN BE-390224 user manual

Aurora AU 3569 manual

Aurora

Aurora AU 3569 manual

Arzum MONA SENSE instruction manual

Arzum

Arzum MONA SENSE instruction manual

Philips HP4646/00 user manual

Philips

Philips HP4646/00 user manual

Remington S8596 instructions

Remington

Remington S8596 instructions

T3 TWIRL CERAMIC 77581 user guide

T3

T3 TWIRL CERAMIC 77581 user guide

Philips TRESemme HP4669 owner's manual

Philips

Philips TRESemme HP4669 owner's manual

manuals.online logo
manuals.online logoBrands
  • About & Mission
  • Contact us
  • Privacy Policy
  • Terms and Conditions

Copyright 2025 Manuals.Online. All Rights Reserved.