Concordia Integra User manual

User Guide
Integra

Table of Contents
Important Safety Information ..................................1
Machine Overview................................................2
The Integra System ............................................2
The Integra System Components...........................3
1. Touch Pad ...............................................3
2. Product Outlet ...........................................3
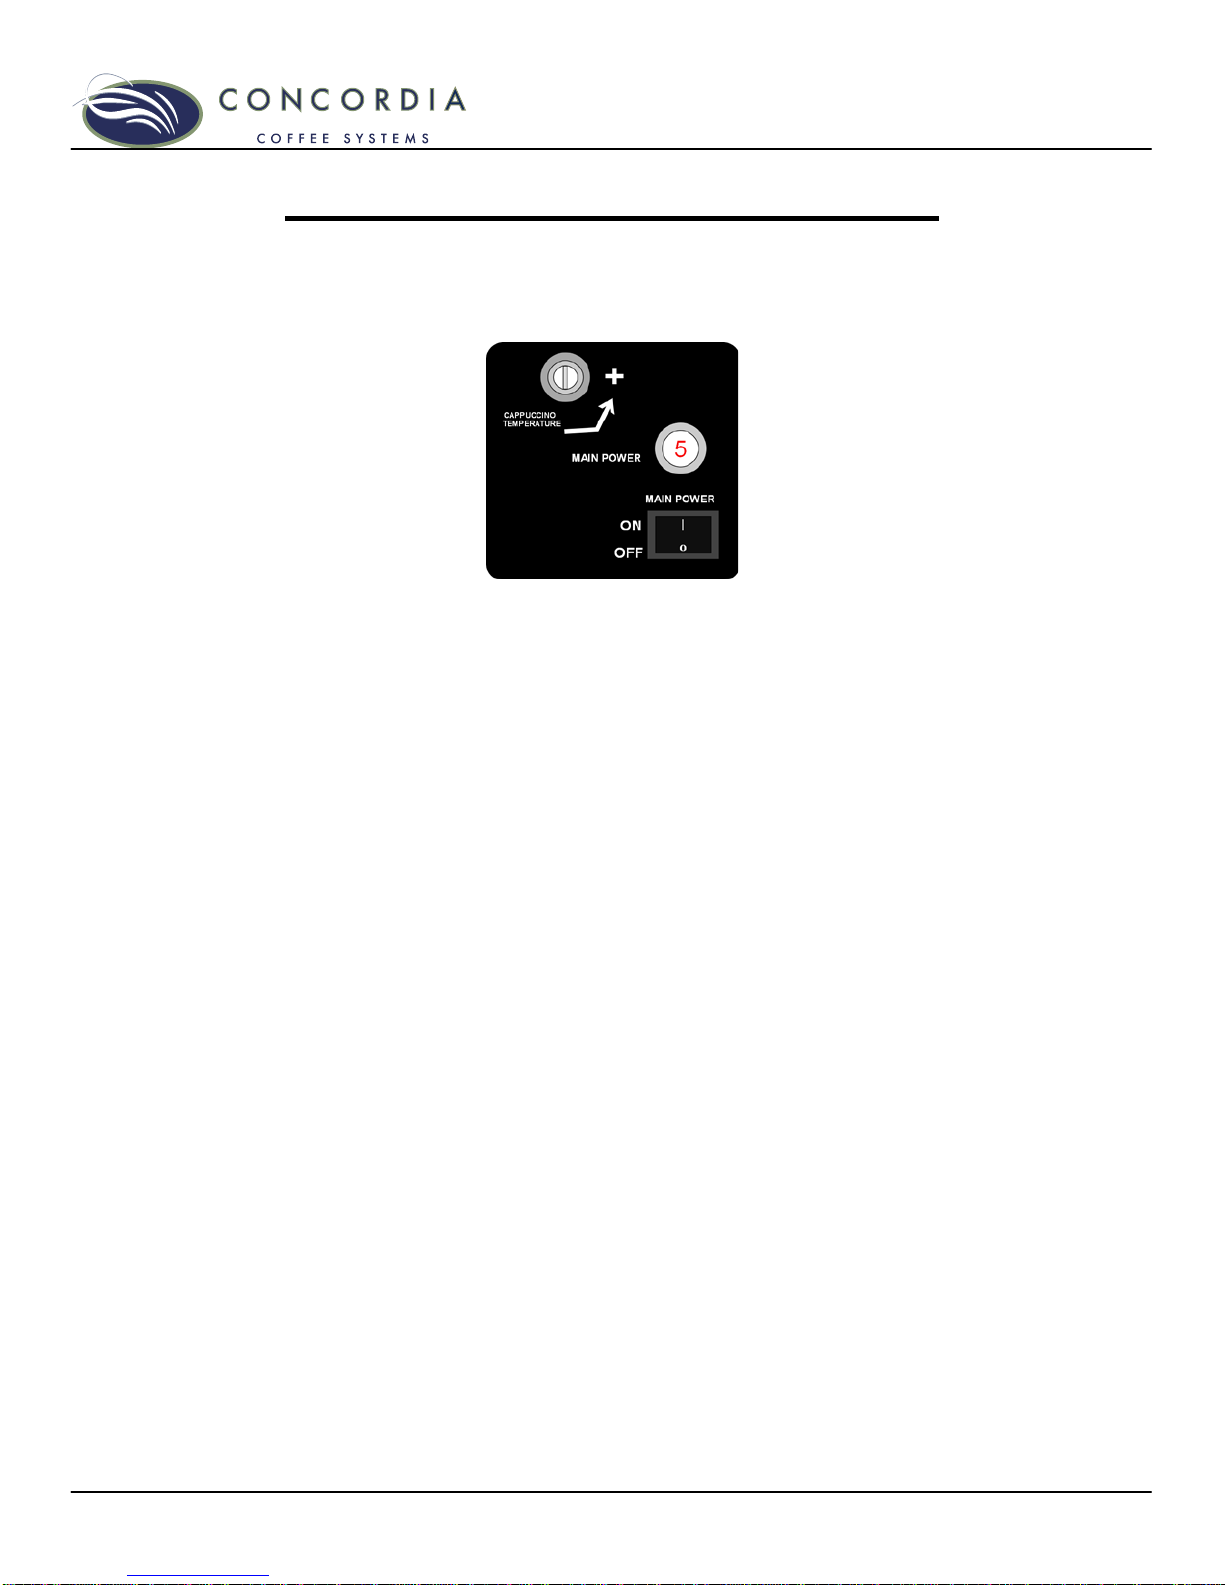
3. Power Switch............................................3
4. Drain Tray and Grate...................................3
5. Refrigeration Unit .......................................3
6. Service Switch...........................................3
7. Bean Hopper ............................................3
8. Grounds Bin .............................................3
Using the Espresso System....................................4
Starting the System............................................4
Starting System if Display Reads: MACHINE IS OFF...4
Touch Pad........................................................5
Pouring Drinks ..................................................7
Product Outlet..................................................7
Sample Drinks...................................................8
Machine Software Overview ...................................9
Service Switch ..................................................9
The Service Switch in the SERVICE position.............9
The Service Switch in the RUN position ...................9
The Service Switch and Cleaning the Machine...........9
Software Programming Menu .............................10
Accessing the Programming Menu .......................10
Scrolling in the Menu........................................10
Accessing a Sub-Category.................................10
Changing a Value ...........................................10
Exiting a Sub-Category.....................................10
Exiting the Main Menu......................................10
Check Grand Total Drink Statistics .......................11
Detailed Total Drink Statistics .............................11
Detailed Daily Drink Statistics .............................11
Software ........................................................12
Programming Menu Informational Screens .............12
Categories ....................................................12
Beans and the Bean Hopper .................................14
Storing Espresso Roast Beans ...........................14
Bean Hopper...................................................14
Directions for Filling Bean Hopper........................14
The Hopper Stopper .........................................15
Using the Hopper Stopper .................................15
Removing a Bean Hopper..................................15
Milk and the Milk System .....................................16

Refrigeration Unit.............................................16
Placing Milk in the Machine................................16
Checking the Refrigeration Unit Temperature ..........17
The Flavor System .............................................18
Flavor Storage.................................................18
Replacing Empty Flavor Boxes ...........................19
Removing a Flavor Box Connector .......................19
Replacing a Flavor Box.....................................20
Chocolate Sauce..............................................20
Steam Wand......................................................21
Steam Wand Overview ......................................21
ON/OFF Button ..............................................21
Cleaning the Steam Wand..................................21
Cleaning and Maintenance ...................................22
Cleaning ........................................................22
Cleaning Timers .............................................22
Auto-Rinse Cycle ............................................22
Daily Cleaning Procedures.................................23
Clean the Milk System......................................23
Clean the Brew Group......................................23
Empty Grounds Bin .........................................24
Clean Drain Grate and Drain Tray........................24
Clean Exterior Surfaces ....................................24
Clean Interior of Refrigeration Unit .......................25
Refill Consumables..........................................25
Clean Product Outlet........................................25
Monthly Cleaning Procedures.............................26
Check Air Filter...............................................26
Removing the Air Filter .....................................26
Clean the Bean Hopper ....................................26
Replace the Upper Piston O-Ring ........................27
Reset the O-Ring Counter .................................28
Preventive Maintenance ....................................29
Ordering Cleaning and Replacement Items............29
Operational Messages.........................................30
Error Messages .................................................32
Troubleshooting ................................................33
FAQ ................................................................35
Machine Warranty ..............................................38


Customer Service (800) 778-0990 1
Important Safety Information
The safety of you and your customers is important to
Concordia. The Integra dispenses hot liquids and steam. Please
follow all safety precautions outlined in this manual, in order to
reduce the risk of electric shock, burns, and/or injury to
persons or property.
Machine Operation
Do not use the machine for anything other than its
specific intended purpose.
Close supervision is required anytime the machine is
used near children.
Machine must be installed in a safe and stable location
and in accordance with Concordia’s installation
requirements.
Do not attempt to override safety interlocks.
Do not operate the machine with unauthorized parts or
attachments. Improper use may cause fire, electrical
shock, hazard, or injury.
WARNING: Use of unauthorized parts or attachments
will nullify the machine warranty.
Hot Surfaces and Liquids
Care must be taken around the machine, as hot liquids
and steam are produced and dispensed. Serious burns
can occur.
Do not touch hot surfaces or parts.
Electrical
To protect against electrical hazards, do not immerse
the power cord, plugs, or machine in water or any other
liquid.
Turn the power switch to “OFF” when the machine will
not be used for an extended period.
Do not operate the machine with an improper or
damaged power cord or plug, or after the machine has
been damaged in any manner.

2 Customer Service (800) 778-0990
Machine Overview
The Integra System
The Integra espresso machine grinds fresh whole beans, brews
fresh espresso, steams fresh milk, and delivers a perfect,
freshly brewed, gourmet espresso beverage.
3
4
5
6
7
8
1

Customer Service (800) 778-0990 3
The Integra System Components
1. Touch Pad
SHOWN IN TOP PHOTO
The touch pad provides a user-friendly interface for
selecting and pouring beverages.
2. Product Outlet
SHOWN IN TOP PHOTO
The product outlet is where drinks and hot water are
dispensed.
3. Power Switch
Located behind the right front door of the machine.
4. Drain Tray and Grate
The drain tray and grate direct excess liquid to the
drain.
5. Refrigeration Unit
The refrigeration unit holds one 1-gallon milk container.
6. Service Switch
The service switch is used to alternate between RUN
mode and SERVICE mode, and is located behind the left
door below the gauges.
7. Bean Hopper
NOT SHOWN
Located on top of the machine, the bean hopper has two
compartments. Each compartment holds fresh, whole
espresso roast beans.
8. Grounds Bin
The grounds bin holds the used espresso grounds. The
EMPTY GRNDS BIN message will appear on the display
every 35 drinks.

4 Customer Service (800) 778-0990
Using the Espresso System
Starting the System
The power switch is located on the panel behind the door for
the refrigeration unit.
1. To start the machine, press the power switch to the ON
position.
2. Close the door. The machine will not warm up if the door
is open.
3. The display will read:
CALIBRATING
WAIT WARMING UP
Machine warm-up takes approximately 20-30 minutes. During
warm-up, the machine is heating the water, generating steam,
and calibrating the brew group.
NOTE: During the machine warm-up process, it is normal for
hot water to be dispensed from the product outlet.
WARNING: Wait at least 10 seconds between turning the
machine off and back on again. Quickly flipping the power
switch on and off can blow a fuse within the machine and/or
result in machine malfunction.
Starting System if Display Reads: MACHINE IS OFF
If the power switch is on and the display reads MACHINE IS
OFF, you are unable to pour drinks. In this mode, only the
refrigeration unit is functioning.
To start the machine, press and hold the PROGRAM button. A
tone will sound; when the tone stops, release the PROGRAM
button.

Customer Service (800) 778-0990 5
Touch Pad
1. OPTIONS
THESE BUTTONS DETERMINE OPTIONS FOR DRINKS.
DECAF
Decaffeinated beans will be used when pouring the
selected espresso-based drink.
EXTRA SHOT
An extra shot of espresso is added to the selected
espresso-based drink.
LARGE CUP
The drink poured will be 16oz/480mL.
COLD DRINK
The drink will be poured using cold milk.
2. FLAVORS
THESE BUTTONS ARE USED TO SELECT THE DESIRED FLAVOR
TO BE ADDED TO A DRINK.
EXTRA CHOCOLATE
Adds an additional serving of chocolate sauce to a milk-
based drink.
CARAMEL
Adds a serving of caramel syrup to a milk-based drink.
VANILLA
Adds a serving of vanilla syrup to a milk-based drink.
2
3
4
5
8
6
7
1

6 Customer Service (800) 778-0990
3. DRINKS
THESE BUTTONS DETERMINE WHICH TYPE OF DRINK WILL BE
POURED.
LATTE
Latte is poured.
MOCHA
Mocha is poured.
CAPPUCCINO
Cappuccino is poured.
ESPRESSO
Espresso is poured.
AMERICANO
Espresso with hot water is poured.
HOT CHOCOLATE
Hot chocolate is poured.
CHAI LATTE
Chai Latte is poured.
STEAMED MILK
Steamed milk is poured.
4. ADDITIONAL OPTIONS
ADD MILK
Will pour milk.
HOT WATER
Will pour hot water.
5. CANCEL BUTTON
CANCEL
Will clear current selection(s) or stop the pouring of a
drink.
6. CLEAN BUTTON
THE SERVICE SWITCH MUST BE IN THE SERVICE MODE FOR
THIS FUNCTION. PLEASE SEE THE CLEANING CARD INCLUDED
WITH THE MACHINE FOR FULL CLEANING PROCEDURES.
7. PROGRAM BUTTON
FOR COMPLETE PROGRAMMING AND SOFTWARE MENU
NAVIGATION INSTRUCTIONS, SEE PAGE 10.
MENU SCROLL UP ARROW
Scroll up in menu and submenu categories
MENU SCROLL DOWN ARROW
Scroll down in menu and submenu categories
INCREASE VALUE ARROW
Increase value in submenu category
DECREASE VALUE ARROW
Decrease value in submenu category
PROGRAM BUTTON
Press once for GRAND TOTAL drink statistics
Press 3 times to access main programming menu
8. LCD SCREEN
THE BLUE SCREEN PROVIDES MESSAGING ABOUT THE STATE
OF THE MACHINE.

Customer Service (800) 778-0990 7
2
3
4
Pouring Drinks
Product Outlet
Drinks are dispensed at the product outlet. Before selecting a
drink, the customer places their selected cup directly under the
product outlet.
1. Place Cup Under Product Outlet
2. Select Drink Options
Decaf
Extra Shot
Large Cup
Cold Drink
3. Select Flavor (if desired)
Extra Chocolate
Caramel
Vanilla
4. Select Drink
Latte
Mocha
Cappuccino
Espresso
Americano
Hot Chocolate
Chai Latte
Steamed Milk
To stop a drink
Press the CANCEL button to interrupt the dispensing of a
beverage.
1

8 Customer Service (800) 778-0990
Sample Drinks
LATTE
TO SELECT A REGULAR LATTE:
Press the LATTE button
TO SELECT A LARGE LATTE:
Press the LARGE CUP button
Press the LATTE button
MOCHA
TO SELECT A LARGE MOCHA:
Press the LARGE CUP button
Press the MOCHA button
TO SELECT A MOCHA WITH EXTRA CHOCOLATE:
Press the EXTRA CHOCOLATE button
Press the MOCHA button
Drink Variations
Make it Decaf
The beverage will be made with decaffeinated espresso beans.
TO SELECT: Press the DECAF button
Press desired option, flavor, and drink button(s)
Add a Flavor
A flavor will be added to the beverage.
TO SELECT: Press the desired FLAVOR button
Press desired option and drink button(s)
NOTE: Only one flavor can be chosen per milk-based drink,
and no flavor can be chosen for an Americano. Flavor can be
added to a hot chocolate, chai, or mocha drink.
NOTE: Pressing the EXTRA CHOCOLATE button will add a
second serving of chocolate to a mocha or hot chocolate drink.

Customer Service (800) 778-0990 9
Machine Software Overview
Service Switch
The service switch is located behind the left door and below the
water and steam gauges, and is used to place the Integra in
either SERVICE or RUN mode.
The Service Switch in the SERVICE position
•The machine will beep and the display will read
SERVICE KEY
•Cleaning and programming buttons are enabled
The Service Switch in the RUN position
•Normal operating position
•Cleaning and programming buttons are disabled
The Service Switch and Cleaning the Machine
To clean the machine, the service switch must be in the
SERVICE position.
1. Open the left door.
2. Press the service switch into the SERVICE position.
3. Follow the cleaning instructions outlined on the milk
system and brew system cleaning cards.
4. Press the service switch back into the RUN position
when the cleaning processes are complete.

10 Customer Service (800) 778-0990
Software Programming Menu
Accessing the Programming Menu
•Press the service switch into the SERVICE position.
•Press the PROGRAM button three times, slowly. You
should hear a tone after each press.
•The display will change from SELECT DRINK to SELECT
CATEGORY.
Scrolling in the Menu
Press the SCROLL DOWN arrow to scroll forward.
Press the SCROLL UP arrow to scroll in reverse.
Accessing a Sub-Category
With the desired category appearing in the display, press the
PROGRAM button once to enter the sub-category.
While in the sub-category, the main menu category moves to
the top line of the display, the sub-category appears on the
middle line, and the current value appears on the lower line of
the display.
Changing a Value
•Press the INCREASE VALUE arrow to increase the
value.
•Press the DECREASE VALUE arrow to decrease the
value.
Exiting a Sub-Category
•Press the PROGRAM button once.
•The main menu category will appear in the middle of the
display.
Exiting the Main Menu
From any main menu category, press any drink button once.
Display will read: SELECT DRINK
CLEAN
PROGRAM
MENU SCROLL UP
MENU SCROLL DOWN
INCREASE VALUE
DECREASE VALUE
PROGRAM BUTTON
CLEAN
PROGRAM
TEMP SETTING
STEAM
244°C
CATEGORY
SUB-CATEGORY
VALUE

Customer Service (800) 778-0990 11
Check Grand Total Drink Statistics
•Press the PROGRAM button once.
•The drink GRAND TOTAL appears in the display.
•SELECT DRINK will automatically reappear on the
display after a few seconds.
Detailed Total Drink Statistics
•Press the PROGRAM button three times (press slowly,
you will hear a beep after each press).
•SELECT CATEGORY will appear in the display.
•Scroll to the sub-category TOTAL DRINK COUNTS.
•Press the PROGRAM button.
•Press the SCROLL UP arrow to scroll through the
statistics.
To Exit
•Press the PROGRAM button once.
•Press any drink button.
Detailed Daily Drink Statistics
Daily statistics are reset after a brew system clean is
completed.
•Press the PROGRAM button three times (press slowly,
you will hear a beep after each press).
•SELECT CATEGORY will appear in the display.
•Scroll to the sub-category DAILY DRINK COUNTS.
•Press the PROGRAM button.
•Press the SCROLL UP arrow to scroll through the
statistics.
To Exit
•Press the PROGRAM button once.
•Press any drink button.

12 Customer Service (800) 778-0990
Software
Below is a list of software categories for the Integra. For
information and instructions on adjusting these settings, please
contact Concordia Coffee Systems for assistance.
Programming Menu Informational Screens
•GRAND TOTAL
Displays the total number of drinks dispensed.
•PART NUMBER
Displays the part number (version) of the installed software.
Categories
•TOTAL DRINK COUNTS
Displays the total number of drinks poured since CPU board
installation. This number is reset only when a new CPU
board is installed.
•DAILY DRINK COUNTS
Displays the total number of drinks poured, by drink type,
since the last brew clean.
•TIME & DATE
Contains settings for the internal clock and the automatic
start feature.
•CHK TEMPERATURES
Displays water, refrigerator, and steam temperatures.
•SET TEMPERATURES
Change steam and water settings.
•GRIND TIMES
Changes the amount of ground coffee delivered into the
brew chamber.
•SHOT SELECT
Determines the quantity of espresso shots per drink.
•WATER VOLUME
Changes water volume for espresso extraction, Americano,
and hot water button settings.
•MILK TIMINGS
Changes milk timings for all milk-based drinks and milk
buttons.

Customer Service (800) 778-0990 13
•FLAVOR TIMINGS
Displays the flavor dosage of drinks, in seconds of pour
time.
•DRINK PRICES
Displays the prices for each drink.
•SPECIAL FEATURES
Enables or disables the following features: o-ring counter,
vending, grounds bin, decaf, hot water button, or steamed
milk button.
•MISCELLANEOUS
Display current software version, load defaults, and reset
the Preventive Maintenance (PM) counter.
•TEST ROUTINES
Used for service diagnostic testing; each component of the
machine can be run independently.

14 Customer Service (800) 778-0990
Beans and the Bean Hopper
The Integra is configured to deliver both regular and
decaffeinated espresso beverages.
Whole espresso roast beans are placed in the bean hopper
compartments, which are gravity fed to the grinders. Always
use fresh, whole espresso roast beans to ensure a quality
beverage.
WARNING: Never place espresso roast beans in the grinder
using your hand(s).
WARNING: Do not place ground coffee, or other foreign
materials, in the bean hopper.
Storing Espresso Roast Beans
Espresso roast beans are typically sealed in airtight packaging
by the roaster. Once the bag has been opened, the freshness of
the beans will begin to decrease.
NOTE: Do not store espresso roast beans in a freezer.
Bean Hopper
The large bean hopper compartment (right side) holds
approximately 3lbs/1.5kg of regular beans, and the small bean
hopper compartment (left side) holds approximately 2lbs/1kg of
decaffeinated beans. Hoppers for only one bean hold
approximately 5lbs/2.5kg of beans.
The bean hopper must be placed on the machine with the large
bean hopper compartment on the right side, or the hopper will
not properly feed beans into the machine.
Directions for Filling Bean Hopper
1. Remove the hopper lid.
2. Pour the beans into the hopper compartments.
3. Replace the hopper lid.
NOTE: If it is necessary to remove the bean hopper, insert
both hopper stoppers first. Be sure to remove the hopper
stoppers when finished.
DO Use fresh, whole, espresso roast beans.
DO NOT Place ground coffee into the bean hopper.
DO NOT Place foreign materials in the bean hopper.
DO NOT Feed beans into the grinder by hand.

Customer Service (800) 778-0990 15
The Hopper Stopper
The hopper stopper prevents beans from passing through the
hopper chute when a bean hopper with beans is being removed
from the machine.
Using the Hopper Stopper
1. To insert a hopper stopper, slide it between the beans
and the interior hopper wall.
2. Use pressure when inserting the hopper stopper, to
ensure that there is no space between the interior
hopper wall and the hopper stopper.
3. With both hopper stoppers in place, a full hopper can be
removed from the machine.
NOTE: Both hopper stoppers must be used when removing
the bean hopper.
To remove the hopper stoppers once the bean hopper is back in
its proper position on top of the Integra, simply pull the hopper
stoppers out of the bean hopper compartments.
Removing a Bean Hopper
Once both hopper stoppers are in place, simply lift the bean
hopper upwards.

16 Customer Service (800) 778-0990
Milk and the Milk System
Refrigeration Unit
The Integra features an on-board refrigeration unit to house
the milk used for drinks. The refrigeration unit is designed to
accommodate one standard, off-the-shelf one gallon/four liter
milk container.
The following types of milk can be used in the Integra:
•Whole
•2%
•1%
•Non-Fat
WARNING: Do NOT use any type of flavored milk in the milk
delivery system. The sugars in flavored milk (including eggnog)
can damage the machine and clog the milk delivery tubes.
Flavored milk can only be used on machines with the steam
wand option. For more information on the steam wand option,
please see page 21.
NOTE: For machines with the optional steam wand feature,
flavored milks can be heated using the steam wand.
Placing Milk in the Machine
1. Open the refrigeration unit door and partially place the
opened milk container in the refrigeration unit.
2. Place the milk pick-up tube in the milk container.
3. Slide the milk container into the refrigeration unit while
feeding the milk pick-up tube fully into the milk
container.
4. Close the refrigeration unit door.
DO make sure the milk pick-up tube is fed into the
middle of the container.
DO NOT place the milk pick-up tube into the milk container
handle.
DO NOT kink or bend the milk pick-up tube.
DO NOT pull excessively on the milk pick-up tube.
Other manuals for Integra
1
Table of contents
Other Concordia Coffee Maker manuals

Concordia
Concordia Xpress series User manual

Concordia
Concordia 2500s User manual

Concordia
Concordia 2500i User manual

Concordia
Concordia Integra User manual

Concordia
Concordia 1500s User manual

Concordia
Concordia Integra 1 User manual

Concordia
Concordia XpressTouch User manual

Concordia
Concordia INTEGRA 4 User manual