manuals.online logo
Brands
  1. Home
  2. •
  3. Brands
  4. •
  5. Condar
  6. •
  7. Fireplace Accessories
  8. •
  9. Condar Rod and Valance Kit User manual

Condar Rod and Valance Kit User manual

Condar Fireplace
Rod and Valance Kit
Installation Instructions
Step 1:
Step 2:
Step 3:
Step 4:
Step 5:
Push adjustable valance extensions all the way
inside the central valance to make whole valance
its minimum width (31.5 inches).
Align valance in center of your firebox. Be sure
front of the valance is flush with outer edge of
firebox and that the two center holes face the roof
of your firebox. Mark the location of the two holes
with a pencil.
Drill two pilot holes on the two pencil marks
using a 3/16 inch masonry drill bit. If your firebox
has a metal lintel, first drill a 1/4 inch hole
through the metal.
Place valance back in the center of your firebox.
Secure in place with two blue tapcon screws.
Once valance is screwed in place, slide one
valance extension outward until it meets the
inner wall of firebox. Mark hole at the end of
extension with a pencil.
-Tape Measure
-Pencil
-Drill
-3/16 inch masonry drill bit
-1/4 inch drill bit (required for fireboxes with
metal lintel)
-Flat head screwdriver
Rod & Valance Kit Includes:
Tools needed for installation:
The perspective when installing the rod and
screen will be from behind the valance, NOT
straight on.
Step 8:
Step 9:
Lay out screen panels on a flat surface. Using
straight end of the rod and starting at end of
panel opposite cool grip pull, begin threading the
rod through rings. Be sure to skip the first ring (it
will be attached inside the valance later).
To install right side panel, be sure pull side of the
screen is towards middle of the firebox. Then
insert straight end of rod through the center rod
holder hook farthest away from the right side (It
will be a straight line from the rod hook on the
end of the right side valance extension). Slide rod
through the hook until there is enough room to
insert the “right angle” end of the rod onto rod
hook at the end of the valance extension.
Step 10:
Step 11:
Insert the “right angle” end of the rod onto rod
hook by sliding it over and then down.
Once rod is secure, attach the unthreaded first
ring onto the rod hook on right side valance
extension (This helps prevent the screen from
pulling away from the walls of your firebox when
in use). Repeat steps 8-11 for le side.
Step 6:
Step 7:
Drill a pilot hole on the pencil mark using the
same 3/16 inch masonry drill bit.
Slide valance extension back to meet the outer
wall. Then secure to inner wall of your firebox
with a tapcon screw. Repeat steps 5-7 for
opposite side valance extension.
It is preferable to use a masonry drill bit for
this project, but a regular drill bit will work if
masonry is so. Use anchors with your tapcon
screws if needed.

Popular Fireplace Accessories manuals by other brands

Valor L2 1700K quick start guide

Valor

Valor L2 1700K quick start guide

Exodraft Xzense manual

Exodraft

Exodraft Xzense manual

Whalen Ruso MNFP62BF23-6 manual

Whalen

Whalen Ruso MNFP62BF23-6 manual

Woodstock Soapstone Fireview 201 manual

Woodstock Soapstone

Woodstock Soapstone Fireview 201 manual

EdilKamin SERBATOIO 250 Installation, use and maintenance

EdilKamin

EdilKamin SERBATOIO 250 Installation, use and maintenance

Bronpi KIT-1 instructions

Bronpi

Bronpi KIT-1 instructions

Town & Country Fireplaces 22150051 instructions

Town & Country Fireplaces

Town & Country Fireplaces 22150051 instructions

Travis Industries 33 DVI installation instructions

Travis Industries

Travis Industries 33 DVI installation instructions

Lopi Hearthview 864 user manual

Lopi

Lopi Hearthview 864 user manual

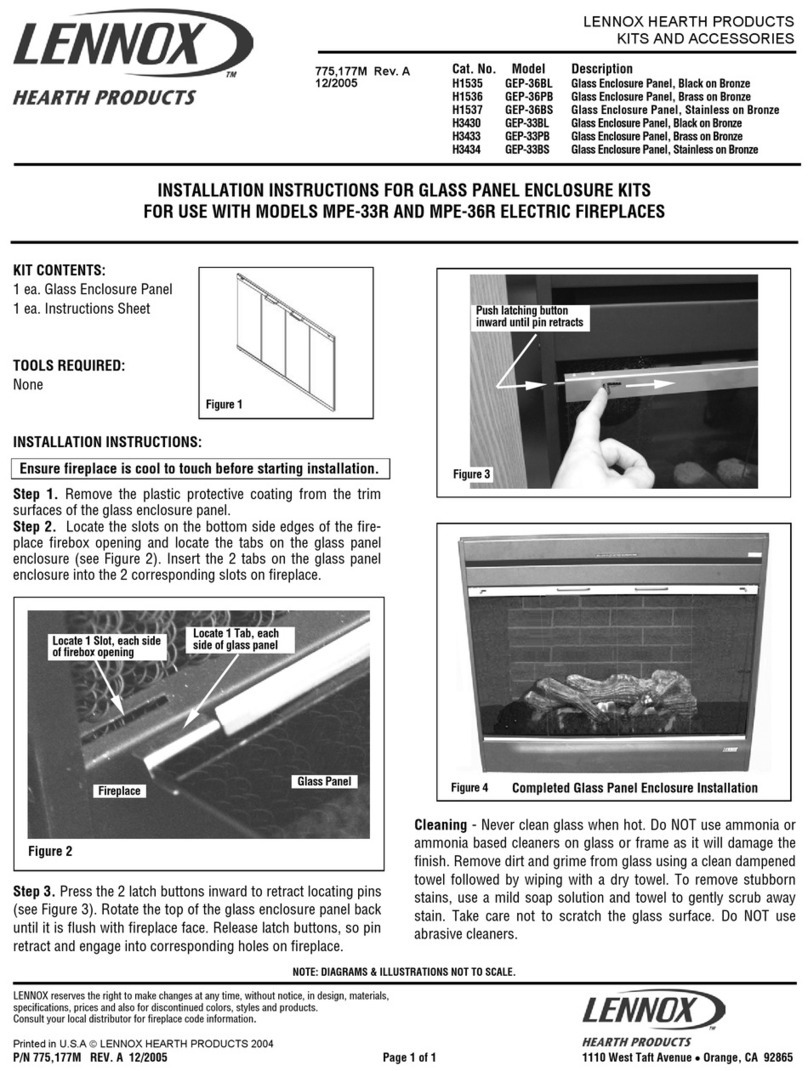
Lennox Hearth Products LENNOX MPE-33R installation instructions
Lennox Hearth Products

Lennox Hearth Products LENNOX MPE-33R installation instructions

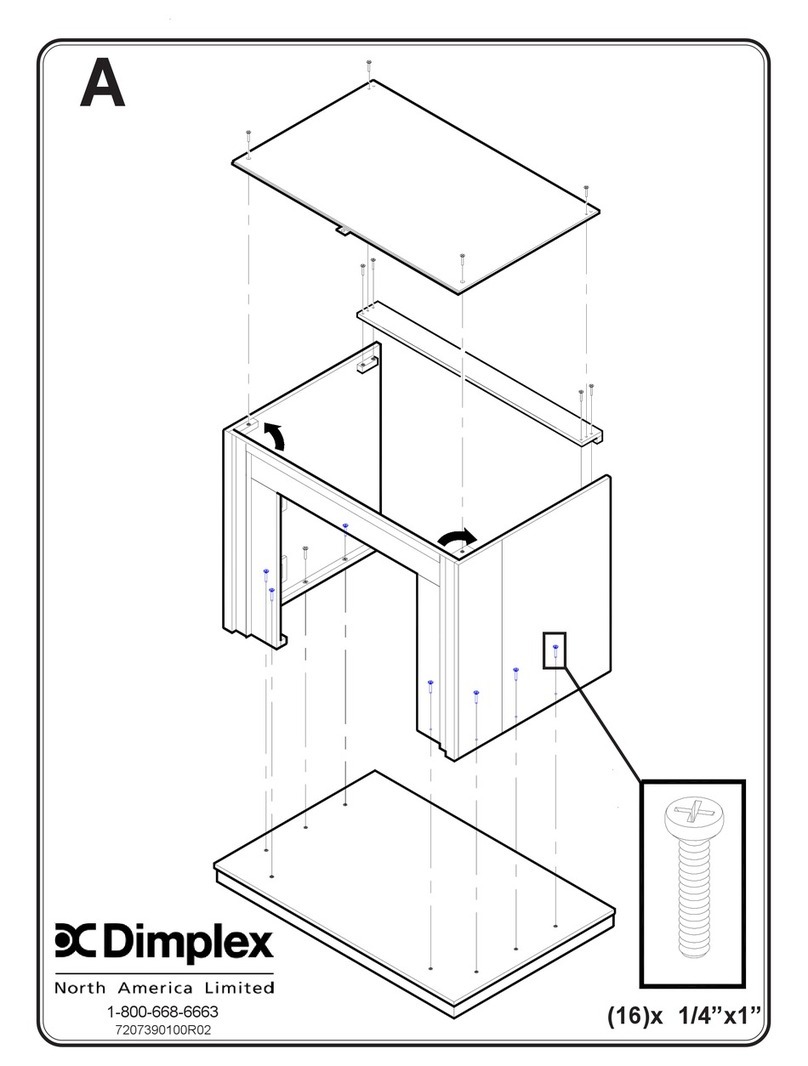
Dimplex DFP6776C install guide

Dimplex

Dimplex DFP6776C install guide
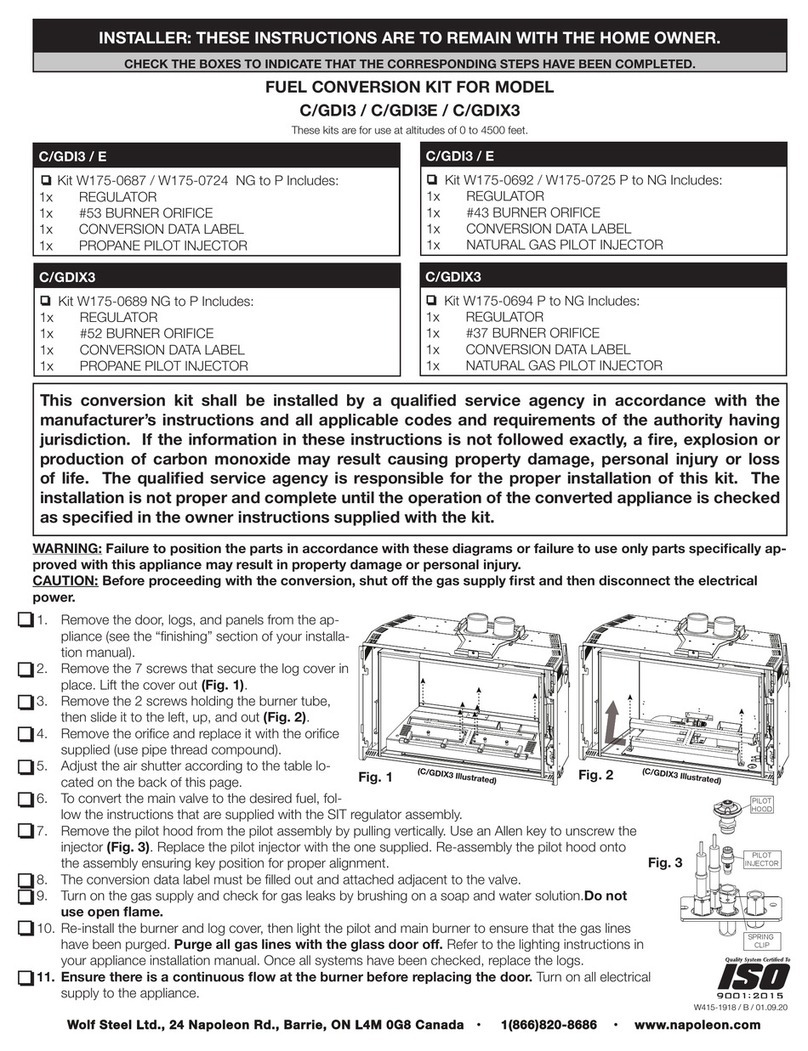
Napoleon W175-0689 instruction manual

Napoleon

Napoleon W175-0689 instruction manual
Travis Industries 95400424 installation instructions
Travis Industries

Travis Industries 95400424 installation instructions

Osburn ZERO CLEARANCE KIT installation instructions
Osburn

Osburn ZERO CLEARANCE KIT installation instructions

Majestic QUARTZPLA36IN installation instructions
Majestic

Majestic QUARTZPLA36IN installation instructions

Napoleon DBPO36 installation instructions
Napoleon

Napoleon DBPO36 installation instructions

Dimplex SMP-130-E install guide

Dimplex

Dimplex SMP-130-E install guide

Empire Comfort Systems LS50TINF installation instructions

Empire Comfort Systems

Empire Comfort Systems LS50TINF installation instructions

manuals.online logo
manuals.online logoBrands
  • About & Mission
  • Contact us
  • Privacy Policy
  • Terms and Conditions

Copyright 2025 Manuals.Online. All Rights Reserved.