manuals.online logo
Brands
  1. Home
  2. •
  3. Brands
  4. •
  5. Majestic
  6. •
  7. Fireplace Accessories
  8. •
  9. Majestic QUARTZPLA36IN User manual

Majestic QUARTZPLA36IN User manual

1
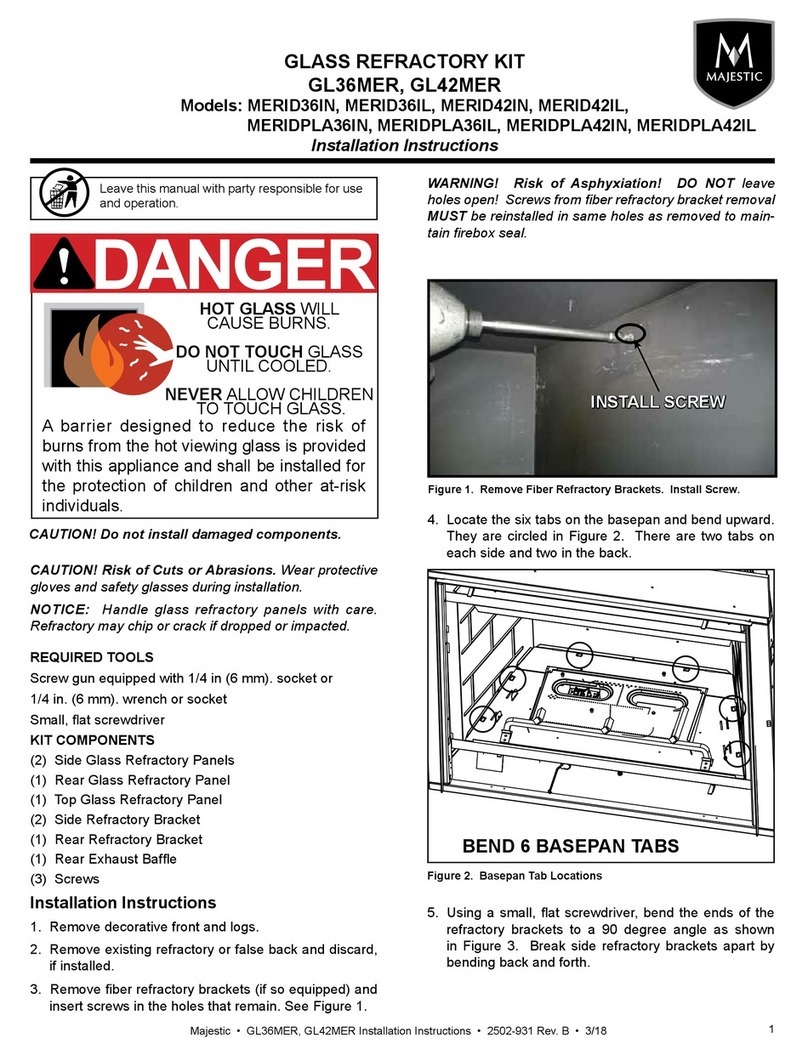
Majestic • GLQUARTZ36PLA Installation Instructions • 2643-945 • 4/22
TOOLS
Screw gun equipped with 1/4 in (6 mm). socket or
1/4 in. (6 mm). wrench or socket
KIT COMPONENTS
(1) Left Glass Panel
(1) Right Glass Panel
(1) Rear Glass Panel
(2) Lower Glass Brackets (1 left, 1 right)
(1) Rear Lower Glass Bracket
(2) Upper Glass Brackets (1 left, 1 right)
(2) 3/8 in. (9.5 mm) Sleeves
(4) 1/2 in. (13 mm) self-tapping Screws
(2) 1-1/4 in. (32 mm) screws
(1) Top Refractory Panel
Leave this manual with party responsible for use
and operation.
Installation Instructions
1. If installed, remove existing brick refractory and logs from
appliance.
2. Remove the screw that secures the pilot assembly to
the pilot bracket and gently pull the pilot upward about 2
inches (51 mm).
3. Locate and remove the two screws that secure the rear
refractory bracket in place. See Figure 2. Retain these
screws for later use.
CAUTION! Risk of Cuts or Abrasions. Wear protective
gloves and safety glasses during installation.
NOTICE: Handle refractory panels with care. Refractory
may chip or crack if dropped or impacted.
GLQUARTZ36PLA
Models: QUARTZPLA36IN / QUARTZPLA36IL
Black Glass Liner Kit Installation Instructions
CAUTION! Do not install damaged components.
DANGER
HOT GLASS WILL
CAUSE BURNS.
DO NOT TOUCH GLASS
UNTIL COOLED.
NEVER ALLOW CHILDREN
TO TOUCH GLASS.
A barrier designed to reduce the risk of
burns from the hot viewing glass is provided
with this appliance and must be installed for
the protection of children and other at-risk
individuals.
Figure 1 Metal Components - Components Shown Bent
UPPER GLASS BRACKETS
LOWER GLASS BRACKETS
REAR GLASS
BRACKET
NOTE: Install the lower glass bracket so the bend
clearance notch faces the front of the appliance.
BEND CLEARANCE NOTCH
Figure 2 Remove Screws that Secure Rear Bracket to Firebox
REMOVE SCREWSREMOVE SCREWS
2Majestic • GLQUARTZ36PLA Installation Instructions • 2643-945 • 4/22
6. Remove the new rear lower glass bracket from the
packaging and bend the hand bend features “up” to
about 45 degrees. See Figure 5. Install the new rear
lower glass bracket with screws removed in Step 3.
Note: The new lower glass bracket spans the entire
width of the back wall of the rebox and rests above
the side lower glass brackets. See Figure 5, Detail A.
Figure 5 Bend Tabs on Lower Side and Rear Glass Brackets
7. Gently pull the pilot tube and pilot wires down,
grasping them from beneath the rebox to remove
slack in pilot wires. Reattach pilot assembly to pilot
bracket.
8. Locate, remove and discard the two screws
located below the rear exhaust hole. See Figure
6. Install the sleeve onto each 1-1/4 inch (32
mm) screw and install in holes. See Figure 7.
Figure 6 Remove Screws
5. Remove lower glass brackets from packaging and
bend “up” hand bend features. See Figure 4. Install
left and right lower glass brackets by installing them
between the outer edges of the left and right basepans
with the notch facing the front of the appliance. These
pieces will t tightly against the rebox. See Figure 4.
Figure 4 Install Lower Glass Bracket (Left Side Shown)
4. If the rear tabs on the left and right basepans are bent
upward, straighten them so they are at as shown in
Figure 3.
Figure 3 Straighten Rear Tabs
REAR BASEPAN TABS ARE FLATREAR BASEPAN TABS ARE FLAT
NOTCH FACES FRONT OF APPLIANCE
HAND BEND UP
REAR GLASS BRACKET
DETAIL A
BEND TABS UP
REMOVE SCREWS
3
Majestic • GLQUARTZ36PLA Installation Instructions • 2643-945 • 4/22
9. Locate the two upper glass brackets that are shipped
at. Bend the “Right” bracket as shown in Figure 8.
Bend the “Left” bracket shown in Figure 9. The rear
hand bend feature, circled in Figure 9, is left at until
step 12.
10. Install right upper glass bracket by pushing the bracket
“up” to the rebox top and “out” to the front face of the
rebox. The front edge of the bracket should be tight
to the rebox face and the top edge of the bracket
should be tight to the rebox top. Install the bracket
by inserting the two self-tapping screws through the
bracket into the rebox. See Figure 8. Repeat step
10 for left upper glass bracket installation.
Figure 7 Install Sleeves
Figure 8 Bend Upper Glass Brackets
(Upper Right Bracket Shown)
11. Install the rear glass panel by placing the lower edge
into the rear lower glass bracket. Ensure the smooth
side is facing toward the front of the replace. Tip
glass back until the glass touches the screw head
previously installed in Step 8. Keep one hand on the
rear glass panel and proceed to Step 12.
12. With one hand on the rear glass panel, bend “up”
one hand bend tab on the upper glass bracket to
approximately 90 degrees. See Figure 9. Once
the hand bend tab is properly bent, the glass panel
will not tip forward. Bend “up” the hand bend tab on
the opposing bracket. The rear glass panel is now
installed. This panel will be held in place by the side
panels once they are installed.
13. Install left glass panel by inserting the glass panel
from the front. Slide panel back until it contacts the
rear glass panel. Ensure that the tab shown below is
bent “down” on each upper glass bracket to secure
left/right glass panels. Repeat Step 13 for right glass
panel installation.
Figure 9 Upper Glass Brackets Installed (Left Upper Bracket Shown)
Figure 10 Install Left Glass Panel
BEND THESE
FEATURES
SCREW HOLES
HAND BEND TAB
SUPPORT
TAB
4Majestic • GLQUARTZ36PLA Installation Instructions • 2643-945 • 4/22
14. Install the top refractory by holding the part horizon-
tally as shown in Figure 11. Insert the top panel into
the space between the rebox top and the top edges
of the side refractory panels as shown in Figure 12.
The refractory panel should rest on all sides of the
glass as shown in Figure 12.
Note: The refractory top panel is designed to t tightly.
It may be helpful to insert the top at a slight angle
when installing as shown in Figure 11.
15. Install logs, media, glass assembly, and decorative
front.
Figure 11 Install Top Refractory Panel
Figure 12 Top Refractory Panel
TOP REFRACTORY
PANEL INSTALLED
Please contact your Majestic dealer with any questions
or concerns.
For the location of your nearest Majestic dealer,
please visit www.majesticproducts.com.
Majestic, a brand of Hearth & Home Technologies
7571 215th Street West, Lakeville, MN 55044
www.majesticproducts.com

Other manuals for QUARTZPLA36IN

1

This manual suits for next models

2

Other Majestic Fireplace Accessories manuals

Majestic CK36MS User manual

Majestic

Majestic CK36MS User manual

Majestic Duzy Series User manual

Majestic

Majestic Duzy Series User manual

Majestic MERID36IN User manual

Majestic

Majestic MERID36IN User manual

Majestic LOGS-KMOD User manual

Majestic

Majestic LOGS-KMOD User manual

Popular Fireplace Accessories manuals by other brands

pleasant hearth FA017TA manual

pleasant hearth

pleasant hearth FA017TA manual

Empire Comfort Systems DVP30CPKR-1 installation instructions

Empire Comfort Systems

Empire Comfort Systems DVP30CPKR-1 installation instructions

Empire Comfort Systems EBL74TK Assembly instructions

Empire Comfort Systems

Empire Comfort Systems EBL74TK Assembly instructions

pleasant hearth OFC720SA manual

pleasant hearth

pleasant hearth OFC720SA manual

Travis Industries 96100212 manual

Travis Industries

Travis Industries 96100212 manual

IHP PCBM-325 manual

IHP

IHP PCBM-325 manual

Bluegrass Living B24EL-4 installation instructions

Bluegrass Living

Bluegrass Living B24EL-4 installation instructions

Lennox Hearth Products Power Vent Kit LPVK-110 installation instructions

Lennox Hearth Products

Lennox Hearth Products Power Vent Kit LPVK-110 installation instructions

FireplaceXtrordinair 4237 EG Installation

FireplaceXtrordinair

FireplaceXtrordinair 4237 EG Installation

Empire Comfort Systems EMBC-1S-C-1 Assembly instructions

Empire Comfort Systems

Empire Comfort Systems EMBC-1S-C-1 Assembly instructions

Twin-Star International Corner Mantel Assembly & instruction manual

Twin-Star International

Twin-Star International Corner Mantel Assembly & instruction manual

Hearth & Home BK-GAS Installation

Hearth & Home

Hearth & Home BK-GAS Installation

Lennox Hearth Products SHADOWDANCE LSVFSD-LP Installation and operation instructions

Lennox Hearth Products

Lennox Hearth Products SHADOWDANCE LSVFSD-LP Installation and operation instructions

Bond 51463 owner's manual

Bond

Bond 51463 owner's manual

Bluegrass Living VLRK-OO instruction manual

Bluegrass Living

Bluegrass Living VLRK-OO instruction manual

pleasant hearth Brunet FA092TB quick start guide

pleasant hearth

pleasant hearth Brunet FA092TB quick start guide

Wolf Steel TLV50 quick start guide

Wolf Steel

Wolf Steel TLV50 quick start guide

Boulevard DFEV60LSS-1 Installation instruction guide

Boulevard

Boulevard DFEV60LSS-1 Installation instruction guide

manuals.online logo
manuals.online logoBrands
  • About & Mission
  • Contact us
  • Privacy Policy
  • Terms and Conditions

Copyright 2025 Manuals.Online. All Rights Reserved.