Antenna
Display
Result Lights
- Triggering
- Fail
- Pass
- Charging
Cancel Button
Trigger Button
Directional Buttons
OK/Enter Button
Power Button
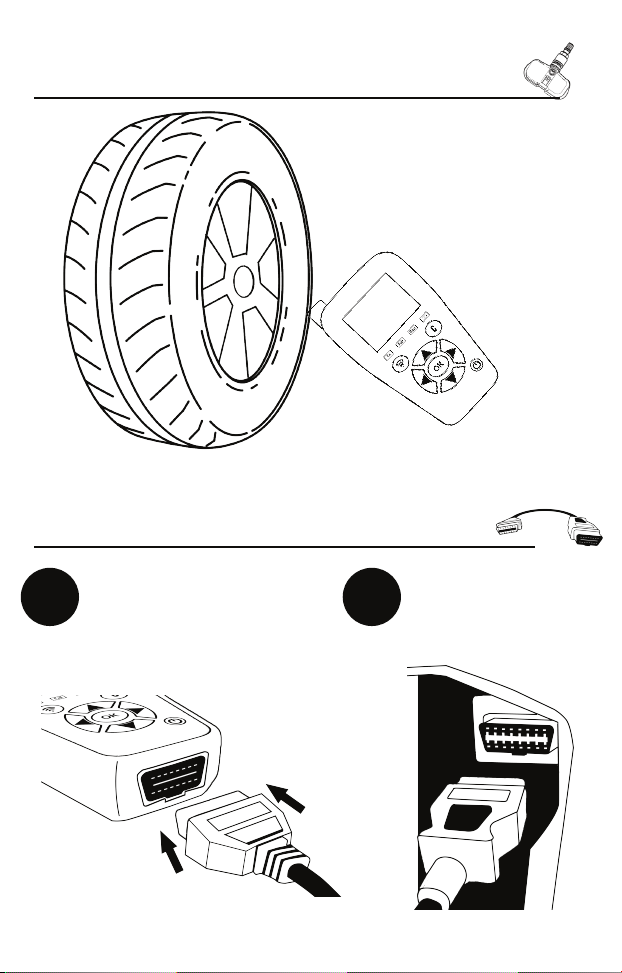
OBDII Port
1
1
2
3
4
5
6
7
8
9
USB/Charging Port
10
10
2
3
4
5
6
7
8
TOOL CONTROLSTOOL CONTROLS
9
FEATURES & ICONS
REDIUNLOCK
Prepare REDISensors for installation
by unlocking them. Unlock with a
press of the trigger button.
SERVICE TPMS
Activate and trigger TPMS sensors.
View and perform both manual and
OBDII relearn procedures for select
vehicles.
FEATURES & ICONS
PROGRAM
Program Schrader EZ-Sensors in a
variety of dierent ways including
create, copy, copy set, and retrieve
IDs from ECU.
PART# LOOKUP
View part numbers for OE, REDI, and
EZ-Sensor sensors. *Note* Some
vehicles may have multiple
compatible part numbers.
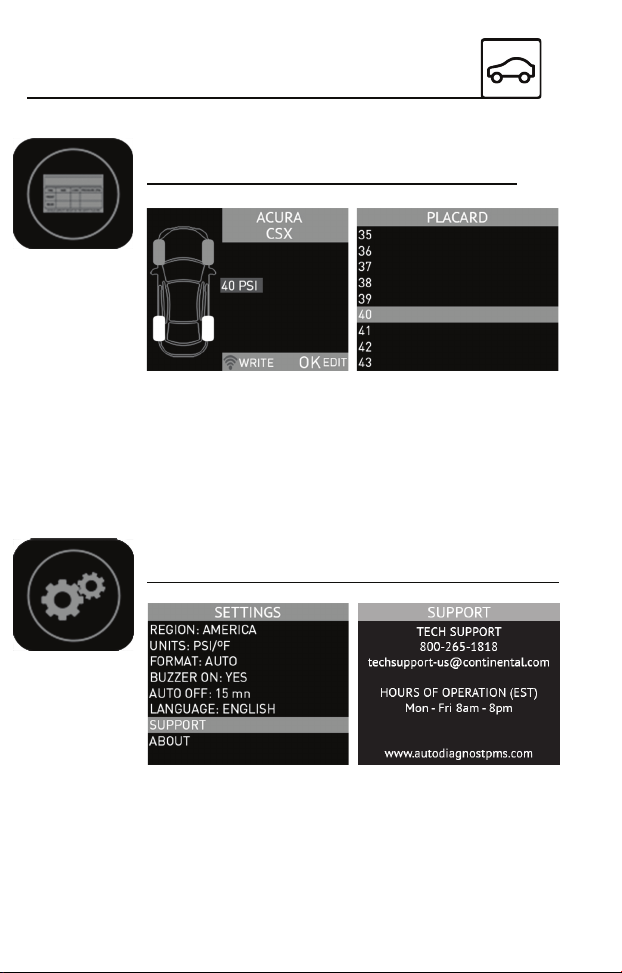
FEATURES & ICONS
PLACARD ADJUST
When changing tire sizes or load
types. Adjust the internal placard
values to match the new set.
SETTINGS/SUPPORT
Change a variety of settings
inlcuding Units, language, and more.
Also view tech support information.