Owners/Installaon Manual
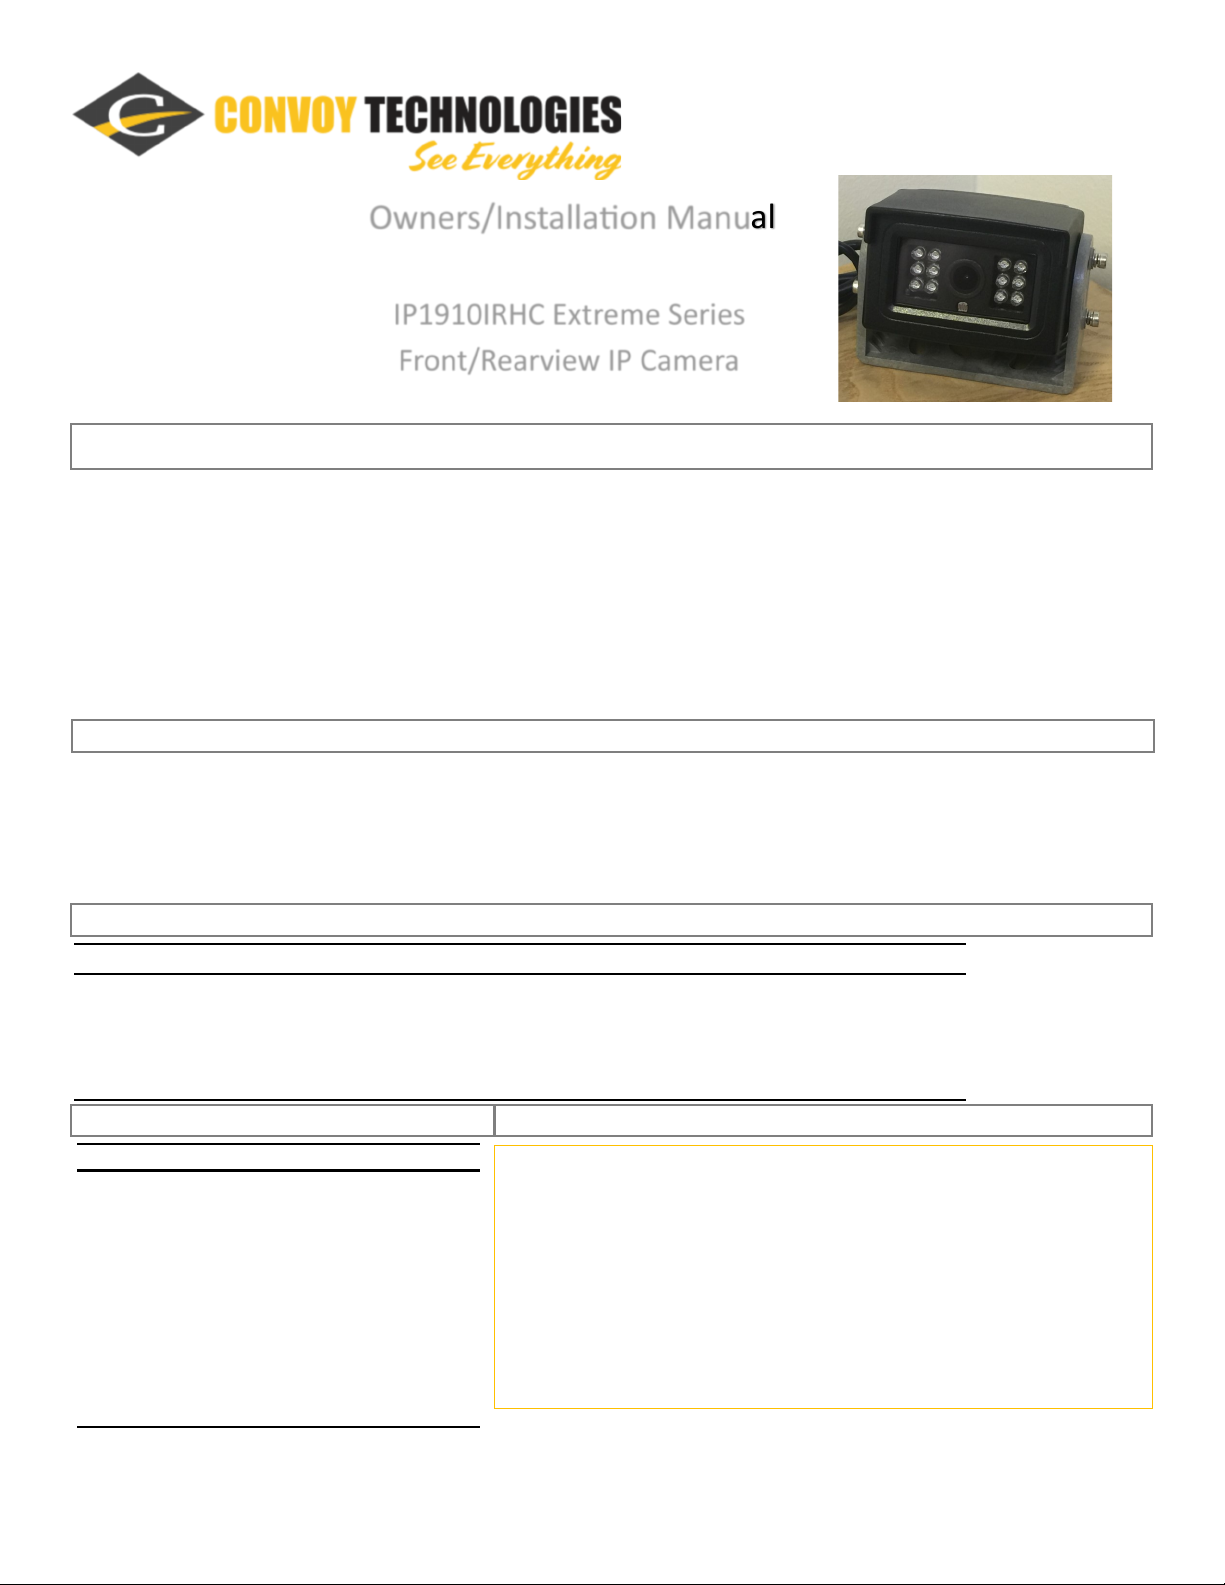
IP1910IRHC Extreme Series
Front/Rearview IP Camera
Mounng the Camera
Maintenance
Troubleshoong
Specicaons Warranty and Support Informaon
Convoy Technologies 6409 Highview Drive | Fort Wayne, IN 46818 | Ph (888) 565-2583
1) Select a posion to mount the camera that is free of obstrucons and moving parts and has a proper viewing angle of the de-
sired area around the vehicle.
2) Remove the bracket from the camera by loosening the screws using the supplied allen wrench. Use the camera’s bracket as a
template to drill mounng holes.
3) Align the mounng bracket with pre-drilled holes then secure bracket with appropriate screws. (not supplied)
4) Route camera cable through pass-through hole and secure the grommet.
5) Reinstall the camera using the supplied screws, then adjust to posion.
Although this Rear View Camera requires lile care, you can sll maintain its condion and performance by following these steps:
* Occasionally clean the camera lens with damp so cloth.
Note: The user should not aempt to service the unit beyond that described in the operang instrucons. All other servicing should be referred to
qualied personnel.
Symptoms Soluons
Cloudy Image Clean Dirty Camera Lens
No Power / Image Check Power Connecons
Upside Down Image Camera light sensor should be under the lens.
Unstable Image Check Mounng Hardware and Camera Power Connecon for ghtness
Image Sensor: ⅓” CMOS
Resoluon: 1280*720 /25fps
S/N Rao: ≥50dB
Lens: f=2.8mm 3MP
Lens Angle: Opon 1, (90) 95 x 50
Opon 2 (120) 118 x 65
Cable Length: 1.5m
Video Format: NTSC
IP Rang: IP69K
DC Power: 12V
Operang Temperature: -20° ~ 70° C
Subject to the provisions described below, this CT product is protected for 3
years against defects in material and workmanship. Should a product fail to
perform as described above within the warranted period, it will be repaired or
replaced with the same or funconally equivalent product by CT. This warrant
does not apply if , in the judgement of CT, the product fails due to damage
from shipment, handling, storage, accident, abuse or misuse, or if it has been
used or maintained in a manner not conforming to product manual instruc-
ons, has been modied in any way. Repair by anyone other than CT or an ap-
proved agent will void this warranty. The maximum liability of CT under this
warranty is limited to the purchase price of the product covered by the warran-
ty. All defecve products should be returned to CT with shipping charges pre-
paid. CT will not accept collect shipments.