Cooper Lighting Solutions
1121 Highway 74 South
Peachtree City, GA 30269
P: 770-486-4800
www.cooperlighting.com
Canada Sales
5925 McLaughlin Road
Mississauga, Ontario L5R 1B8
P: 905-501-3000
F: 905-501-3172
© 2020 Cooper Lighting Solutions
All Rights Reserved
Printed in USA
Imprimé aux États-Unis
Impreso en los EE. UU.
Publication No. IB506001EN
March 11, 2020
Cooper Lighting Solutions is a
registered trademark.
All trademarks are property
of their respective owners.
Cooper Lighting Solutions est une
marque de commerce
déposée.Toutes les autres marques
de commerce sont la propriété de leur
propriétaire respectif.
Cooper Lighting Solutions es una
marca comercial
registrada.Todas las marcas
comerciales son propiedad de sus
respectivos propietarios.
Product availability, specifications,
and compliances are subject to
change without notice.
La disponibilité du produit, les
spécifications et les conformités
peuvent être modifiées sans préavis.
La disponibilidad de productos, las
especificaciones y los cumplimientos
están sujetos a cambio sin previo
aviso.
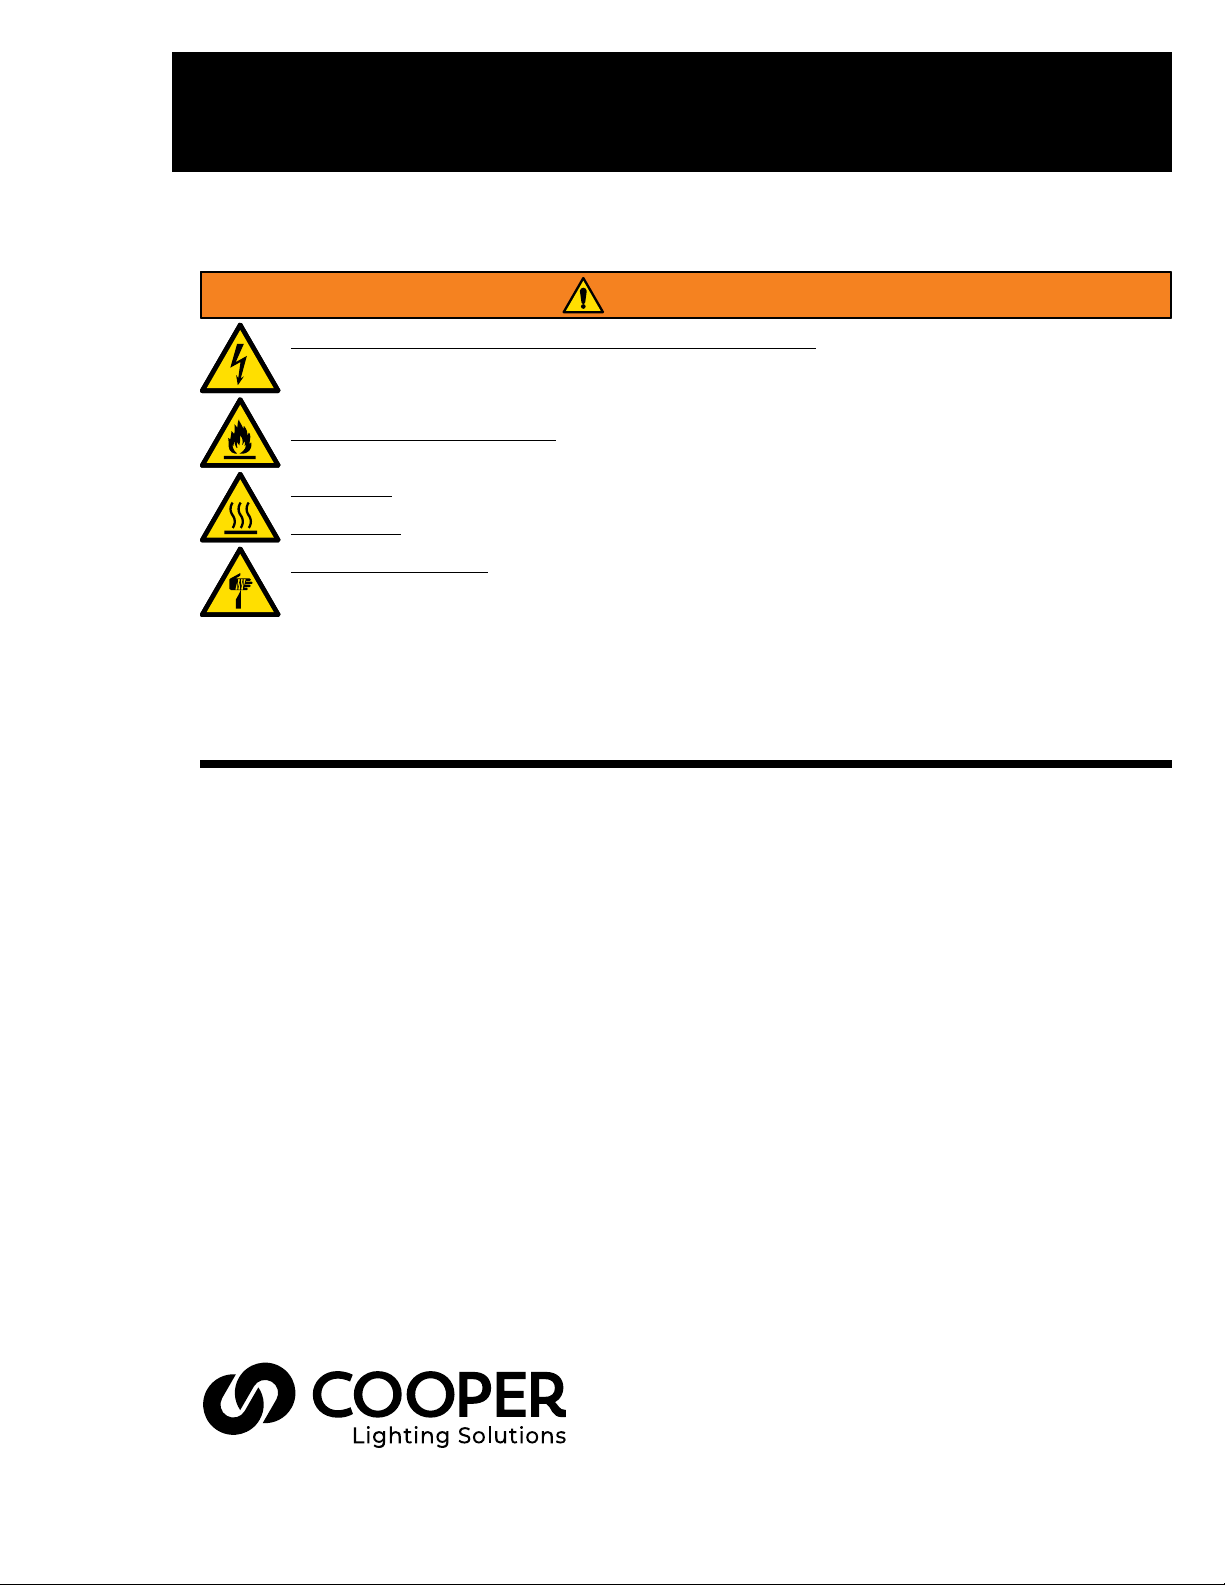
Warranties and Limitation of Liability
Please refer to www.cooperlighting.com/LightingWarrantyTerms for our terms and conditions.
Garanties et limitation de responsabilité
Veuillez consulter le site www.cooperlighting.com/LightingWarrantyTerms pour obtenir les conditions générales.
Garantías y Limitación de Responsabilidad
Visite www.cooperlighting.com/LightingWarrantyTerms para conocer nuestros términos y condiciones.
FCC Statement
Note: This equipment has been tested and found to comply with the
limits for a Class A digital device, pursuant to part 15 of the FCC Rules.
These limits are designed to provide reasonable protection against
harmful interference when the equipment is operated in a commercial
environment.This equipment generates, uses, and can radiate radio
frequency energy and, if not installed and used in accordance with
the instruction manual, may cause harmful interference to radio
communications. Operation of this equipment in a residential area
is likely to cause harmful interference in which case the user will be
required to correct the interference at his own expense.
Declaración de la FCC
Nota: Este equipo ha sido probado y cumple con los límites para un
dispositivo digital de Clase A, de conformidad con la parte 15 de las
Normas de la FCC. Estos límites están diseñados para proporcionar
una protección razonable contra interferencias perjudiciales cuando el
equipo se opera en un entorno comercial. Este equipo genera, utiliza y
puede emitir energía de radiofrecuencia y, si no se instala y utiliza de
acuerdo con el manual de instrucciones, puede causar interferencias
perjudiciales en las comunicaciones de radio. El funcionamiento
de este equipo en un área residencial puede causar interferencias
perjudiciales, en cuyo caso el usuario deberá corregir las interferencias
por su cuenta.