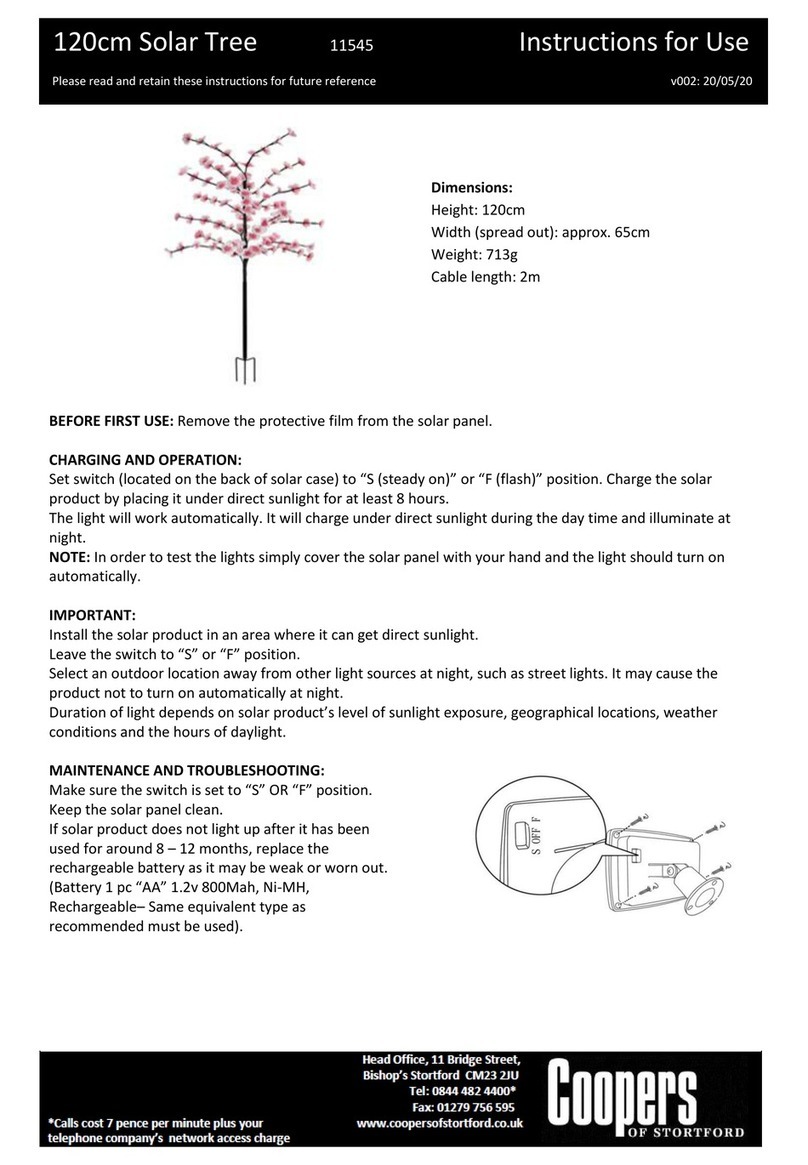
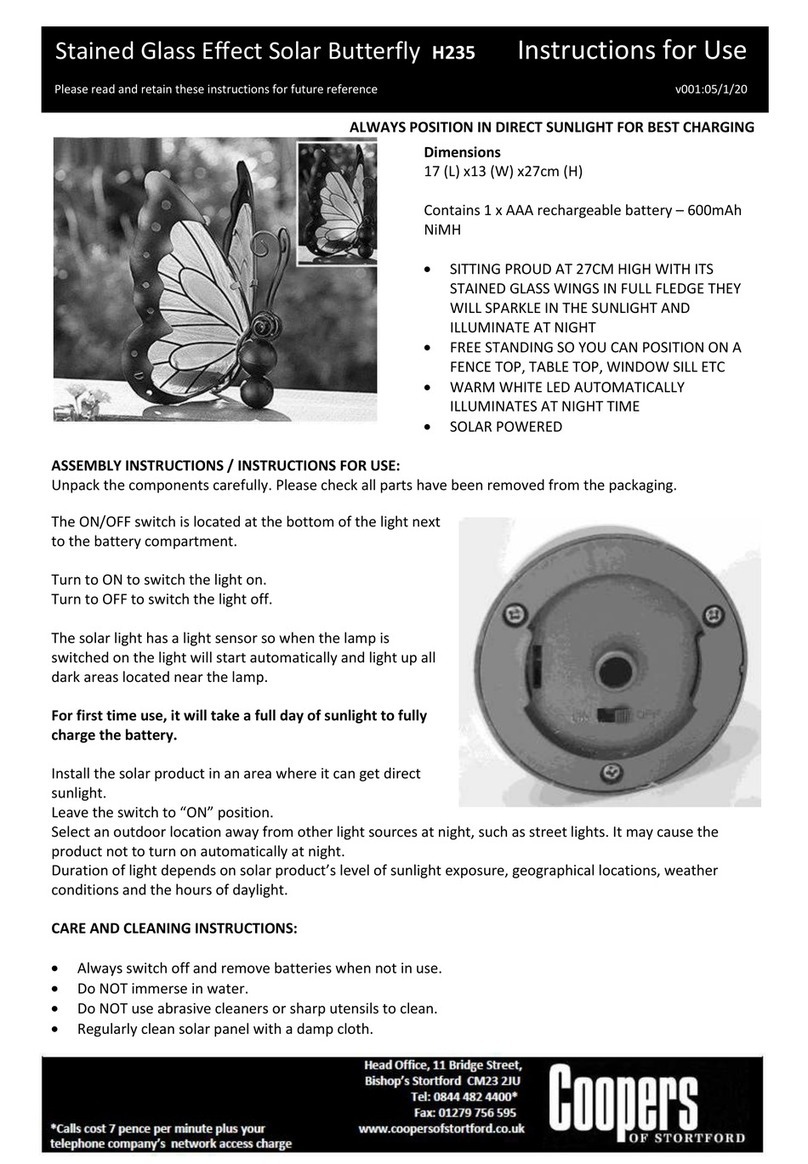
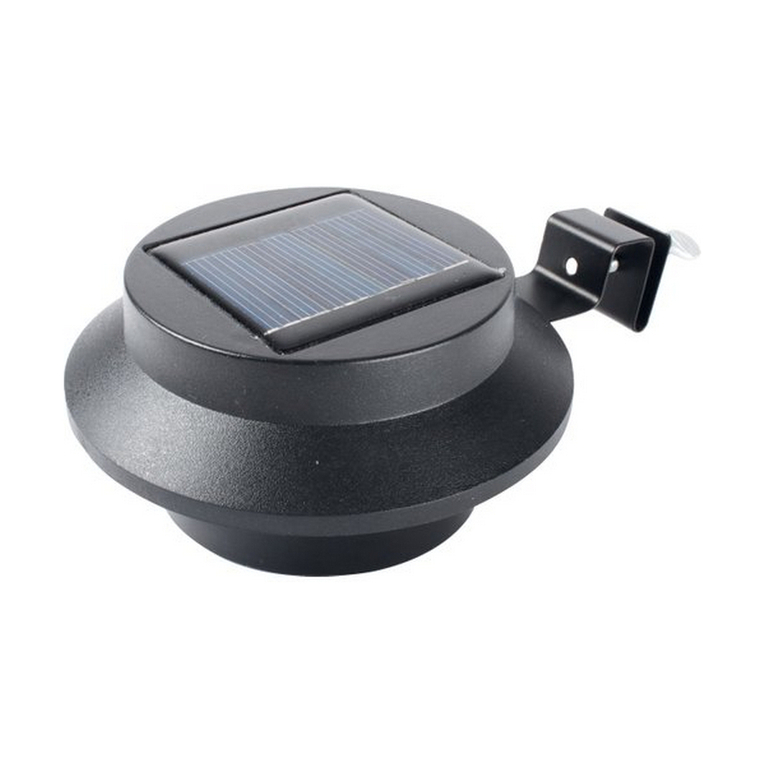
100 LED Solar Lights Instructions 8793
NOTE – THESE LED LIGHTS WILL ALL LOOK CLEAR IN COLOUR UNTIL THEY ARE SWITCHED ON.
THEN THE COLOUR YOU HAVE ORDERED WILL SHOW.
INSTRUCTIONS
• IMPORTANT! Before first use, switch off and allow the solar panel to charge in full sunlight for three days. This will maximise
and prolong battery life.
• LED lights give up to 100,000 hours of light.
• Batteries inside the lamps recharge using solar energy during the day and light up using this stored energy after dark.
• The lights will automatically illuminate and turn off depending on the level of natural lighting.
• As with any rechargeable battery, the period of time that the battery will hold charge will decrease during the life of the
battery. All batteries have a finite number of charge cycles. If the item is not to be used for an extended period, it is
recommended that the unit is switched off to preserve the batteries. Remove the batteries and store separately.
• If the lamp is not in use for a prolonged period, it is recommended that the lamps be charged and then discharged fully once
a month.
• To check operation, simply cover completely or go to a dark place. If the solar panel is operating correctly the light should
illuminate.
• Before storage, wipe clean, allow to dry and store indoors.
• In winter or periods of bad weather, light levels can be very low and sometimes the lamps will appear dimmer than when
fully charged. This does not constitute a faulty product.
• If the item is covered in snow, this will block out the light and they will need to be recharged in full sun again.
PARTS LIST
➀ 1 x electronic control box with LED strand
➁ 1 x ground tube
➂ 1 x pointed ground stake
➃ 1 x wall mounting bracket
➄ 1 x wall mounting fixings
ASSEMBLY – ground mounted
• Insert the ground tube onto the back of the control box.
• Always push the pointed ground stake into the ground BEFORE placing the control box on top. This will avoid any damage to
the solar panel, particularly if the ground is hard.
ASSEMBLY – wall mounted
• If wall mounting, you may have to provide different fixings to those supplied, dependant on wall surface to ensure a secure
and safe fixing.
• Affix the wall mount to your wall surface, then gently push on the control box, avoiding pressure to the solar panel.
➀ ➂➁
➃
➄
x2


