Inbetriebnahme
First setup
Wartung
Maintenance
Betrieb
Operation
Installation
Mounting
Vor allem dann, wenn das Gerät zur Jalousiesteuerung eingesetzt werden
soll, wählen Sie einen Installationsort, an dem Sonnenlicht direkt in den
Sensor einfallen kann.
Montieren Sie zunächst die Bodenplatte so, dass der eingeprägte Pfeil
nach oben zeigt. Schieben Sie dann den Sensor von oben auf die Basis, bis
dieser fest einrastet.
Bitte bewahren Sie den Magneten im Lieferumfang auf. Sie benötigen
diesen für die Einrichtung des Sensors. Sollte der Magnet verloren gehen,
können Sie einen beliebigen Magneten, z.B. eines Tür- und
Fensterkontakts verwenden oder wenden Sie sich an unseren
Kundendienst.
Especially if the device is to be used for blind control, choose an installation
location where sunlight can reach the sensor directly.
First, mount the base plate so that the embossed arrow points upwards.
Then slide the sensor from the top onto the base until it snaps into place.
Please keep the magnet which is in the scope of delivery. You need this to set
up the sensor. If the magnet is lost, you can use any magnet, like a door and
window contact, or contact our customer service.
Batteriewechsel /Battery replacement
Der Sensor verwendet eine Lithium-Spezialbatterie vom Typ ER26500.
Diese ist für den Außeneinsatz geeignet und ermöglicht unter typischen
Betriebsbedingungen eine Laufzeit von 5 Jahren.
Zum Wechseln der Batterie öffnen Sie den Sensor, indem Sie einen
flachen Schraubenzieher in den Spalt an der Unterseite einführen. Drehen
Sie die Spitze leicht, um Druck auf die bewegliche Platte zu Erzeugen und
die Abdeckung zu entriegeln. Heben Sie die Abdeckung an und entfernen
diese.
The sensor uses a special lithium battery of type ER26500. This is suitable for
outdoor use and allows a term of 5 years under typical operating conditions.
To change the battery, open the sensor by inserting a flat screwdriver into
the gap at the bottom. Rotate the tip slightly to create pressure on the
moving plate and unlock the cover. Lift and remove the cover.
Andere Systeme /Other systems
Versetzen Sie das Smart Home System in den Verbindungsmodus zum
Hinzufügen neuer Geräte. Halten Sie den Magnet wie in der Zeichnung an
den Sensor, bis die LED gelb leuchtet. Entfernen sie den Magneten.
Während des Such- und Anmeldeprozesses leuchtet die LED
abwechselnd grün und rot.
Put the smart home system in connection mode to add new devices. Hold
the magnet to the sensor as in the drawing until the LED is yellow. Remove
the magnet. During the search and login process, the LED lights up
alternately green and red.
Der Helligkeits- und Temperatursensor misst alle 60 Sekunden. Starke
Messwertveränderungen werden sofort übertragen, ansonsten beträgt
das Aktualisierungsintervall für die Übertragung neuer Messwerte
etwa10 Minuten.
The light and temperature sensor measures every 60 seconds. Significant
changes in measured values are transmitted immediately, otherwise the
update interval for the transmission of new measured values is about 10
minutes.
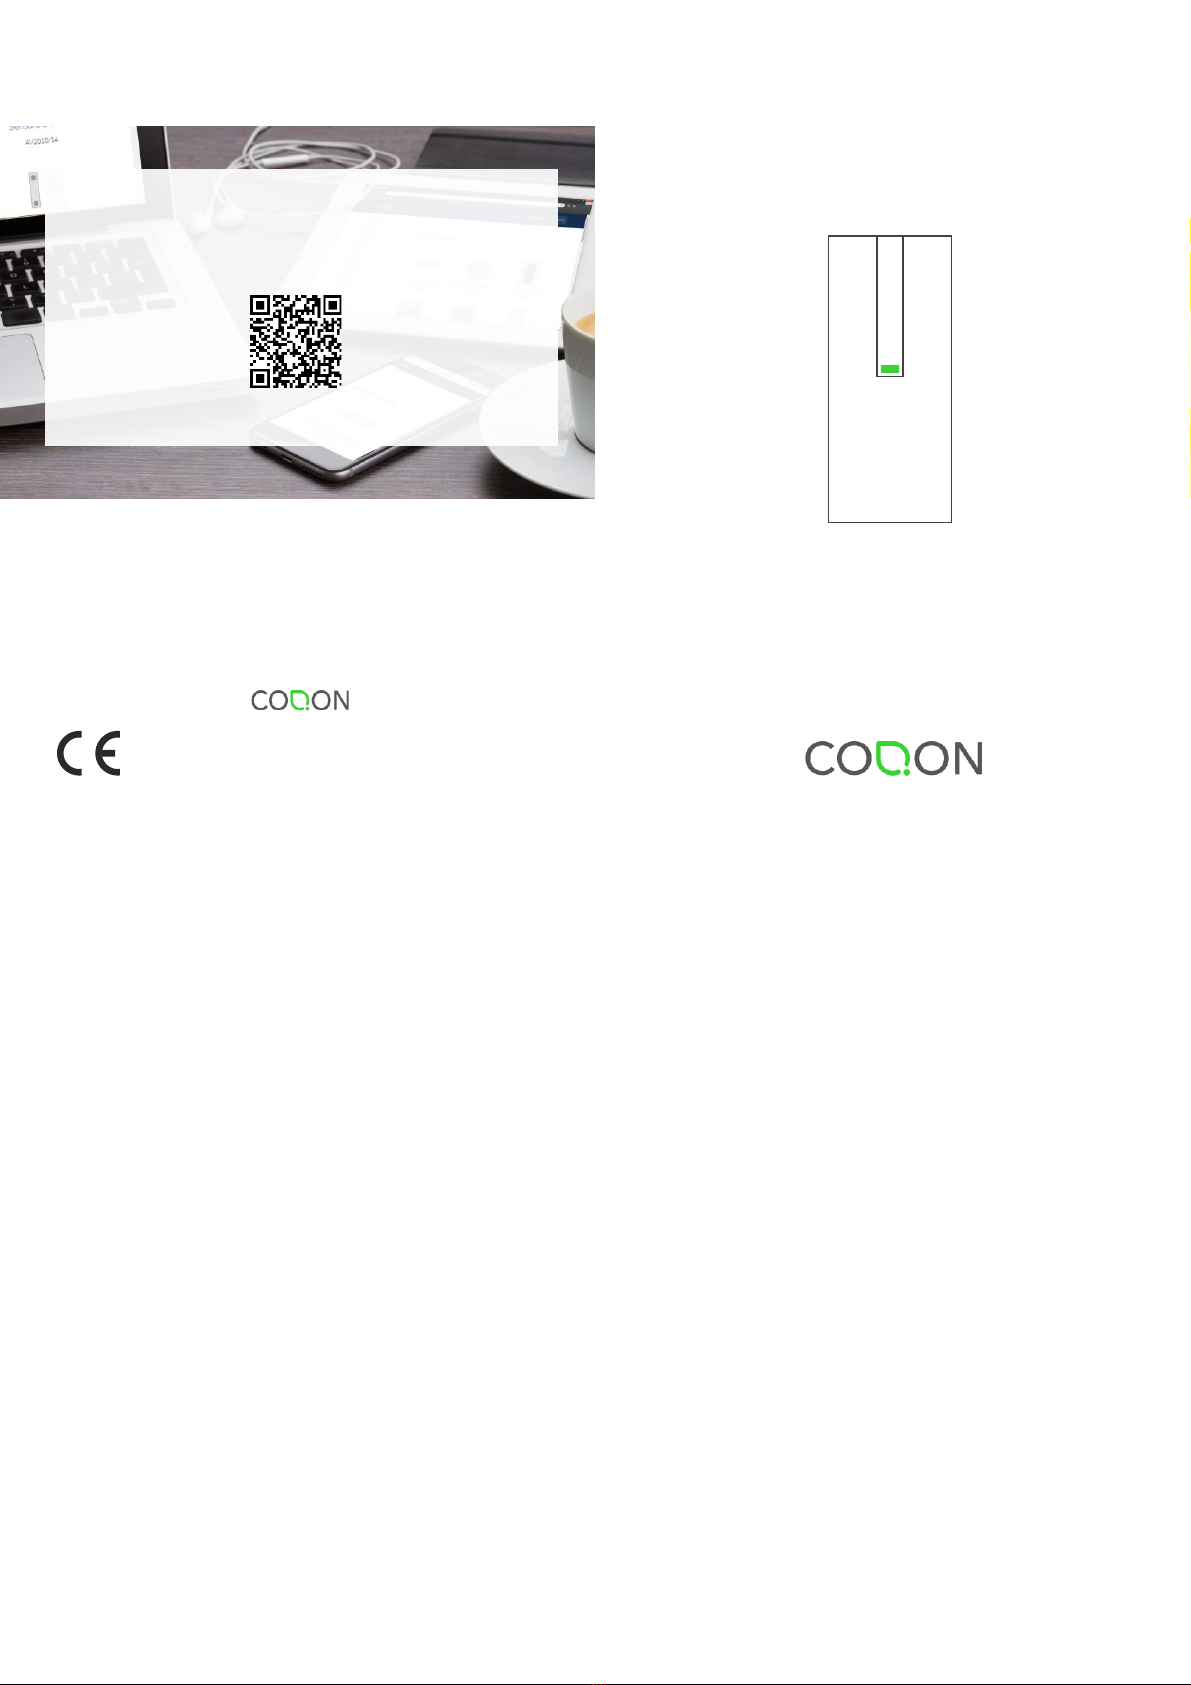
Coqon
Öffnen Sie die Coqon Oberfläche und gehen auf Einstellungen > Geräte
verwalten > + > Coqon Gerät. Richten Sie die Kamera Ihres Smartphones
auf den Data Matrix Code ein oder geben Sie die Gerätebezeichnung
LUXSENB1 ein. Der Einrichtungsassistent führt Sie durch die Einrichtung
des Geräts.
Bitte halten die den Magneten bei der Einrichtung an die in der
Zeichnung angezeigte Position.
Open the Coqon interface and go to Manage settings > devices > + >
Coqon device. Point your smart phone’s cameras on Data Matrix code or
enter the device name LUXSENB1. The setup wizard will guide you through
the setup of the device.
Please hold the magnet to the position indicated in the drawing during
setup.
Im Falle von Problemen bei der Anmeldung des Geräts, folgen Sie bitte
den Schritten zum Zurücksetzen des Sensors.
In case of problems logging in the device, please follow the steps to reset
the sensor.
Zurücksetzen /Factory reset
Um den zuvor an einem anderen System angemeldeten Sensor an einem
neuen System anzulernen bzw. bei Problemen beim Anlernen des
Sensors, ist ein Zurücksetzen des Geräts auf die Werkseinstellungen
notwendig.
Halten Sie hierfür den Magneten wie in der Abbildung für mindestens 10
Sekunden an den Sensor. Sobald die LED rot leuchtet, entfernen Sie den
Magneten und der Rücksetzprozess beginnt. Der Vorgang ist
abgeschlossen, wenn die LED nicht mehr blinkt.
In order to train the sensor previously registered to another system on a new
system or in case of problems with the pairing of the sensor, a reset of the
device to the factory settings is necessary.
To do this, hold the magnet close to the sensor for at least 10 seconds, as
shown in the figure. When the LED lights up red, remove the magnet and
the reset process begins. The process is complete when the LED stops
flashing.