manuals.online logo
Brands
  1. Home
  2. •
  3. Brands
  4. •
  5. Coram Showers
  6. •
  7. Shower Cabin
  8. •
  9. Coram Showers OPTIMA INLINE PANEL User manual

Coram Showers OPTIMA INLINE PANEL User manual

71806 00 / Issue 1 / 15
CUSTOMER CARELINE 01746 713410
Equipment needed:
Drill, 6.5mm Masonry Bit, 4.5mm & 3mm Metal Bits (general), Crosshead Screwdriver, Flatblade Screwdriver, Spirit Level,
Pencil, Tape Measure, Masking Tape, Silicone Sealant.
Note: The screws and wall plugs supplied are for masonry walls. For lightweight walls i.e. stud partition, plasterboard etc,
use the correct type of fixings.
Please read these instructions carefully and keep for future reference.
Incorrect fitting will invalidate the guarantee.
SAFETY
●Handle glass with great care. Although the glass is very tough, sharp impacts can damage both the
glass and metal frame.
●Make sure there are no hidden pipes or cables hidden in the wall where you intend to drill.
●Wear safety goggles, shoes and appropriate clothing.
BEFORE INSTALLATION
●Check that the shower tray is level in all directions. The enclosure will not sit correctly on an uneven surface.
If uneven, the wall channels may not fit and the doors may not shut correctly.
●The enclosure should be fitted on tiled walls which are sealed with waterproof grout.
●There must be a good silicone seal between the rim of the shower tray and the wall.
●The shower tray and the enclosure must match in size. Attempting to fit the incorrect size of enclosure to
the shower tray will result in water leaks.
●Always check very carefully that components are vertical.
OPTIMA INLINE PANEL
X
X = 700 Door (with):
1000 Inline panel 865 - 940mm
1200 Inline panel 1065 - 1140mm
1400 inline panel 1265 - 1340mm
X = 760 Door (with):
1000 Inline panel 925 - 1000mm
1200 Inline panel 1125 - 1200mm
1400 Inline panel 1325 - 1400mm
X = 800 Door (with):
1000 Inline panel 965 - 1040mm
1200 Inline panel 1165 - 1240mm
1400 Inline panel 1365 - 1440mm
DIMENSIONS
Check the enclosure size in the table below matches the
showertray installation.
X = 900 Door (with):
1000 Inline panel 1065 - 1140mm
1200 Inline panel 1265 - 1340mm
1400 Inline panel 1465 - 1540mm
X = 1000 Door (with):
1000 Inline panel 1165 - 1240mm
1200 Inline panel 1365 - 1340mm
1400 Inline panel 1565 - 1640mm
For width with a side panel
add 3mm.
2
INLINE WITH SIDE PANELINLINE ONLY
CUSTOMER CARELINE: 01746 713410
1
PN3230
1
PN3225
1
1
1
1/1
PN4748
PN50503
PN50504
PN80499
PN80524
32mm
Check contents of pack before installation. If anything is
missing, contact our Customer Careline for assistance.
PN3222
PN50497
PN50498
3
1/1
10mm
PN4745
3
1 1
PN60418
PN10937
Inline Panel with Door in a alcove -
X = 700 Door with 1000 Inline panel 865 - 940mm
X = 700 Door with 1200 Inline panel 1065 - 1140mm
X = 700 Door with 1400 inline panel 1265 - 1340mm
X = 760 Door with 1000 Inline panel 925 - 1000mm
X = 760 Door with 1200 Inline panel 1125 - 1200mm
X = 760 Door with 1400 Inline panel 1325 - 1400mm
X = 800 Door with 1000 Inline panel 965 - 1040mm
X = 800 Door with 1200 Inline panel 1165 - 1240mm
X = 800 Door with 1400 Inline panel 1365 - 1440mm
X = 900 Door with 1000 Inline panel 1065 - 1140mm
X = 900 Door with 1200 Inline panel 1265 - 1340mm
X = 900 Door with 1400 Inline panel 1465 - 1540mm
X = 1000 Door with 1000 Inline panel 1165 - 1240mm
X = 1000 Door with 1200 Inline panel 1365 - 1340mm
X = 1000 Door with 1400 Inline panel 1565 - 1640mm
Inline Panel with Door and Side Panel -
X = 700 Door with 1000 Inline panel 868 - 943mm
X = 700 Door with 1200 Inline panel 1068 - 1143mm
X = 700 Door with 1400 inline panel 1268 - 1343mm
X = 760 Door with 1000 Inline panel 928 - 1003mm
X = 760 Door with 1200 Inline panel 1128 - 1203mm
X = 760 Door with 1400 Inline panel 1328 - 1403mm
X = 800 Door with 1000 Inline panel 968 - 1043mm
X = 800 Door with 1200 Inline panel 1168 - 1243mm
X = 800 Door with 1400 Inline panel 1368 - 1443mm
X = 900 Door with 1000 Inline panel 1068 - 1143mm
X = 900 Door with 1200 Inline panel 1268 - 1343mm
X = 900 Door with 1400 Inline panel 1468 - 1543mm
X = 1000 Door with 1000 Inline panel 1168 - 1243mm
X = 1000 Door with 1200 Inline panel 1368 - 1343mm
X = 1000 Door with 1400 Inline panel 1568 - 1643mm
1
XX
Side Panel
3
2
a: Check that the enclosure is perfectly vertical and sits evenly on the tray. Drill inside using a 3mm drill bit in the positions shown. Fix using
10mm screws and screw caps.
b: Check that the enclosure is vertical, drill the remaining holes shown and fix using 10mm screws and screw caps.
See door instructions for door adjustment.
INLINE WITH SIDE PANELINLINE ONLY
a
bb
a
10mm
ø 3
mm
10mm
ø 3
mm
IMPORTANT: You must ensure that your door is square in its frame and opens and closes correctly when you fit it in the in-line panel.
This should be checked before each set of fixing holes are drilled (see door instructions).
4
INLINE WITH SIDE PANELINLINE ONLY
Only fit the wall
bracket in the
position shown
(plan view of the
enclosure).
Only fit the wall
bracket/s in the
position/s shown
(plan view of the
enclosure).
a: Insert both 'pivot brackets' (PN80499 & PN80524) onto the strut tube (PN10937).
Note: The strut tube may need trimming to length to suit your requirements.
b: Tighten both 'pivot bracket' grub screws onto the strut tube. IMPORTANT: Ensure the pivot brackets 'pivot' horizontally.
c: Position the strut assembly onto the panel and against the wall.
d: Ensure the strut is level and mark the position of the wall pivot onto the wall. Remove the strut from the panel.
3a
c
b
d
a: Remove the wall pivot from the strut.
b: Unscrew and remove the wall bracket from the end of the wall pivot.
c: Drill a 6.5mm hole 30mm deep in the middle of the position marked on the wall.
d: Push fit a wall plug and attach the wall bracket to the wall using a 32mm screw.
e: Screw the wall pivot onto the wall bracket. IMPORTANT: The wall pivot MUST pivot horizontally, if it does not, loosen and slightly rotate the wall
bracket refit the wall pivot and check again.
4a b c
d e
32mm
ø 6.5
mm
PN80524PN80499 PN10937
PN80499
Wall bracket
5
Push-fit the top caps onto the wall channels, Inline panel joint and corner post (as required).
Note: The asterisk (*)indicates caps that are supplied with the door / side panel.
6
a: Position the strut/panel pivot onto the panel.
b: Slide the panel pivot along the panel and fully insert into the wall pivot.
c: Tighten the wall pivot grub screw onto the strut. Tighten the panel pivot grub screw onto the panel using a flatblade screwdriver and push fit the
cover cap (PN4745).
d: Tighten the pivot screws using a flatblade screwdriver.
5a
c
b
d
PN4745
Wall channel
& Side panel
Inline panel
& Door
Door &
Wall channel
Side panel
& Inline panel
**
*
*
*
*
7
From the outside only, apply
sealant to the bottom of the
enclosure and 50mm up the wall
channels and inline joint post as
shown.
50mm
CORAM SHOWERS LTD
Stanmore Industrial Estate, Bridgnorth, Shropshire WV15 5HP, UK •Tel: 01746 766466 •Fax: 01746 764140 • www.coram.co.uk
Recycling
Packaging:- The cardboard and polythene parts of this packaging can be recycled.
End of life:- This product contains materials such as aluminium and glass which can be recycled.
Please contact your local authority to find your nearest recycling centre.
IMPORTANT: You must not use the shower for 24 hours after installation of the enclosure.
DO NOT use bleach, scouring powders, solvents or other aggressive cleaning agents. To clean, use warm soapy water and a
clean cloth and rinse off.
Please note: There has been a glass coating applied to this product, use a squeegee to remove water and debris.
Periodically check all fixings and tighten if necessary.

Other Coram Showers Shower Cabin manuals

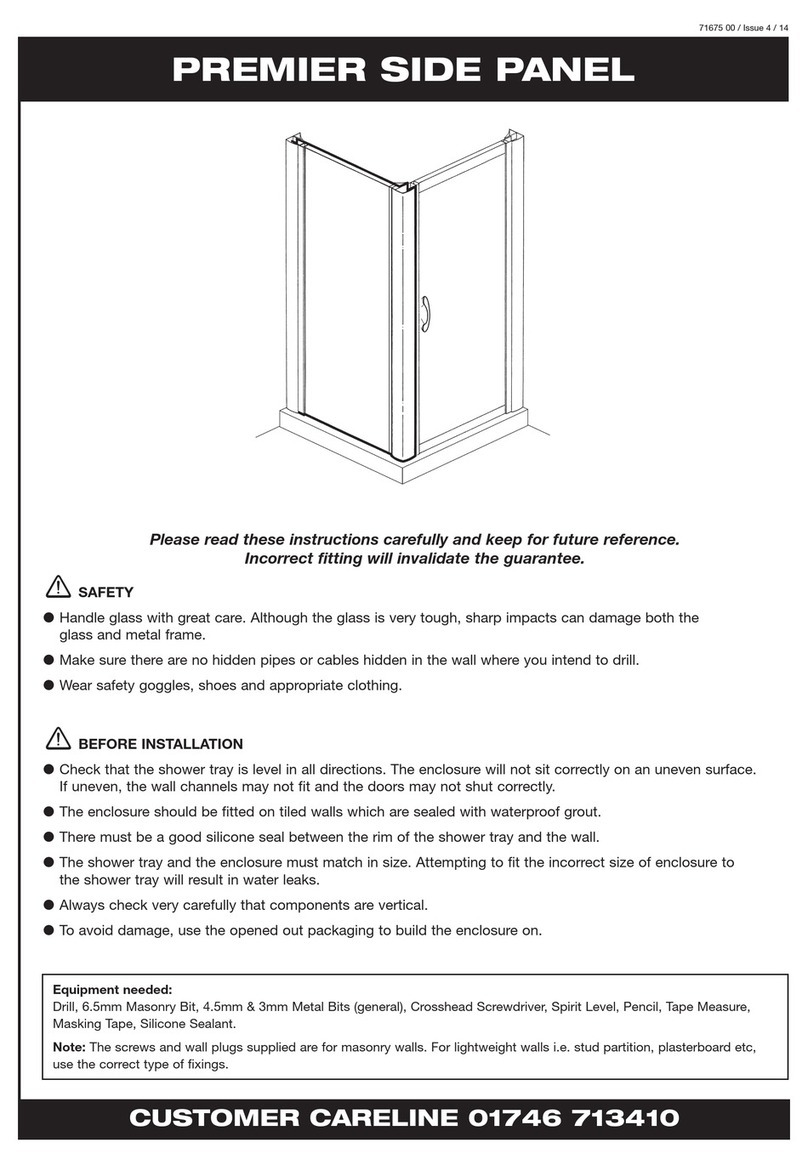
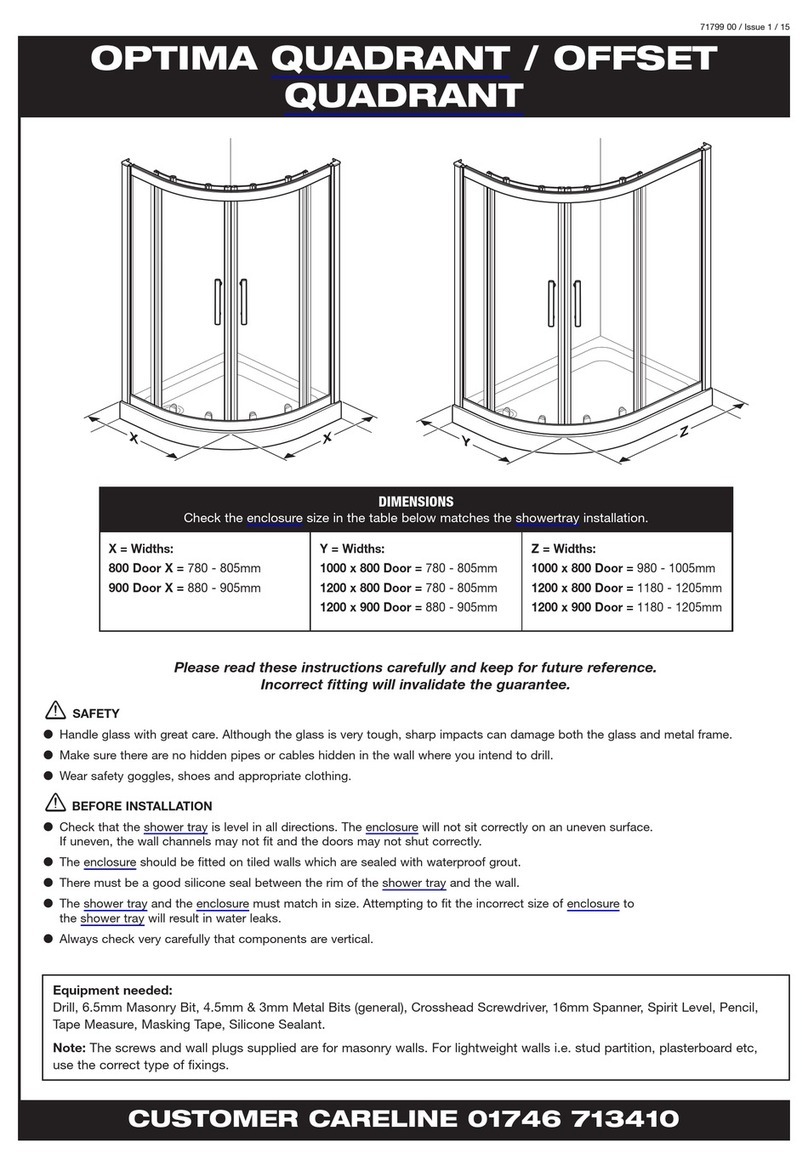
Coram Showers OPTIMA QUADRANT User manual

Coram Showers

Coram Showers OPTIMA QUADRANT User manual

Coram Showers CQ95 95 NW User manual

Coram Showers

Coram Showers CQ95 95 NW User manual

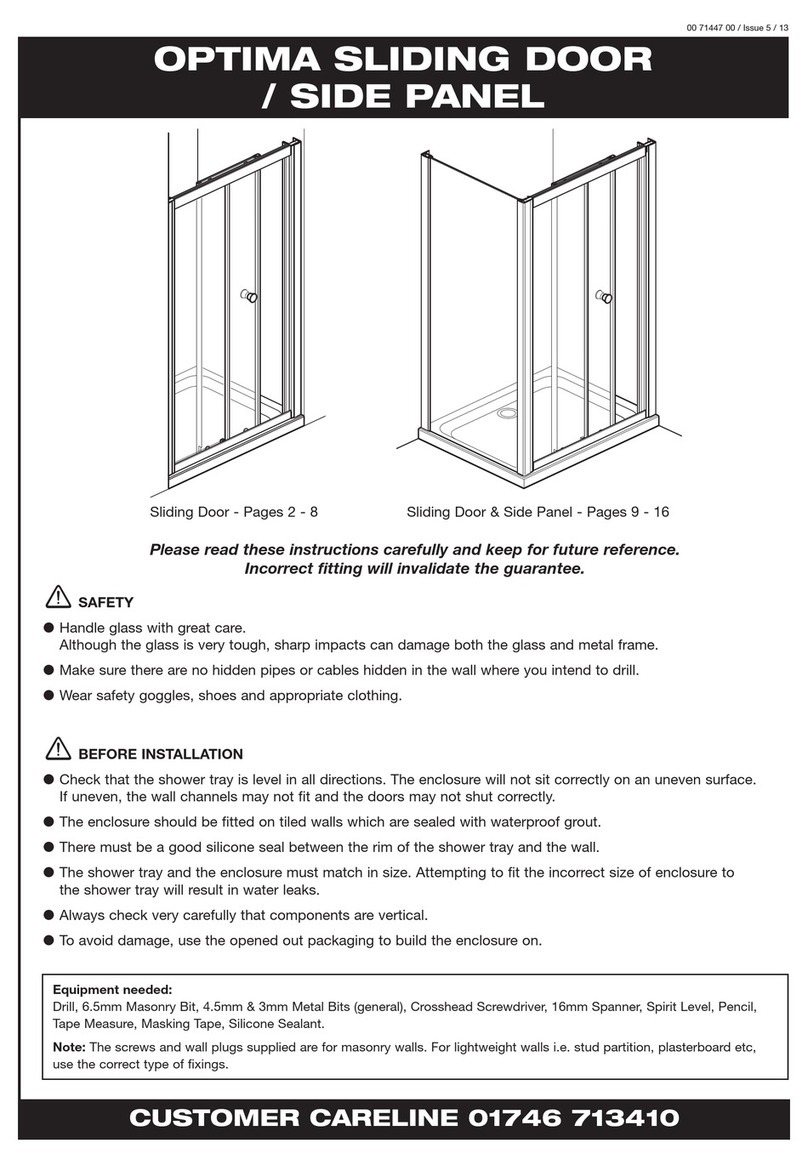
Coram Showers OPTIMA PIVOT DOOR User manual

Coram Showers

Coram Showers OPTIMA PIVOT DOOR User manual

Coram Showers OPTIMA Series User manual

Coram Showers

Coram Showers OPTIMA Series User manual

Coram Showers PREMIER User manual

Coram Showers

Coram Showers PREMIER User manual

Popular Shower Cabin manuals by other brands

Sensea NEO instruction manual

Sensea

Sensea NEO instruction manual

Novellini NEW HOLIDAY A80 Installation, use and maintenance manual

Novellini

Novellini NEW HOLIDAY A80 Installation, use and maintenance manual

CUR AQUA 435030 operating instructions

CUR AQUA

CUR AQUA 435030 operating instructions

Aurlane CAB277 Installation

Aurlane

Aurlane CAB277 Installation

Radaway Essenza Pro KDJ Assembly instruction

Radaway

Radaway Essenza Pro KDJ Assembly instruction

Mira flight SFE Pivot Enclosure Fitting instructions

Mira

Mira flight SFE Pivot Enclosure Fitting instructions

Fleurco ALINA S016 instruction manual

Fleurco

Fleurco ALINA S016 instruction manual

Better Bathrooms 900 Quadrant Steam manual

Better Bathrooms

Better Bathrooms 900 Quadrant Steam manual

Vidalux Essence Range Installation and operating manual

Vidalux

Vidalux Essence Range Installation and operating manual

Dreamline AQUA-Q SWING SD-373472Q Series installation instructions

Dreamline

Dreamline AQUA-Q SWING SD-373472Q Series installation instructions

less care ULTRA C LBSDC4876 installation instructions

less care

less care ULTRA C LBSDC4876 installation instructions

Mirwell MRL 091/901 Installation and operation instruction

Mirwell

Mirwell MRL 091/901 Installation and operation instruction

Welltime Summer 473958 installation instructions

Welltime

Welltime Summer 473958 installation instructions

glass 1989 nonsolodoccia home 140/90 manual

glass 1989

glass 1989 nonsolodoccia home 140/90 manual

Linie Tarifa installation guide

Linie

Linie Tarifa installation guide

RIHO SCANDIC NXT X101 installation manual

RIHO

RIHO SCANDIC NXT X101 installation manual

RAVAK SUPERNOVA HM SBKP6 Use and Setting

RAVAK

RAVAK SUPERNOVA HM SBKP6 Use and Setting

Jacuzzi Summer Rain 2 Wall and 3 Wall Installation and operating instructions

Jacuzzi

Jacuzzi Summer Rain 2 Wall and 3 Wall Installation and operating instructions

manuals.online logo
manuals.online logoBrands
  • About & Mission
  • Contact us
  • Privacy Policy
  • Terms and Conditions

Copyright 2025 Manuals.Online. All Rights Reserved.