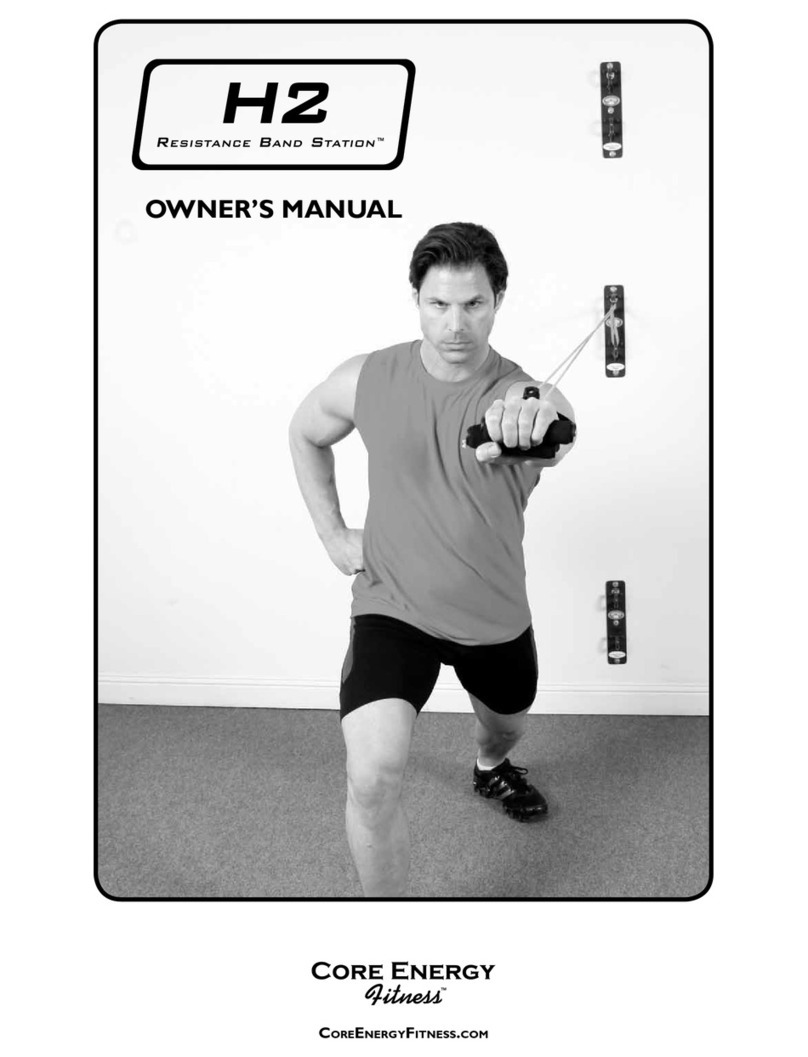
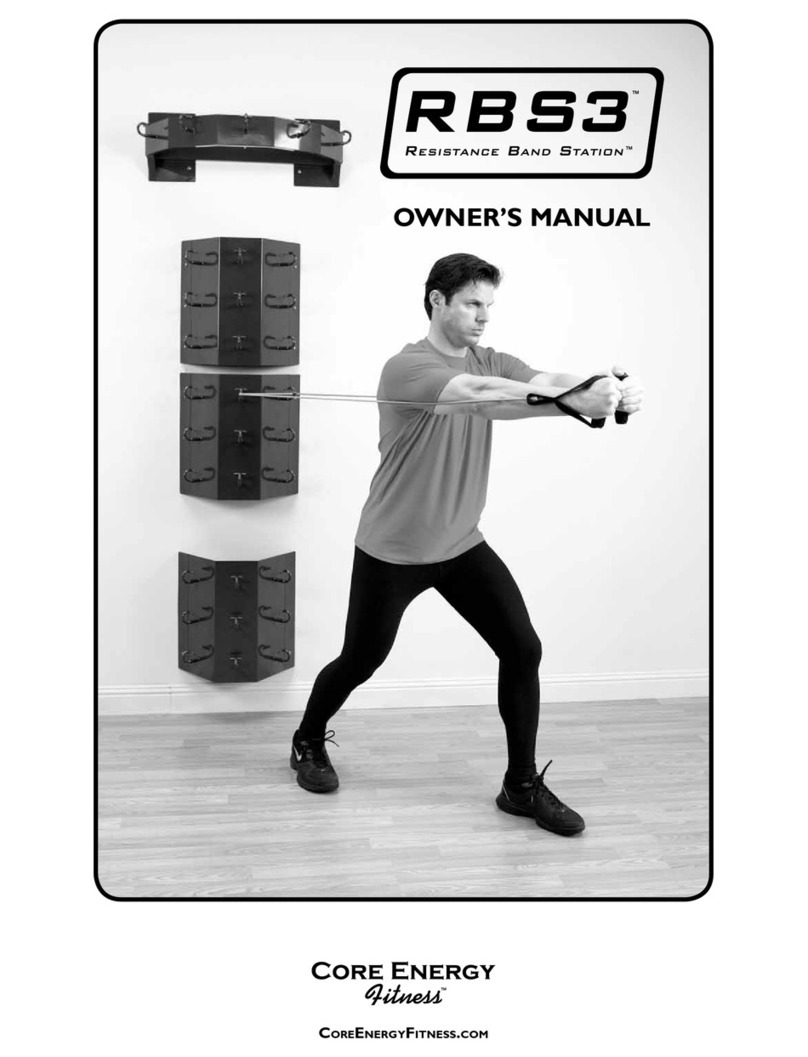
CORE ENERGY FITNESS Anchor Gym Series User manual

CoreenergyFitness.Com
THE ANCHOR GYM
OWNER’S MANUAL

TABLE OF CONTENTS
THE ANCHOR GYM...................................................................................................................................................... 2
Simple. Versatile. Effective. The Ultimate Anchoring System!............................................................................... 2
The Anchor Gym’s Four Key Configurations .............................................................................................................. 2
The Anchor Gym Difference........................................................................................................................................ 4
Simplicity .................................................................................................................................................................... 4
Installation .................................................................................................................................................................. 4
Lifetime Guarantee ..................................................................................................................................................... 5
The Anchor Gym Safety Hook..................................................................................................................................... 5
H2 SPECIFICATIONS................................................................................................................................................... 6
H2 (Single Unit) ........................................................................................................................................................... 6
IMPORTANT SAFETY INSTRUCTIONS ................................................................................................................. 7
INSTALLATION.............................................................................................................................................................. 8
Tools ............................................................................................................................................................................ 8
Installation – Wood Studs .......................................................................................................................................... 9
Installation – Concrete or Block Walls....................................................................................................................... 9
The Anchor Gym CORE – Mounting Configuration................................................................................................... 10
Installing Your System.............................................................................................................................................. 11
The Anchor Gym PLUS – Mounting Configuration................................................................................................... 14
The Anchor Gym PRO – Mounting Configuration..................................................................................................... 15
ANCHORING & THREADING .................................................................................................................................. 16
Threading – Bands.................................................................................................................................................... 16
Threading – Straps ................................................................................................................................................... 16
Stretch Strap as a Pulley.......................................................................................................................................... 17
Basic Loop................................................................................................................................................................. 17
Wrapping................................................................................................................................................................... 17
Bow String Configuration ......................................................................................................................................... 18
Sample Threading & Anchoring Techniques............................................................................................................ 19
CUSTOMER SERVICE............................................................................................................................................... 20
WARRANTIES.............................................................................................................................................................. 20
GUARANTEE ................................................................................................................................................................ 20
1

2
THE ANCHOR GYM
Simple. Versatile. Effective.
The Ultimate Anchoring System!
The Anchor Gym is a modular functional training station
designed to anchor resistance bands, large loop bands,
suspension (body weight) straps, stretch straps and more. It’s easy to use, delivers
hundreds of exercises, takes up zero floor space and is very affordable.
Made of all steel components, the Anchor Gym is a space-saving powerhouse capable of supporting
up to 800 pounds of resistance.
And, there are no moving parts. That means there is nothing to break or adjust. The Anchor Gym is rock solid!
The Anchor Gym’s Four Key Configurations
2
3
AVAILABLE IN FOUR KEY CONFIGURATIONS
Large Loop BandsStretch StrapsResistance BandsSuspension Straps
1
4

3
PLUS Configuration: The PLUS Configuration adds
a fourth H2 unit mounted at waist height. This is a great
angle for exercises using stability balls or large loop bands.
CORE Configuration: Our most popular configuration
comes with three H2 Units mounted at ankle height, chest
height and at seven feet. The CORE Configuration delivers
six key anchoring angles for hundreds of exercise options.
PRO Configuration: Designed for professional studios,
the PRO Configuration is the pinnacle of Anchor Gym
training. With twelve hooking angles spread over six
H2 units, the PRO delivers maximum anchoring options
and threading capabilities. It makes a great personal
training station or the ultimate home gym.
H2 Configuration: A single H2 unit mounted with the
top hook at seven feet makes a great exercise station.
Using resistance bands, suspension straps, large loop bands
and stretch straps; a single H2 unit delivers numerous
exercise options and makes a great home gym.
1
2
3
4

4
The Anchor Gym Difference
•Anchors all types of resistance bands, suspension straps, large loop bands and stretch straps.
•Provides the platform for four major training protocols:
Resistance Band Training
Suspension Strap Training
Large Loop Band Training
Dynamic Stretching
•Delivers hundreds of exercise options
•Easy-to-use
•Fast and easy transitions
•Wall-mounted space saving design. Takes up zero floor space.
•Heavy-duty construction; no moving parts.
Simplicity
The Anchor Gym is an amazingly simple product made
possible by the unique design of its Safety Hook.
Installation
The Anchor Gym is mounted to load bearing wall-studs
using lag screws (supplied); or is mounted to concrete
or block walls using concrete hardware (added charge).
1
2
3
4

Lifetime Guarantee
Each Anchor Gym comes with a Lifetime Guarantee.
See Guarantee on Page 20.
The Safety Hook
The Anchor Gym features the Safety Hook. With its T-bar
tip and curved shape, the hook allows for bands and
straps to be pulled from every angle without the possibility
of disengaging. Users can exercise with confidence that
their bands and straps are securely anchored.
The open-faced design of the Safety Hook is designed
for fast, easy and smooth transitions.
5
NO OTHER PIECE OF FITNESS EQUIPMENT
OFFERS THE VERSATILITY OF THE ANCHOR GYM

H2 SPECIFICATIONS
All configurations of the Anchor Gym consist of the H2 anchoring
platform. The H2 is the product of extensive testing for strength,
ease-of-use and safety. The result is an amazing exercise tool
that delivers unmatched versatility and strength.
H2 (Single Unit)
•The H2 is 11.5-inches tall and 2.5-inches wide.
•Each H2 weighs two pounds.
•The Safety Hooks extend 3-inches from the wall.
•Each H2 is rated to 800 pounds of resistance.
•Each H2 is mounted to load-bearing wood studs using three
5/16 x 21/2hex lag screws (supplied); and to concrete or block
walls using concrete hardware (added charge).
6
Height: 11.5-inches
Width: 2.5-inches
Extends: 3-inches
Rated to:
800 lbs. of
Resistance
Weight: 2 lbs.

7
IMPORTANT SAFETY INSTRUCTIONS
WARNING: The Anchor Gym was designed for use with rubber or latex resistance bands; and straps made from
cotton, nylon or polypropylene. Do not fasten resistance bands or straps to the Safety Hooks with metal clip
hooks or other hooks made of hard materials. This has the potential to damage the coating on the hooks and
cause premature wear.
•Read all instructions before using your Anchor Gym.
•Consult your doctor before embarking on a fitness program.
•Do not allow children or persons unfamiliar with fitness equipment or exercise in general
near the equipment. Do not leave children unsupervised around the equipment.
•Use the equipment only for its intended purpose as described in this manual.
Failure to do so has the potential to void the Lifetime Guarantee.
•Always inspect the equipment for damage before each use. Do not use the equipment
if it is damaged. If damaged, contact Core Energy Fitness.
The design, testing and labeling of the Anchor Gym were based on standards provided by: ASTM F 1749-09
Standard Specification for Fitness Equipment and Fitness Safety Signage and Labels; F2276-09 Standard
Specification for Fitness Equipment; and F2571-09 Standard Test Methods for Evaluating Design and
Performance Characteristics of Fitness Equipment.

INSTALLATION
The Anchor Gym is very easy to install. First, find a location that provides plenty of room to exercise and wall studs
that are load-bearing (i.e., they support the structure of your home or building). You can also mount your Anchor Gym
to concrete or block walls (see Page 9).
You will need a few tools and about 30-minutes for the installation.
Tools
To install your Anchor Gym you will need the tools listed in the above photo. They include:
Level
Stud Finder (Magnet or Electronic)
Drill
1/4-inch Drill Bit
Pencil
Lag Screws or Anchor Sleeve Bolts (Supplied) – Three per H2 unit
Socket Wrench with 1/2-inch (13 mm) Socket and 5-inch Extender
8
Level
Stud Finder
(Two options)
Magnet
Electronic
Drill Pencil
1/4-inch
Drill Bit
Three 5/16 x 21/2-inch Lag
Screws and Washers
or Anchor Sleeve Bolts
(Supplied) per H2 unit
Socket Wrench
with 1/2-inch
(13 mm) Socket
and 5-inch Extender
OR
1
2
3
4
5
6
7
1
2
3 4
6
5
7

9
Installation – Wood Studs
Each H2 unit is mounted to load-bearing wood studs using 21/2-inch lag
screws (supplied). Each component is mounted with three lag screws
accessed through mounting holes in the H2’s base plate.
The lag screws penetrate the wood studs two-inches.
With three lag screws the H2 is rock solid and will not disengage.
Installation – Concrete or Block Walls
Installation into concrete and block walls requires the use of a hammer drill.
We recommend that you use a skilled professional experienced with concrete
or block structures to install your Anchor Gym.
For concrete or block walls use concrete hardware (added charge).

10
The Anchor Gym CORE – Mounting Configuration
Mount your Anchor Gym CORE Configuration with the H2 units mounted at seven feet,
chest height and ankle height.
Top H2 Unit:
Mount the top unit with
the top hook at seven feet.
This is the ideal height for the
Suspension Strap and downward
pulling or pressing exercises.
Middle H2 Unit:
Mount the middle unit with
the top hook at chest height
(in line with your sternum).
Bottom H2 Unit:
Mount the bottom unit with the
bottom hook at ankle height
or about three to six-inches
from the floor.
1
2
3

11
Installing Your System
To install your system, please follow these instructions.
1. Studs. Locate a load-bearing wall stud using a stud finder.
Mark the centerline (middle) of the stud.
NOTE: In any wood frame structure, load-bearing wood studs are
always 16-inches apart. This is to accommodate the installation of the
drywall. A magnetic stud finder (the small stud finder in the photo at
left) use magnets to locate the nails used to install the drywall. For this
reason, they are very accurate. An electronic stud finder use changes in
capacitance to locate the stud.
2. Mark Hole. Hold the unit in the desired position against the wall
with the mounting hole directly on top of the centerline of the stud.
Mark the top mounting hole.
3. Drill Bit. Using a standard 1/4-inch drill bit, measure the drill bit against
the length of the lag screw. The drill bit in the photo happens to be
the same length of the lag screw (about 21/2-inches).
Drill a hole equal to length of the lag screw. If the drill bit is longer
than the lag screw, place a piece of tape around the drill bit marking
21/2-inches of the bit.
4. Starter Hole. Drill a starter hole the entire length of the drill bit
(or to the tape marking 21/2-inches).

12
5. Drill Bit & Lag Screw. It is important to use a 1/4-inch drill bit.
Since the lag screw’s diameter is 5/16 -inches, the threads of the lag
screw will firmly grip the wood stud.
6. Secure Lag Screw. After the hole has been drilled into the stud,
insert and tighten a lag screw until it is secure.
7. Socket Wrench. Tighten the lag screw with the socket wrench.
8. Level. Level the H2 unit and mark the middle and lower mounting holes.

13
9. Drill Other Holes. Hold the H2 to the side and drill the other
two mounting holes.
10. Secure Lag Screws. Tighten the lag screws until they are secure.
11. Socket Wrench. Tighten both lag screws with the socket wrench.
12. Finish and Repeat. Repeat this process for each of the other two H2 units.

14
The Anchor Gym PLUS – Mounting Configuration
The PLUS Configuration adds a fourth H2 unit mounted at waist height.
Top H2 Unit:
Mount the top unit with
the top hook at seven feet.
This is the ideal height for the
Suspension Strap and downward
pulling or pressing exercises.
Top Middle H2 Unit:
Mount the top middle unit with
the top hook at chest height
(in line with your sternum).
Bottom H2 Unit:
Mount the bottom unit with the
bottom hook at ankle height
or about three to six-inches
from the floor.
Lower Middle H2 Unit:
Mount the lower middle H2 unit
at waist height or one-inch below
the top middle unit.
1
2
3
4

15
The Anchor Gym PRO – Mounting Configuration
The PRO Configuration delivers maximum anchoring options and threading capabilities with twelve hooking angles
spread over six H2 units.
Top H2 Unit:
Mount the top unit with
the top hook at seven feet.
This is the ideal height for the
Suspension Strap and downward
pulling or pressing exercises.
Top Middle H2 Unit:
Mount the top middle unit with
the top hook at chest height
(in line with your sternum).
Lower Bottom H2 Unit:
Mount the lower bottom unit with
the bottom hook at ankle height
or about three to six-inches
from the floor.
Lower Middle H2 Unit:
Mount the lower middle H2 unit
at waist height or one-inch below
the top middle unit.
Lower Top H2 Unit:
Mount the second H2 one-inch
below the top H2 unit.
Top Bottom H2 Unit:
Mount top bottom H2 one-inch
above the lower bottom H2 unit.
1
2
3
4
5
6

16
Threading – Bands
To reduce the length or increase the tension of a resistance
band, simply anchor the band on one hook and thread it
through a second hook.
Threading – Straps
The same applies to suspension or stretch straps.
To reduce the length of a strap, simply anchor a strap
to one hook and thread it through a second hook.
ANCHORING & THREADING
The Anchor Gym provides numerous options for anchoring bands and straps.

17
Wrapping
To increase the safety of anchoring bands, the user
has the option of wrapping the band around the hook.
This will form a closed loop around the hook providing
an extra layer of safety.
This technique will also eliminate bands from slipping
while preforming exercises with alternating motions.
Basic Loop
For most exercises, especially those without vigorous
dynamic movements, it is sufficient to simply loop
the band over the hook.
Stretch Strap as a Pulley
The hooks can also be used to create a pulley using
a eight-foot stretch strap. In the photo, Amanda has
threaded the strap on an upper hook and placed
her foot in one of the strap’s loops.
To increase the tension of the stretch, Amanda simply
pulls on the strap to produce the desired stretch.

18
Bow String Configuration
The Bow String threading technique is used for abduction
and adduction exercises. Anchor each of the band’s handles
on the H2 mounted at chest height. Thread the band through
a lower hook to create a large loop.

19
Sample Threading & Anchoring Techniques
This manual suits for next models
4
Table of contents
Other CORE ENERGY FITNESS Fitness Equipment manuals
Popular Fitness Equipment manuals by other brands

Bosch
Bosch Rexroth Automax 100 Series operating instructions

Impex
Impex MARCY IVT-845 owner's manual

Lanaform
Lanaform Stim Fit manual

BH FITNESS
BH FITNESS Nevada Plus Instructions for assembly and use

Sport-thieme
Sport-thieme 119 0902 Operating & assembly instructions

BH FITNESS
BH FITNESS L130 Instructions for assembly and use

Domyos
Domyos AB EXERCISER operating instructions

Tunturi
Tunturi Pure Cross F 8.1 user manual

Weider
Weider WEBE06010 user manual

Stamina
Stamina 55-1537C owner's manual

Tko Sports Group
Tko Sports Group 881IB Assembly instructions

Australian Barbell Company
Australian Barbell Company 10 PAIR RACK Assembly instructions