CORNING EDGE-CZB User manual

Montageanweisung
Ausgabe 2, Oktober 2010
EDGE Bodentank für Zonenverteilung zur Installation im Zwi-
schenboden
(EDGE-CZB)
Diese Montageanweisung dient als Installationsanleitung für qualifizierte Fachkräfte.
EDGE_fb_0001
English version page 11

2EDGE Bodentank für Zonenverteilung zur Installation im Zwischenboden
Inhalt
1. Allgemeines
1.1 Packungsinhalt
1.2 Benötigte Werkzeuge
1.3 Zubehör (gesondert erhältlich)
2. Montage des Gehäuses
2.1 Bodenmontage
2.2 Zwischenbodenmontage
3. Installation
3.1 Installation des Trunkkabels
3.2 Installation der EDGE-Module
3.3 Installation der Patchkabels
4. Ausbau der EDGE-Module
Warnung!
Laser-/LED Strahlung im nicht sichtbaren Spektrum möglich!
Bei unbekanntem Gefährdungsgrad der/durch Laser-/ LED Strahlung niemals in offene Faserenden blicken.
Achtung
Die Zuweisung des Gefährdungsgrades ist vom Anlagen-Einrichter/Betreiber der Kommunikationseinrichtung endgültig
zu bestimmen und verantwortlich auszuweisen (z.B. Anbringen normgerechter Warnschilder nach DIN EN /IEC 60825-
1, gültige Ausgabe, Beachtung der BGV B2 „Laserstrahlung“, gültige Ausgabe).
Bei Änderung der technischen Daten, die den Gefährdungsgrad beeinflussen, sind bei Notwendigkeit die Warnungen
entsprechend anzupassen und Arbeitssicherheitsvorkehrungen zu treffen, siehe z.B. auch DIN EN/IEC 60825-2,
gültige Ausgabe.

EDGE Bodentank für Zonenverteilung zur Installation im Zwischenboden 3
1. Allgemeines
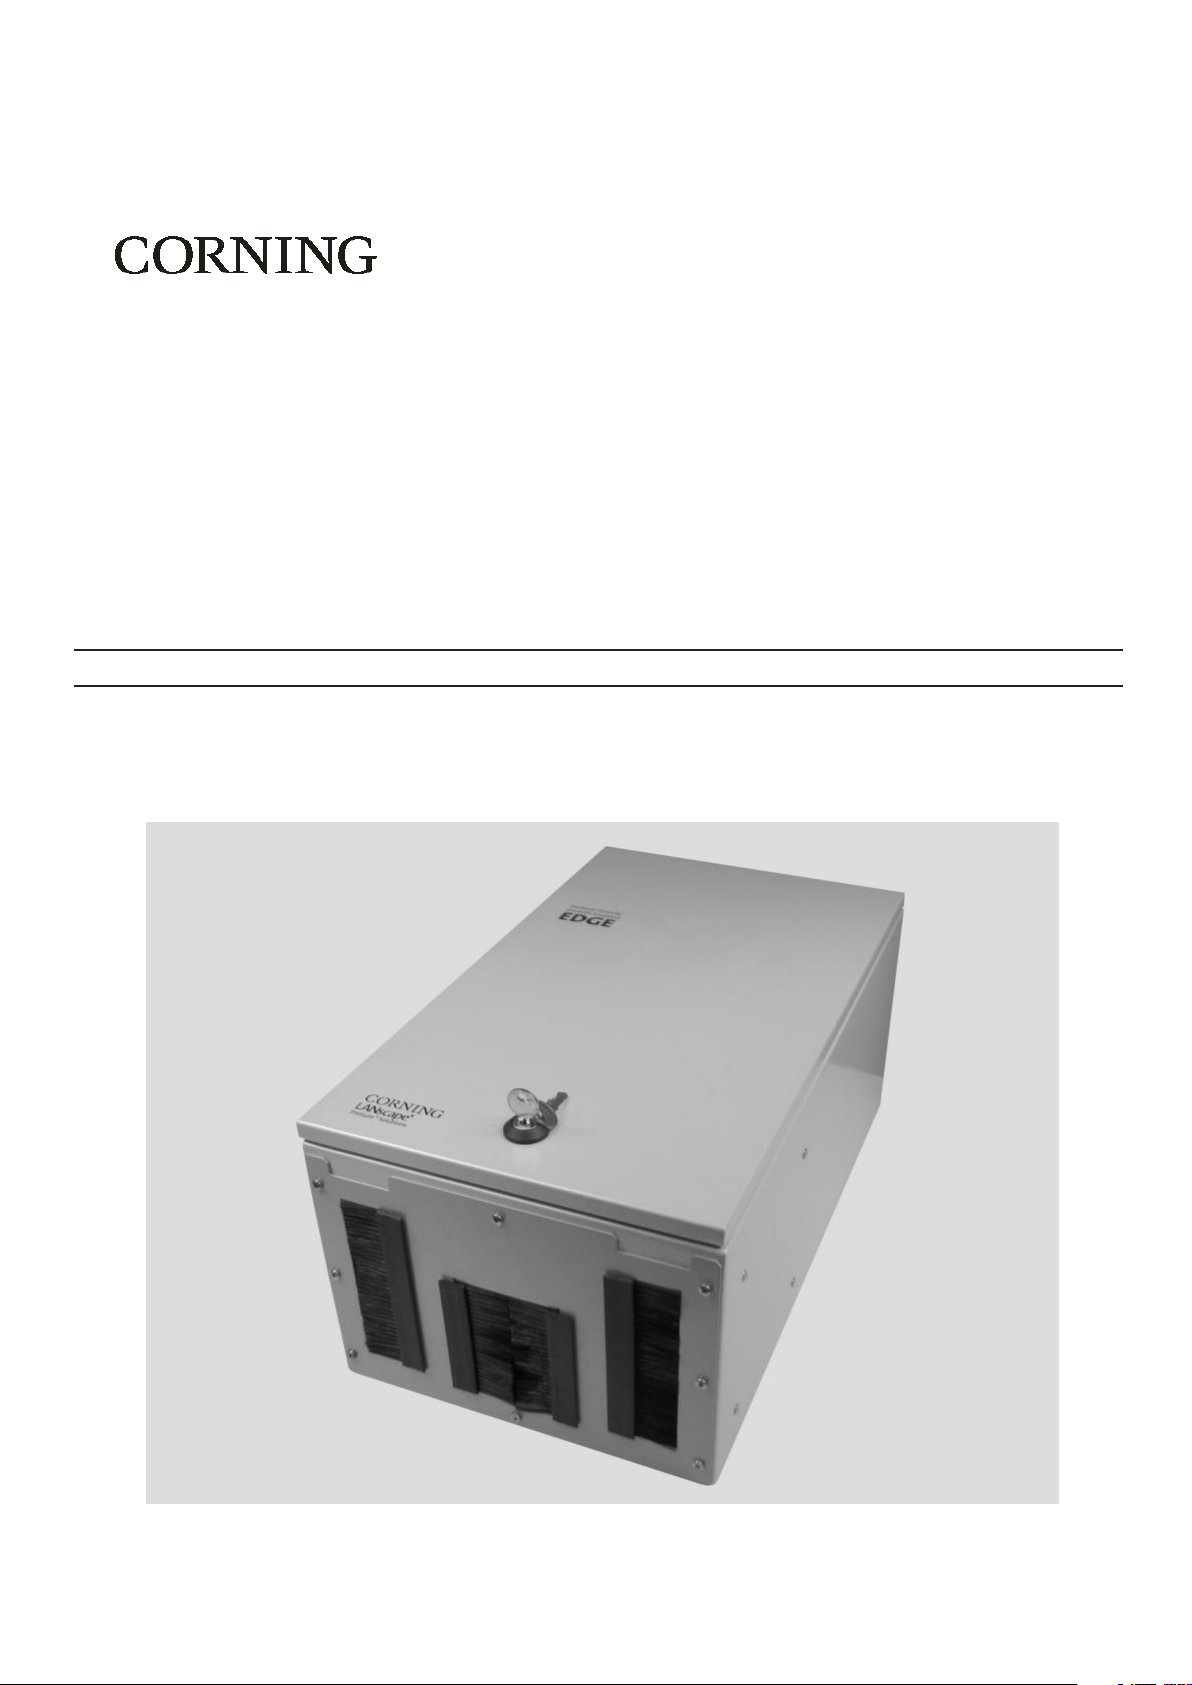
Das EDGE-Bodengehäuse (EDGE: Evolved-Density, Growth-Enabled) ist ein Produkt der EDGE-Systemreihe. Es
wurde für die Montage am Boden (Floorbox) konzipiert. Das Bodengehäuse ist ein Modul für max. 288 Anschlüsse.
EDGE Trunkkabel verschiedener Größen können über die jeweiligen Trunkkopfhalter installiert werden (Größe 1, Grö-
ße 2 und Größe 1 Doppelhalter)
2. Montage des Gehäuses
Das Gehäuse kann mithilfe der mitgelieferten Halterungen in den Zwischenboden eingehängt oder direkt auf
dem Beton unter dem Doppelboden montiert werden.
2.1 Bodenmontage
Verwenden Sie die Befestigungslöcher sowie geeignetes Werkzeug, um das Gehäuse zu montieren.
Befestigungslöcher
EDGE_fb_0002a
1. 1 Packungsinhalt
• Bodengehäuse mit Deckel
•AusziehbarerModulblockmit12Moduleinschüben(vorinstalliert)•2xBodenverankerungen•Klettstreifen•Montageanweisung1. 2 Benötigte Werkzeuge
• Kreuzschlitzschraubendreher
1. 3 Zubehör (gesondert erhältlich)
• Reinigungsgerät für LC-Stecker / Adapter (Artikelbezeichnung: CLEANER-PORT-LC)
• Reinigungskassette für MTP®-Stecker (Artikelbezeichnung: CLEANER-UNIV-CASS)
• Reinigungsgerät für MTP-Adapter

4EDGE Bodentank für Zonenverteilung zur Installation im Zwischenboden
2.2.1 Um die Bodenverankerungen anzubringen, entfernen Sie die im Bild unten gezeigten 5 Schrau
ben. Diese werden im zweiten Schritt Für das Montieren der Bodenerankerung benötigt.
2.2.2 Unter Verwendung der unter Punkt 1) entfernten Schrauben, die Bodenverankerung wie im Bild unten gezeigt
anbringen.
2.2 Zwischenbodenmontage
Entfernen Schrauben
EDGE_fb_0036
EDGE_fb_0037

EDGE Bodentank für Zonenverteilung zur Installation im Zwischenboden 5
2.2.3 Wiederholen Sie die Schritte 1) und 2) für die Unterseite und setzen Sie den Bodentank wie im Bild unten ge
zeigt in den Zwischenboden ein.
EDGE_fb_0038

6EDGE Bodentank für Zonenverteilung zur Installation im Zwischenboden
3. Installation
3.1 Installation des Trunkkabels
3.1.1 Führen Sie das Trunkkabel durch die rechte oder linke Aussparung ins Gehäuse.
3.1.2 Befestigen Sie die Steckverbindung des Multifaserkabels mit des Trunkopfhalter.
EDGE_fb_0042
EDGE_fb_0020
3.2.1 Zur Vereinfachung der Installation heben Sie den Modulblock an an, bis die Arretierung einrastet.
EDGE_fb_0007a
3.2 Installation des EDGE-Module

EDGE Bodentank für Zonenverteilung zur Installation im Zwischenboden 7
3.2.3 Reinigen Sie die MTP-Steckverbindung am Trunkkabel und die MTP-Steckverbindung im Modul
entsprechend den Reinigungsanweisungen in SRP-004-133.
EDGE_fb_0039
3.2.4 Die mitgelieferte Portbeschriftungs- Karte dient zur Bezeichnung der im Bodentank verbundenen Kabel.
3.2.2 Anschließend installieren Sie die Module oder Verteilerfelder im Block.
EDGE_fb_0043 EDGE_fb_0044

8EDGE Bodentank für Zonenverteilung zur Installation im Zwischenboden
EDGE_fb_0035
3.3.3 Für einfachen Zugang können die Module / Verteilerfelder entriegelt und etwas nach vorn gezogen werden.
3.3.1 Führen Sie die Patchkabel durch die mittlere Aussparung. Reinigen Sie die LC-Steckverbindung und die LC-
Adapter im Modul.
3.3.2 Achten Sie bei der Installation der Module/ Verteilerfelder und der Patchkabel darauf, daß ausreichend
Überlänge vorhanden ist und die Patchkabel nicht gespannt werden, um ein Anheben eines bestückten
Modulblockes zu gewährleisten, ohne die Patchkabel zu beeinflussen.
EDGE_fb_0013a
3.3 Installation der Patchkabels

EDGE Bodentank für Zonenverteilung zur Installation im Zwischenboden 9
4.2 Möglichkeit nach hinten
Um das Modul nach hinten zu entfernen, drücken Sie die Hebel der Arretierung zusammen und ziehen das Modul
heraus.
4. Ausbau der EDGE-Module/Verteilerfelder
4.1 Möglichkeit nach vorn
Um das Modul an nach vorn zu entfernen, drücken Sie mit dem Finger auf den Arretierungshebel rechts und ziehen
das Modul nach vorn heraus.
EDGE_fb_0034
EDGE_fb_0022

Corning Cable Systems Polska Sp. z o.o.
© CORNING CABLE SYSTEMS Polska Sp. z o.o. ,
Smolice 1E, 95-010 Strykow, Polen
Tel. +48 (42) 230 11 00 Fax: 48 (42) 230 11 01
Internet: www.corning.com/cablesystems
Gedruckt in der Bundesrepublik Deutschland auf sauerstoffgebleichtem Papier.
Printed in the Federal Republic of Germany on oxygen-bleached paper.
Liefermöglichkeiten und technische Änderungen vorbehalten.
Bestellnummer:
19.07. 2010
Haftungsausschluss
Die Corning Cable Systems Polska Sp. z o.o. haftet nicht für Schäden, die durch den nicht bestimmungsgemäßen
Gebrauch des Produktes entstehen.
Im Einzelnen ergibt sich der Haftungsumfang aus den Allgemeinen Verkaufsbedingungen der Corning Cable Systems
Polska Sp. z o.o.
Dieses Produkt entspricht dem heutigen Stand der Technik!
Entsorgungshinweis
Die örtliche und aktuell gültige Gesetzgebung ist bei der
Entsorgung der Produkte und deren Verpackung unbedingt zu beachten!
S46998-L5505-P421

Installation Instruction
Issue 2, October 2010
EDGE Floorbox for raised floor installation
(EDGE-CZB)
These instructions are provided as a guideline for the trained craftsperson.
EDGE_fb_0001

12 EDGE Floorbox for installation in raised floor
Content
1. General
1.1 Carton contents
1.2 Tools required
1.3 Accessories (available separately)
2. Box installation
2.1 Floor installation
2.2 Raised floor installation
3. Installation
3.1 Trunk cable installation
3.2 EDGE modules installation
3.3 Patch cables installation
4. EDGE modules removal
Warning!
Possible laser/LED radiation in the non-visible spectrum!
Never look into open fiber ends if the level of risk from laser/LED radiation is not known.
Important
The assignment of the risk level must be specified definitively by the site technician/operator responsible for the
communications facility and must be indicated accordingly (e.g. by attaching standard-compliant warning signs as per
the current edition of DIN EN/IEC 60825-1, and in accordance with the current edition of BGV B2 “Laser radiation”).
If there is any change in the technical data relating to the risk level, the warnings must be adapted accordingly and
occupational safety precautions must be taken if required, see also e.g. the current edition of DIN EN/IEC 60825-2.

EDGE Floorbox for installation in raised floor 13
1. General
The EDGE floor housing (EDGE: Evolved-Density, Growth-Enabled) is an EDGE system series product. It is designed
for installation on the floor (floor box). The floor box is a module for max 288 connections. EDGE trunk cables of va-
rious sizes can be installed via the respective trunk cable divider holders (size 1, size 2 and size 1 double holder).
2. Box installation
The box can be hung in the raised floor using the brackets included with delivery, or mounted directly on the concrete
under the raised floor.
2.1 Floor installation
Use the fixing holes and suitable tools to mount the box.
Mounting holes
EDGE_fb_0002a
1. 1 Carton content
•Floorboxwithcover•Pull-outmoduleblockwith12plug-inmodules(pre-installed)•2xooranchors•Hook-and-loopstraps•Installationinstructions1. 2 Tools required
•Phillips-headscrewdriver1. 3 Accessories (available separately)
•LCConnector/AdapterCleaningTool(p/nCLEANER-PORT-LC)•MTP®ConnectorCleaningCassette(p/nCLEANER-UNIV-CASS)•MTPAdapterCleaningTool

14 EDGE Floorbox for installation in raised floor
2.2.1 To attach the floor anchors remove the 5 bolts shown in the picture below. These will be needed in the second
step for attaching the floor anchors.
2.2.2 Using the bolts removed under item 1) attach the floor anchors as shown in the picture below.
2.2 Raised floor installation
Screws to remove
EDGE_fb_0036
EDGE_fb_0037

EDGE Floorbox for installation in raised floor 15
2.2.3 Repeat steps 1) and 2) for the underside and insert the floor tank as shown in the picture below into the raised
floor.
EDGE_fb_0038

16 EDGE Floorbox for installation in raised floor
3. Installation
3.1 Trunk cable installation
3.1.1 Bring the trunk cable through the right or left cutout into the box.
3.1.2 Fix the multi-fiber cable’s connector with the trunk cable divider holder.
EDGE_fb_0042
EDGE_fb_0020 EDGE_fb_0007a
3.2 EDGE module installation
3.2.1 To make installation easier raise the module block up until the catch locks home.

EDGE Floorbox for installation in raised floor 17
3.2.3 Clean the MTP connector on the trunk cable and the MTP connector in the module in acc. with the cleaning
instructions in SRP-004-133.
3.2.4 The port labeling card included with delivery is used to identify the cables connected in the floor tank.
EDGE_fb_0039
3.2.2 Then install the modules or patch panels in the block.
EDGE_fb_0043 EDGE_fb_0044

18 EDGE Floorbox for installation in raised floor
EDGE_fb_0035
3.3.3 For easy access the modules/patch panels can be unlocked and pulled forward somewhat.
EDGE_fb_0013a
3.3 Patch cable installation
3.3.1 Bring the patch cables through the center cutout. Clean the LC connector and the LC adapter in the module.
3.3.2 When installing the modules/patch panels and the patch cables, ensure that there is enough overlength and
the patch cables are not strained to ensure a fitted module block is not lifted up, and not influencing the patch
cables.

EDGE Floorbox for installation in raised floor 19
4.2 To the rear
To remove the module to the rear, press on the catch clips together and pull the module out.
4. EDGE module/distributor panel removal
4.1 To the front
To remove the module to the front, press your finger on the catch clip on the right and pull the module out to the front.
EDGE_fb_0034
EDGE_fb_0022

Corning Cable Systems Polska Sp. z o.o.
© Corning Cable Systems Polska Sp. z o.o.
Smolice 1E, 95-010 Strykow
+ 48-42-230-11-00 Fax: + 48-42-230-11-01
Internet: www.corning.com/cablesystems
Printed in the Federal Republic of Germany on oxygen-bleached paper.
Subject to availability. Right of modification reserved.
Order No.: S46998-L5505-P421
Date: 27.10.2010
Disposal Note
Disposal of the products and their packaging must be carried out in strict compliance with the local laws currently in
force.
Disclaimer
Corning Cable Systems Polska Sp. z o.o. accepts no liability for any damage arising from improper use of the product.
The extent of any liability in specific instances shall be limited to the General Terms and Conditions of Sale from Cor-
ning Cable Systems Polska Sp. z o.o..
This product is state of the art.
Table of contents
Languages:
Other CORNING Enclosure manuals