manuals.online logo
Brands
  1. Home
  2. •
  3. Brands
  4. •
  5. Cosori
  6. •
  7. Fryer
  8. •
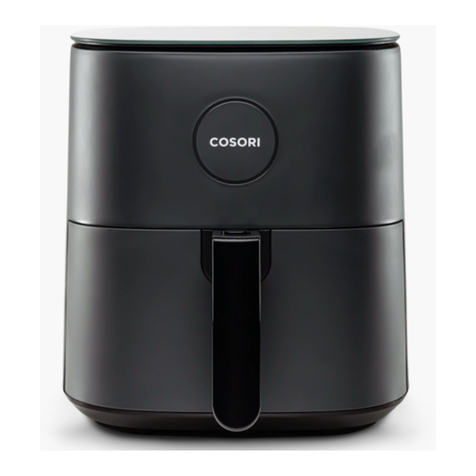
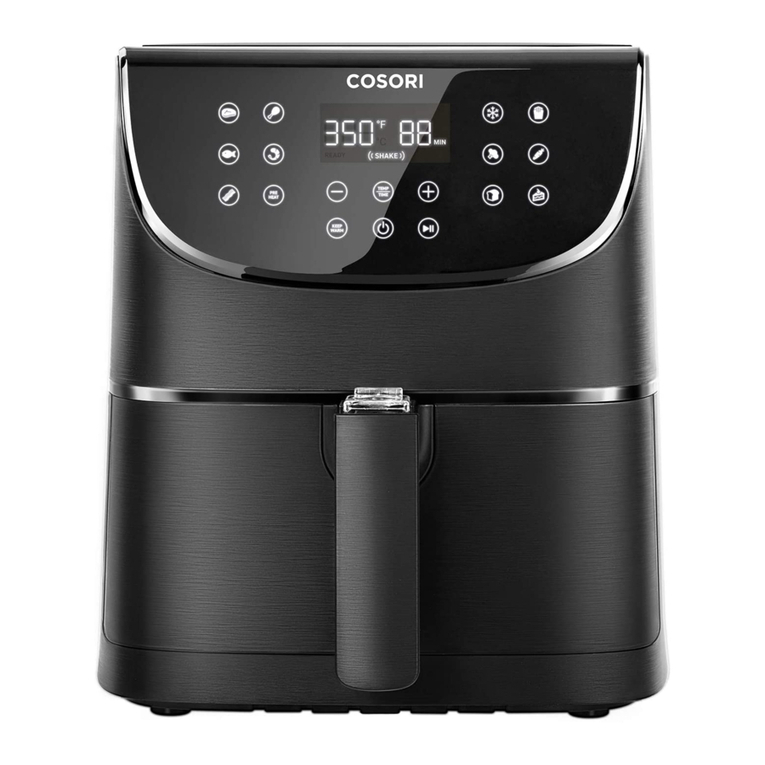
  9. Cosori Pro LE CAF-L501-KEU User manual

Cosori Pro LE CAF-L501-KEU User manual

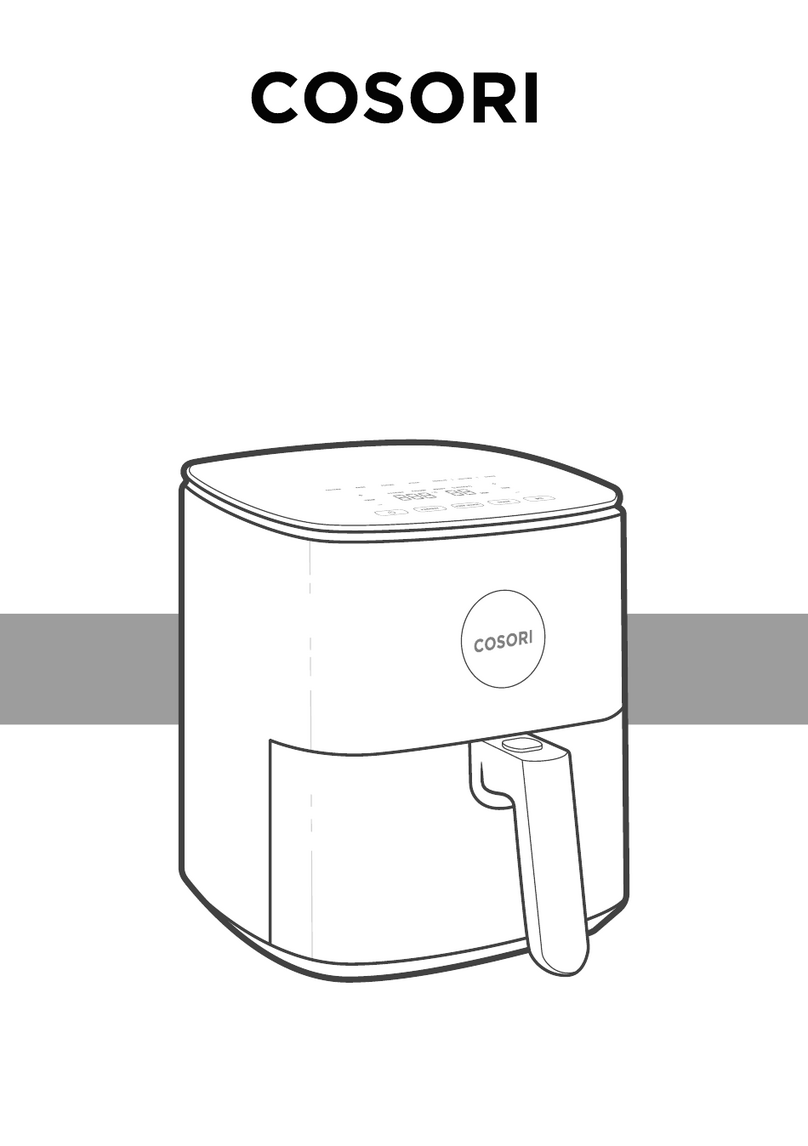
Pro LE 4.7-Litre Air Fryer
Pro LE Series
Model: CAF-L501-KEU
User Manual
Questions or Concerns?
[email protected]
2
Table of Contents
2
2
3
5
5
6
7
8
12
12
13
14
14
Package Contents
Specifications
Important Safeguards
Getting to Know Your Air Fryer
Air Fryer Diagram
Display Messages
Before First Use
Using Your Air Fryer
Accessories
Care & Maintenance
Troubleshooting
Warranty Information
Customer Support
Package Contents
Specifications
Power Supply AC 220-240V, 50/60Hz
Rated Power 1500W
Capacity 4.67 L / 5.0 qt
(serves 3–5 people)
Temperature
Range 75°–230°C
Time Range 1–60 min
Dimensions 27.2 x 27.5 x 30.3 cm /
10.7 x 10.8 x 11.9 in
Weight 4.54 kg / 10 lb
Standby
power 0.5W
1 x Pro LE 4.7-Litre Air Fryer
1 x Recipe Book
1 x User Manual
3
IMPORTANT SAFEGUARDS
Follow basic safety precautions when using your air fryer.
Read all instructions.
Key Safety Points
General Safety
• Do not touch hot surfaces. Use
handle.
• Use caution when turning the basket
over after cooking, as the hot crisper
plate may fall out and create a safety
hazard.
• Do not block any ventilation
openings. Hot steam is released
through openings. Keep your hands
and face clear of openings.
READ AND SAVE THESE INSTRUCTIONS
• Do not immerse the air fryer
housing, cord, or plug in water or
liquid.
• Closely supervise children near your
air fryer.
• Unplug when not in use, and before
cleaning. Allow to cool before putting
on or taking o parts.
• Do not use your air fryer if it is
damaged, not working, or if the
cord or plug is damaged. Contact
Customer Support (see page 14).
• Do not use third-party replacement
parts or accessories, as this may
cause injuries.
• Do not use outdoors.
• Do not place the air fryer or any of its
parts on a stove, near gas or electric
burners, or in a heated oven.
• Be extremely cautious when moving
your air fryer (or removing the
basket) if it contains hot oil or other
hot liquids.
• Do not clean with metal scouring
pads. Metal fragments can break o
the pad and touch electrical parts,
creating a risk of electric shock.
• Do not place anything on top of
your air fryer. Do not store anything
inside your air fryer.
• Do not strike or hit the top of the air
fryer with hard objects, as this may
cause the tempered glass to crack.
Tempered glass is stronger and
fractures more safely than ordinary
glass, but it may shatter unexpectedly
after being cracked. If you see a
crack, contact Customer Support
(see page 14).
• Only use your air fryer as directed in
this manual.
• Not for commercial use. Household
use only.
4
Electromagnetic Fields (EMF)
While Air Frying Plug and Cord
The Cosori Air Fryer complies with all
standards regarding electromagnetic
fields (EMF). If handled properly and
according to the instructions in this
user manual, the appliance is safe
to use based on scientific evidence
available today.
• An air fryer works with hot air only.
Never fill the baskets with oil or fat.
• Never use your air fryer without the
basket in place.
• Do not place oversized foods or
metal utensils into your air fryer.
• Do not overfill the air fryer basket.
Heaping amounts of food may touch
the heating coils and cause a fire
hazard.
• Do not touch accessories during or
immediately after air frying.
• Do not place paper, cardboard,
non-heat-resistant plastic, or similar
materials, into your air fryer. You may
use parchment paper or foil.
• Never put baking or parchment
paper into the air fryer without food
on top. Air circulation can cause
paper to lift and touch heating coils.
• Always use heat-safe containers.
Be extremely cautious if using
containers that aren’t metal or glass.
• Keep your air fryer away from
flammable materials (curtains,
tablecloths, etc). Use on a flat, stable,
heat-resistant surface away from
heat sources or liquids.
• Immediately turn o and unplug
your air fryer if you see dark smoke
coming out. White smoke is normal,
caused by heating fat or food
splashing, but dark smoke means
that food is burning or there is a
circuit problem. Wait for smoke to
clear before pulling the basket out.
If the cause was not burnt food,
contact Customer Support (page 14).
• Do not leave your air fryer
unattended while in use.
• Do not let the power cord (or any
extension cord) hang over the edge
of a table or counter, or touch hot
surfaces.
• Remove and discard the protective
cover fitted over the power plug
of the air fryer to prevent choking
hazards.
• Never use an outlet below the
counter when plugging in your air
fryer.
• A short power-supply cord is
provided to reduce the risk resulting
from becoming entangled in or
tripping over a longer cord.
• Longer extension cords are available
and may be used if care is exercised
in their use.
• If a longer extension cord is used:
• The marked electrical rating of
the cord should be at least as
great as the electrical rating of the
air fryer.
• The cord should be arranged
so that it will not drape over the
countertop or tabletop where it
can be pulled on by children or
tripped over unintentionally.
5
GETTING TO KNOW YOUR AIR FRYER
Air Fryer Diagram
Your Cosori Air Fryer uses rapid 360° air circulation technology to cook with little to no oil for
quick, crispy, delicious food with up to 85% fewer calories than deep fryers. With user-friendly,
one-touch controls, a nonstick basket, and an intuitive, safe design, the Cosori Air Fryer is the star
of your kitchen.
A. Air Inlet
B. Control Screen
C. Crisper Plate
D. Basket
E. Basket Handle
F. Basket Release Button
G. Housing Handles
H. Air Outlet
I. Air Outlet Spacer
J. Power Cord
FRONT
B
F
C
G
E
J
H
I
BACK
D
A
Note:
•Do not try to open the top of the air fryer. This is not a lid.
•The basket and crisper plate are made of aluminium metal with nonstick coating.
They are PFOA -free and BPA free.
6
Note: When you press a button to use a function or program, it will turn white to show that it’s active.
Note: This turns the Shake Reminder on/o.
On/O Keep Warm
Increase/
decrease
temperature
Increase/
decrease
time
Start/Pause
Display Diagram
Control Panel
Chicken Frozen Foods
Preheat Shake
Seafood Bacon
French Fries Steak Vegetables
Temperature
display Time display
Reminder to shake or flip food Air fryer is preheated and ready to
start cooking
Air fryer is cooking
Cooking is paused Cooking program has ended
Display Messages
7
BEFORE FIRST USE
1. Remove all packaging from the air fryer,
including any temporary stickers.
2. Place the air fryer on a stable, level, heat-
resistant surface. Keep away from areas
that can be damaged by steam (such as
walls or cupboards). 1. Make sure the air fryer basket is empty
and plug in the air fryer.
2. Press Preheat. The display will show
“205°C” and “4 MIN”.
3. Press to begin preheating. When
preheating is done, the air fryer will beep.
4. Pull out the basket and let it cool for 4
minutes. Then place the basket back into
the air fryer.
5. Press to select the Steak function.
The display will show “205°C” and “6
MIN”.
6. Press Time once. The time will change
to 5 minutes.
7. Press to begin. When finished, the
air fryer will beep.
8. Remove the basket. This time, let the
basket cool completely for 10–30
minutes.
Setting Up Test Run
Note: Leave 13 cm / 5 inch of space behind and
above the air fryer. [
Figure 1.1
] Leave enough room
in front of the air fryer to remove the basket.
3. Hold down the basket release button,
and pull the handle to remove the basket.
Remove all plastic from the basket.
4. Wash both the basket and crisper plate
thoroughly, using either a dishwasher or
a non-abrasive sponge.
5. Wipe the inside and outside of the air
fryer with a slightly moist cloth. Dry with
a towel.
6. Insert the crisper plate back into the
basket, and place the basket inside the
air fryer.
Note:
•Use caution when turning the basket over after
cooking, as the hot crisper plate may fall out
and create a safety hazard.
•Do not unscrew the basket handle from the
basket.
•To order accessories, please contact Customer
Support (see page 14).
A test run will help you become familiar
with your air fryer, make sure it’s working
correctly, and clean it of possible residues in
the process.
Figure 1.1
13 cm/
5 inch
13 cm/
5 inch
8
USING YOUR AIR FRYER
1. Plug in. Press to turn on the air fryer
display.
2. Press Preheat. The display will show
“205°C” and “4 MIN”.
3. Optionally, press the +or –buttons to
change the temperature. The time will
adjust automatically.
4. Press to begin preheating.
5. When preheating is done, the air fryer
will beep 3 times. The display will show
the set preheat temperature. [
Figure 2.1
]
Preheating
Figure 1.2
Figure 1.3
Figure 2.1
• The crisper plate contains 4 rubber
stoppers made of safe, FDA-approved
material. These stoppers keep the crisper
plate fitted to the bottom of the basket,
prevent the crisper plate from directly
touching the basket, and in rare cases,
damaging the nonstick coating on the
basket.
• Only remove the rubber stoppers for
cleaning purposes. For easy removal, start
from the bottom of the crisper plate and
pull out one side of the stopper at a time.
[
Figure 1.2
]
• To place the rubber stoppers back onto
the crisper plate, first soak them in water.
[
Figure 1.3
] Then, push each stopper back
in through the bottom of the crisper plate.
Push in one side of the stopper at a time.
Rubber Stoppers
We recommend preheating before placing
food inside the air fryer, unless your air fryer
is already hot. Food will not cook thoroughly
without preheating.
Temperature Time
205°–230°C 4 minutes
145°–200°C 3 minutes
75°–140°C 2 minutes
Note: If no buttons are pressed for 3 minutes, the
air fryer will clear all settings and go into standby.
9
Air Frying
Figure 2.1
Using a cooking function is the easiest
way to air fry. Cooking functions are
programmed with an ideal time and
temperature for cooking certain foods.
Note:
• Do not place anything on top of your air fryer.
This may interfere with your cooking program
or cause cracks in the glass on the display.
[
Figure 2.1
]
• An air fryer is not a deep fryer. Do not fill the
basket with oil, frying fat, or any liquid.
• When taking the basket out of the air fryer, be
careful of hot steam.
Cooking Functions
* See Shaking Food (page 10).
** See Cooking Guide (page 11) for more tips on air frying French fries.
1. Press the function’s button to select the
function. The air fryer will automatically
change to the function’s default settings.
2. You can change a function’s time (1–60
minutes), temperature (75°–230°C), and
Shake Reminder.
3. Press and hold the +or –button to
rapidly increase or decrease the time or
temperature.
4. Add or remove a Shake Reminder by
pressing SHAKE.
5. To go back to a function’s default
settings, press the function’s button
again.
Function Symbol Default Temperature Default Time
(minutes) Shake Reminder?*
Chicken 195°C 25 minutes -
French Fries** 195°C 25 minutes ((SHAKE))
Frozen Foods 175°C 10 minutes -
Steak 205°C 6 minutes -
Seafood 175°C 8 minutes ((SHAKE))
Vegetables 150°C 10 minutes ((SHAKE))
Bacon 160°C 8 minutes -
Preheat 205°C 4 minutes -
Keep Warm 75°C 4 minutes -
Note: Results may vary. Check out our Recipe Book
for a guide to using cooking functions for perfect
results.
10
Note: See Shaking Food (page 10)
Air Frying
1. Preheat your air fryer (see page 8).
2. When your air fryer displays , add
food to the basket.
• Optionally, add the crisper plate into
the basket to allow excess oil to drip
down to the bottom of the basket.
3. Select a cooking function (see page 9).
Note: Cooking functions are programmed
with an ideal time and temperature for cooking
certain foods. You can also set a custom time and
temperature without choosing a cooking function.
4. Optionally, change the temperature and
time, and add a Shake Reminder. You
can do this anytime during cooking.
a. Press the +or –buttons to change
the temperature or time (75°–230°C)
or time (1–60 minutes).
5. Press to begin air frying.
Note:
• To rapidly increase or decrease time or
temperature, press and hold the +or –
buttons.
• Press SHAKE to add or remove a Shake
Reminder during cooking.
6. When the Shake Reminder is turned on,
it will appear halfway through cooking
time. The air fryer will beep 5 times, and
(Shake) will blink on the display.
a. Press the basket release button to take
the basket out of the air fryer, being
careful of hot steam. The air fryer will
pause cooking automatically, and the
display will turn o until the basket is
replaced.
b. Shake or flip the food.
c. Put the basket back into the air fryer.
7. The air fryer will beep 3 times when
finished. The display will show:
8. Optionally, press Keep Warm. Press the
+or –buttons to change the time (1–60
minutes).
9. Press the basket release button to take
the basket out of the air fryer, being
careful of hot steam.
10. Allow to cool before cleaning.
Shaking Food
• During cooking, press and hold the basket
release button to take the basket out of the
air fryer, and shake, mix, or flip the food.
A. To shake food:
1. Hold the basket just above a
heat-resistant surface for safety
purposes.
2. Shake the basket.
How to Shake
Note: Do not use this method if there is a
risk of hot liquids splashing.
B. If the basket is too heavy to shake and
there are hot liquids present:
1. Place the basket on a heat-resistant
holder or surface.
2. Use tongs to mix or flip the food.
• When you take the basket out, the air
fryer will pause cooking automatically. As
a safety feature, the display will turn o
until the basket is replaced.
• When you replace the basket, cooking will
automatically resume.
• Avoid shaking longer than 30 seconds, as
the air fryer may start to cool down.
11
• Small foods that are stacked will usually
need shaking, such as fries or nuggets.
• Without shaking, foods may not be crispy
or evenly cooked.
• You can flip other foods, such as steak, to
ensure even browning.
• Shake or flip food once halfway through
cooking, or more if desired.
• The Shake Reminder is designed to
remind you to check on your food. Tap
SHAKE to turn on the Shake Reminder.
Certain cooking functions use the Shake
Reminder automatically (see Cooking
Functions, page 9).
• The Shake Reminder will alert you with
5 beeps, and (Shake) will blink on the
display.
• If you do not remove the basket, the
Shake Reminder will beep again after 1
minute and the display will show a solid
(Shake).
• The Shake Reminder will go away once
you take out the basket.
What to Shake
When to Shake
Shake Reminder
Cooking Guide
• If the basket is overfilled, food will cook
unevenly.
• Adding a small amount of oil to your food
will make it crispier. Use no more than
30 mL / 2 US tbsp of oil.
• Oil sprays are excellent for applying small
amounts of oil evenly to all food items.
• You can air fry any frozen foods or goods
that can be baked in an oven.
• To make cakes, hand pies, or any food
with filling or batter, place food in a
heat-safe container before placing in the
basket.
Overfilling
Using Oil
Food Tips
• Add 8–15 mL / ½–1 US tbsp oil for
crispiness.
• When making fries from raw potatoes,
soak uncooked fries in water for 15
minutes to remove starch prior to frying.
Pat dry with a towel before adding oil.
• Cut uncooked fries smaller for crispier
results. Try cutting fries into
0.6- by 7.6-cm / ¼- by 3-inch strips.
French Fries
Note: For more from the Cosori Kitchen, check out
our Recipe Book and Tips from the Chef.
• Air frying high-fat foods will cause fat to
drip to the bottom of the baskets. To avoid
excess smoke while cooking, pour out fat
drippings after cooking.
• Liquid-marinated foods create splatter
and excess smoke. Pat these foods dry
before air frying.
12
ACCESSORIES
You can purchase accessories for your air fryer
from Amazon by searching for “C158-6AC” or by
scanning the QR code.
If you have any questions, please contact
Customer Support (see page 14).
CARE & MAINTENANCE
Note:
• Always clean the air fryer basket and crisper
plate after every use.
• Lining the basket with foil (except the crisper
plate) may make cleanup easier.
1. Turn o and unplug the air fryer. Allow it
to cool completely before cleaning. Pull
out the basket for faster cooling.
2. Wipe the outside of the air fryer with a
moist cloth, if necessary.
3. The basket and crisper plate are
dishwasher safe. You can also wash the
basket and crisper plate with hot, soapy
water and a non-abrasive sponge. Soak
if necessary.
Note: The basket and crisper plate have a nonstick
coating. Avoid using metal utensils and abrasive
cleaning materials.
Note: Make sure the heating coil is completely dry
before turning on the air fryer.
4. For stubborn grease:
a. In a small bowl, mix 30 mL /
2 US tbsp of baking soda and
15 mL / 1 US tbsp of water to form a
spreadable paste.
b. Use a sponge to spread the paste
on the basket and crisper plate and
scrub. Let the basket and crisper
plate sit for 15 minutes before
rinsing.
c. Wash basket with soap and water
before using.
5. Clean the inside of the air fryer with a
slightly moist, non-abrasive sponge or
cloth. Do not immerse in water.
[
Figure 3.1
] If needed, clean the heating
coil to remove food debris.
6. Dry before using.
Figure 3.1
13
Problem Possible Solution
The air fryer will not turn
on.
Make sure the air fryer is plugged in.
Push the basket securely into the air fryer.
Foods are not completely
cooked.
Place smaller batches of ingredients into the inner basket. If the basket is
overstued, then ingredients will be undercooked.
Increase cooking temperature or time.
Foods are cooked unevenly. Foods that are stacked on top of each other or close to each other need to
be shaken or flipped during cooking (see Shaking Food, page 10).
Foods are not crispy after air
frying.
Spraying or brushing a small amount of oil on foods can increase
crispiness (see Cooking Guide, page 11).
French fries are not fried
correctly. See French Fries, page 14.
Basket will not slide into the
air fryer securely. Make sure the basket is not overfilled with food.
White smoke or steam is
coming out of the air fryer.
The air fryer may produce some white smoke or steam when you use it for
the first time or during cooking. This is normal.
Make sure the basket and the inside of the air fryer are cleaned properly
and not greasy.
Cooking greasy foods will cause oil to collect beneath the crisper plate.
This oil will produce white smoke, and the basket may be hotter than
usual. This is normal, and should not aect cooking. Handle the basket
with care.
Dark smoke is coming out of
the air fryer.
Immediately unplug your air fryer. Dark smoke means that food is burning
or there is a circuit problem. Wait for smoke to clear before pulling the
basket out. If the cause was not burnt food, contact Customer Support
(page 14).
The air fryer has a plastic
smell.
Any air fryer may have a plastic smell from the manufacturing process.
This is normal. Follow the instructions for a Test Run (page 7) to get rid of
the plastic smell. If a plastic smell is still present, please contact Customer
Support (see page 14).
Display shows Error Code
“E1”.
There is an open circuit in the temperature monitor. Contact Customer
Support (see page 14).
Display shows Error Code
“E2”.
There is a short circuit in the temperature monitor. Contact Customer
Support (see page 14).
Display shows Error Code
“E3”.
Turn o and unplug the air fryer and allow it to cool completely. If the
display continues to show “E3”, contact Customer Support (see page 14).
TROUBLESHOOTING
If your problem is not listed, please contact Customer Support (see page 14).
Product Name Pro LE 4.7-Litre Air
Fryer
Model CAF-L501-KEU
For your own reference, we strongly
recommend that you record your order ID and
date of purchase.
Order ID
Date of Purchase
WARRANTY INFORMATION
TERMS & POLICY
Arovast Corporation warrants all products to be
of the highest quality in material, craftsmanship,
and service for 2 years, eective from the date
of purchase to the end of the warranty period.
Warranty lengths may vary between product
categories.
If you have any questions or concerns about your
new product, please contact our helpful Customer
Support Team.
*Please have your order invoice and order ID ready before contacting Customer Support.
Arovast Corporation
1202 N. Miller St., Suite A
Anaheim, CA 92806
USA
Email: [email protected]
CUSTOMER SUPPORT
Questions or Concerns?
[email protected]
SR041421AL-M1_0421CAF-L501-KEU_uk

This manual suits for next models

1

Other Cosori Fryer manuals

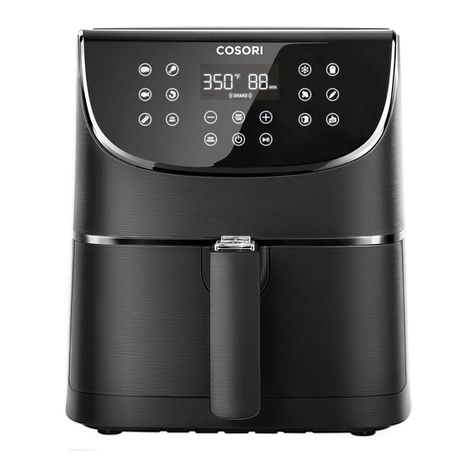
Cosori Pro LE CAF-L501-KJP User manual

Cosori

Cosori Pro LE CAF-L501-KJP User manual

Cosori Pro Gen 2 CS168-AF User manual

Cosori

Cosori Pro Gen 2 CS168-AF User manual

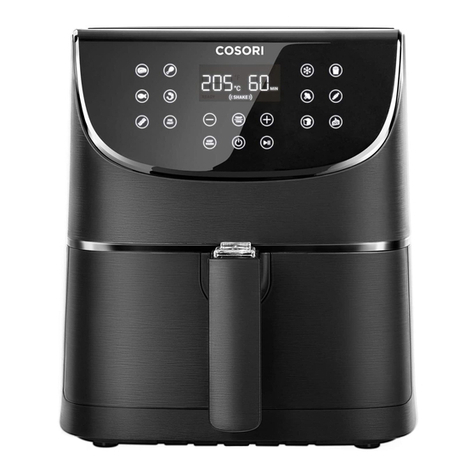
Cosori CP168-AF User manual

Cosori

Cosori CP168-AF User manual

Cosori Dual Blaze CAF-P583S-KUS User manual

Cosori

Cosori Dual Blaze CAF-P583S-KUS User manual

Cosori CAF-LI211 User manual

Cosori

Cosori CAF-LI211 User manual

Cosori CO158-AF User manual

Cosori

Cosori CO158-AF User manual

Cosori Premium CP358-AF User manual

Cosori

Cosori Premium CP358-AF User manual

Cosori CS358-AF User manual

Cosori

Cosori CS358-AF User manual

Cosori Premium CP158-AF User manual

Cosori

Cosori Premium CP158-AF User manual

Cosori CAF-R901-AEU User manual

Cosori

Cosori CAF-R901-AEU User manual

Cosori Pro LE CAF-L501-KIN User manual

Cosori

Cosori Pro LE CAF-L501-KIN User manual

Cosori AF701-CS User manual

Cosori

Cosori AF701-CS User manual

Cosori Dual Blaze CAF-P583S User manual

Cosori

Cosori Dual Blaze CAF-P583S User manual

Cosori Helio 4-Quart User manual

Cosori

Cosori Helio 4-Quart User manual

Cosori Premium II Plus User manual

Cosori

Cosori Premium II Plus User manual

Cosori CCO-R252-SUS User manual

Cosori

Cosori CCO-R252-SUS User manual

Cosori Cosori Pro LE Series User manual

Cosori

Cosori Cosori Pro LE Series User manual

Cosori AF701-CS User manual

Cosori

Cosori AF701-CS User manual

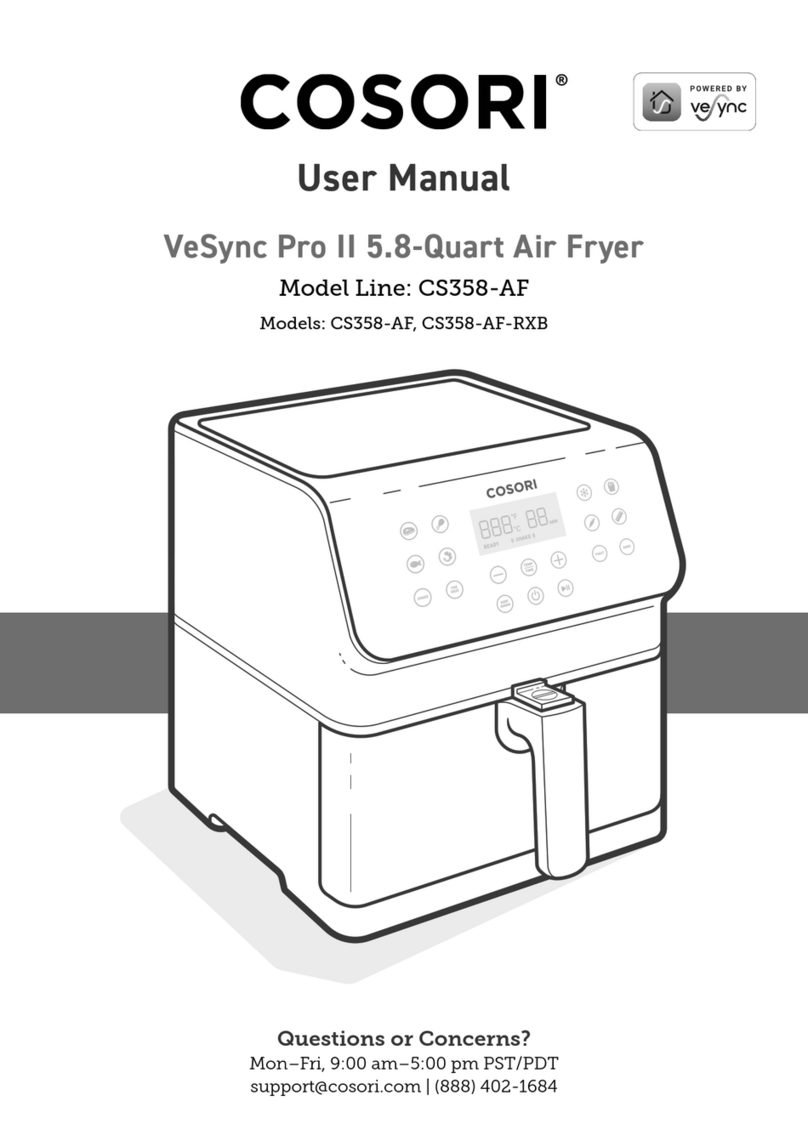
Cosori VeSync Pro II User manual

Cosori

Cosori VeSync Pro II User manual

Cosori CP137-AF User manual

Cosori

Cosori CP137-AF User manual

Cosori Cosori Pro LE Series User manual

Cosori

Cosori Cosori Pro LE Series User manual

Cosori CAF-P652-KEU User manual

Cosori

Cosori CAF-P652-KEU User manual

Cosori CS158-AF User manual

Cosori

Cosori CS158-AF User manual

Cosori Dual Blaze CAF-P583S-KUS User manual

Cosori

Cosori Dual Blaze CAF-P583S-KUS User manual

Popular Fryer manuals by other brands

Olis 72/02FRG Installation and operation manual

Olis

Olis 72/02FRG Installation and operation manual

Gourmia GAF-678 user manual

Gourmia

Gourmia GAF-678 user manual

Diamond E9/F42A8 operating instructions

Diamond

Diamond E9/F42A8 operating instructions

Eden ED-7012 instruction manual

Eden

Eden ED-7012 instruction manual

Salente Ario instruction manual

Salente

Salente Ario instruction manual

Mistral MZDF155 instruction manual

Mistral

Mistral MZDF155 instruction manual

Roller Grill RFG 12 Instruction manual and installation instructions

Roller Grill

Roller Grill RFG 12 Instruction manual and installation instructions

Kuchef KA0151 instruction manual

Kuchef

Kuchef KA0151 instruction manual

kobi AFM35LBLK instruction manual

kobi

kobi AFM35LBLK instruction manual

Fritel TURBO SF instruction manual

Fritel

Fritel TURBO SF instruction manual

Bestron ADF2000 instruction manual

Bestron

Bestron ADF2000 instruction manual

Magnani MI-HA-AF7-B user manual

Magnani

Magnani MI-HA-AF7-B user manual

Sage The Smart Oven Air Fryer Recipes

Sage

Sage The Smart Oven Air Fryer Recipes

cecotec CECOFRY DELUXE RAPID SUN instruction manual

cecotec

cecotec CECOFRY DELUXE RAPID SUN instruction manual

Fabuletta FAF001 user manual

Fabuletta

Fabuletta FAF001 user manual

Sinbo SDF 3826 instruction manual

Sinbo

Sinbo SDF 3826 instruction manual

DeLonghi D14427 DZ Instructions for use

DeLonghi

DeLonghi D14427 DZ Instructions for use

Holstein Housewares HH-09191001B manual

Holstein Housewares

Holstein Housewares HH-09191001B manual

manuals.online logo
manuals.online logoBrands
  • About & Mission
  • Contact us
  • Privacy Policy
  • Terms and Conditions

Copyright 2025 Manuals.Online. All Rights Reserved.