manuals.online logo
Brands
  1. Home
  2. •
  3. Brands
  4. •
  5. Costway
  6. •
  7. Indoor Furnishing
  8. •
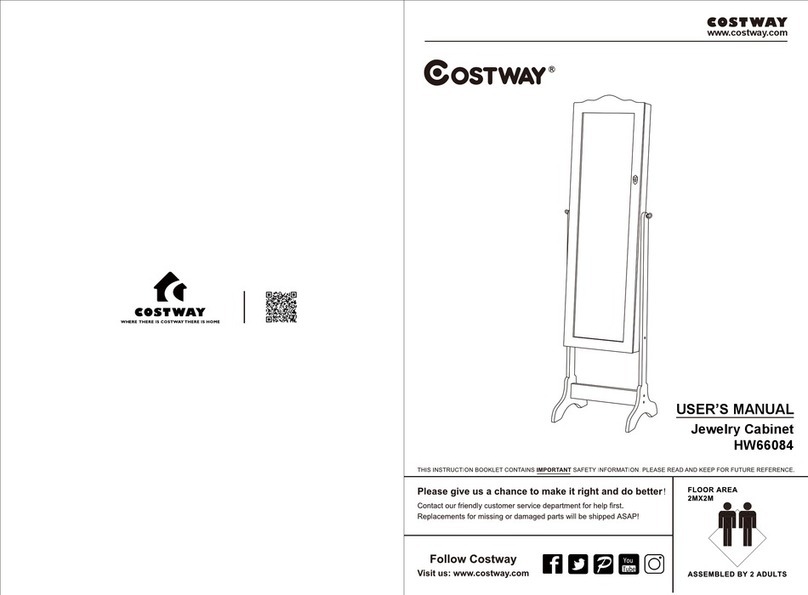
  9. Costway JV10081 User manual

Costway JV10081 User manual

Other Costway Indoor Furnishing manuals
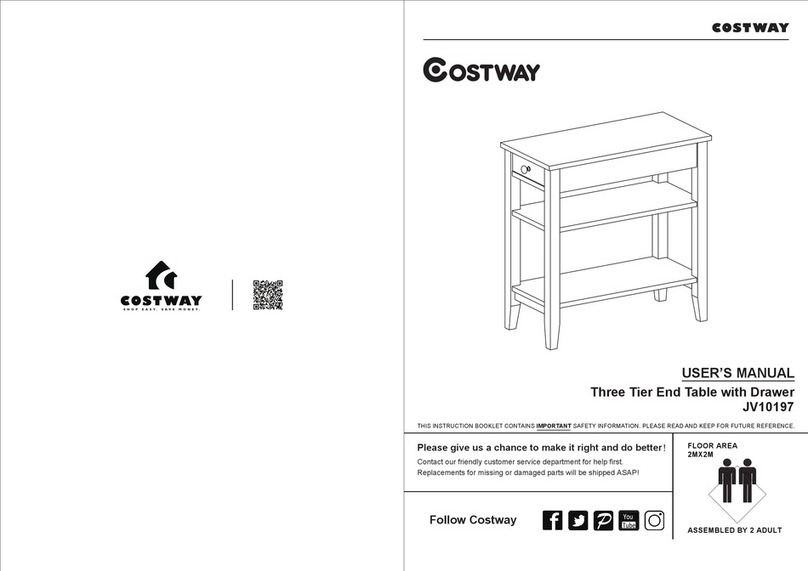
Costway HW60186 User manual

Costway

Costway HW60186 User manual

Costway HZ10012 User manual

Costway

Costway HZ10012 User manual

Costway HW65850 User manual

Costway

Costway HW65850 User manual

Costway HY10040 User manual

Costway

Costway HY10040 User manual

Costway JV10939 User manual

Costway

Costway JV10939 User manual

Costway HW63252 User manual

Costway

Costway HW63252 User manual

Costway W50432859 User manual

Costway

Costway W50432859 User manual

Costway GIANTEX HW66915 User manual

Costway

Costway GIANTEX HW66915 User manual

Costway JV10929 User manual

Costway

Costway JV10929 User manual

Costway HU10424 User manual

Costway

Costway HU10424 User manual

Costway HW67595 User manual

Costway

Costway HW67595 User manual

Costway CB10465 User manual

Costway

Costway CB10465 User manual

Costway OP3655 User manual

Costway

Costway OP3655 User manual

Costway KC54473 User manual

Costway

Costway KC54473 User manual

Costway HW61554 User manual

Costway

Costway HW61554 User manual

Costway JV10736NA User manual

Costway

Costway JV10736NA User manual

Costway HV10347 User manual

Costway

Costway HV10347 User manual

Costway GIANTEX JV10120 User manual

Costway

Costway GIANTEX JV10120 User manual

Costway AP2132 User manual

Costway

Costway AP2132 User manual

Costway HW65142 User manual

Costway

Costway HW65142 User manual

Costway JV10920 User manual

Costway

Costway JV10920 User manual

Costway JV10856 User manual

Costway

Costway JV10856 User manual

Costway HW67702 User manual

Costway

Costway HW67702 User manual

Costway HW62367 User manual

Costway

Costway HW62367 User manual

Popular Indoor Furnishing manuals by other brands

Regency LWMS3015 Assembly instructions

Regency

Regency LWMS3015 Assembly instructions

Furniture of America CM7751C Assembly instructions

Furniture of America

Furniture of America CM7751C Assembly instructions

Safavieh Furniture Estella CNS5731 manual

Safavieh Furniture

Safavieh Furniture Estella CNS5731 manual

PLACES OF STYLE Ovalfuss Assembly instruction

PLACES OF STYLE

PLACES OF STYLE Ovalfuss Assembly instruction

Trasman 1138 Bo1 Assembly manual

Trasman

Trasman 1138 Bo1 Assembly manual

moss DESIGN Caisson Credenza Assembly instructions

moss DESIGN

moss DESIGN Caisson Credenza Assembly instructions

Aquaglide FULL DECK 15.0 owner's manual

Aquaglide

Aquaglide FULL DECK 15.0 owner's manual

AREBOS AR-HE-SW30 user manual

AREBOS

AREBOS AR-HE-SW30 user manual

Till-Hilft Fulda 87005.330 Assembly instructions

Till-Hilft

Till-Hilft Fulda 87005.330 Assembly instructions

Twoey Outside 2010 quick start guide

Twoey Outside

Twoey Outside 2010 quick start guide

Hettich Easys 200 operating instructions

Hettich

Hettich Easys 200 operating instructions

The bedboss RELAX 404 Series owner's manual

The bedboss

The bedboss RELAX 404 Series owner's manual

Oeseder Möbelindustrie Bern 991 720 Assembly instructions

Oeseder Möbelindustrie

Oeseder Möbelindustrie Bern 991 720 Assembly instructions

Next ALIX A27743 Assembly instructions

Next

Next ALIX A27743 Assembly instructions

BROSA Hans Assembly guide

BROSA

BROSA Hans Assembly guide

Prodigg MINIKA PBA015T-FUR installation manual

Prodigg

Prodigg MINIKA PBA015T-FUR installation manual

Whittier Wood Furniture McKenzie 3504AFGACa quick start guide

Whittier Wood Furniture

Whittier Wood Furniture McKenzie 3504AFGACa quick start guide

Habitat Ipanema Bar 846/9760 manual

Habitat

Habitat Ipanema Bar 846/9760 manual

manuals.online logo
manuals.online logoBrands
  • About & Mission
  • Contact us
  • Privacy Policy
  • Terms and Conditions

Copyright 2025 Manuals.Online. All Rights Reserved.

JV10081
Jewelry Cabinet
Armoire à Bijoux
THIS INSTRUCTION BOOKLET CONTAINS IMPORTANT SAFETY INFORMATION. PLEASE READ AND KEEP FOR FUTURE REFERENCE.
USA office: Fontana AUS office: Truganina
GBR office: Ipswich FRA office: Saint Vigor d'Ymonville
Before You Start
Please read all instructions carefully.
Retain instructions for future reference.
Separate and count all parts and hardware.
Read through each step carefully and follow the proper order.
We recommend that, where possible, all items are assembled near to the area in
which they will be placed in use, to avoid moving the product unnecessarily once
assembled.
Always place the product on a flat, steady and stable surface.
Keep all small parts and packaging materials for this product away from babies
and children as they potentially pose a serious choking hazard.
FR
Veuillez lire attentivement toutes les instructions.
Conservez les instructions pour vous y référer ultérieurement.
Vérifiez toutes les pièces et les accessoires.
Lisez attentivement chaque étape et suivez l’ordre correct.
Nous recommandons que, dans la mesure du possible, tous les produits
soient assemblés à proximité de la zone où ils seront utilisés, afin d’éviter tout
déplacement inutile du produit une fois assemblé.
Placez toujours le produit sur une surface plane et stable.
Conservez toutes les petites pièces de ce produit et les matériaux d’emballage
hors de portée des bébés et des enfants, car ils pourraient présenter un risque
d’étouffement.
Avant de Commencer
EN
02 03
A
B
C
Board Iden�fica�on
Not actual size
Iden�fica�on des Pièces
Pas la taille réelle
Cabinet x1
Armoire x 1
Cabinet Leg x2
Pied de l’armoire x 2
Cabinet Rung x3
Barreau de l’armoire x 3
04 05
5 × 78 mm
1 × 6
10 × 46 mm
26 mm
3 × 6
9 × 11 mm
2 × 2
8 × 40 mm
32 × 60 mm
4 × 2
6 × 2
5 × 1
Hardware List
Actual size
Liste du Matériel
Taille réelle
WRENCH
CLÉ ALLEN
SCREW
VIS
SPACER
RONDELLE
SCREW NUT
ÉCROU À VIS
WOOD DOWEL
CHEVILLE
RING SCREW
VIS D’ANNEAU
STEP 1 / ÉTAPE 1
1 × 6 5 × 1
3 × 6
2 × 2
WRENCH
CLÉ ALLEN
SCREW
VIS
SCREW NUT
ÉCROU À VIS
WOOD DOWEL
CHEVILLE
1
1
1
1
1
1
1
1
5
3
3
3
3
3
2
2
3
1
C
C
C
3
3
3
3
C
C
1
1
3
C
Turn 180 degrees to make
the screw nut ③face down
Tournez de 180 degrés pour
visser l’écrou à vis ③
Screw up / Vissez bien
Turn the rung(C) first, then
tighten the screws
Tournez d’abord le barreau
(C), puis vissez les vis.
The side without holes of the
rung(C) faces up.
Le côté sans trous des deux barreaux
(C) inférieurs est tourné vers le haut
Two screw connection
diagram
Le schéma de
connexion à deux vis
Instructions De Retour / Réclamation De Dommages
Dans le cas où un retour est requis, l'article doit être retourné dans sa boîte
d'origine. Sans cela, votre retour ne sera pas accepté.
NE PAS jeter la boîte/l'emballage d'origine.
Prenez une photo des marquages de la boîte.
Prenez une photo des dommages (le cas échéant).
Envoyez-nous un e-mail avec les images demandées.
Une photo des marquages (texte) sur le côté de la boîte est requise au cas où
une pièce serait nécessaire pour le remplacement. Cela aide notre personnel à
identifier votre numéro de produit pour s'assurer que vous recevez les bonnes
pièces.
Une photo des dommages est toujours requise pour déposer une réclamation et
obtenir rapidement votre remplacement ou votre remboursement. Assurez-vous
d'avoir la boîte même si elle est endommagée.
Envoyez-nous un e-mail directement depuis le marché où votre article a été
acheté avec les images ci-jointes et une description de votre réclamation.
FR
In case a return is required, the item must be returned in original box. Without this
your return will not be accepted.
DO NOT discard the box / original packaging.
Take a photo of the box markings.
Take a photo of the damaged part (if applicable).
Send us an email with the images requested.
A photo of the markings (text) on the side of the box is required in case a part is
needed for replacement. This helps our staff identify your product number to
ensure you receive the correct parts.
A photo of the damage is always required to file a claim and get your replacement
or refund processed quickly. Please make sure you have the box even if it is
damaged.
Email us directly from marketplace where your item was purchased with the
attached images and a description of your claim.
EN
Return / Damage Claim Instructions
Instructions De Retour / Réclamation De Dommages
06 07
STEP 2 / ÉTAPE 2
4 × 2 6 × 2
SPACER
RONDELLE
RING SCREW
VIS D’ANNEAU
A
66
4
6
B
B
C