Costway JV10466 User manual
THIS INSTRUCTION BOOKLET CONTAINS IMPORTANT SAFETY INFORMATION. PLEASE READ AND KEEP FOR FUTURE REFERENCE.
EN DEFR ES IT PL
USER'S MANUAL/HANDBUCH
/MANUEL DE L'UTILISATEUR/MANUAL DEL USUARIO
/MANUALE UTENTE/INSTRUKCJA OBSŁUGI
JV10466
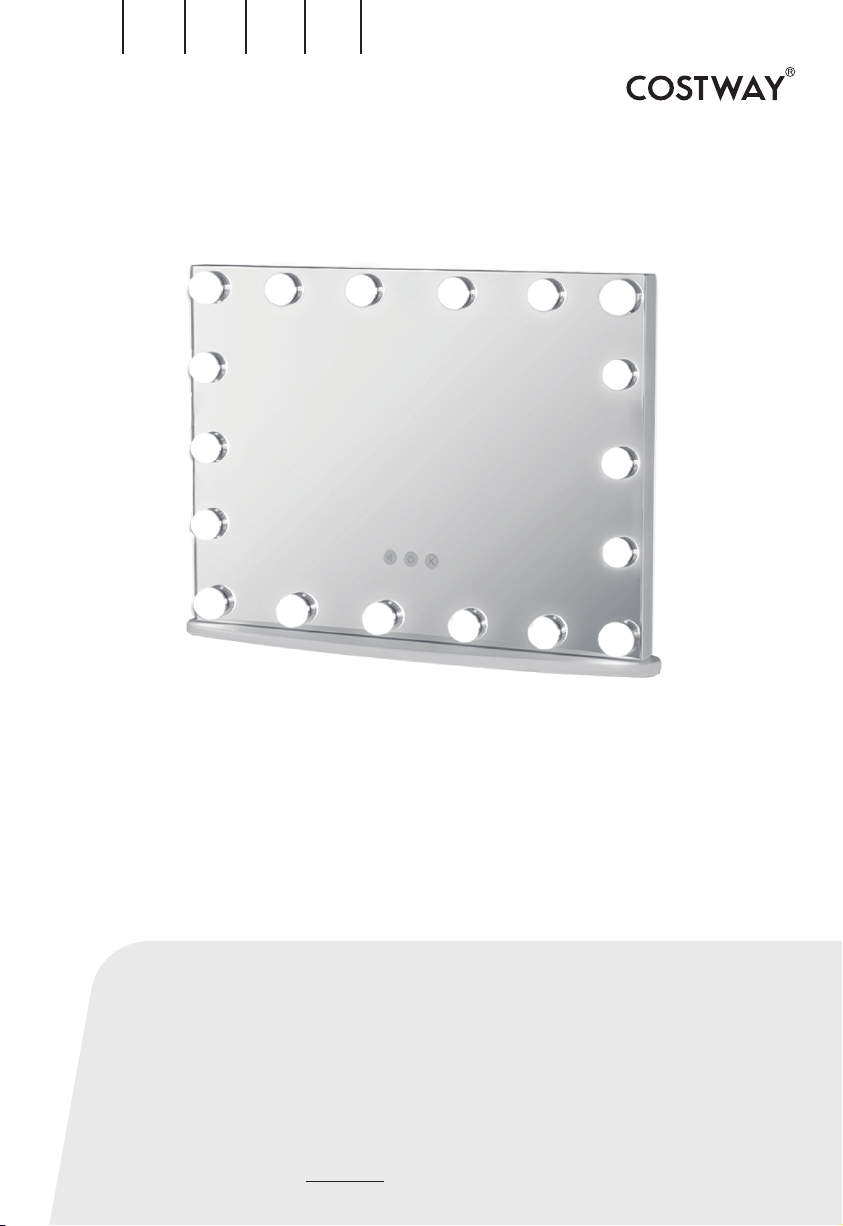
Vanity Mirror with Lights / Hollywood Spiegel
/ Miroir de Maquillage avec Lumières / Espejo de Maquillaje con Luz
/ Specchio per Trucco con Luci / Lustro do makijażu z oświetleniem LED
02
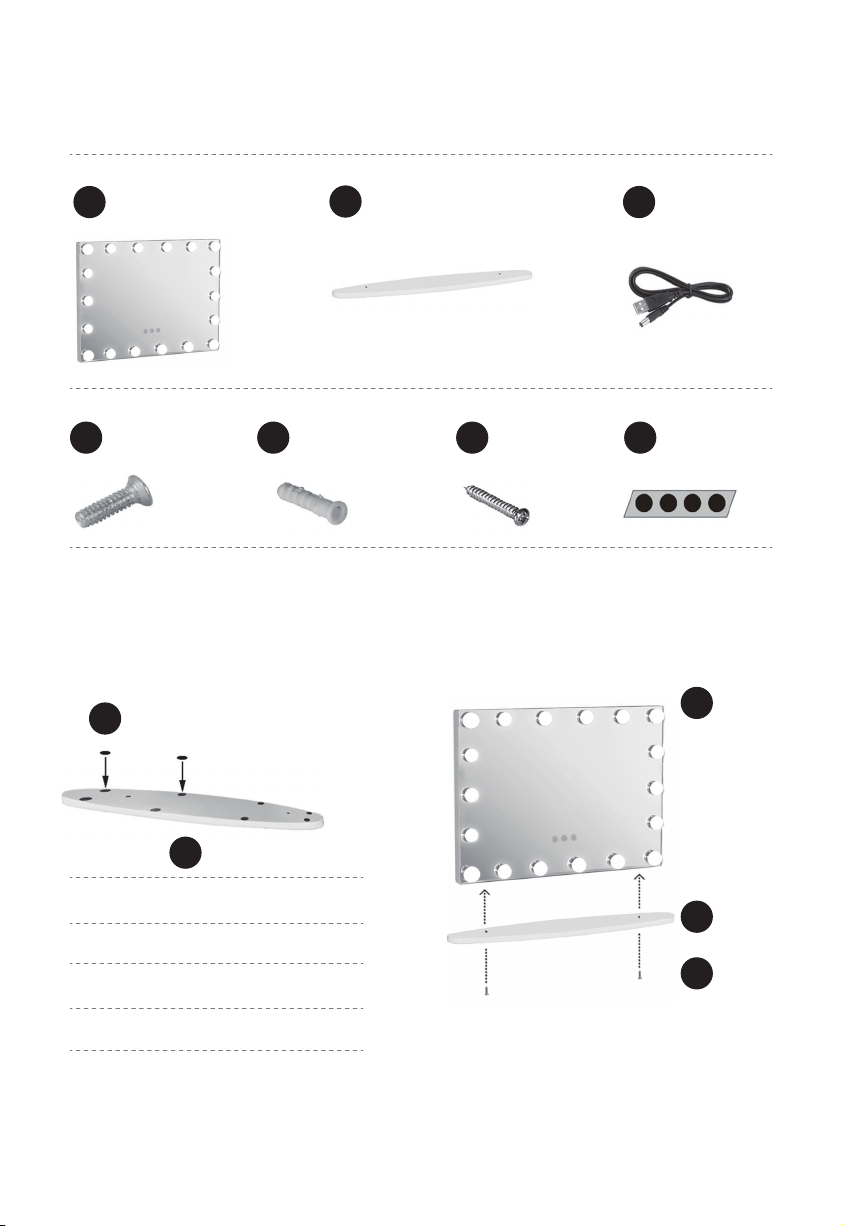
Components / Teile- und Zubehörliste / Composants /
Componentes / Componenti / Komponenty
Install on the Tabletop / Montage auf der Tischplatte / Installer
sur la Tablette / Instalar en el Tablero de Mesa / Installare sul
tavolo / Montaż na podstawce
Back of
Rückseite von Teil B
Arrière du B
Parte trasera de la pieza B
Retro di B
Spód podstawki „B”
A
A
x1 B
B
B
x1 Cx1
D
D
x2 Ex2 x2
F G
G
x2
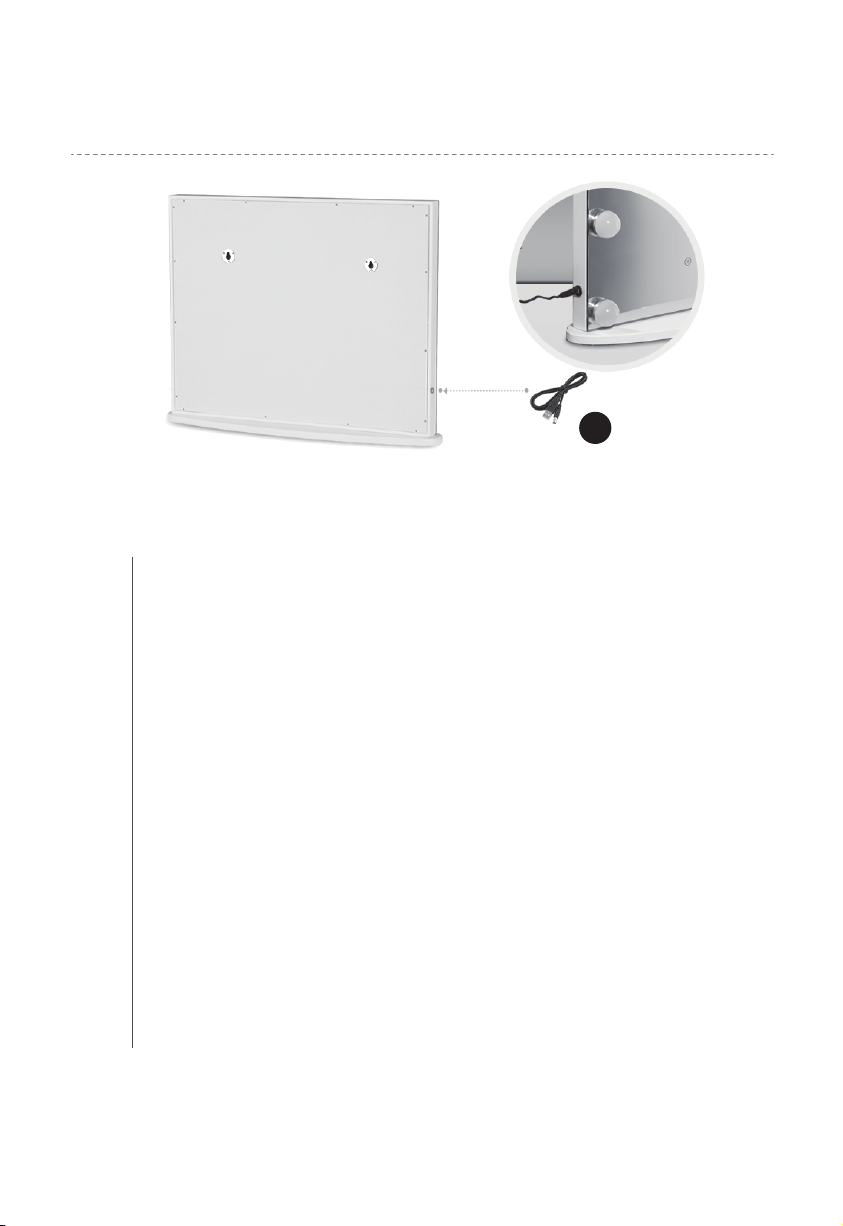
Enchufe el cable USB en el lado del espejo y la fuente de alimentación
(la salida del adaptador debe ser de 5V-2A).
03
Assembly Steps / Montageschritte / Étapes d’Assemblage /
Pasos de Montaje / Passo dell’Assemblaggio / Kroki montażowe
C
Plug the USB cord into the side of the Mirror and Power Source (Output
of adaptor needs to be 5V-2A)
EN
Schließen Sie das USB-Kabel an der Seite des Spiegels und der
Stromquelle an (der Ausgang des Adapters muss 5V-2A betragen)
DE
Branchez le cordon USB sur le côté du Miroir et de la Source
d'Alimentation (la sortie de l'adaptateur doit être de 5 V-2 A)
FR
ES
Collegare il cavo di USB al lato dello Specchio e alla Fonte
dell’Alimentazione (L'uscita dell'adattatore deve essere 5V-2A)
IT
Podłącz kabel USB do lustra, a następnie do źródła zasilania (wymagany
zasilacz 5 V 2 A).
PL
04
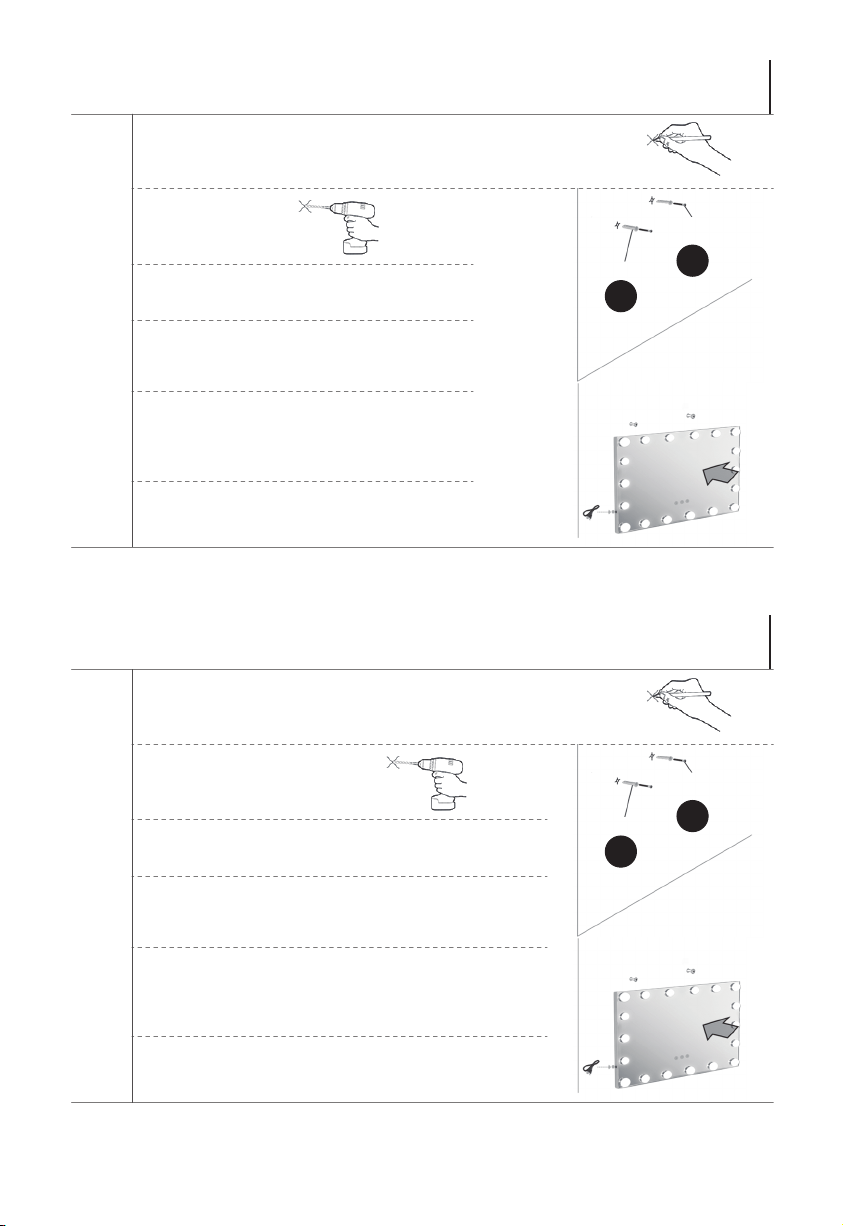
Mount on the Wall
E
F
According to the distance between the two holes in
the back of the mirror, measure and mark on the wall.
01
Drill the holes.
02
Inset 2 wall anchors E into the wall.
03
Secure the anchors to wall with 2
screws F.
04
Align the holes on the back of the
mirror with the screws on the wall,
and then hang the mirror on the wall.
05
Plug the USB cord into the side of the
Mirror and Power Source.
06
EN
Montage an der Wand
E
F
Messen Sie den Abstand zwischen den beiden Löchern auf
der Rückseite des Spiegels aus und markieren Sie ihn an
der Wand.
01
Bohren Sie die Löcher.
02
Setzen Sie 2 Maueranker E in die Wand ein.
03
Befestigen Sie die Dübel mit 2
Schrauben F an der Wand.
04
Richten Sie die Löcher auf der Rückseite des
Spiegels auf die Schrauben an der Wand aus,
und hängen Sie den Spiegel dann an die Wand.
05
Schließen Sie das USB-Kabel an der Seite des
Spiegels und der Stromquelle an.
06
DE

05
Monter sur le Mur
E
F
Selon la distance entre les deux trous à l'arrière du
miroir, mesurez et marquez sur le mur.
01
Percez les trous.
02
Insérez 2 ancrages muraux E dans le mur.
03
Fixez les ancrages au mur avec 2
vis F.
04
Alignez les trous à l'arrière du miroir
avec les vis sur le mur, puis
accrochez le miroir au mur.
05
Branchez le cordon USB sur le côté du
Miroir et de la Source d'Alimentation.
06
FR
Montar en la Pared
E
F
Según la distancia entre los dos agujeros de la parte
posterior del espejo, mida y marque en la pared.
01
Haga los agujeros.
02
Inserte 2 tacos de pared (E) en la pared.
03
Fije los tacos a la pared con 2
tornillos (F).
04
Alinee los agujeros de la parte posterior del
espejo con los tornillos de la pared y, a
continuación, cuelgue el espejo en la pared.
05
Enchufe el cable USB en el lado del espejo y la
fuente de alimentación.
06
ES

06
Installare sul muro
E
F
Secondo la distanza tra i due fori sul retro dello
specchio, misurare e segnare sul muro.
01
Eseguire i fori.
02
Inserire 2 tasselli E nel muro.
03
Fissare i tasselli nel muro con 2 viti F.
04
Allineare i fori sul retro dello specchio
con le viti nel muro, quindi appendere
lo specchio al muro.
05
Collegare il cavo di USB al lato dello
specchio e alla fonte dell’alimentazione.
06
IT
Montaż na ścianie
E
F
Zaznacz na ścianie miejsca na wywiercenie
otworów.
01
Wywierć otwory.
02
Włóż dwa kołki rozporowe „E” w otwory w ścianie.
03
Zamocuj dwie śruby „F” w kołkach
rozporowych.
04
Wyrównaj otwory w tylnej części lustra z
otworami na ścianie i zawieś lustro.
05
Podłącz kabel USB do lustra, a następnie do
źródła zasilania.
06
PL
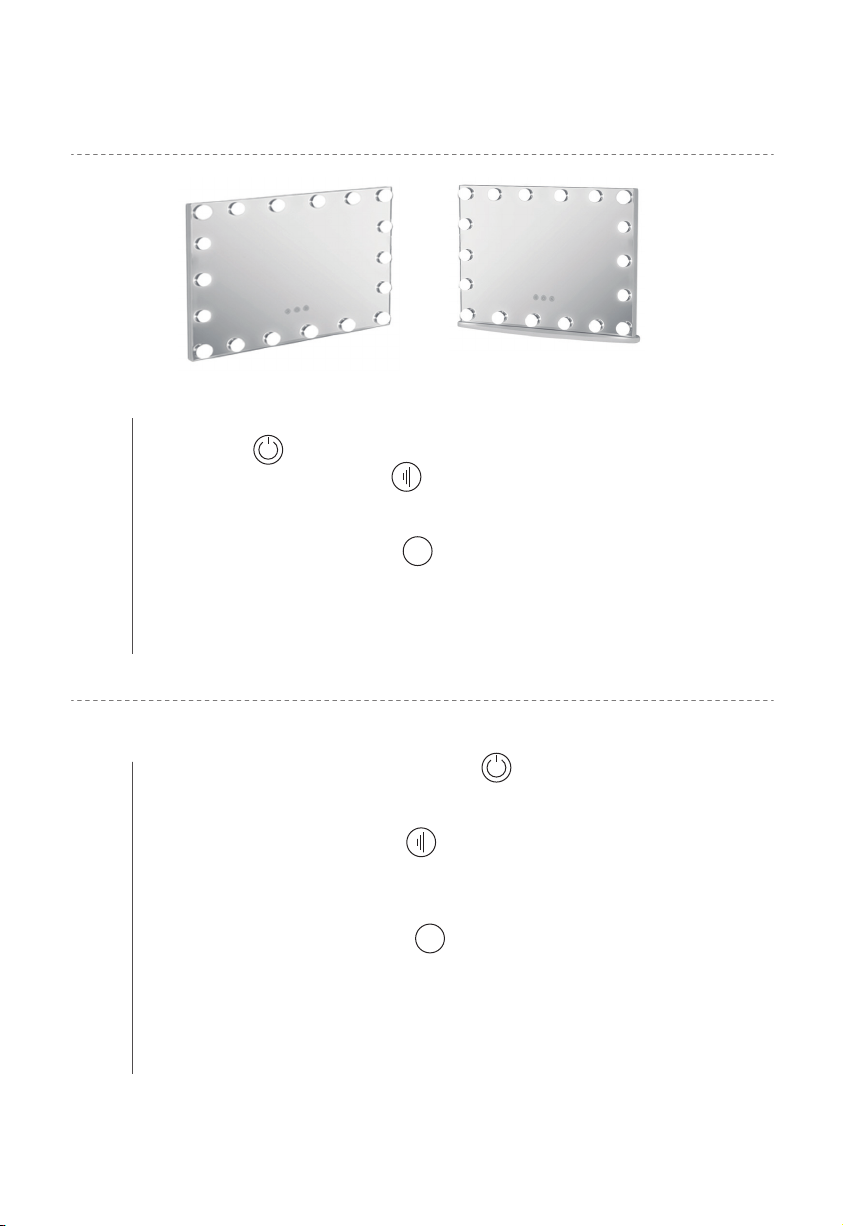
● Press the middle touch sensor on the front of the Mirror to Power on the
LED Lights .
● Press the left hand botton to select 4 options of brightness. Press
and hold after switching on, the LED lights will change brightness
gradually.
• Press the right hand botton to select 4 options of Color
Temperature. Or press and hold to change the Color Temperature
graduall.
●Remove and reapply power to reset the Chip if the touch switch is not
functioning properly.
07
Using Method / Verwendung / Méthode d’Utilisation / Método
de Uso / Metodo dell’Utilizzo / Użytkowanie
EN
K
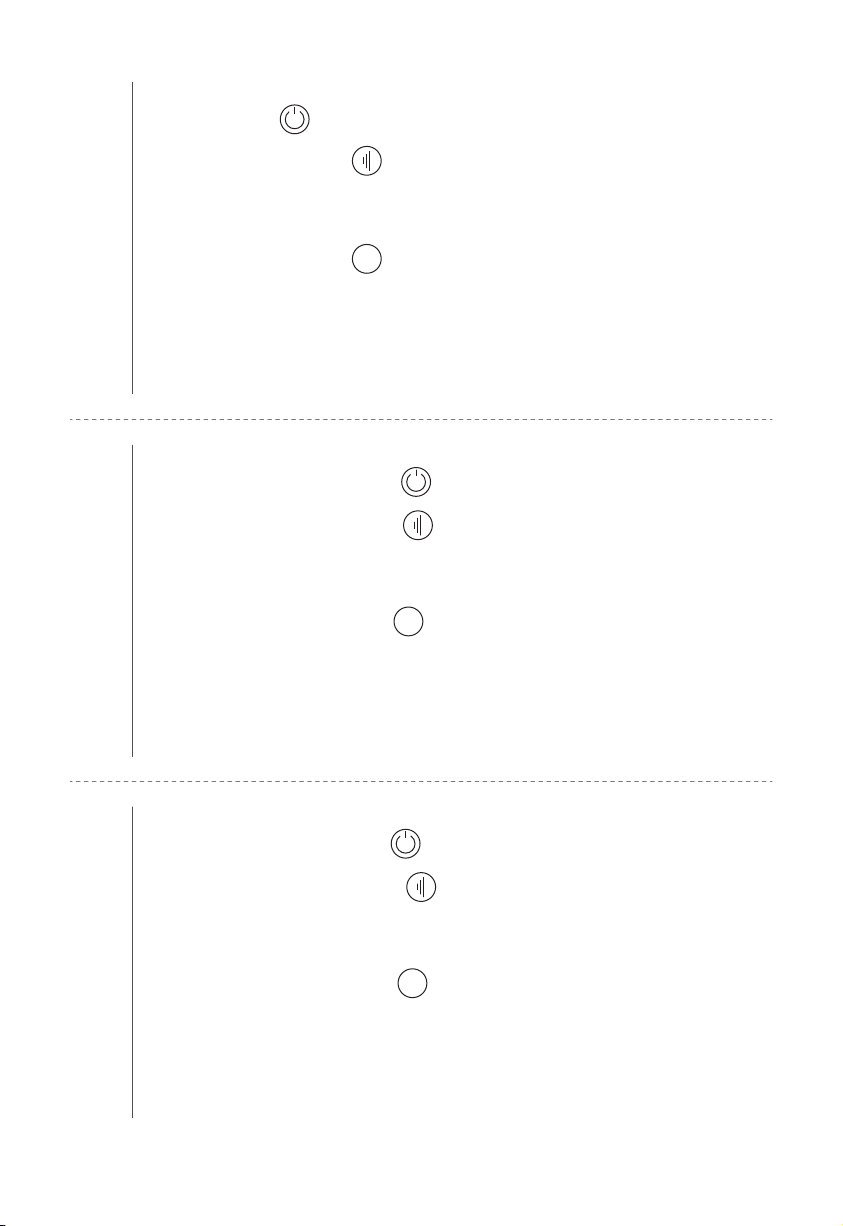
• Drücken Sie die mittlere Sensortaste auf der Vorderseite des
Spiegels, um die LED-Beleuchtung einzuschalten.
• Drücken Sie die linke Taste , um zwischen 4 Helligkeitsstufen zu
wählen. Halten Sie die Taste nach dem Einschalten gedrückt, um die
Helligkeit der LED-Leuchten schrittweise zu ändern.
• Drücken Sie die rechte Taste , um 4 Optionen für die
Farbtemperatur auszuwählen. Oder halten Sie die Taste gedrückt, um die
Farbtemperatur schrittweise zu ändern.
• Schalten Sie den Chip aus und wieder ein, um ihn zurückzusetzen, wenn
der Touch-Schalter nicht richtig funktioniert.
DE
K
08
• Presione el interruptor táctil del medio en la parte delantera del espejo
para encender las luces LED .
• Presione el botón izquierdo para seleccionar 4 opciones de
luminosidad. Manténgalo presionado después de encenderlo, las luces
LED cambiarán de luminosidad gradualmente.
• Presione el botón derecho para seleccionar 4 opciones de
temperatura de color. O manténgalo presionado para cambiar la
temperatura de color gradualmente.
• Si el interruptor táctil no funciona correctamente, desconecte y vuelva a
conectar la alimentación para reiniciar el chip.
ES
K
Appuyez sur le capteur tactile central à l'avant du miroir pour allumer les
lumières LED .
Appuyez sur le bouton gauche pour sélectionner 4 options de
luminosité. Appuyez et maintenez après l'allumage, les lumières LED
changeront progressivement de luminosité.
Appuyez sur le bouton droit pour sélectionner 4 options de
Température de Couleur. Ou maintenez la touche enfoncée pour modifier
progressivement la Température de Couleur.
Retirez et rallumez pour réinitialiser la puce si l'interrupteur tactile ne
fonctionne pas correctement.
FR
K
• Premere il sensore tattile centrale sulla parte anteriore dello specchio
per accendere le luci a LED .
• Premere il pulsante sinistro per selezionare 4 livelli di luminosità.
Tenere premuto dopo l'accensione, le luci a LED cambieranno
gradualmente la luminosità.
• Premere il pulsante destro per selezionare 4 livelli di Temperatura
di Colore. Oppure tenere premuto per modificare gradualmente la
Temperatura di Colore.
• Rimuovere e riattivare l'alimentazione per resettare il Chip se
l'interruttore tattile non funziona correttamente.
IT
K

09
• Naciśnij środkowy przycisk dotykowy na lustrze, aby włączyć
oświetlenie LED.
• Naciśnij lewy przycisk , aby ustawić poziom jasności (4 opcje do
wyboru). Naciśnij i przytrzymaj, a światło będzie stopniowo zmieniać
jasność.
• Naciśnij prawy przycisk , aby ustawić temperaturę kolorów (4 opcje
do wyboru). Naciśnij i przytrzymaj, a światło będzie stopniowo zmieniać
temperaturę.
• Jeśli przyciski dotykowe nie działają prawidłowo, wyłącz lustro, a po
chwili włącz ponownie.
PL
K
EN
DE
FR
ES
IT
PL
With your inspiring rating, COSTWAY will be more consistent to offer you EASY
SHOPPING EXPERIENCE, GOOD PRODUCTS and EFFICIENT SERVICE!
Mit Ihrer inspirierenden Bewertung wird COSTWAY konsistenter sein, um Ihnen EIN
SCHÖNES EINKAUFSERLEBNIS, GUTE PRODUKTE und EFFIZIENTEN SERVICE zu
bieten!
Avec votre évaluation inspirante, COSTWAY continuera à fournir une EXPÉRIENCE
D’ACHAT PRATIQUE, des PRODUITS DE QUALITÉ et un SERVICE EFFICACE !
Con su calificación inspiradora, COSTWAY será más consistente para ofrecerle
EXPERIENCIA DE COMPRA FÁCIL, BUENOS PRODUCTOS y SERVICIO EFICIENTE.
Con la tua valutazione incoraggiante, COSTWAY sarà più coerente per offrirti
ESPERIENZA DI ACQUISTO FACILE, BUONI PRODOTTI e SERVIZIO EFFICIENTE!
Dzięki twojej opinii COSTWAY będzie mógł oferować jeszcze WYGODNIEJSZE
ZAKUPY, LEPSZE PRODUKTY i SPRAWNIEJSZĄ OBSŁUGĘ KLIENTA.
US office: Fontana UK office: Ipswich AU office: Truganina
DE office: FDS GmbH, Neuer Höltigbaum 36, 22143 Hamburg, Deutschland
FR office: Saint Vigor d'Ymonville
PL office: Gdańsk
Table of contents
Other Costway Personal Care Product manuals


