FINAL TEST PROCEDURE
After any disassembly of the CoughAssist, the unit should be tested for proper operation before being put back into
service. This test can be done without the top cover on in order to gain access to the blower pressure adjustment
potentiometers. See figure 9. However, proper precautions should be taken to avoid electrical shock if this is done.
TEST SET-UP
1. Use a rubber plug or similar object to temporarily block the Patient Connection on the front of the unit.
2. Check that the Pressure Gauge is zeroed. If adjustment is needed remove the gray dot covering the
adjustment hole, adjust using a small flat blade screwdriver, and replace the dot.
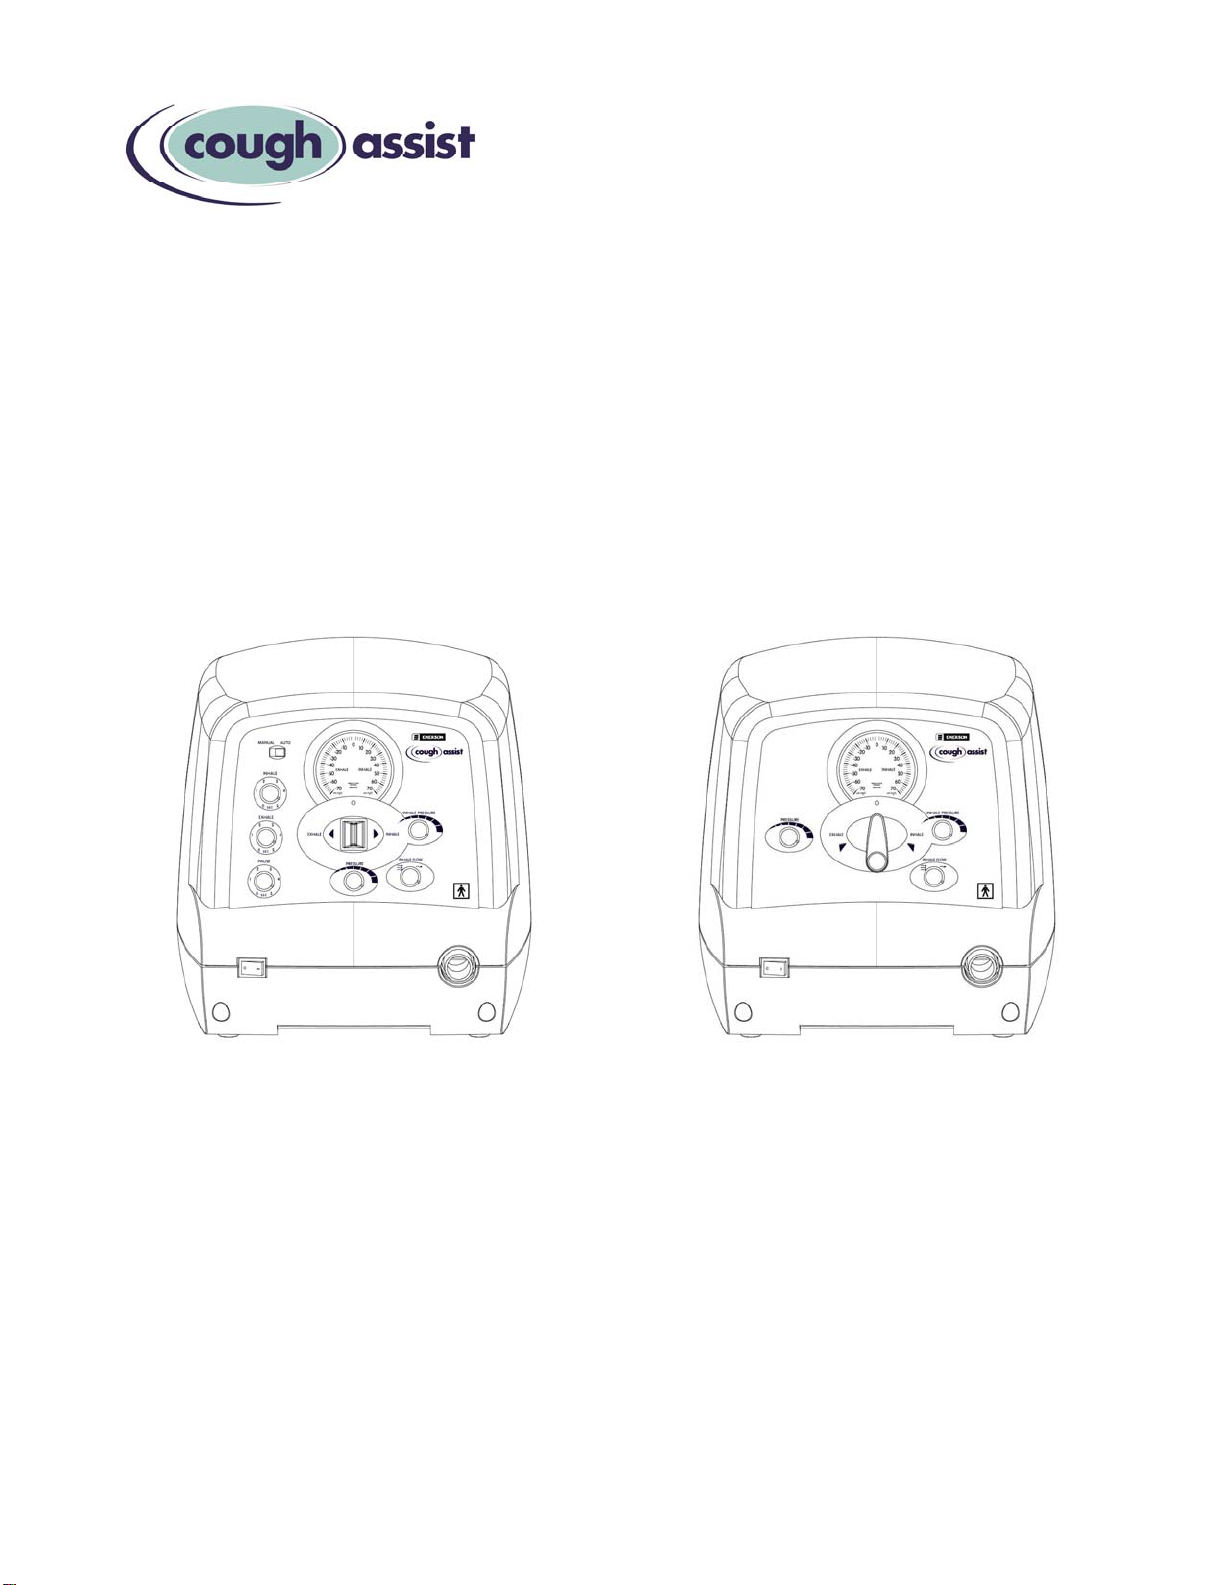
3. On all models, set the Inhale Pressure knob fully clockwise, and Inhale Flow and Pressure knobs fully
counterclockwise. On the CA models, set the Manual/Auto switch to Manual, and set each time knob to
about 1 second.
4. Plug the CoughAssist into an appropriate electrical outlet.
FUNCTIONAL TESTS
1. Place the power switch to the “on” position and note that the green light in the switch comes on.
2. Turn the Pressure knob through the full range of blower speeds and be sure the speed of the motor
increases steadily. With the Pressure knob fully clockwise, allow the unit to warm up for 1 to 2 minutes.
3. With the Pressure knob set at the minimum speed (counterclockwise) move the Manual Control Lever to the
Inhale position (to the right) and note that the pressure on the gauge reads between 2 and 5 cmH2O. Move
the Manual Control Lever to exhale (to the left) and note that the gauge reads between -2 and -5 cmH2O.
Turn the Pressure knob to maximum (clockwise) and repeat inhale and exhale test noting that the reading
on the gauge is between 57 and 63 cmH2O. Release the manual control lever from the inhale and exhale
positions at maximum pressure and note that the lever moves to the center and pressure drops immediately
to 0 cmH2O.
4. If the correct pressures are not achieved the pressure control can be adjusted as follows. First, remove the
top cover. If the unit has not been on for a while, turn it on with the Pressure knob fully clockwise and allow
the unit to warm up for 1 to 2 minutes.
WARNING: To avoid electrical shock, take the normal precautions when working with the unit plugged in and the
cover off.
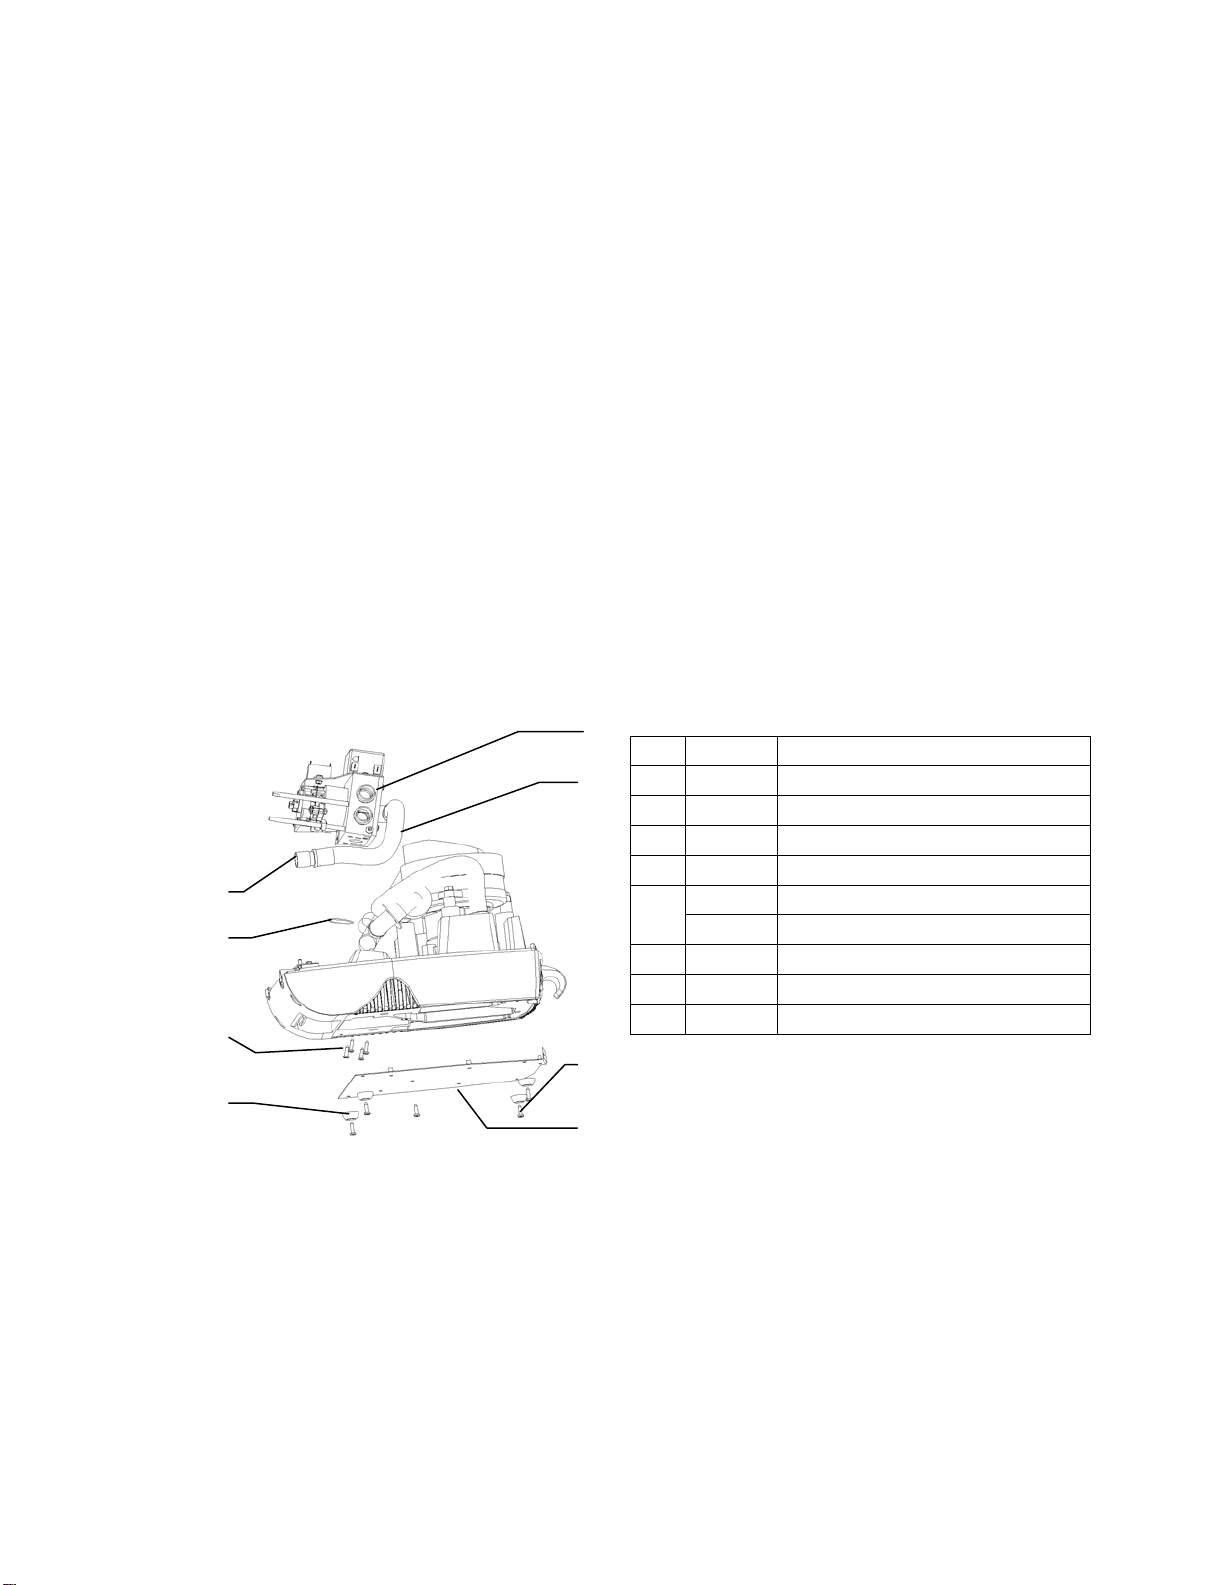
5. On the circuit board attached to the front panel locate the two trim potentiometers directly above the Patient
Outlet on the right. See figure 9. The top trim pot adjusts the minimum pressure (clockwise to increase),
while the bottom trim pot adjusts the maximum pressure (counterclockwise to increase). First adjust the
minimum pressure (2 to 5 cmH2O), then adjust the maximum (57 to 63 cmH2O), then check the minimum
again since the two adjustments interact somewhat. Repeat the adjustments a few times to be sure the
minimum and maximum pressures, positive and negative, are correct.
6. Inhale Pressure Test - with the Manual Control Lever in the inhale position (to the right) adjust the pressure
control knob to attain 40 cmH2O. Set Inhale Pressure knob all the way counterclockwise. Note the reading
on the gauge: it should be between 18 and 22 cmH2O. Turning the inhale pressure knob slowly clockwise
should increase the pressure gradually back to 40 cm H2O.
7. Inhale Flow Check - turn the Pressure knob fully clockwise, actuate the Manual Control Lever to Inhale (to
the right) and note the pressure reading on the gauge; release the control lever. Set Inhale Flow to
minimum (clockwise). Actuate Manual Control Lever to Inhale and verify that the pressure reading has
dropped less than 10 cmH2O below the previous reading (maximum flow).
Page 10 J.H. Emerson Co.