Contents
Parts List Pg. 2
Installation Instructions
Hood Cover Pg. 2
Front End Cover Pg. 2
Headlight Covers Pg. 3
Unpacking: What You Have
Remove all parts from the shipping container. Check each part
included against the following Parts List and look for any possible
damage from shipping.
Parts List
Item Description Qty
1 Cover, hood 1
2 Cover, front end 1
3 Cover, headlight - driver 1
4 Cover, headlight - passenger 1
5 Warranty 1
6 Care and Maintenance Pamphlet 1
Figure 2 Insert Buckle Hook
into hole in hood
Strap
Tab
Buckle Hook
With the Hood Cover in place, pull the fabric on the sides of the
hood around to the underside of the hood on both sides. This will
insure maximum tightness of the Hood Cover (see Figure 3).
Step Four
Hood Cover
Hood
Figure 3
The remaining strap provides better tension and stability for the
cover. Stretch the remaining strap across the underside of the
hood, through the loops sewn to the front of the cover and thread
it through the buckle on the opposite side (see Figure 4a). Do not
twist the strap. Pull the strap to remove slack, DO NOT OVERTIGHT-
EN. Loop the excess strap back through the buckle to keep it out
of the engine compartment (see Figure 4b). Again, make sure the
strap is taut.
Step Five
Figure 4
The right side of the fabric is indicated as:
The Hood Cover
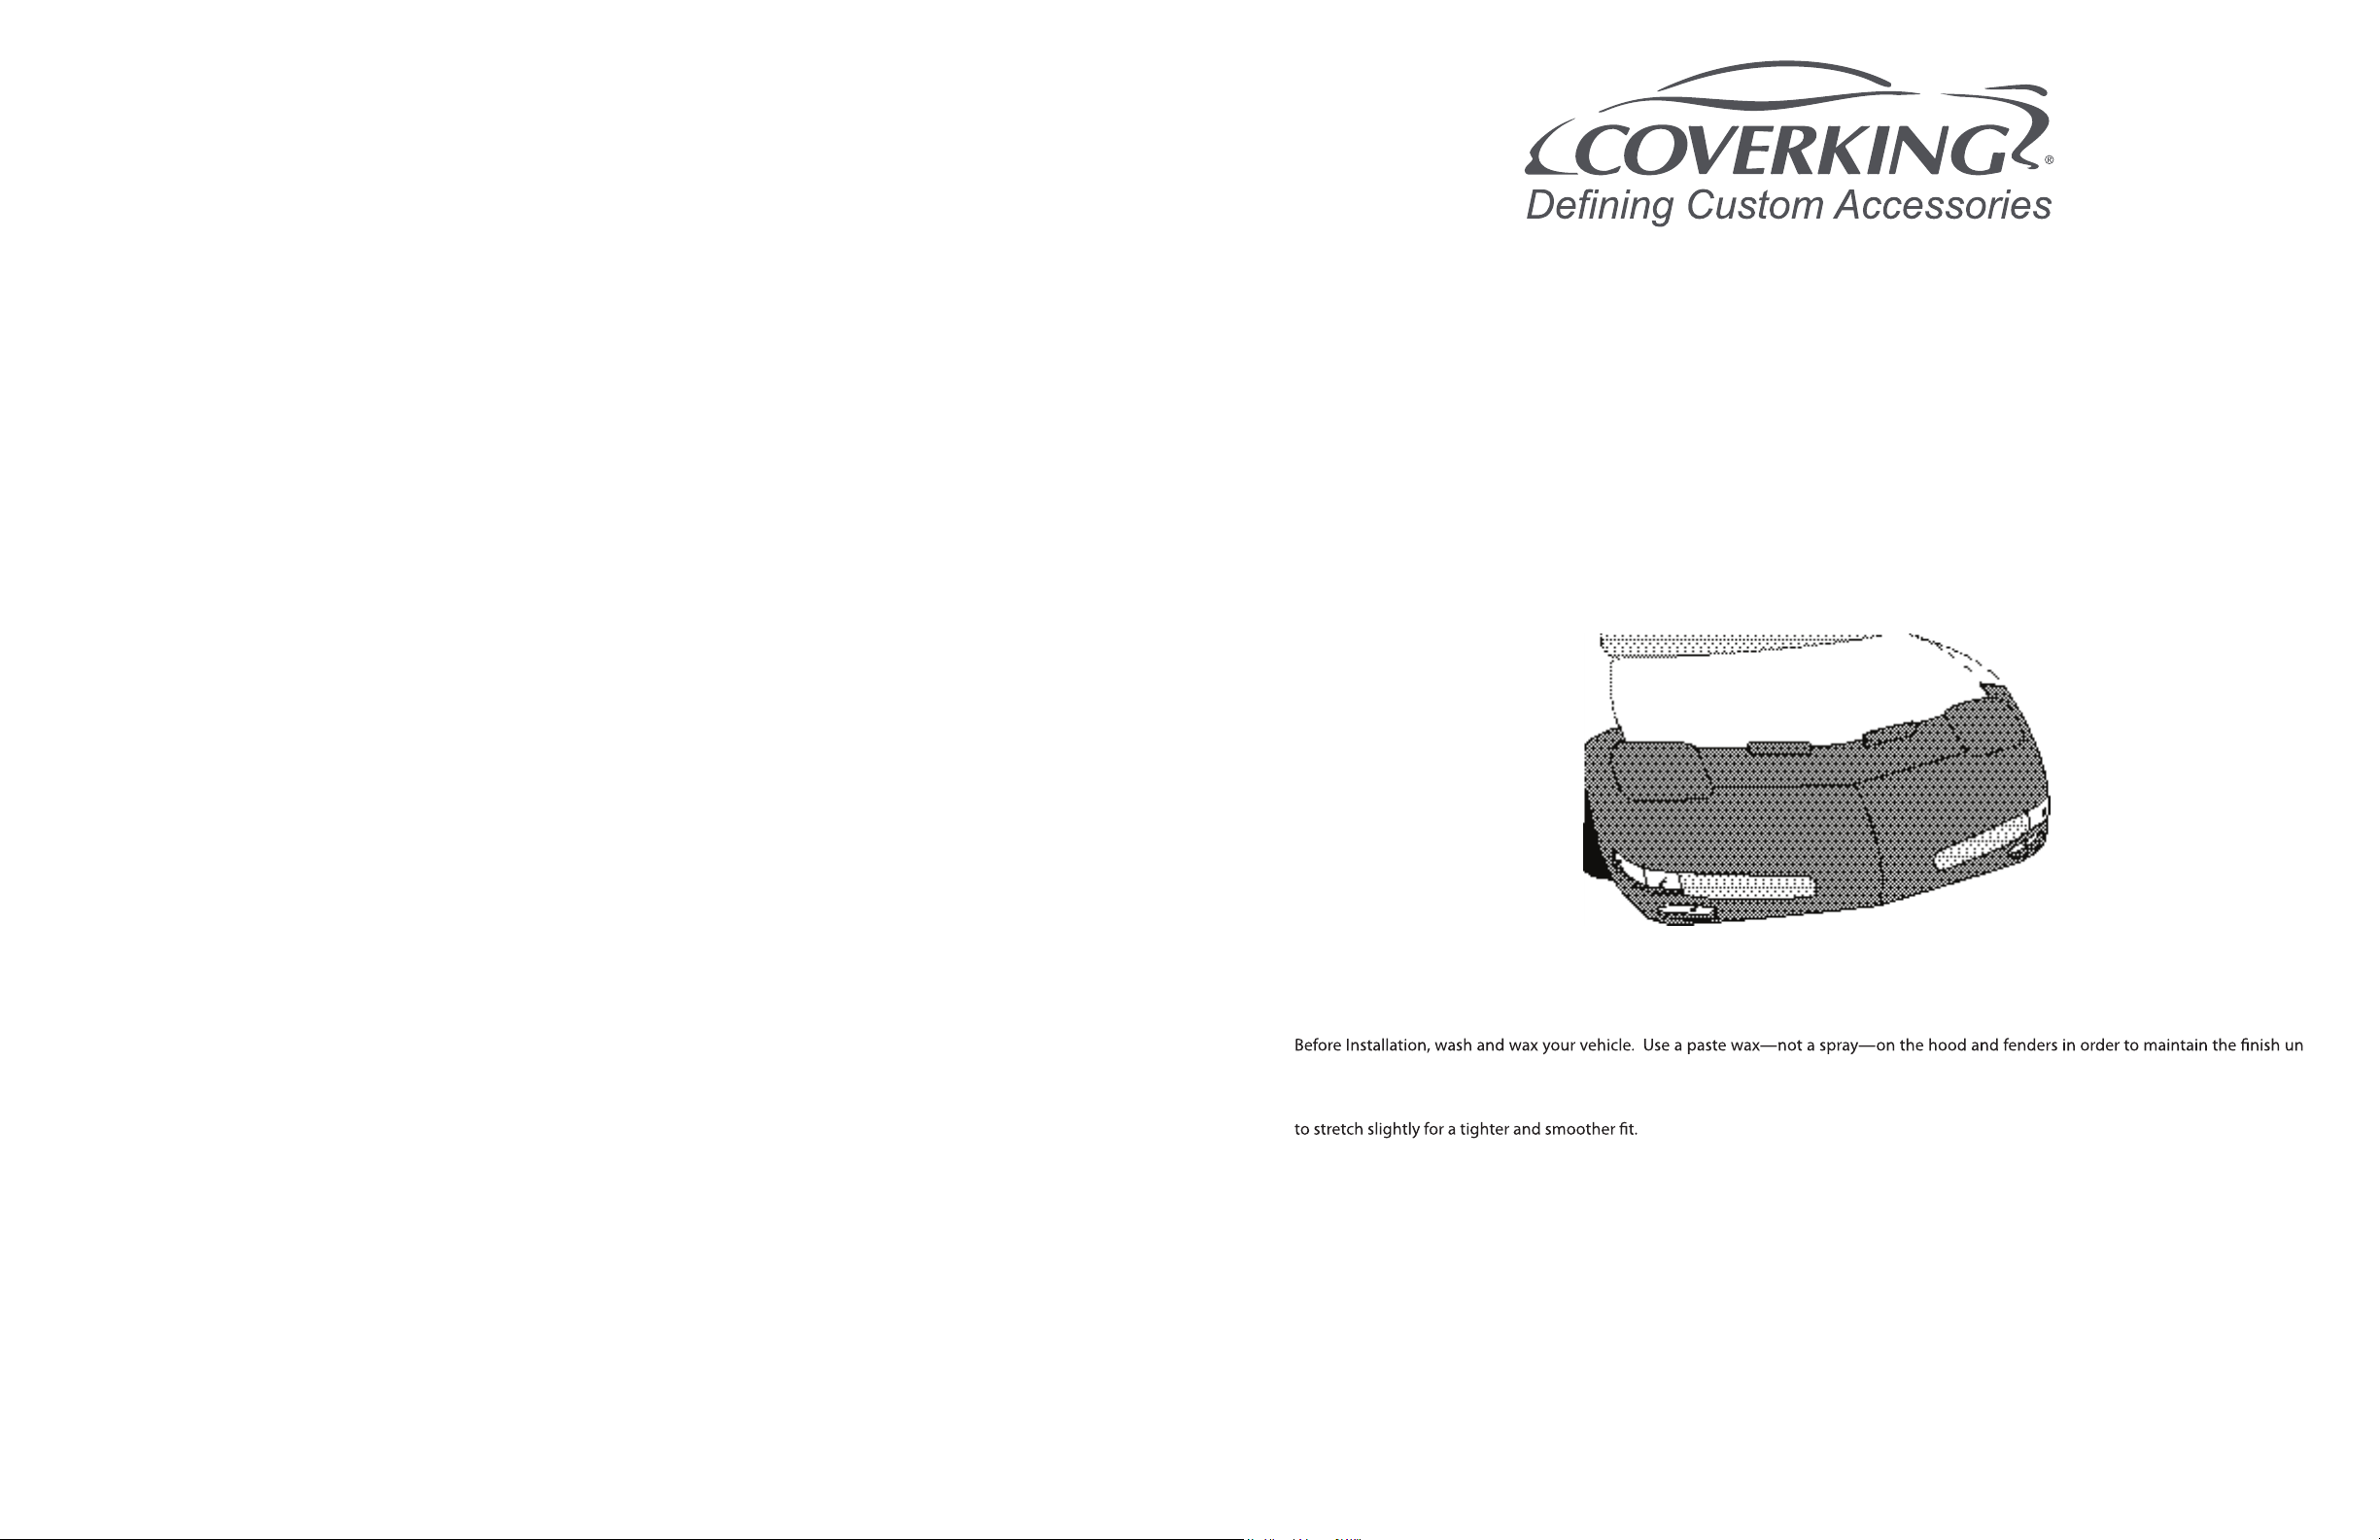
One of the features that makes your Coverking® Front End Cover the
very best available is the separate Hood Cover. This means that you
can access the engine compartment without removing or adjusting
Step One
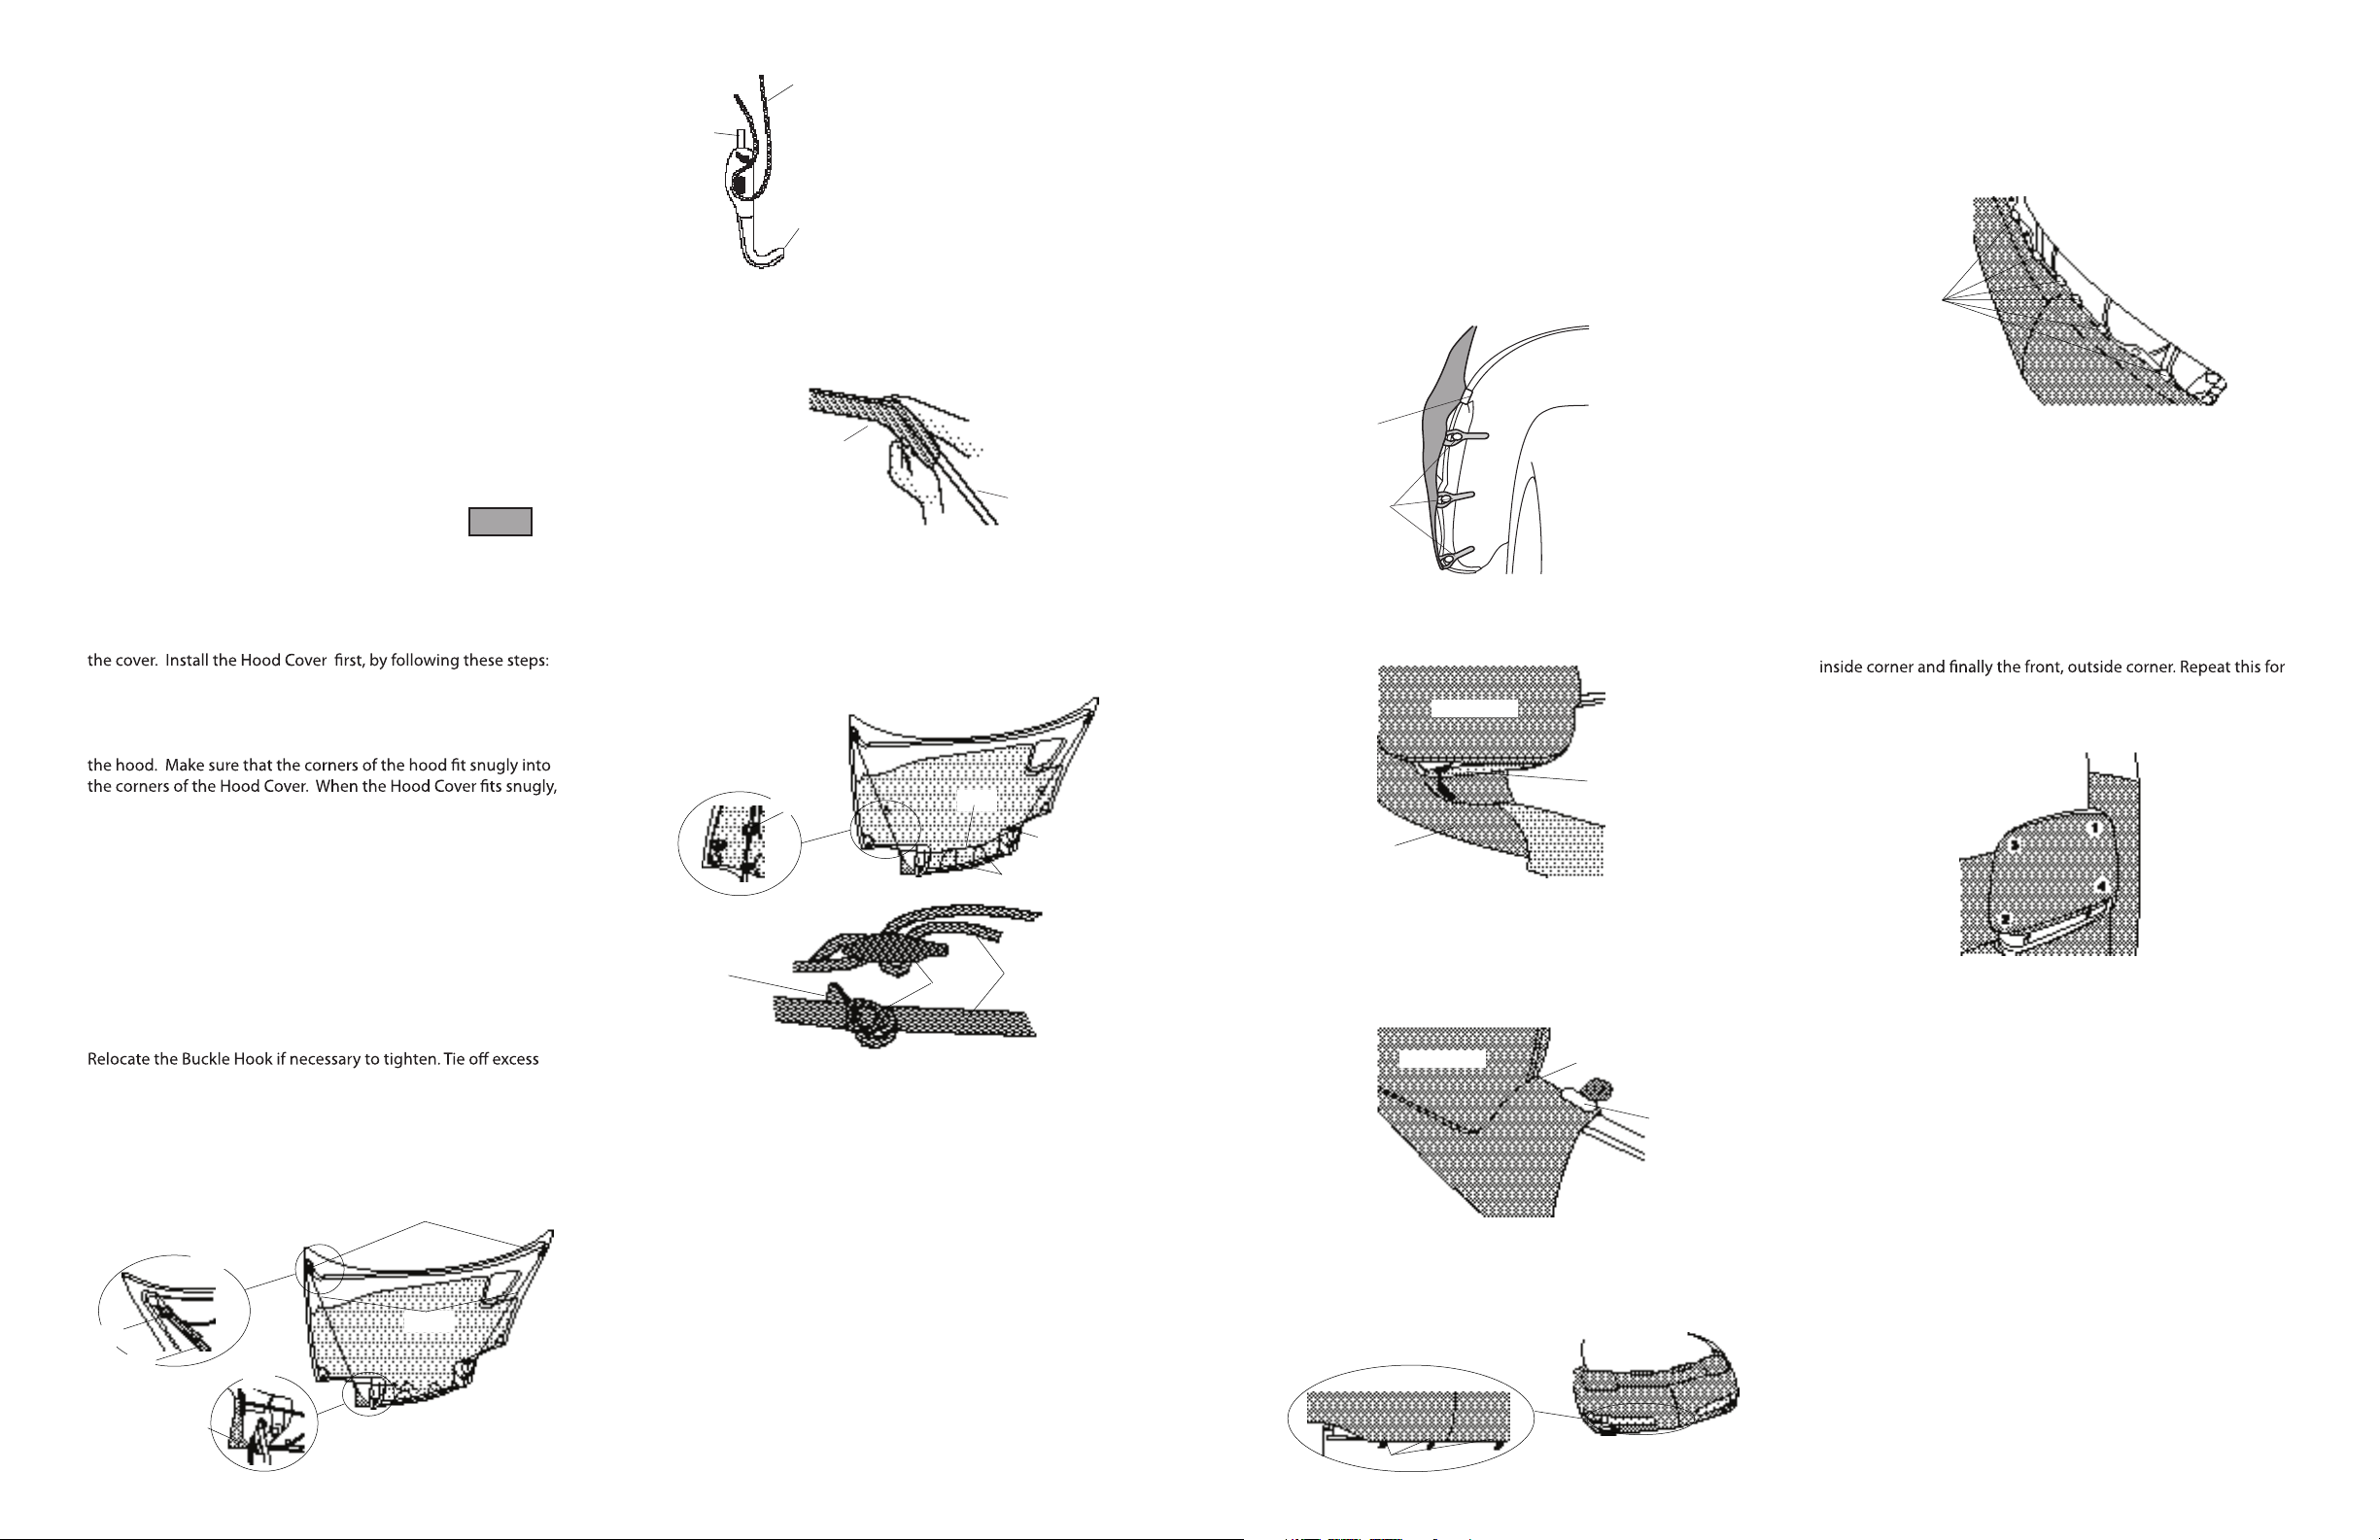
Open the hood and slip the Hood Cover over the front edge of
stretch the fabric at straps to remove major wrinkles.
Step Two
Pull one of the straps sewn to the Hood Cover to the hole in the
rear of the hood’s underside, as shown in Figure 1. Adjust the
Buckle Hook so that it is about 1/2” away from the hole. Now pull
the strap down and slip the Buckle Hook into the hole. To release
the tension on the webbing for adjustment of the strap, simply pull
out on the tab on the Buckle Hook (see Figure 2).
The Strap should be quite taut (as taut as possible without tearing).
strap to keep free of the engine compartment. Repeat this process
for the other side.
Note: Check all straps periodically to insure tension. Adjust tight-
ness if necessary.
Step Three
Buckle Hooks
Straps
Underside of Hood
Figure 1
Buckle Hook
Strap
Detail of Buckle
Hook
Detail of Hood
Cover
Make sure hood
is snug in Hood
Cover
Figure 4a
Thread excess
strap back through
buckle. Buckle Strap
Figure 4b
Strap
Buckle
Loops
Detail of
Strap Slide Strap
behind plug
Slip the side straps under the plugs that hold the insulation. This
will help keep them out of the engine compartment.
Installing the Front End Cover
This section explains how to install the front cover portion of your
Coverking® Front End Cover.
Note: Instructions for license plate opening. Cut out the indented,
rectangular area in the center of the cover, if you choose to use
your front license plate. Be sure to cut inside and as close to the
indentation as possible.
Step One
Orient the cover on the vehicle. The bottom of the cover will be
stamped on the inside. If necessary, slip the opening in the cover
around the license plate bracket.
04/03
Figure 7
Headlight Door
Front
Plastic strip - slip
under edge of
fender
Pocket - Hook over
corner
Figure 8
Figure 5
Step Five
Locate the plastic strips sewn across the bottom of the cover along
the front (see Figure 8). Slip them between the painted surface and
the black plastic molding.
View from Under Vehicle
Front
Plastic Strips
Figure 9
Plastic Clips
Step Six
Locate the six plastic clips sewn to the top of the cover between
the headlights (see Figure 9). Hook the clips to the ledge along the
front of the engine compartment.
Engine Compartment
Front Driver’s Side Shown
Outside
Note: Where available, always use the loops sewn to the cover to
remove the plastic clips. DO NOT PULL UP ON THE CLIPS OR THE
FABRIC TO REMOVE THE COVER. When removing the cover, it will be
easiest to reverse the installation steps.
“This completes the installation of your custom-designed front end
cover.”
Figure 10
Installing the Headlight Covers
Step One
Open the headlights all the way. Orient the covers on the vehicle.
The covers will be stamped “Driver” or “Passenger” on the inside.
First, slip the rear, outside corner of the cover over the rear, outside
corner of the headlight door (see Figure 10). Second, slip the front,
inside corner of the cover over the door. Third, install the rear,
both headlight covers.
Use loop to remove plastic clip
Step Three
Pull the cover up over the fenders and slip the reinforced pocket
between the fender and the side of the headlight door (see Figure
6).
Plastic Clip - Hook to edge of
fender
Wheel Well
Keyhole Clips
Figure 6
Headlight Door
Front
Fender
Reinforced Pocket -
Slip between fender
and headlight
Engine Compartment
Step Four
Slide the pocket sewn into the cover over the corner of the fender
behind the headlight. Locate the plastic strip and slip it between
the edge of the fender (see Figure 7). Repeat Steps Three and Four
on the other side of the vehicle.
Note: Turn the wheels for easier access to the wheel wells.
Step Two
Raise the headlights about 75% of the way up by turning the
manual knob located next to the headlight. Pull the cover back to
one of the wheel wells and locate the plastic clip in the top of the
wheel well and hook it to the edge of the fender. (See Figure 5).
Then locate the three keyhole clips sewn to the cover. Hook the
keyhole clips over the rivets and washers in the wheel well. Pull the
cover around the front of the vehicle and attach it to the opposite
wheel well.
CH1131 3CH1131 2