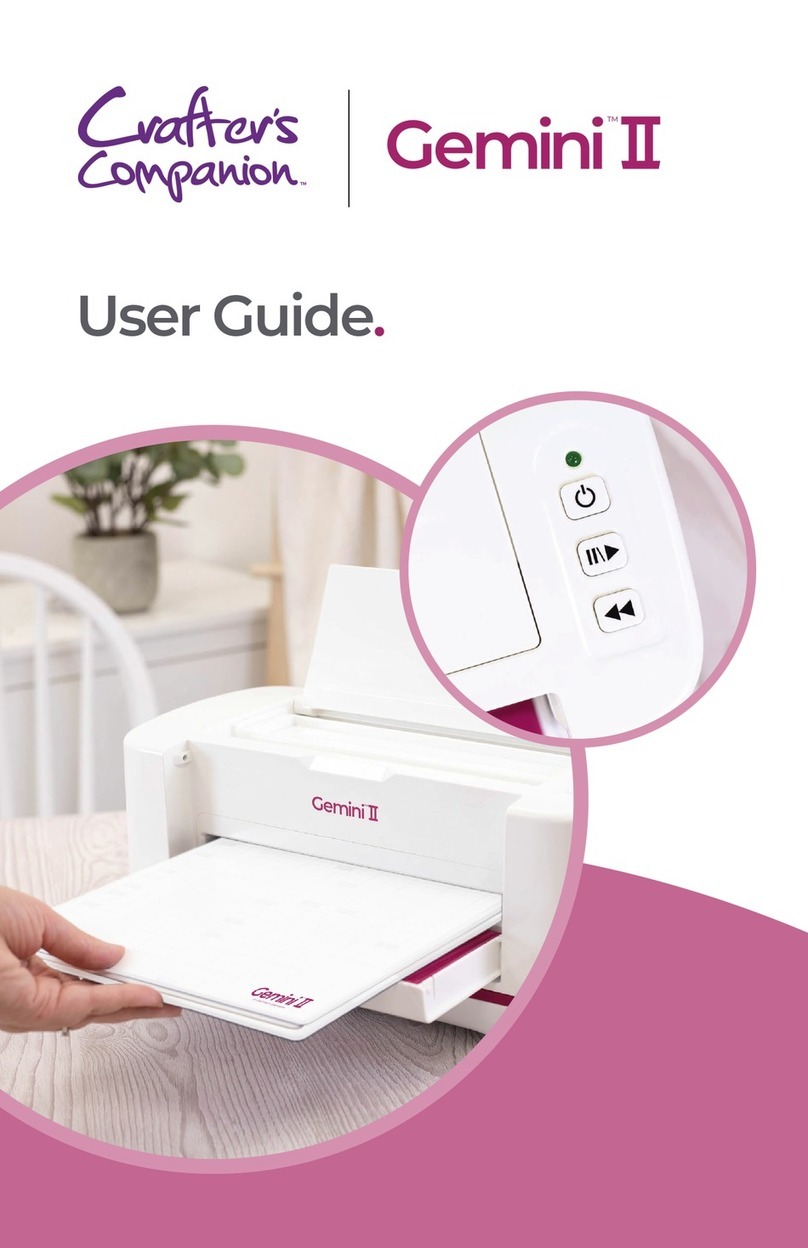
Crafter's Companion Gemini User manual

TWIN-FUNCTION
DIE CUTTER & EMBOSSER
USER GUIDE

ENG
USER GUIDE
Congratulations on purchasing the Gemini™ Twin-Function Die Cutting & Embossing
Machine. Offering an extra wide opening and oversized platforms, the Gemini™ provides
edge-to-edge cutting of letter and A4 size materials such as thick paper, card, vinyl, fabric and
foil.
Perfect for all kinds of decorative and craft applications –Scrapbooking, Card Making, Paper or
Fabric Embellishments, Table Décor & much more.
IN THE BOX
•
Gemini™ Die Cutter & Embosser
•
Rubber Embossing Mat
•
Clear Cutting Plate
•
16 Die’sire Dies™
•
Base Cutting Plate
•
3 Embossalicious™ Embossing
•
Metal Cutting Plate
Folders
• Power Cord
•
Magnetic Shim
•
User Guide
•
Plastic Shim
A NOTE ABOUT PRESSURE
The Gemini™ is very powerful and designed to exert a lot of pressure – which allows for
cutting very intricate dies. The amount of pressure on the die can be increased or decreased
depending on the combination of plates and shims you use.
SANDWICHING THE PLATES
To feed a die through the Gemini™ you must first sandwich it between the included plates and
shims. The Cutting Plate and the Base Cutting Plate should always be the top and bottom
plates of this sandwich. These are the only two plates which should ever touch the rollers. The
combination between the cutting plates is flexible. The standard starting combination is as
follows (top down):
• Clear Cutting Plate
• Material to be cut
• Die (blade side up)
•Magnetic Shim
•Plastic Shim
•Base Cutting Plate
This combination is suitable for most thin metal dies. Thicker metal dies (such as Crafter’s
Companion™ mixed media dies, or other brands of deep-dish dies) will need a different
configuration (see pages 4-6). Our suggestion is that you always start with this sandwich when
using a new style or brand of thin metal die –then, if you require more or less pressure you can
adjust your sandwich accordingly.
NOTE:Because of the high level of pressure in the machine, the cutting plates will naturally bow over
time –this does not affect the performance of the plates or the machine, but you can reduce bowing on
the plates by rotating and flipping them between each pass. Replacement plates are also readily
available at crafterscompanion.com.
ENG-1

USING SHIMS
For very intricate dies you may want to add additional shims to your sandwich to increase the
amount of pressure on your die. The 2 additional shims provided in your box are as follows:
•The Metal Shim: This thin shim can be added at any level of the sandwich to increase
pressure, but when placed above the material you are cutting you will get a stronger
cut.
•The Magnetic Shim: The best use for the Magnetic Shim is beneath your die as a
positioning plate for holding your die in place. This shim should never be used above
your die, as the die can cut directly through the Magnetic Shim.
•NOTE: For thinner dies, you can increase the pressure very slightly by simply using a piece of paper
as an additional shim between the Plastic Shim and the Base Cutting Plate.
Our recommendation is that you adjust the plate and shim combination depending on the level
of intricacy of the die. Some especially intricate dies may need to be fed through the machine
2-3 times.
NOTE: Additional shims aren’t recommended for simple dies, as they would create too much
pressure. Over-pressuring a die can cause the material you are cutting to buckle or warp, as well as
increase the bowing of the cutting plates. We recommend when using a new die for the first time, to
try various shim combinations until you achieve the result you require and are happy with.
OPERATING YOUR GEMINI™
Power Pause /Resume Reverse
•Place the Gemini™ on a dry, level surface.
•Connect the power plug to the back of the machine.
•Press the Power Button to turn the unit on.
•Insert the platform combination into the front of the machine.
•The motor will start and pull the platforms into the machine.
•The motor will stop automatically.
•Remove the platform combinations from the back of the machine after the motor
stops.
•To stop the forward motion of the platforms, press the Pause/Resume button.
•To resume forward motion, press Pause/Resume again.
•To reverse out the platforms, press the Reverse button.
The Gemini™ is equipped with safety sensors to prevent accidental motor activation.
Only use Gemini™ platforms in order to correctly operate the machine.
Do not force platforms into the Gemini™. In the event that the Gemini™ senses that the
combination is too thick to run through the rollers, it will stop the forward motion and reverse
automatically. Verify the platform combination before feeding it into the machine again. Also
check that you are not trying to cut or emboss too many layers of material at one time.
ENG-2

CUTTING THIN METAL DIES
Recommended Combination: Base Cutting Plate on the bottom, then the Plastic Shim,
Magnetic Shim, Die, Material to be cut, and Clear Cutting Plate on top.
Clear Cutting Plate
Material to be cut
Die (blade side up)
Magnetic Shim
Plastic Shim
Base Cutting Plate
•Start with the Base (Purple) Cutting Plate on the bottom.
•Place the Plastic Shim on top of it.
•Place the Magnetic Shim on top of the Plastic Shim, magnet side up.
•Position the cutting die, blade side up, with the smooth side facing the
Magnetic Shim.
•Place your Material on top of the die.
•Place the Clear Cutting Plate on top of the Material to be cut.
•Align the platform combination and feed it into the Gemini™.
•Release your hold on the platform combination once the motor begins to pull it into the
machine.
CUTTING VERY INTRICATE DIES
Very intricate dies, may by the very nature of their design, require the addition of the metal
cutting plate into the sandwich to improve cutting performance and may also require being
passed through the machine two or three times. This is not related to how much “pressure” is
applied to the die in cutting, but by the detail in the design of the die you are cutting.
Recommended Combination: Base Cutting Plate on the bottom, then the Plastic Shim,
Magnetic Shim, Die, Material to be cut, Metal Cutting Plate, and Clear Cutting Plate on top.
Clear Cutting Plate
Metal Cutting Plate
Material to be cut
Die (blade side up)
Magnetic Shim
Plastic Shim
Base Cutting Plate
ENG-3

•Start with the Base (Purple) Cutting Plate on the bottom.
•Place the Plastic Shim on top.
•Place the Magnetic Shim on top of the Plastic Shim, magnet side up.
•Position the die, blade side up, with the smooth side facing the Magnetic Shim.
•Place your Material on top of the die.
•Place the Metal Cutting Plate on top of the Material to be cut.
•Place the Clear Cutting Plate on top of the Metal Cutting Plate.
•Align the platform combination and feed it into the Gemini™.
•Release your hold on the platform combination once the motor begins to pull it into the
machine.
DIE’SIRE™ MIXED MEDIA DIES
Die’sire™ Mixed Media Dies are manufactured deeper than traditional thin metal dies, which
allow you to cut a variety of different materials for your mixed media projects. Because they’re
a little deeper you will need to alter the plate configuration to accommodate for this.
Recommended Combination: Base Cutting Plate on the bottom, then the Plastic Shim,
Die, Material to be cut, and Clear Cutting Plate on top.
Clear Cutting Plate
Material to be cut
Die (blade side up)
Plastic Shim
Base Cutting Plate
•Start with the Base (Purple) Cutting Plate on the bottom.
•Place the Plastic Shim on top of it.
•Position the cutting die, blade side up, with the smooth side facing the Plastic Shim.
•Place your Material on top of the die (up to 6 pieces of thin fabric).
•Place the Clear Cutting Plate on top of the Material to be cut.
•Align the platform combination and feed it into the Gemini™.
•Release your hold on the platform combination once the motor begins to pull it into the
machine.
NOTE: The illustration above shows 6 layers of thin cotton fabric –Die’sire™ Mixed Media Dies will cut
a variety of different materials, however we recommend that the total thickness of the material you are
cutting should be no more than 2mm. Performace of the die and machine will differ depending on the
density of the material, take care when trying new materials.
ENG-4

EMBOSSING WITH CRAFTER’S COMPANION™ DIES
Recommended Combination: Base Cutting Plate on the bottom, then the Plastic Shim,
Die, Material to be embossed, Rubber Embossing Mat, and Clear Cutting Plate on top.
Clear Cutting Plate
Rubber Embossing Mat
Material to be embossed
Die (blade side up)
Plastic Shim
Base Cutting Plate
•Start with the Base (Purple) Cutting Plate on the bottom.
•Place the Plastic Shim on top of it.
•Position the cutting die, blade side up, with the smooth side facing the Plastic Shim.
•Place your Material on top of the die. Important: If you have just cut the die your
Material will still be inside the die –do not remove it. Remove the Magnetic Shim
and/or the Metal Cutting Plate, and continue as follows with your die in place:
•Place the Rubber Embossing Mat on top of the Material.
•Place the Clear Cutting Plate on top of the Rubber Embossing Mat.
•Align the platform combination and feed it into the Gemini™.
•Release your hold on the platform combination once the motor begins to pull it into the
machine.
EMBOSSING WITH FOLDERS
Recommended Combination: Base Cutting Plate on the bottom, then the Embossing Folder
with the Material inside, and Clear Cutting Plate on top.
Clear Cutting Plate
Embossing Folder with
Material inside
Base Cutting Plate
•Place the Material to be embossed inside the embossing folder.
•Place the embossing folder between the Base (Purple) and Clear plates.
•Align the platform combination and feed it into the Gemini™.
•Release your hold on the platform combination once the motor begins to pull it into the
machine.
NOTE: If you are embossing very thin material (such as vellum or acetate), you can decrease the
pressure by placing a piece of thin copy paper inside the embossing folder.
ENG-5

TROUBLE SHOOTING
No Power:If the Gemini™ does not turn on, check that the plug is inserted completely into the
back of the machine, and that the plug is fully inserted into the wall socket. Check that the wall
socket is live by plugging in another device.
The Gemini™ Stops and Reverses: Verify the platform combination before feeding it into
the machine again. Check that the plates are aligned correctly and that no material is
protruding or touching the inside of the machine. Also check
that you are not trying to cut or emboss too many layers of material at one
time.
The Gemini™ stops after 60 minutes of continuous use:The Gemini™ is equipped with a
heat sensor to protect the motor. Allow the unit to cool down for 25 minutes before resuming
operation.
Shallow Emboss or Cut:Verify that your folder or die is not damaged. Add a shim on top of the
Base Cutting Plate to increase pressure.
GENERAL CARE AND SAFETY WARNINGS
•To clean, wipe the exterior with a soft, dry cloth. Do not use abrasive cleaners or rough
surface sponges.
•This product is intended for children aged 14+ and should not be used by younger
children without adult supervision.
•Keep hands away from plates and other parts in motion.
•Be aware that loose fitting clothing can get caught between plates and be pulled
into the machine.
•Do not disable the safety sensors and override the motor controls.
LIMITED WARRANTY
Crafter’s Companion™ warrants the Gemini™ against defects in materials and workmanship
under ordinary consumer use for one year (or longer depending on country specific regulations)
from the date of original retail purchase. During this warranty period, if a defect arises in the
Gemini™, and you follow the instructions for returning the Gemini™, we will at our option, to the
extent permitted by law, either (i) repair the Gemini™ using either new or refurbished parts, (ii)
replace it with a new or refurbished machine that is equivalent to the machine to be replaced, or
(iii) refund to you all or part of the purchase price of the machine. All replaced parts and
machines for which a refund is given shall become our property. This limited warranty applies
only to hardware components that were not subject to accident, misuse, neglect, fire or other
external causes, alterations, repair, or commercial use. For complete details of the Limited
Warranty, visit www.crafterscompanion.co.uk or
www.crafterscompanion.com.
ENG-6

Table of contents
Other Crafter's Companion Cutter manuals