manuals.online logo
Brands
  1. Home
  2. •
  3. Brands
  4. •
  5. Craftsman
  6. •
  7. Remote Control
  8. •
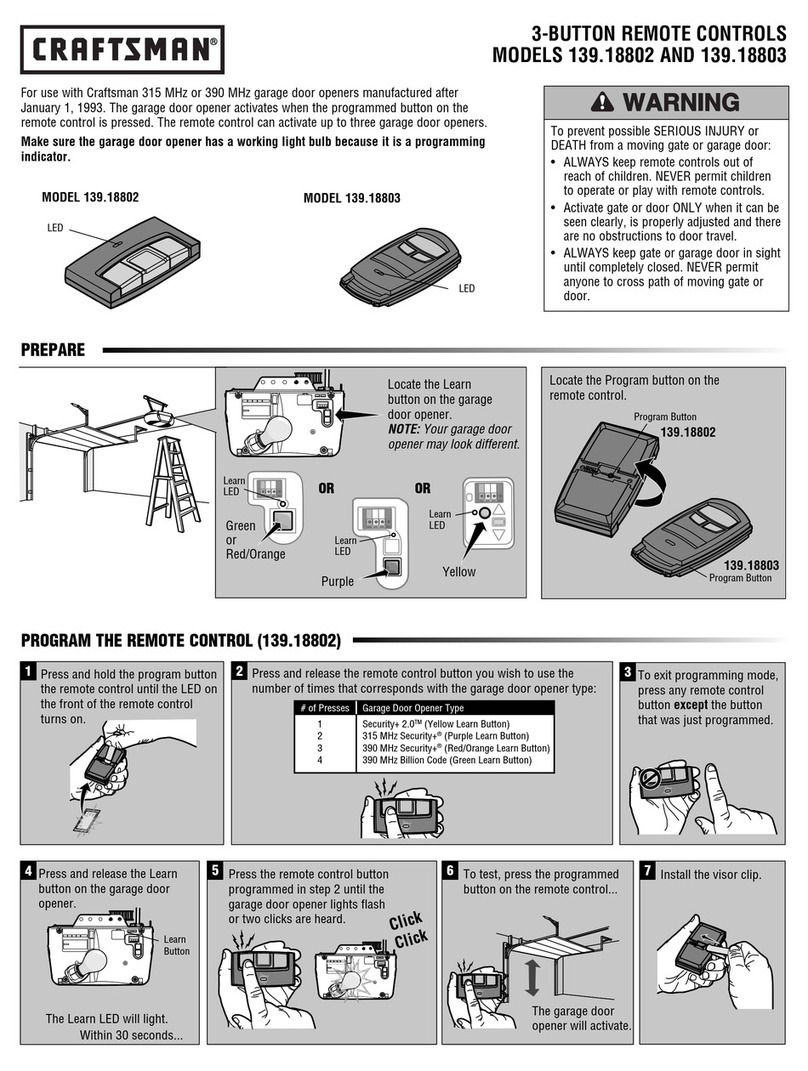
  9. Craftsman Security+ 139.53681 User manual

Craftsman Security+ 139.53681 User manual

FT ®
OWNER'S MANUAL
JTO comply wire FOG ru_es, ad]u_ o( mod_ftcalJoe,sof _[.s reo_0r at_or
transmitter eta p_, ex_p! k_ _tt_o code _,etttn_ or repla_r_ t_,
battery THERE ARE NO OTHER USER SERVICEABLE PARTS,
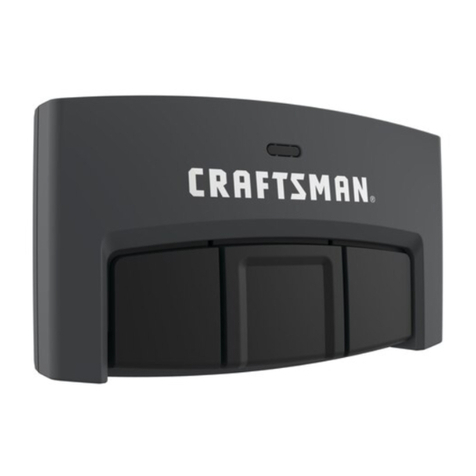
The Security+ remote control (with blue push buttons)
works only with rolling i:ode door openers and light
controls (with an orange SRT button and yellow
Indicator light). The code between the remote control
and the receiver changes wtth each use, randomly
accessing over 100 billion new codes.
Instructions are given below for programming your
opener to match the remote control's code. The
additional remote control buttons can also activate
other Security÷ garage door openers and/or light
controls. (InstrucUons for programming light products
are Included with those accessories.)
SECURITY,4t, Garage Door Openers
Program the Opener to Accept
the Remote Control Code
Select a remote control push button to operate the
receiver° The large button is recommended for use with
the garage door opener.
ff you have aPremium Control Console:
1: W?th the door closed, press and hold the selected
remote push button. See Figure 1.
2. Press and hold the Light button on the door control,
.Figure 2
3. Press and hold the door control push button.
4. After the opener light flashes, release all buttons.
ff you do not have a Premium Control Console:
1. Press and hold the selected remote push button. See
Figure 1o
2. Press and release the.SRT (learn) button on the opener
panel. See Figure 3oThe indicator light on the panel wili
begin to blink and the opener light wili flash once,
3 Release the remote p_sh butt6n.
Now the opener will operate when that remote control
button is pressed,rTest it by pressing the remote button to
see that the door goes up and down,,
To Erase All Remote Control Codes
Press and hold the SRT button on the opener panel until
the indicator light turns off (about 6 seconds). All remote
codes are now erased, Then follow the steps above to re-
program each remote control.
Model 139.53681 SEtCUI{I'_[3',_
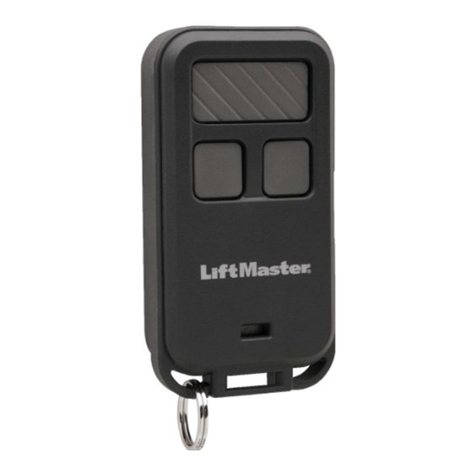
3-Function Remote Control
Model 139.53680 S]ECUBII"t',I,;
Compact 3-Fun_ttnn _€,mnt_, t'_-nnfroI
Children operating or playing with a garage door
opener can Injure themselves or others. The
garage door could close and cause serious Injury
or death. Do not allow childr.en to operate the door
push button(s) or remote control(s).
Amoving garage door could injure or kill someone
under It. Activate the opener only when you can
see the door clearly, It is free of obstructions, and
Is properly adjusted.
u,n,, i, u
Figure 1
Select a remote cont.,-o_push button
(_) Compact
3-Function lf_ 3-Function
Remote Control _ Remote Control
Figure 2
DoorControl
Pushbutton
Ught
Premium
Control Console
Figure 3 SECURITY+ Garage Door Opener
Orange _ _ "_ F'Aq
SRT (learn) | _ _ L_J
Button "---._
Yellow { [lj-'7)'__
Indicat°r__i____-../-
Ugl_t
Code programming instructions are also
located on the opener panel.
To Control the Opener Ligtlt (Premium Consoles)
With SECURITY+ remote controEs, a push button can be
programmed to operate the opener light without opening
the door.
1_ With the door closed, press and hold the remote button
that you want to control the light
2. Press and hold the Light button on the door control.
3 Press and hold the Lock button on the door control.
4. After the opener light flashes, release aHbuttons,
Test by pressing the remote push button, The opener light
should turn on or off but the door shouid not move.
3-FUNCTION
Openthisend
hous__
COMPACT "_
to open _.j_
The Remote Control Batteries
The lithium batteries should
produce power for up to 5years_
To replace batteries, use the visor
clip or screwdriver blade to pry
open the case, as shown. ("Open"
location i_ stamped on back of
case.) Insert batteries positive
side down.
Replace cover as follows:
3-Function remote -Insert the 3 tabs at the opposite end
and snap shut. Compact remote -Snap shut along both
sides,
Dispose of old batteries properly.
Replacement Parts:
SECURITY+ 3-Function remote control
housing only (no circuit board) ........... 41A5032
SECURITY+ Compact remote control
housing only (no circuit board) ........... 41A5062
3V 2016 Uthium Battery .......................... IOA19
(2 required) or
3V 2032 Uthium Battery ...................... 10A20
(1 required)
Visor Clip ....................................... 29B134
When ordering parts, always provide the following
information:
-Product Type ,Part Number
-Model Number •Part Description
For the repair or replacement parts you need
Call 7 am - 7pm, 7 days a week
1-800-366-PART
(1-800-366.-7278)
=r.
©1997, Sears Roebuck & Company
114A2110B All Righ_ Reserved Printed in Mexico

This manual suits for next models

1

Other Craftsman Remote Control manuals

Craftsman Security+ EntryEase 139.53555 User manual

Craftsman

Craftsman Security+ EntryEase 139.53555 User manual

Craftsman 139.18802 User manual

Craftsman

Craftsman 139.18802 User manual

Craftsman 139.21242 User manual

Craftsman

Craftsman 139.21242 User manual

Craftsman Security+ 139.53752 User manual

Craftsman

Craftsman Security+ 139.53752 User manual

Craftsman 139.21255 User manual

Craftsman

Craftsman 139.21255 User manual

Craftsman CMXZDCG453 User manual

Craftsman

Craftsman CMXZDCG453 User manual

Craftsman CMXZDCG453 User manual

Craftsman

Craftsman CMXZDCG453 User manual

Craftsman 139.30499 User manual

Craftsman

Craftsman 139.30499 User manual

Craftsman SECURITY 139.5368 User manual

Craftsman

Craftsman SECURITY 139.5368 User manual

Craftsman 57999 User manual

Craftsman

Craftsman 57999 User manual

Craftsman SECURITY+ 139.53682 User manual

Craftsman

Craftsman SECURITY+ 139.53682 User manual

Popular Remote Control manuals by other brands

Philips Universal SBC RU 151 Gebruiksaanwijzing

Philips

Philips Universal SBC RU 151 Gebruiksaanwijzing

Radio Shack 6-in-1 Remote Control owner's manual

Radio Shack

Radio Shack 6-in-1 Remote Control owner's manual

Hunter 99372 user manual

Hunter

Hunter 99372 user manual

DirecTV RC65 How to Do

DirecTV

DirecTV RC65 How to Do

Dolphin DB0700014 user guide

Dolphin

Dolphin DB0700014 user guide

Starline Twin QAFT 4T quick start guide

Starline

Starline Twin QAFT 4T quick start guide

Xunison BLE RCU user manual

Xunison

Xunison BLE RCU user manual

Durablow TR1003 Installation & operating instructions

Durablow

Durablow TR1003 Installation & operating instructions

Hama Nano Bluetooth USB Adapter operating instructions

Hama

Hama Nano Bluetooth USB Adapter operating instructions

PSA LIFESAVER LIF6000THL user guide

PSA

PSA LIFESAVER LIF6000THL user guide

Sony RM-PP505 - Remote Control For Strde875 operating instructions

Sony

Sony RM-PP505 - Remote Control For Strde875 operating instructions

Carrier RG10L1/BGEF owner's manual

Carrier

Carrier RG10L1/BGEF owner's manual

ARO MAC2650C manual

ARO

ARO MAC2650C manual

Crestron Prodigy PLX3 quick start guide

Crestron

Crestron Prodigy PLX3 quick start guide

Solatube HSE user manual

Solatube

Solatube HSE user manual

Targus CONTROL MAX AMP068 user guide

Targus

Targus CONTROL MAX AMP068 user guide

Westfalia 96 11 02 instruction manual

Westfalia

Westfalia 96 11 02 instruction manual

Daikin BRC1H519W Installation and operation manual

Daikin

Daikin BRC1H519W Installation and operation manual

manuals.online logo
manuals.online logoBrands
  • About & Mission
  • Contact us
  • Privacy Policy
  • Terms and Conditions

Copyright 2025 Manuals.Online. All Rights Reserved.