manuals.online logo
Brands
  1. Home
  2. •
  3. Brands
  4. •
  5. Craftsman
  6. •
  7. Remote Control
  8. •
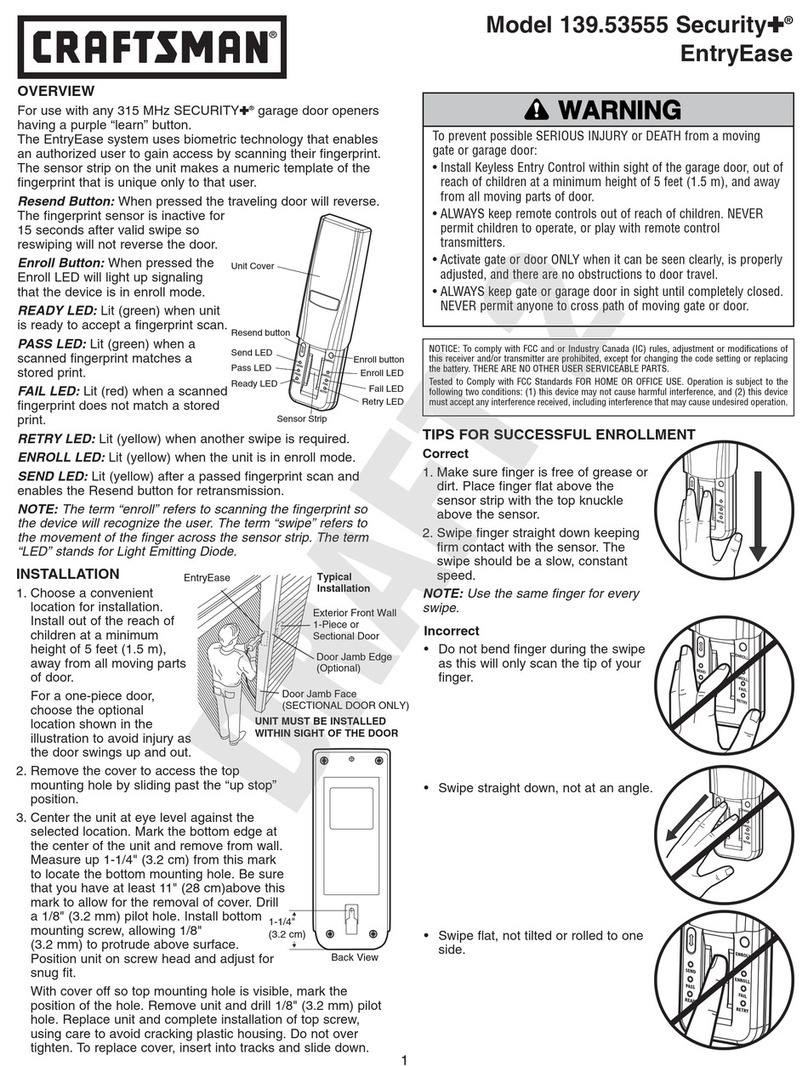
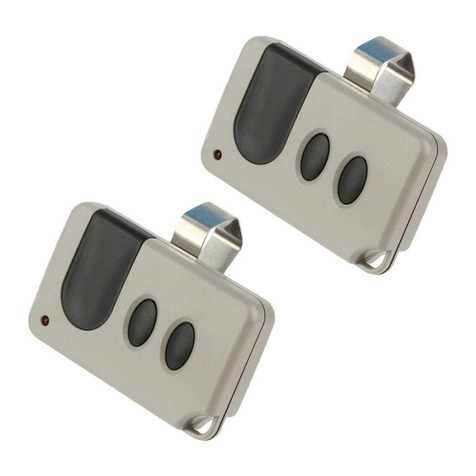
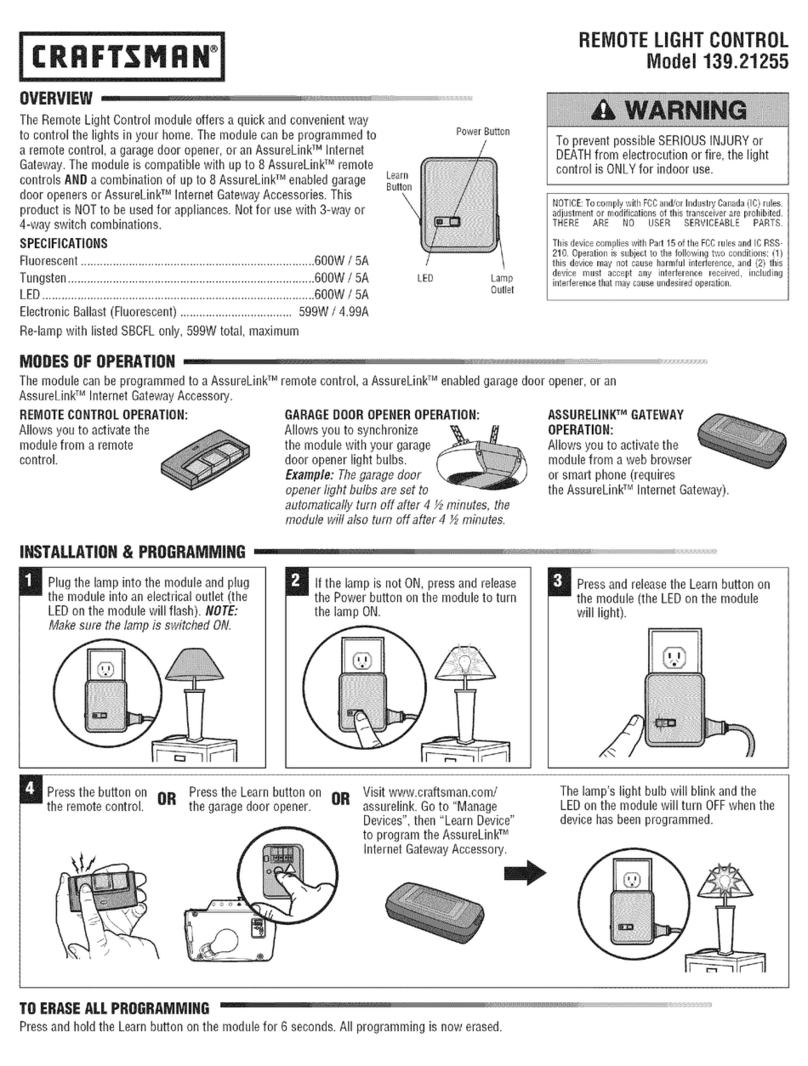
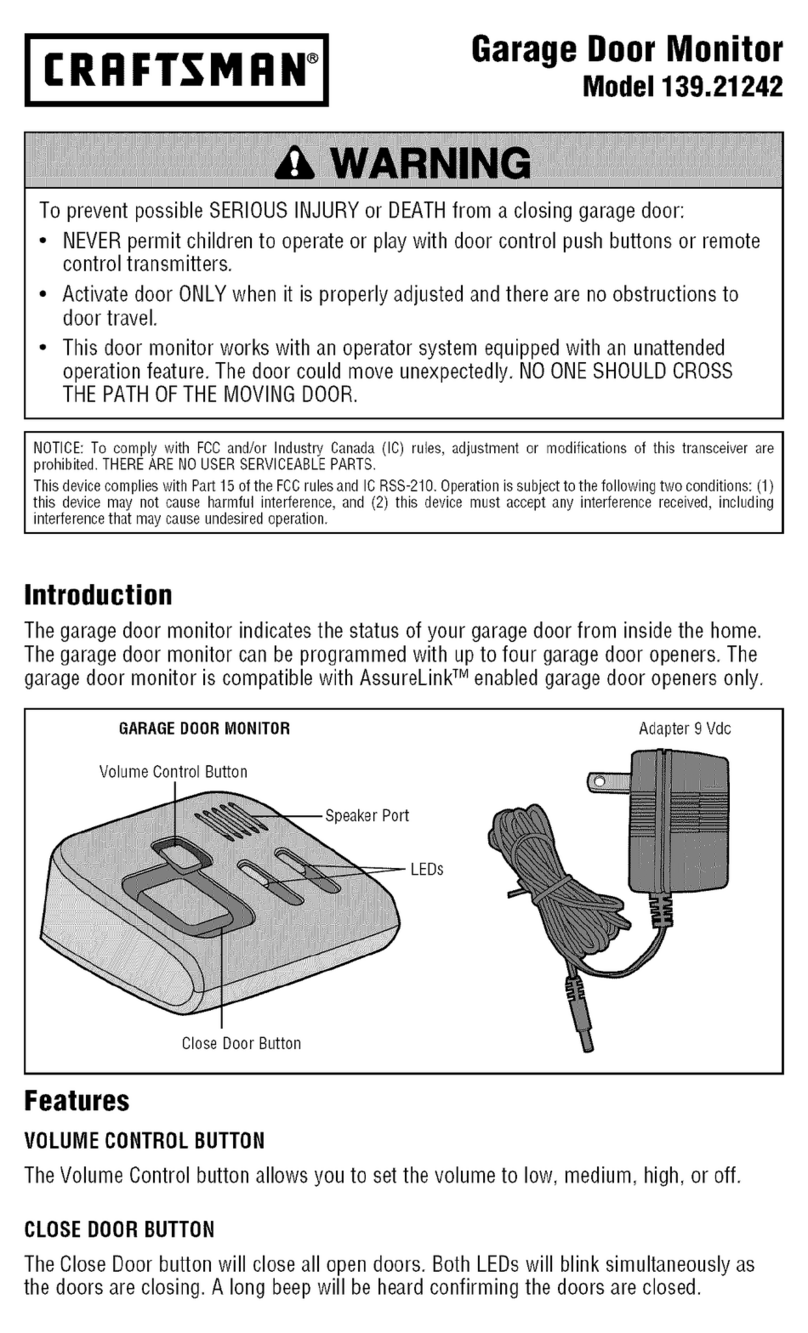
  9. Craftsman SECURITY+ 139.53682 User manual

Craftsman SECURITY+ 139.53682 User manual

CRRFTSMRN ®
OWNER'S MANUAL
Children operating or playing with s garage door
opener can injure themselves or others. The
garage door could close and cause serious injury
or death.
Install the receiver (or any additional push
buttons) out of the reach of children and away
from all moving parts of the door and door
hardware, but where the garage door is visible.
Do not allow children to operate the push
button(s) or the remote control(s).
A moving garage door could injure someone
under it. Activate the opener only when the door
is properly adjusted, you can see it clearly, and
there are no obstructions to door travel•
DISCONNECT POWER TO THE GARAGE DOOR
OPENER REFOREPROCEEDING.
The SECURITY+ Universal Remote Control
Conversion Kit consistsof areceiver and remote
control(s). This accessory will convert almost any garage
door opener to rollingcode technology. The remote control
sends a coded signal from outside the garage. Inside the
garage, the plug-inreceiver accepts the transmittedsignal
and startsthe door opener. With Security+, the code
between the remote control and the receiver changes with
each use, accessing over 100 billionnew codes.
IMPORTANT: To improve the security of your opener,
discard your old remote controls end erase or reset
your code. For maximum security and range, you
must disable the existing receiver on your opener,
otherwise it could still activate your opener:
•Ifthere is an external receiver, disconnect power to it.
•If it is an integrated receiver, either clip offthe
component that feeds power to the receiver or
remove the tuning slug and antenna from the receiver
section. If you have a different brand of opener,
contact the manufacturer for additional information on
disabling the existing receiver.
•If you have a Sears opener with an SRT receiver,
erase the old codes by holding down the SRT button
for 6 seconds until the indicator light turns off.
•If you have code switches, reset them to a random
code and deactivate the receiver as follows: On the
opener panel, peel
back the lower right _I_ I_
corner of the label to
expose the tuning
slug (closest tothe
antenna), as shown.
Remove the slug
with asmall hex
head wrench and cut
the antenna wire.
Cut
Antenna
Tuning
-- Slug
.Peal beck label
at comet
SECURITY,F
Universal Remote Control
Conversion Kit
Model 139.53682 (With I Remote Control)
Model 139.53683 (With 2 Remote Controls)
To complywithFco rules,adjustmentsor modificationsof thr= reseivorand,/or
transmitterare prohibited,except for changingthe code set_g o_replacing
the ransmittorbattery.THERE ARE NO USER SERV CEABLEPARTS.
NOTICE TO U. S. CONSUMERS:
Some stat_sprohibitthe serviceor repairof garage dooropeners
wbchcannotbe madeto complywiththe safetystandardscontained
in UL325 (1988 revision).In ordertocomplywithboththeletterand
the spiritof these laws, this universalremote conttolconverterkit
shouldnotbe usedwith anySears Craftsman=garage dooropener
manufacturedpdorto Apdl1, 1982.
Power..
Aotuator Cover Indicator
Light
SRT ._
Indicator
ght
I
Antenna
!Terminals
"o _11 Wire
-Illico..-_act Bell Wire
L._ to Garage Door
•"_-- Opener Terminals
SRT (learn)
Actuator Belllwira
OPEN RECEIVER: Insert a small screwdriver in slot on
receiver front panel as shown• Twist up actuator cover.
CONNECT RECEIVER AND OPENER: Remove about
1/4" of insulation from each end of the 2-strand bell wire.
Connect one end to the receiver screw terminals
(polarity is NOT required). Route wire along the
channels and out the bottom as shown.
Connect the other end of the bell wire to the two opener
terminal screws labeled "2" (white) and "1" (red),
"common" and "command" or the terminals used for the
push button control.
Use insulated staples (not supplied) to secure bell wire
between receiver and opener. Length of bell wire
depends on where the receiver will be installed. Replace
the actuator cover.
Choose a 120Vac polarized outlet for the receiver which
is OUT OF THE REACH OF CHILDREN. Plug receiver
into selected outlet. Return power to the opener.
Side two contains code setting instructions and service
information,
PROGRAMMING THE RECEIVER
The receiver and remote control(s) have been
factory preset with a matching code. The door will
open when you press the LARGE push button. You
can activate your opener with up to eight
SECURITY.I. remote controls (with blue push
buttons) and one SECURITY+ Keylees Entry.
Ifyou purchase additional remote controlsto operate this
receiver:
1. Remove the receiver actuator cover.
2. Press and HOLD the selected remote controlpush
button (Illustration A).
3. Then press the SRT (learn) actuator on the receiver
(Illustration B). The adjacent indicator light will
FLASH. Release the remote control push button.
The opener will now operate when either the receiver
actuator or the remote control push button is pressed.
NOTE: If the remote control push button is not held
down until the receiver Indicator light flashes, the
receiver will not learn the code.
To erase ALL remote control codes from memory:
Press and HOLD receiver SRT actuator. Indicator
light alongside will glow. When the Indicator light
turns OFF (in about 6 seconds) ALL codes will be
erased.
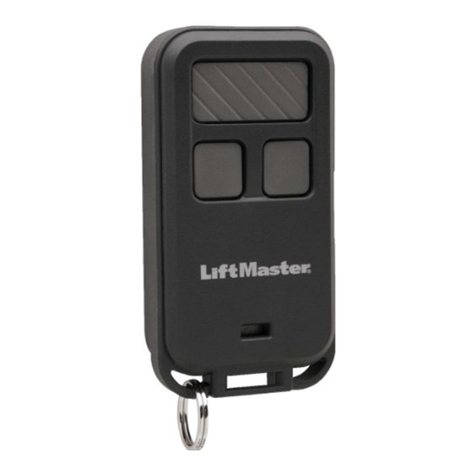
3-Function
Remote Control
A
Select a remote control push
button to operate receiver
UnlversalReceiver
BoSRT
(loam)
Actuator
/
Light
THE REMOTE CONTROL BATTERIES
Openthisend
firsttoavoid/_L--'_"_
cracking_sf_._-_<:_._--,"/
housin_
_:_ • Twist
toopen
The lithium batteries should
produce power for up to 5 years.
Replace batteries positive side
down, as follows: Use the visor
clip or screwdriver blade to pry
open the case as shown. To
replace the cover,insert the 3 tabs at the opposite end
and snap shut.
REPLACEMENT PARTS
Universal Receiver (complete) .................... 41.6,5041-1
Receiver Actuator Cover .......................... 41A4926
Remote Control Housing Only (no circuit board) ....... 41A5032
Visor clip ...................................... 29B134
3V 2032 Lithium Battery ............................ 10A20
(1 required for Remote Model 139.53681B)
3V 2016 Lithium Battery ............................ 10A19
(2 required for Remote Model 139.53681)
When ordering parts, always provide the following
information:
• Product Type
• Model Number • Part Number
• Part Description
For the repair or replacement parts you need
Call 7 am - 7 pm, 7 days s week
1-800-366-PART
(1-800-366-7278)
©1997, Sears Roebuck and Company
114A2125C All Rights Reserved Pdnted in Mexico

This manual suits for next models

1

Other Craftsman Remote Control manuals

Craftsman 139.21242 User manual

Craftsman

Craftsman 139.21242 User manual

Craftsman CMXZDCG453 User manual

Craftsman

Craftsman CMXZDCG453 User manual

Craftsman 57999 User manual

Craftsman

Craftsman 57999 User manual

Craftsman Security+ 139.53681 User manual

Craftsman

Craftsman Security+ 139.53681 User manual

Craftsman Security+ EntryEase 139.53555 User manual

Craftsman

Craftsman Security+ EntryEase 139.53555 User manual

Craftsman CMXZDCG453 User manual

Craftsman

Craftsman CMXZDCG453 User manual

Craftsman Security+ 139.53752 User manual

Craftsman

Craftsman Security+ 139.53752 User manual

Craftsman 139.30499 User manual

Craftsman

Craftsman 139.30499 User manual

Craftsman SECURITY 139.5368 User manual

Craftsman

Craftsman SECURITY 139.5368 User manual

Craftsman 139.18802 User manual

Craftsman

Craftsman 139.18802 User manual

Craftsman 139.21255 User manual

Craftsman

Craftsman 139.21255 User manual

Popular Remote Control manuals by other brands

Mitsubishi Electric PAR-SL97A-E Instruction book

Mitsubishi Electric

Mitsubishi Electric PAR-SL97A-E Instruction book

Kenwood KCA-RC35MR instruction manual

Kenwood

Kenwood KCA-RC35MR instruction manual

Philips SBCRU220/00 Instructions for use

Philips

Philips SBCRU220/00 Instructions for use

Kikusui PCR-LA Series Operation manual

Kikusui

Kikusui PCR-LA Series Operation manual

Extron electronics IR 801 Instruction guide

Extron electronics

Extron electronics IR 801 Instruction guide

Advanced Engineering Mimic quick start guide

Advanced Engineering

Advanced Engineering Mimic quick start guide

Vaillant 0020285219 operating instructions

Vaillant

Vaillant 0020285219 operating instructions

wallas 4430A Installation and operation instruction

wallas

wallas 4430A Installation and operation instruction

Panasonic WVCU650 - SYSTEM CONTROLLER ADDENDUM operating instructions

Panasonic

Panasonic WVCU650 - SYSTEM CONTROLLER ADDENDUM operating instructions

Cotek CR5 user manual

Cotek

Cotek CR5 user manual

Frigicoll Kaysun KI-02.3 S user manual

Frigicoll

Frigicoll Kaysun KI-02.3 S user manual

Entone Nova user guide

Entone

Entone Nova user guide

Sony PlayStation Portal instruction manual

Sony

Sony PlayStation Portal instruction manual

Paul C. Buff LG4X Operation instructions

Paul C. Buff

Paul C. Buff LG4X Operation instructions

RCA RCR6473R owner's manual

RCA

RCA RCR6473R owner's manual

Dimango HW1190 Instruction guide

Dimango

Dimango HW1190 Instruction guide

Broadcast Tools SRC-16 Plus Installation and operation manual

Broadcast Tools

Broadcast Tools SRC-16 Plus Installation and operation manual

Mitsubishi Electric PAR-SL94B-E installation manual

Mitsubishi Electric

Mitsubishi Electric PAR-SL94B-E installation manual

manuals.online logo
manuals.online logoBrands
  • About & Mission
  • Contact us
  • Privacy Policy
  • Terms and Conditions

Copyright 2025 Manuals.Online. All Rights Reserved.