manuals.online logo
Brands
  1. Home
  2. •
  3. Brands
  4. •
  5. Crestron
  6. •
  7. Accessories
  8. •
  9. Crestron FT2A-PWR-US-2-BX User manual

Crestron FT2A-PWR-US-2-BX User manual

Suitable for use in the US and other countries, the Crestron® FT2A‑PWR‑US‑2‑BX provides two
NEMA Type 5 AC power outlets for installation in Crestron FT2 FlipTop™ cable management
assemblies.
The fixed 6 ft (1.83 m) BX pigtail connects the FT2A‑PWR‑US‑2‑BX to an electrical box. The
FT2A‑PWR‑US‑2‑BX is rated for 10 A (total) at 125 V, 50/60 Hz.
NOTE: Only a qualified electrician should connect the module to the available electrical supply.
FT2A-PWR-US-2-BX
Power outlet module
BX pigtail
6 ft (1.83 m)
Check the Box
Item Qty
FT2A‑PWR‑US‑2‑BX 1
Install the Module
Install the power module into the FT2 FlipTop assembly. If the bezel and locking bars have not
been installed on the FT2 FlipTop assembly, skip to step 5.
NOTE: The FT2A‑PWR‑US‑2‑BX uses three module slots. For ease of installation, install power
outlet modules before installing any other module.
To install the power outlet module:
1. Tap the lid retraction button to retract the one‑touch lid, which disappears into the FT2
FlipTop assembly. If the assembly has two lids, retract both.
2. Remove and retain the magnetic bezel from the FT2 FlipTop assembly by grasping the
inside of the bezel and firmly pulling it up and away from the assembly until the magnetic
hold is broken.
3. Use a manual torque screwdriver to unscrew, remove and retain the two locking bars on
either side of the module row where the module is to be installed.
Remove Two Locking Bars
Locking bars (3)
4. Lift and remove the modules to be replaced.
5. Insert the new module’s BX pigtail cable through the empty module slots.
6. Orient the module as shown in the following illustration and slide it down into the
appropriate module slots. Use the guide ribs on the front and rear of the module to help
position it in the assembly.
Position the Module
FT2A-PWR-US-2-BX
7. Confirm that all modules are level with their surroundings and place the locking bars
(removed in step 3) into position so that the screws on either side engage the screw holes
in the assembly.
8. Use a manual torque screwdriver set to its lowest possible setting to tighten the locking
bar screws until the lock bars are secured to the FT2 FlipTop assembly.
9. Place the bezel (removed in step 2) onto the FT2 FlipTop assembly so that the retractable
lid fits inside the bezel opening. The bezel is held in place by magnets.
Attach the Bezel
The retractable
lid fits inside
this opening in
the bezel.
Retractable lid
Lid retraction button
Wire the Module
Wire the FT2A‑PWR‑US‑2‑BX pigtail cable in accordance with appropriate electrical codes and
regulations.
Operate the Module
To operate the power outlet module:
1. Tap the lid retraction button to retract the one‑touch lid, which disappears into the FT2
FlipTop assembly.
2. Connect the device needing power to one of the available outlets on the module.
3. Confirm that the power indicator on the device shows that the device is receiving power.
FT2A-PWR-US-2-BX
AC Power Outlet Module for FT2 Series
Additional Information
Scan or click the QR code for detailed product information.
FT2A‑PWR‑US‑2‑BX
Compliance and Legal
Original Instructions: The U.S. English version of this document is the original instructions. All other languages are a translation
of the original instructions.
Regulatory Model: M201907002
Federal Communications Commission (FCC) Compliance Statement
This device complies with part 15 of the FCC Rules. Operation is subject to the following conditions: (1) This device may not
cause harmful interference and (2) this device must accept any interference received, including interference that may cause
undesired operation.
CAUTION: Changes or modifications not expressly approved by the manufacturer responsible for compliance could void the
user’s authority to operate the equipment.
NOTE: This equipment has been tested and found to comply with the limits for a Class B digital device, pursuant to part 15
of the FCC Rules. These limits are designed to provide reasonable protection against harmful interference in a residential
installation. This equipment generates, uses and can radiate radio frequency energy and, if not installed and used in
accordance with the instructions, may cause harmful interference to radio communications. However, there is no guarantee
that interference will not occur in a particular installation. If this equipment does cause harmful interference to radio or
television reception, which can be determined by turning the equipment off and on, the user is encouraged to try to correct the
interference by one or more of the following measures:
• Reorient or relocate the receiving antenna.
• Increase the separation between the equipment and receiver.
• Connect the equipment into an outlet on a circuit different from that to which the receiver is connected.
• Consult the dealer or an experienced radio/TV technician for help.
This product is Listed to applicable UL® Standards and requirements tested by Underwriters Laboratories Inc.
The product warranty can be found at www.crestron.com/warranty.
The specific patents that cover Crestron products are listed at www.crestron.com/legal/patents.
Certain Crestron products contain open source software. For specific information, visit www.crestron.com/opensource.
Crestron, the Crestron logo, and FlipTop are either trademarks or registered trademarks of Crestron Electronics, Inc. in
the United States and/or other countries. Other trademarks, registered trademarks, and trade names may be used in this
document to refer to either the entities claiming the marks and names or their products. Crestron disclaims any proprietary
interest in the marks and names of others. Crestron is not responsible for errors in typography or photography.
©2019 Crestron Electronics, Inc.
Crestron Electronics, Inc.
15 Volvo Drive, Rockleigh, NJ 07647
Tel: 888.CRESTRON
Fax: 201.767.7576
www.crestron.com
Quick Start - Doc. 8511A
(2054350)
09/06/19
Specifications subject to
change without notice.
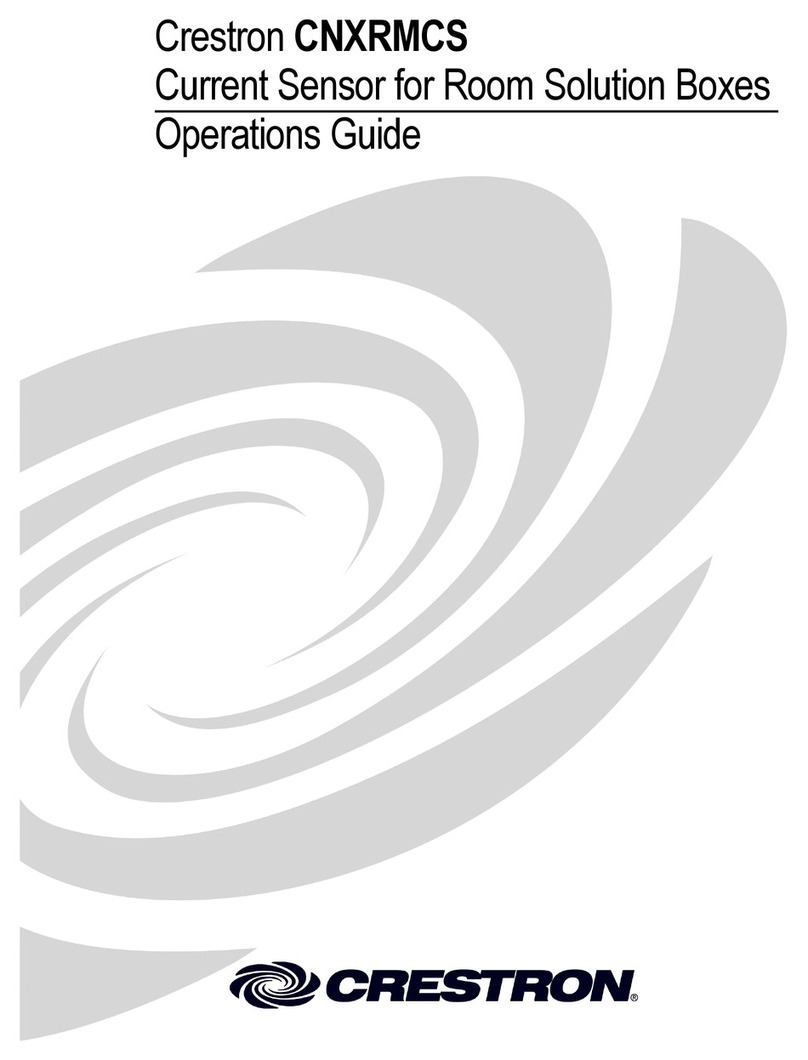
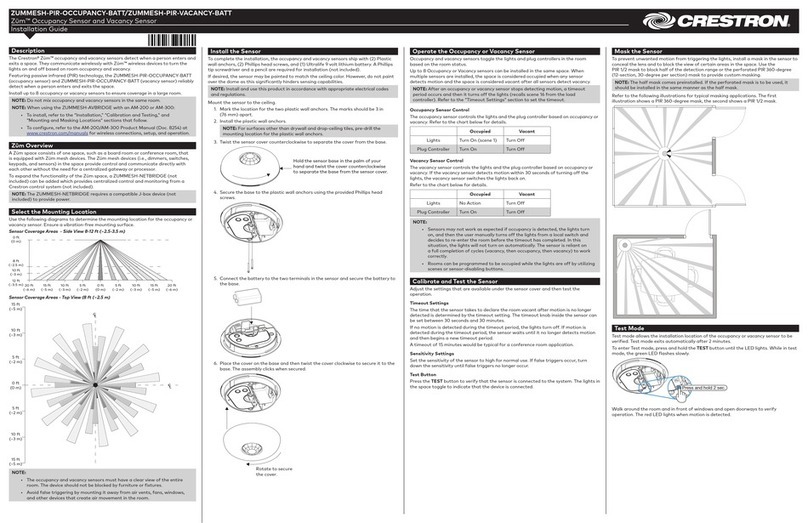
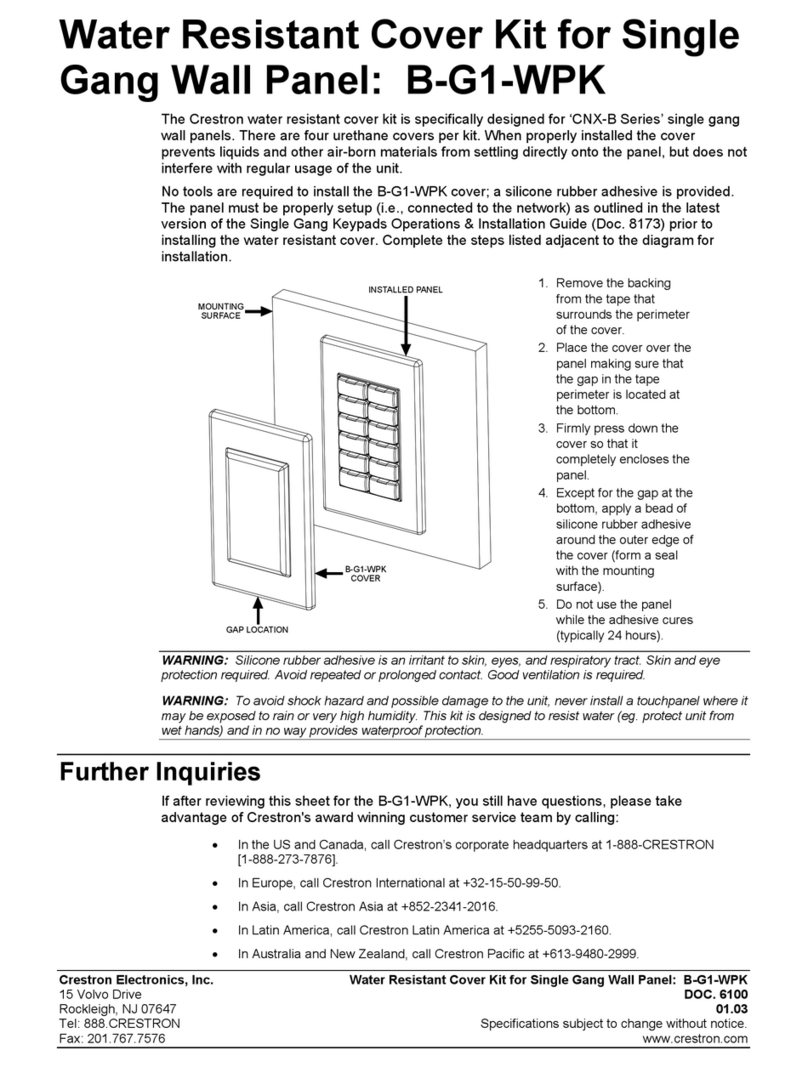
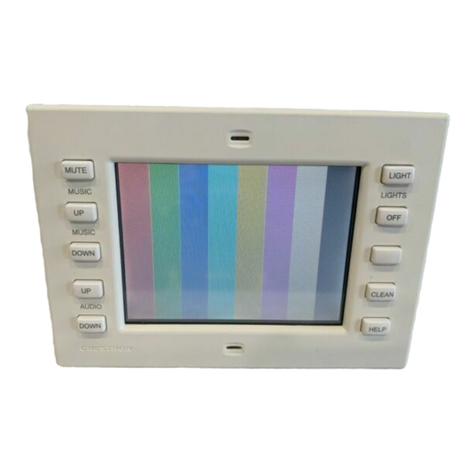
Other Crestron Accessories manuals

Crestron GLS-ODT-C-CN User manual

Crestron

Crestron GLS-ODT-C-CN User manual

Crestron Dual-Technology Wall Mounted Occupancy Sensor... How to use

Crestron

Crestron Dual-Technology Wall Mounted Occupancy Sensor... How to use

Crestron B-G1-FPAR User manual

Crestron

Crestron B-G1-FPAR User manual

Crestron B-G1-WPK User manual

Crestron

Crestron B-G1-WPK User manual

Crestron Zum ZUMMESH-PIR-OCCUPANCY-BATT User manual

Crestron

Crestron Zum ZUMMESH-PIR-OCCUPANCY-BATT User manual

Crestron AirBoard CCS-WB-1 Owner's manual

Crestron

Crestron AirBoard CCS-WB-1 Owner's manual

Crestron C2N-RTHS User manual

Crestron

Crestron C2N-RTHS User manual

Crestron GLS-OIR-C-450 How to use

Crestron

Crestron GLS-OIR-C-450 How to use

Crestron (Wattstopper P/N LS-290C) Photocell Light Sensor... How to use

Crestron

Crestron (Wattstopper P/N LS-290C) Photocell Light Sensor... How to use

Crestron CNLEDS Operating and installation instructions

Crestron

Crestron CNLEDS Operating and installation instructions

Crestron QM-AE User manual

Crestron

Crestron QM-AE User manual

Crestron GLS-LCL Operating instructions

Crestron

Crestron GLS-LCL Operating instructions

Crestron INETS-IOEX-DOOR-BATT User manual

Crestron

Crestron INETS-IOEX-DOOR-BATT User manual

Crestron CT/LC-WPK User manual

Crestron

Crestron CT/LC-WPK User manual

Crestron AAE User manual

Crestron

Crestron AAE User manual

Crestron CH-TEMP-WM User manual

Crestron

Crestron CH-TEMP-WM User manual

Crestron GLS-ODT-C-CN User manual

Crestron

Crestron GLS-ODT-C-CN User manual

Crestron GLS-ODT-C-CN User manual

Crestron

Crestron GLS-ODT-C-CN User manual

Crestron CNCS User manual

Crestron

Crestron CNCS User manual

Crestron CNTV-CS User manual

Crestron

Crestron CNTV-CS User manual

Crestron AirBoard CCS-WB-1 Dimensional drawing

Crestron

Crestron AirBoard CCS-WB-1 Dimensional drawing

Crestron ST-VS User manual

Crestron

Crestron ST-VS User manual

Crestron B-G2-FP User manual

Crestron

Crestron B-G2-FP User manual

Crestron 1700C-BTNB-BEZEL How to use

Crestron

Crestron 1700C-BTNB-BEZEL How to use

Popular Accessories manuals by other brands

ICP DAS USA iWSN-1210X quick start

ICP DAS USA

ICP DAS USA iWSN-1210X quick start

Takex F85R Quick reference guide

Takex

Takex F85R Quick reference guide

Steinberg Systems SBS-LI-8-12V user manual

Steinberg Systems

Steinberg Systems SBS-LI-8-12V user manual

American Water Heater Element Adaptor Kit 6500254 installation instructions

American Water Heater

American Water Heater Element Adaptor Kit 6500254 installation instructions

Intenso P10000 user manual

Intenso

Intenso P10000 user manual

SUREHATCH SH2000 COMBO user manual

SUREHATCH

SUREHATCH SH2000 COMBO user manual

Fluigent PRESSURE UNIT user manual

Fluigent

Fluigent PRESSURE UNIT user manual

Pilot Communications 2+1 Series Use and care guide

Pilot Communications

Pilot Communications 2+1 Series Use and care guide

Brandson Equipment 301826 user manual

Brandson Equipment

Brandson Equipment 301826 user manual

omnicharge Omni 20c+ quick start guide

omnicharge

omnicharge Omni 20c+ quick start guide

LEGRAND Wattstopper DT-205 installation instructions

LEGRAND

LEGRAND Wattstopper DT-205 installation instructions

Philips SCF302/13 manual

Philips

Philips SCF302/13 manual

Baumer IO-Link FHDH 14G6901/IO quick start guide

Baumer

Baumer IO-Link FHDH 14G6901/IO quick start guide

Carrier 33ZCT58SPT owner's manual

Carrier

Carrier 33ZCT58SPT owner's manual

Aeon Labs D/W Sensor manual

Aeon Labs

Aeon Labs D/W Sensor manual

Rinnai Control-R installation instructions

Rinnai

Rinnai Control-R installation instructions

Bticino KG4141AC manual

Bticino

Bticino KG4141AC manual

AbleNet LITTLE Candy Corn quick start guide

AbleNet

AbleNet LITTLE Candy Corn quick start guide

manuals.online logo
manuals.online logoBrands
  • About & Mission
  • Contact us
  • Privacy Policy
  • Terms and Conditions

Copyright 2025 Manuals.Online. All Rights Reserved.