manuals.online logo
Brands
  1. Home
  2. •
  3. Brands
  4. •
  5. Croydex
  6. •
  7. Toilet
  8. •
  9. Croydex WL4100 H Series User manual

Croydex WL4100 H Series User manual

CARAGH RAISED TOILET SEAT
WL4100##H
WL4110##H
Always follow the instructions provided to ensure that your product is assembled
and fitted safely, and retains its high quality finish.
ALWAYS RETAIN THIS MANUAL FOR FUTURE REFERENCE
SAFETY & PRODUCT CARE
1. ALWAYS ensure the toilet seat is correctly assembled in a stable position before use.
2. DO NOT use the toilet seat for a dierent purpose from the intended use.
3. DO NOT use the toilet seat if damaged or altered in any way.
4. DO NOT modify the toilet seat in any way.
5. ALWAYS sit centrally on the toilet seat, DO NOT apply load to just one side as this may cause the toilet seat to loose
grip.
6. DO NOT stand on the seat.
7. Ensure the underside of the seat is fully supported by the toilet pan.
8. Ensure the seat is still locked in place after cleaning.
9. To retain the best quality finish, clean product with a soft cloth and a mild soap solution applied directly to the cloth.
10. DO NOT use abrasive or chemical cleaners as they may damage the surface of the toilet seat or fixing brackets.
ALL PRODUCT DIMENSIONS DETAILED IN THIS
INSTALLATION AND MAINTENANCE MANUAL ARE
APPROXIMATE
ALL ILLUSTRATIONS OF THE PRODUCT ARE FOR
REFERENCE ONLY. COMPONENTS SUPPLIED WITH
INDIVIDUAL PRODUCTS MAY DIFFER
TS 077 R01
1
CONTACT DETAILS
UK: Croydex, Central Way, Andover,
Hampshire, SP10 5AW, UK
EU: MIL, Unit 8 Purcellsinch Ind Est,
Dublin Road, Kilkenny, R95 HP71, Ireland
Tel: +44 (0)1264 365881
Email: info@croydex.co.uk
www.croydex.com
ALWAYS CHECK THE PACKAGING FOR FIXINGS AND PARTS BEFORE
THROWING AWAY AND RECYCLING.
ENSURE YOU HAVE ALL THE FIXINGS AND PARTS BEFORE ATTEMPTING TO
ASSEMBLE OR FIT THIS PRODUCT.
CONTENTS
x1
RAISED TOILET
SEAT
A
x2
LOCKING CLAMP
B
x1
RAISED TOILET
SEAT
A
x2
LOCKING CLAMP
B
WL4100##H WL4110##H
TS 077 R01
2
fig. 1
1.
Locate the locking clamps (B) into the recesses found on both sides of the raised toilet
seat (A). Twist the screws on the locking clamps (B) a small amount clockwise to engage
them into the raised seat. (See Fig. 1)
IMPORTANT! Do not tighten the locking clamps (B) all the way as this will mean the raised
toilet seat (A) will not fit on the toilet pan.
B
B
fig. 2
2.Loosely align the locking clamps (B) with
the sides of your toilet pan. Rest the
raised toilet seat (A) onto the toilet pan. (See
Fig. 2)
Note: Ensure the locking clamps (B) are
located on the outside edge of your toilet
pan and do not interfere with the pan.
fig. 2
3.Push the raised toilet seat (A) back until
the front tab contacts the front of the
pan. Turn both the locking clamp (B) screws
clockwise to grip the seat onto the edge of
the pan. (See Fig. 3)
Note: You may need to adjust the left and
right locking clamps to make the seat
central.
IMPORTANT! You must ensure the seat is
securely fastened with the locking clamps
(B) before use.

This manual suits for next models

3

Other Croydex Toilet manuals

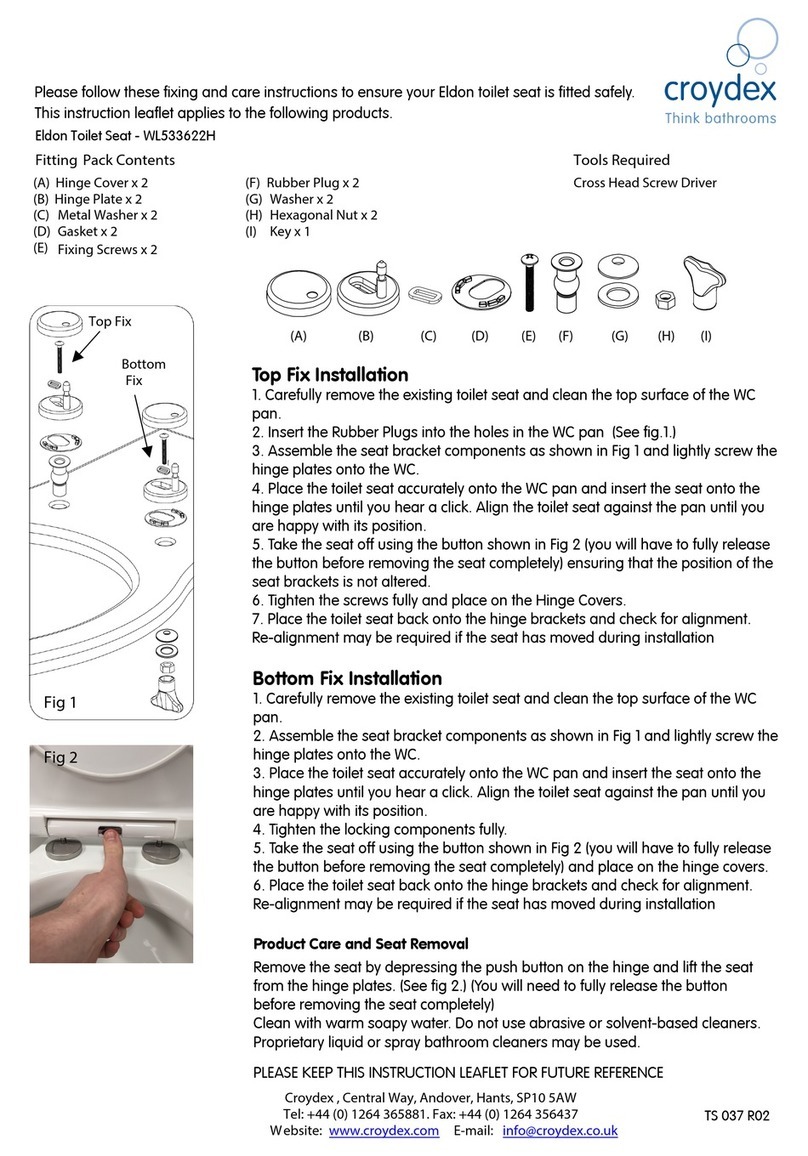
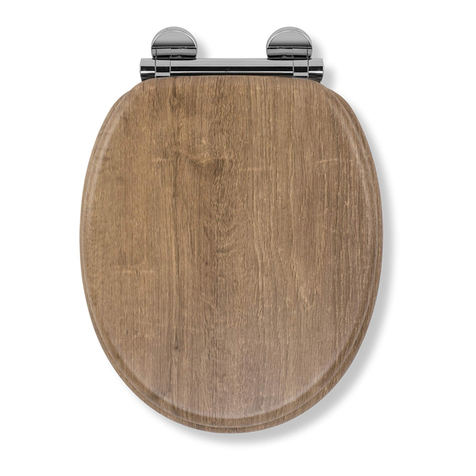
Croydex Eldon WL533622H Installation guide

Croydex

Croydex Eldon WL533622H Installation guide

Croydex Ontario WL602086H User manual

Croydex

Croydex Ontario WL602086H User manual

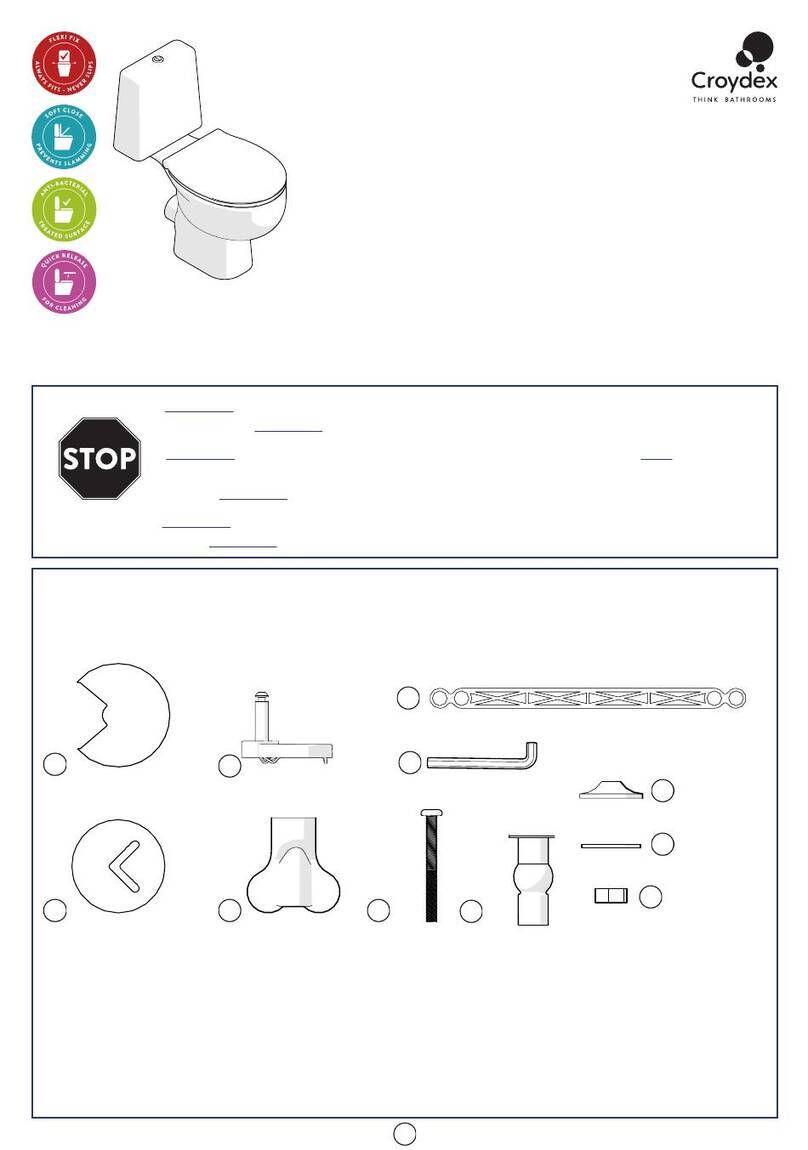
Croydex CONSTANCE Manual

Croydex

Croydex CONSTANCE Manual

Popular Toilet manuals by other brands

Wirquin 20900501 Fitting instructions

Wirquin

Wirquin 20900501 Fitting instructions

Toto NEOREST installation manual

Toto

Toto NEOREST installation manual
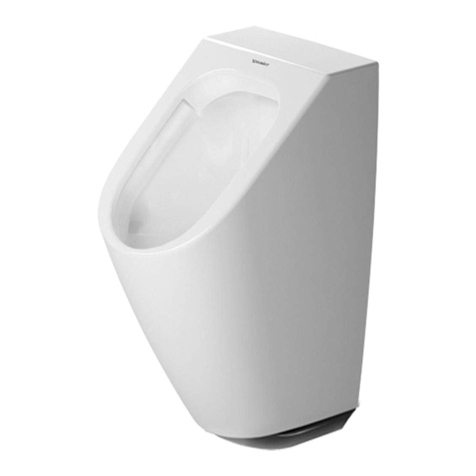
DURAVIT ME by Starck 280931 93 Series Mounting instructions
DURAVIT

DURAVIT ME by Starck 280931 93 Series Mounting instructions

Toto C971 Series installation manual

Toto

Toto C971 Series installation manual
Swiss Madison SM-WT514 installation instructions
Swiss Madison

Swiss Madison SM-WT514 installation instructions

Sapho VE421 VEEN CLEAN installation instructions
Sapho

Sapho VE421 VEEN CLEAN installation instructions

Olympia TUTTO EVO TUE1103R01 Installation and Maintenance
Olympia

Olympia TUTTO EVO TUE1103R01 Installation and Maintenance

Cinderella Comfort Installation

Cinderella

Cinderella Comfort Installation

fine fixtures MOTB17 installation instructions
fine fixtures

fine fixtures MOTB17 installation instructions

Foremost TL-7424HC-EWL instructions

Foremost

Foremost TL-7424HC-EWL instructions
Raymor Edge II 203147 installation instructions
Raymor

Raymor Edge II 203147 installation instructions

Geberit ONE Wand-WC Maintenance manual
Geberit

Geberit ONE Wand-WC Maintenance manual

Liberty Pumps Ascent II-ESW installation manual
Liberty Pumps

Liberty Pumps Ascent II-ESW installation manual

NRS Healthcare Stanton M11120 User instructions
NRS Healthcare

NRS Healthcare Stanton M11120 User instructions

Kohler WELLCOMME K-4349T installation instructions
Kohler

Kohler WELLCOMME K-4349T installation instructions

Mirabelle ALLEDONIA MIRAL241WH installation instructions
Mirabelle

Mirabelle ALLEDONIA MIRAL241WH installation instructions

DURAVIT SensoWash 212051 Mounting instructions

DURAVIT

DURAVIT SensoWash 212051 Mounting instructions

Porcelanosa noken URBAN C 100180811 N369225494 installation instructions

Porcelanosa

Porcelanosa noken URBAN C 100180811 N369225494 installation instructions

manuals.online logo
manuals.online logoBrands
  • About & Mission
  • Contact us
  • Privacy Policy
  • Terms and Conditions

Copyright 2025 Manuals.Online. All Rights Reserved.