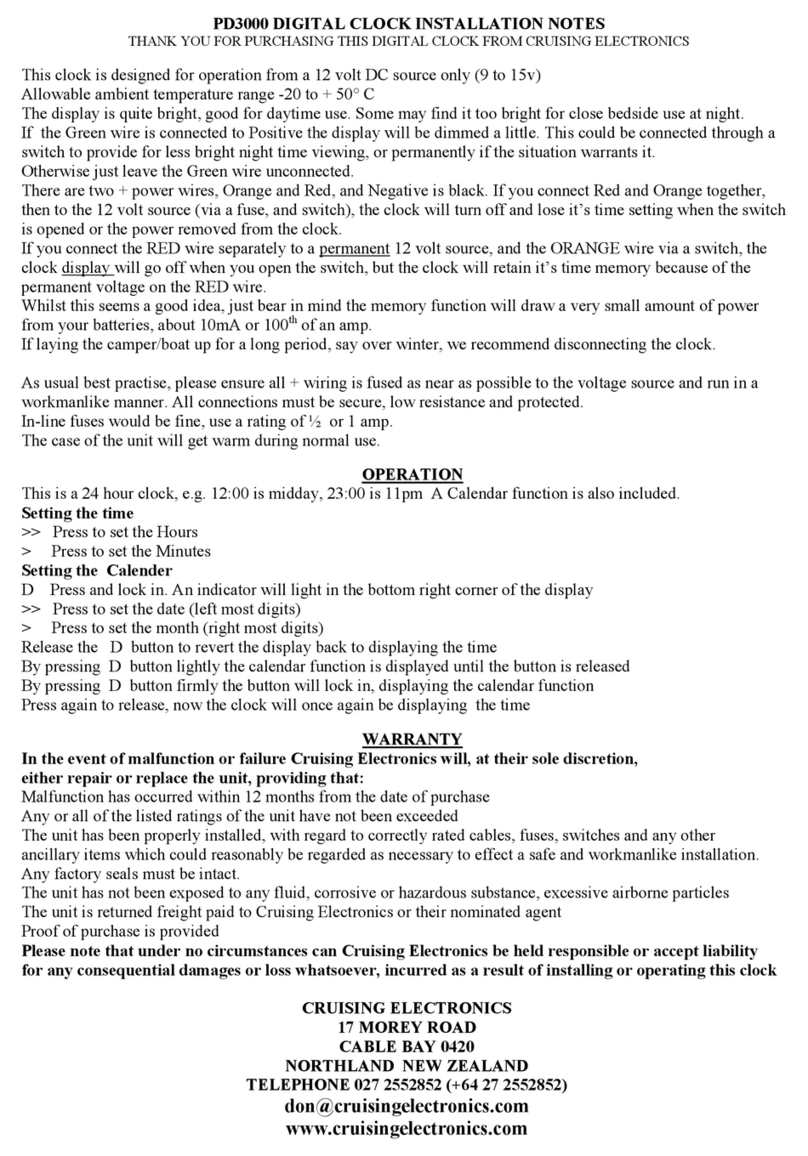
CRUISING ELECTRONICS 7045V Quick start guide

This clock is designed for operation from a 12 volt DC source only (10.6 to 16v)
Current dra hen connected to a 12v supply is approximately 50mA (.05 Amps)
Allo able ambient temperature range -20 to + 50° C
Backup Batteries are fitted for clock memory. Remove the plastic insulator on the battery compartment before use.
To replace the batteries, remove the single scre holding the small access plate on the rear and remove the plate by
lifting the end here the scre as. Place a small pointed object under a corner of the batteries and ‘flick’ them out.
Replace ith Lithium Cells LR44 or equivalent. Observe Polarity when fitting: + side must be up
When the batteries are fitted, but the clock is not connected to a 12v source, only the Clock function ill operate
Power cable has a Cigar Lighter plug attached.
The cigar plug requires the vehicle socket to have Positive + at the tip connection.
All negative chassis vehicles are ired this ay, but a vessel may not be. If in doubt check ith a voltmeter first.
Warranty is void if incorrectly ired.
Where it is desired to permanently ire the clock into the 12v electrical system of a vehicle, vessel etc, rather than
using the cigar plug/socket combination, the cigar plug can be removed, ithout voiding the Warranty.
Observe the correct polarity if doing this: The wire with the WH TE STR PE is to Positive +
The plain BLACK wire goes to negative -
The ire is of light gauge. Ensure it is properly connected, ell supported and provided ith proper strain relief.
As usual best practise, please ensure all + iring is fused as near as possible to the voltage source and run in a
orkmanlike manner. All connections must be secure, lo resistance and protected. Use a fuse rating of 1/2 an Amp
Temperature lead/sensor can be placed or mounted in any convenient location, but it is not intended to be placed
here it ill get et. The back of the sensor has sticky tape attached. Remove the protective paper from it to use.
Mounting pedestal s ivels vertically, hilst the foot can rotate, or be removed. The foot has sticky tape already
attached, but for a more robust mounting it may be advantageous to drill 2 holes through the foot for scre fittings.
(PRE JUNE 2016) 7045V D G TAL CLOCK NSTALLAT ON NOTES
OPERAT ON
The Clock should be connected to the 12v source to carry out the setting procedures
When carrying out setting procedures the clock ill exit from the setting mode if no button is pressed for 60 seconds
SETT NG THE T ME FORMAT TO 12 OR 24 HOUR
From the normal time display, press and hold TIME. Press UP to toggle the display bet een 12hr or 24hr Format
Subsequent presses ill toggle the display 12 or 24 Hour alternately
REMEMBER: 24 hour mode ill sho as a different display only if the time is after 1pm (1300 hrs)
When in 12 Hour display mode AM or PM is sho n on the far left of the display.
SETT NG THE T ME AND CALENDER
From the TIME display, press and hold TIME until 12H or 24H is displayed. Press TIME again t ice.
The Hours display ill flash. Press UP or DOWN to adjust to the desired setting.
Press TIME once, the Minutes display ill flash. Press UP or DOWN to adjust to the desired setting.
Press TIME once, the calendar Year ill flash. Press UP or DOWN to adjust to the desired setting.
Press TIME once, the calendar Month ill flash. Press UP or DOWN to adjust to the desired setting.
Press TIME once, the calendar Day ill flash. Press UP or DOWN to adjust to the desired setting.
To set the clock accurately to radio time pips or similar:
Set the time as above, but set it to 1 minute ahead of actual time.
From the TIME display, press and hold TIME, until 12H or 24H is displayed. Press TIME once again.
The seconds display is no flashing
Pressing UP at the instant of the beginning of the last time pip ill reset the seconds display to zero
ALARM
To vie the current alarm time setting press ALM. To return to the normal time display press TIME
Setting the Alarm
From the normal Time display:
Press ALM once, the display ill read the current set alarm time
Press and hold ALM until the hours display flash
Press UP or DOWN to adjust to the desired Hour setting.
Press ALM once. The minutes display ill flash.
Press UP or DOWN to adjust to the desired setting.
Press ALM once. The Alarm time is no set, but the Alarm is still not turned on
Press UP once more to turn the alarm on. A small bell ill be sho n on the display.

CRU S NG ELECTRON CS
17 MOREY ROAD
CABLE BAY 0420, FAR NORTH, NEW ZEALAND
TELEPHONE 027 2552852 (+64 27 2552852)
don@cruisingelectronics.com www.cruisingelectronics.com
WARRANTY
n the event of malfunction or failure Cruising Electronics will, at their sole discretion, either repair or
replace the unit, providing that:
Malfunction has occurred ithin 12 months from the date of purchase
Any or all of the listed ratings of the unit have not been exceeded
The unit has been properly installed, ith regard to correctly rated cables, fuses, s itches and any other ancillary
items hich could reasonably be regarded as necessary to effect a safe and orkman-like installation.
The unit has not been exposed to any fluid, corrosive or hazardous substance, excessive airborne particles
The unit is returned freight paid to Cruising Electronics or their nominated agent
Proof of purchase is provided
Please note that under no circumstances can Cruising Electronics be held responsible or accept liability for
any consequential damages or loss whatsoever, incurred as a result of installing or operating this clock.
TURN NG OFF OR CANCELL NG THE ALARM
To turn off the Alarm function:
Press ALM to display the current alarm setting. Press UP to turn the Alarm function off.
The alarm ill not sound at the set time or at all. The Bell icon ill be removed from the display.
To cancel an Alarm that is sounding:
When the alarm time is reached, the buzzer ill sound for 60 seconds
To cancel the alarm completely, press any button except SNZ
To activate Snooze mode, press SNZ
In snooze mode the alarm ill sound again in 5 minutes, for a period of 60 seconds.
This cycle ill repeat 5 times, after hich the alarm ill not sound again.
D SPLAY BACKL GHT COLOUR - Note that this option only became available in June 2015
The backlighting colour can be set to Blue or Orange ith the slide s itch on the rear of the clock
TEMPERATURE FUNCT ONS
The unit displays inside temperature and outside temperature (if the remote sensor has been located outside)
The inside temperature is measured from inside the clock unit, so ill reflect that.
Changing the temperature display units:
Press ºC/ºF, the display ill toggle bet een ºC and ºF display
ce Alarm
An Ice Alarm can be turned on, and ill sound if the external sensor detects a temperature of less than 4 ºC (39ºF)
To toggle the ice alarm on or off, press and hold the ºC/ºF button for 2 seconds.
When the ice alarm is turned on, a small Ice icon ill be sho n on the display near the outside temperature reading
When the temperature drops to 4 ºC (39ºF), the buzzer ill sound for 30 seconds.
If the temperature rises above 4 ºC (39ºF) at any time during the 30 second period the buzzer ill stop sounding.
During the 30 second period the sounding buzzer can be silenced by pressing any key.
VOLTAGE FUNCT ON
The unit measures the voltage applied to it from your 12 volt battery.
This is sho n in the digital display in .1v increments (1/10th v) and graphically by ay of a bar-graph display.
Different voltage levels are represented by displaying varying numbers of ‘bars’ in the bar-graph display.
For example:
Less than 11.5v is sho n as 1 bar, and over 13v is sho n as 5 bars
The displayed digital and bar-graph readings are most accurate at about 12.5 volts, rather than at the lo er or higher
ends of the measured voltages.
Interpreting voltage readings in relation to state of battery charge is not simple, as the terminal voltage is affected by
a number of factors in addition to the actual state of charge, including type of battery, temperature, current load,
charging devices in operation to name a fe . As a rough guide, for a lead/acid type at room temperature, ith no
load attached, and no charging devices attached (or very recently disconnected), 12.6 to 12.8v equals fully charged,
12.4v equals 25% discharged, and 12.2v equals 50% discharged. The Internet has much excellent information
Table of contents
Other CRUISING ELECTRONICS Clock manuals
Popular Clock manuals by other brands
Geevon
Geevon T208614C-1 user manual

Accessory Power
Accessory Power ENHANCE MEMO CLOCK operating instructions

LA CROSSE CLOCK
LA CROSSE CLOCK Margaritaville 433-3841MV1T quick start guide
Ambient Weather
Ambient Weather TIDECLOCK-22 user manual
BALANCE TIME
BALANCE TIME 112664 instruction manual
La Crosse Technology
La Crosse Technology WS-8256-AL instruction manual
