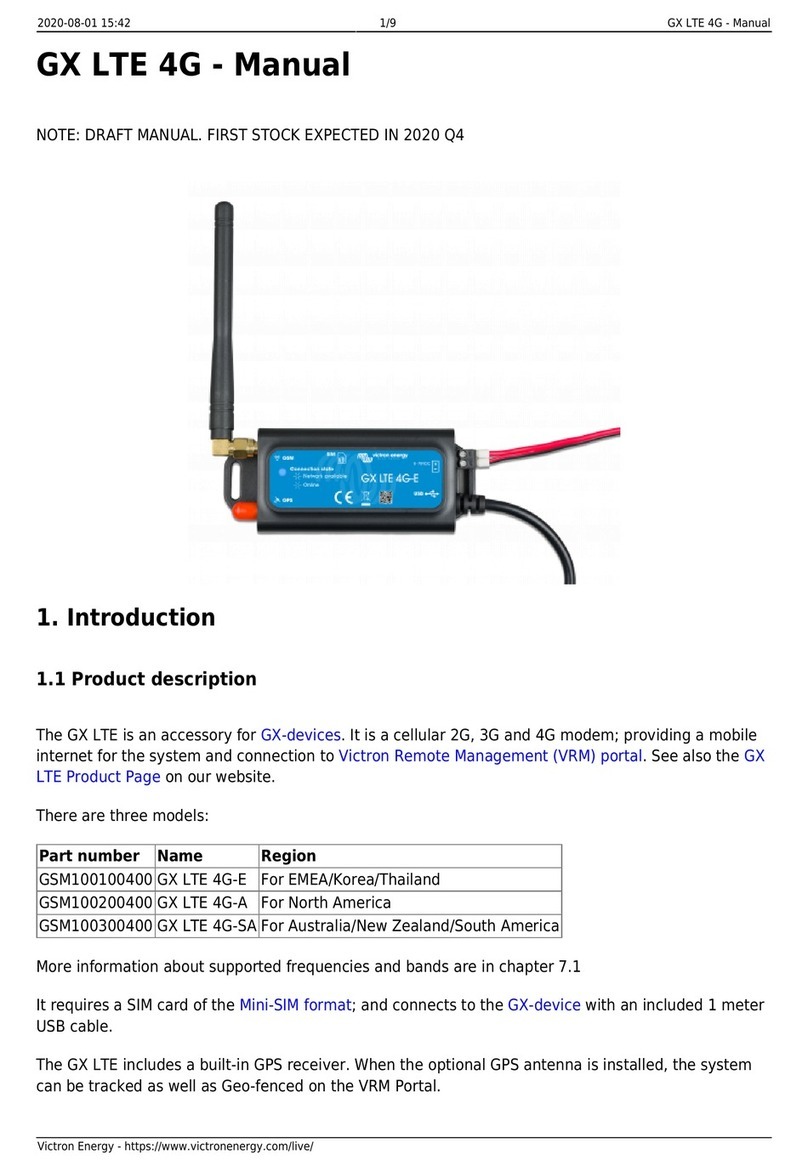
CSPIRE U772 User manual

C Spire Wireless 4G LTE Smart USB Modem
U772
User Guide

i
Table of Contents
Table of Contents.........................................................................................................................i
Get Started ................................................................................................................................ 1
Your Device at a Glance......................................................................................................... 1
Insert USIM Card.................................................................................................................... 2
Set Up Your Device (Window XP users only) ......................................................................... 2
Activate Your Device.............................................................................................................. 4
C Spire Account Information and Help.................................................................................... 4
C Spire Account Passwords................................................................................................ 4
Manage Your Account......................................................................................................... 5
Your Device; USB modem and Wi-Fi hotspot......................................................................... 5
Use as an USB Modem....................................................................................................... 5
Use as a Wi-Fi Hotspot....................................................................................................... 6
Your Device’s Browser Interface ................................................................................................ 7
The Browser Interface............................................................................................................ 7
Opening the Browser Interface............................................................................................... 7
The Landing Page.................................................................................................................. 7
Connecting to the Network ..................................................................................................... 9
Navigating Web UI menu........................................................................................................ 9
The Device & Network Menu.................................................................................................10
General Device and Network Information...........................................................................10
General Device..................................................................................................................10
General Network................................................................................................................11
4G LTE Device and Network Information...........................................................................11
4G LTE Device ..................................................................................................................11
4G LTE Network ................................................................................................................11
3G Device and Network Information...................................................................................12
3G Device..........................................................................................................................12
3G Network........................................................................................................................12
The Check Usage Menu........................................................................................................12

ii
The Wi-Fi Menu.....................................................................................................................14
Wi-Fi Profile.......................................................................................................................14
Connected Devices............................................................................................................15
The Settings Menu ................................................................................................................17
Connection Options ...........................................................................................................17
Advanced Settings.............................................................................................................18
General Settings................................................................................................................19
Manual Configuration.........................................................................................................20
Updates.............................................................................................................................21
LAN Setting........................................................................................................................22
The Help Menu......................................................................................................................24
About.................................................................................................................................24
User Guide.........................................................................................................................25
Regulatory Information..............................................................................................................26
Appendix 1: LED Operation.......................................................................................................29
Appendix 2: Glossary................................................................................................................31

1
Get Started
Congratulations on your purchase of the U772, 4G LTE Smart USB modem. This section
gives you all the information you need to set up your device and service the first time.
With the 4G LTE Smart USB Modem, you can access C Spire Wireless 4G LTE network
for faster uploads, downloads from your computer. Built-in Wi-Fi tethering function allows you to
share up to 100Mbps LTE connection with other Wi-Fi equipped devices such as laptops,
tablets, smart phones, and more.
Features
Connect to 4G LTE high-speed wireless data with fall-back to 3G CDMA service
Hostless Connection Manager with Web User Interface and Remote NDIS driver.
No USB driver or connection manager SW installation
Two in One device: USB modem as well as Wi-Fi hotspot
Your Device at a Glance
Set Up Your Device
Activate Your Device
Account Information and Help
Your device as an USB modem or as a Wi-Fi hotspot
Your Device at a Glance
The 4G LTE Smart USB Modem package includes:

2
Insert USIM Card
Please ensure that the C Spire USIM card has been inserted prior to use.
1. To open the USIM cover located on the back, press down firmly(1), and drag
down(20 as indicated in the image below.
2. Insert the USIM card as shown in the picture.
3. Replace the cover by pressing down until you hear a click sound.
Set Up Your Device (Window XP users only)
The following section is for Windows XP users only. Mac, Linux, Windows XP SP3,
Windows Vista, and Windows 7 users can skip to the ‘Activate Your Device’ section.
To use the 4G LTE Smart USB on your computer, you will need to install the Remote NDIS
driver included in the modem memory and configure the device. See the next section for more
information on driver installation and device configuration.

3
Note: If you have inserted the device properly, Windows will inform you that it has found new
hardware. Wait until Windows completes the “Found New Hardware” task. It is normal to
hear a short beep each time you insert or remove the device. It is an audible notification
that your computer recognizes the new hardware.
Important: Make sure to complete the ejection process before removing the device. If you
remove the device improperly, the modem may be damaged.
4. Turn on your computer and close all applications.
5. Insert the device into your USB port.
6. Your computer will recognize the device and install the Remote NDIS driver
automatically. If the program does not launch automatically, go to “My Computer,”
select ‘Franklin zero CD’ drive and double click the ‘Franklin_installer.exe’ program.
7. The “Welcome to the Franklin U770 Setup Wizard”screen will then appear. Click
Install to continue the installation process.
8. Installation of Remote NDIS driver is now complete. Click Close to leave the setup
program.

4
Activate Your Device
●When you receive your device, it may or may not be activated and ready to use. If you
purchased your device at your service carrier store, it is probably activated and ready to
use. Just insert C Spire SIM card into the SIM slot on the back side of the U772 device.
●If you received your device in the mail and it is for a new service account or a new line of
service, it is designed to activate automatically. Just insert C Spire SIM card into the SIM
slot on the back side of the U772 device.
●If you received your device in the mail and you are activating a new device for an
existing number on your account (you’re swapping devices), simply remove the SIM card
from the old device and insert it into the SIM slot on the back side of the U772 device.
Note: If you are having any difficulty with activation, contact C Spire Customer Service by
calling 1-855-CSPIRE5 (277-4735) from any phone.
C Spire Account Information and Help
C Spire Account Passwords
Manage Your Account
C Spire Account Passwords
As a C Spire customer, you enjoy unlimited access to your personal account information and
your data services account. To ensure that no one else has access to your information, you will
need to create passwords to protect your privacy.

5
Account User Name and Password
If you are the account owner, you will create an account user name and password when you
sign on to cspire.com. (Click My Account to get started.)
Manage Your Account
Manage your C Spire account from your computer or any phone.
Online: cspire.com
●Access your account information.
●Check your data usage.
●View and pay your bill.
●Enroll in C Spire online billing and automatic payment.
●Purchase accessories.
●Shop for the latest C Spire phones and devices.
●View available C Spire service plans and options.
From Any Phone
●C Spire Customer Service: 1-855-CSPIRE5 (277-4735).
Your Device; USB modem and Wi-Fi hotspot
Use as an USB modem
Use as a Wi-Fi hotspot
Use as an USB Modem
The first time you insert your device into an available USB port, it is designed to automatically
activate and connect to the C Spire network
1. Turn on your computer and close all applications.
2. Insert the device’s USB connector into an available USB port on your computer. Your
device should automatically activate and connect to the C Spire network.
3. If it’s not activated or connected automatically, launch your web browser and type
http://cspire-admin into the address bar and then press Enter to open web user interface.
You can find signal strength bars and “Connect”or “Activate”button under the bars.
Click the button either to connect or to activate.

6
Note: When the U772 is directly connected to the USB port of your PC, it turns off Wi-Fi
hotspot function automatically. The U772 works as a USB modem to your PC only.
Depending on network availability the 3G LED light will flash green or the 4G LED light
will flash blue when a connection is made.
When either the 3G or 4G LED light is flashing, you can check your connection by
launching your browser and navigating a website.
USB Modem(3G+4G) Access Piont (Wi-Fi Hotspot)
Use as a Wi-Fi Hotspot(only Use AC adapter)
You can use the device as a Wi-Fi hotspot and share C Spire connection with other Wi-Fi
enabled devices including your computer, smart phones, laptops, tablet PCs and more.
1. Connect the device to the USB port of the AC USB adapter (included in the box), and
then connect the adapter AC plugs to a power outlet.
2. Your device should automatically turn Wi-Fi on and connect to the C Spire network.
3. From your computer, or from other Wi-Fi enabled devices, select “C Spire 4G LTE
Hotspot”from the list of available Wi-Fi services, and then click connect.
Note: No security password is set for Wi-Fi access from the factory. You can change Wi-Fi
settings from the web user interface. Launch your web browser and type http://cspire-
admin into the address bar and then press Enter to open web user interface. Click Wi-Fi
on the main menu bar.
Note: Your device is designed to turn Wi-Fi on automatically when it’s connected to external
AC power source than your computer.

7
Your Device’s Browser Interface
This section contains information on your device’s browser interface.
The Browser Interface
Opening the Browser Interface
The Landing Page
Connecting to the Network
Device and network menu
The check usage menu
The Wi-Fi menu
The setting menu
The help menu
The Browser Interface
The Web browser interface is a Web-based connection manager for your device. It allows you
to manage and monitor the Internet connection between your computer and the wireless
network. It has a user-friendly interface and is equipped with many useful features that will
enhance your Internet navigation experience.
Opening the Browser Interface
To use the Web browser interface, open the Web browser on your desktop and type
http://cspire-admin or http://192.168.10.1 into the address window and press Enter or Return.
The Landing Page
The Web browser will open the main page for the 4G LTE Smart USB Modem as shown below.
From this page, you can see and manage available network connections, see your current
connection state, and see signal strength at a glance. Detailed menus for status and settings
are displayed across the top of the menu.

8
The main menu appears down across the top of the browser interface and allows for ease of
Web browser interface navigation.
Information regarding your current network connection can be seen in the Network Connection
Box displayed down the left side of the main page. This box displays both 3G and 4G service
signals which are available. The box has the following items:
Service Type: Not Activated / 4G LTE Available / 4G Connected / 3G Available / 3G
Connected
Signal Strength Bars: The more bars, the stronger is the service signal
Connection Time: Count starts when connected.
Connection button: Activate / Connect / Disconnect

9
Automatic connection mode and preferred service mode can be set from “Setting”menu in the
main menu bar (see page ##).
●Service Type: Displays service type your modem currently acquires.
●Signal strength bar: Displays your current signal strength. Supports 0- 6 levels of signal
strength.
●Connection time: Displays the time after your device is connected.
●Connection button: Connects you to a network available.
The following table provides device status and connection button descriptions.
Status
Connection Button
Description
“Disconnected”
Connect
Radio power is on and device is disconnected.
Ready to connect.
“Connected”
Disconnect
Device is connected and available to disconnect the
connection.
“Not Activated”
Activate
Device activation is required.
Connecting to the Network
Once your device is properly configured, connecting to the Internet is as simple as clicking
Connect.Once connected, Connect will change to Disconnect. Simply click Disconnect to
end your current connection. To connect to any other network shown, select it, and then click
Connect.
Navigating Web UI menu
The main menu appears down across the top of the browser interface. Simply click the menu in
the main menu bar. The screen will display sub menus under each main menu item.
Click to open sub menu items. The icon will be changed to . Click to close the sub
menu items.

10
The Device & Network Menu
The Device & Network menu allows you to view information about your device and network
status.
General Device and Network Information
General Device
●Device Name –name of the device
●Device Description –description of the device

11
●Manufacturer –manufacturer of the device
●Modem Model –model name of the device
●Hardware Version –hardware version
●CM Version –current CM version
General Network
●IP Address –the current Internet Protocol address of the device
●Gateway –the current network point entrance address
●DNS Server –the current Domain Name Server system address
●Data Received –the number of bytes received
●Data Sent –the number of bytes sent
●Data Total –the total data received and sent
4G LTE Device and Network Information
4G LTE Device
●Technology –Long Term Evolution (LTE)
●IMSI –the International Mobile Subscriber Identity (IMSI) number
●ICCID –the Integrated Circuit Card ID (ICCID) number
●USIM State –the current state of the Universal Subscriber Identity Module (USIM)
4G LTE Network
●Status –current network status
●SNR –the current Signal-to-Noise Ration (SNR)
●RSRP –the current Reference Signal Received Power (RSRP)
●RSRQ –the current Reference Signal Received Quality (RSRQ)

12
●PLMN ID –the current state of Public Land Mobile Network ID
3G Device and Network Information
3G Device
●MEID –unique number the network uses to identify your device
●Technology –type of network you are connected to
●Firmware –current internal software version
●Phone Number (Mobile Data Number (MDN)) –the public ID for your specific wireless
service
●MSID (IMSI_S) –internal ID C Spire uses to identify your account
●Home Carrier Name –name of the network operator
●Home Carrier ID –ID of the network operator
●PRL Version –used to verify that your Preferred Roaming List is the most current
3G Network
●Status –current network status
●RSSI –measurement in dBm of current signal strength
●Ec/Io –measurement in dB of current Ec/Io
The Check Usage Menu
The Check Usage menu allows you to review your usage history online. Please ensure that you
have an Internet connection. Selecting the Check Usage menu displays your wireless data
usage to date.

13
To reset usage data, click the reset button.
If “Yes”button is clicked, usage data will be reset to 0 and date will be set to the current date.

14
The Wi-Fi Menu
The Wi-Fi menu allows you to review and change your device Wi-Fi tethering configuration.
Please ensure that you have your device connected to external AC USB adapter. When your
device is connected to the USB port on your PC, Wi-Fi won’t turn on. In order to see Wi-Fi menu,
you have to login Admin with the password first. Default password
is “admin”. You can change Admin password from the Setting menu.
Wi-Fi Profile
When you open the Wi-Fi Profile menu, the following choices are available:

15
To modify the Wi-Fi Profile:
1. Enter new Network Name (SSID). Default SSID is C Spire 4G LTE Hotspot.
2. Click arrow button and select proper 802.11 Mode. Default mode is 802.11b/g/n.
3. Click Wi-Fi channel number. Default setting is Auto.
4. Enter your Wi-Fi security level. Default setting is EPA2 Personal PSK (AES)
5. Enter your Wi-Fi password. Password requires at least 8 characters. For greater
security, use a mixture of digits, upper case, lower case and other symbols.
6. Click Save
Connected Devices
When you open the “Connected Devices”you can see the devices currently connected to U772
through Wi-Fi connection. The Connected device section has the following ;
Hostname –The network name for the connected device (if available)

16
Date/Time –The date/time the device was detected by the network.
MAC Address –The Media Access Controller or physical address of the device
IP Address –The IP address assigned to the device by U772
Click Refresh button to renew the connected device list.

17
The Settings Menu
The Settings menu allows you to set your Connection Options and your Advanced Settings. In
order to see Advanced Settings, you have to login Admin with the password
first. Default password is “admin”. You can change Admin
password from the Setting menu.
Connection Options
When you open the Connection Options menu, the following choices are available:
Table of contents
