CTS Norstar User manual

UCLA Communications Technology Services
Norstar
User Guide
CTS Training Center

CTS Training Center
The Norstar telephone offers single- and multi-line
capability and is designed to work with the Norstar
Key Service Unit (KSU). The KSU resides in the
customer building as an interface between Norstar
telephone sets and the CTS telephone system.
This guide covers the Norstar features that are
available with the various KSU design releases and
telephone system features commonly used with
Norstar. Some of the features described in the
guide may not apply to your KSU design release or
line service but are offered by CTS.
The CTS Training Center offers a variety of classes,
user guides, and reference materials to assist UCLA
employees with the communications products
and services available from CTS. We can answer
any questions you may have about the use of CTS
products and services.
If you need disability auxiliary aids or services in using
training materials or during a training class, please
notify The CTS Training Center ten business days in
advance.
CTS
741 Charles E. Young Drive South
(CSB 1, 2nd floor, Mail Code: 951363)
Box 951363, Los Angeles, CA 90095-1363
Voice: 310-825-6285 Fax: 310-206-8460
Web: <http://map.ais.ucla.edu/go/
campusservices/technology>
CTS Training
Voice: 310-825-4545 Fax: 310-206-9442
Email: [email protected]
Web: <http://www.cts.ucla.edu/training>
CTS Customer Service
Voice: 310-825-3775
CTS Repair & Help Desk
Voice: 310-206-0008 or 114
Norstar Quick Reference Card
Web: <http://www.cts.ucla.edu/trainingliterature>
2
Basic operatioN
KeysandIndicators......................... 3
Telephone Administration . . . . . . . . . . . . . . . . . . . 4
TelephoneTones........................... 5
DialiNg iNstructioNs
AuthorizationCodes........................ 6
Dialing UCLA Campus and Non-Campus Numbers . 6
EmergencyServices......................... 7
OperatorAssistance ........................ 7
OutboundCallerID......................... 8
aNsweriNg aND placiNg calls
AnsweringCalls............................ 9
PlacingCalls............................... 9
IntercomCalls............................ 10
LinePools................................ 10
telephoNe Features
Feature Assignment . . . . . . . . . . . . . . . . . . . . . . . 11
AutomaticDial ........................... 11
CallForward ............................. 12
Call Forward Remote Access . . . . . . . . . . . . . . . . 13
CallPark................................. 14
Table of Contents
telephoNe Features (coNtiNueD)
CallPickupGroup......................... 14
CallWaiting.............................. 14
DoNotDisturb ........................... 15
IntercomTransfer......................... 15
LastNumberRedial........................ 15
MessageWaiting.......................... 16
Messaging............................... 16
Paging.................................. 17
PriorityCall .............................. 17
Privacy.................................. 17
PrivacyRelease ........................... 18
RingAgain............................... 18
Save Number Redial . . . . . . . . . . . . . . . . . . . . . . . 18
SpeedDial............................... 19
Three-WayCalling......................... 19
VoiceCall................................ 20
acceptaBle use statemeNts
CallHarassment........................... 21
Fraud................................... 21
Compliance with Policies, Laws, and Regulations. . 21
Introduction
0607

3
Display
Shows information about the Norstar features
you activate, intercom calls you place and receive,
and outbound dialed digits. The display does not
provide inbound caller identification for campus
or non-campus calls.
Feature Key
Used to activate a Norstar feature or to program a
Norstar feature onto a memory key.
Handsfree Key
Activates the built-in microphone on the T-Series
7208 and 7316 telephone sets, to conduct a two-
way speakerphone conversation while keeping
the handset in the cradle. When programmed, this
feature is assigned to key eight on the 7208 or key
sixteen on the 7316.
Handsfree/Mute Key
Activates the built-in microphone on the M-Series
7208, 7310 and 7324 telephone sets, to conduct
a two-way speakerphone conversation while
keeping the handset in the cradle. When pressed
again it mutes the telephone microphone. The
mute function can be toggled on and off by
repeatedly pressing the key.
Headset Key
Activates the headset connection for the T-Series
7208 and 7316 telephone sets.
Hold Key
Allows you to place calls on hold and return the
handset on the cradle.
Line Indicators
Indicators appear in the LCD next to the
telephone line keys. A steady indicator means that
the line is active. A slow flashing indicator means
the line is ringing. A blinking (fast flashing)
indicator means that the line is on hold.
Memory Key
A spare line key used to program frequently
dialed numbers, intercoms, or features. The
number of available memory keys is dependent on
your telephone model and line quantity.
Mute Key
Mutes the T-Series 7208 or 7316 microphone on
the handset, headset, or on the telephone set
when using the Handsfree feature.
Prime Line
A line that is automatically selected when you
lift your telephone handset, activate a Norstar
feature, or use the Handsfree feature.
Rls (Release) Key
Disconnects a call or ends an activity.
Shift Key
A small triangular key located beside the fixed
memory keys on the M-Series 7310 telephone set.
It is used to select the upper position of the dual
position memory keys.
Soft Keys
Three keys located under the display of the M-
Series 7310 and 7324 telephone sets and the
T-Series 7316 telephone set. Used to activate or
cancel Norstar features.
Telephone Light
A red lamp located above the display of the T-
Series 7208 or 7316. It flashes when receiving an
incoming call or when a Norstar feature is being
used. The lamp is on when the telephone set is in
use.
Volume Control Rocker Bar
The volume control rocker bar is located below
the numeric keypad. It is used to adjust the
volume of your handset, speaker or ringer. To
increase the volume level, press the right side of
the bar. To decrease the volume level, press the
left side of the bar.
Keys and Indicators
Basic operatioN
CTS Training Center
4
Automatic Hold
Allows you to automatically place a call on hold
when pressing another line key, without pressing
HOLD .
Button Inquiry
Allows you to view line or feature assignment
for each key on your Norstar telephone set by
pressing FEATURE
*0 followed by the key
you wish to view. The information is shown
on your telephone display. To exit your inquiry
session, press the RLS key.
Call Duration Timer
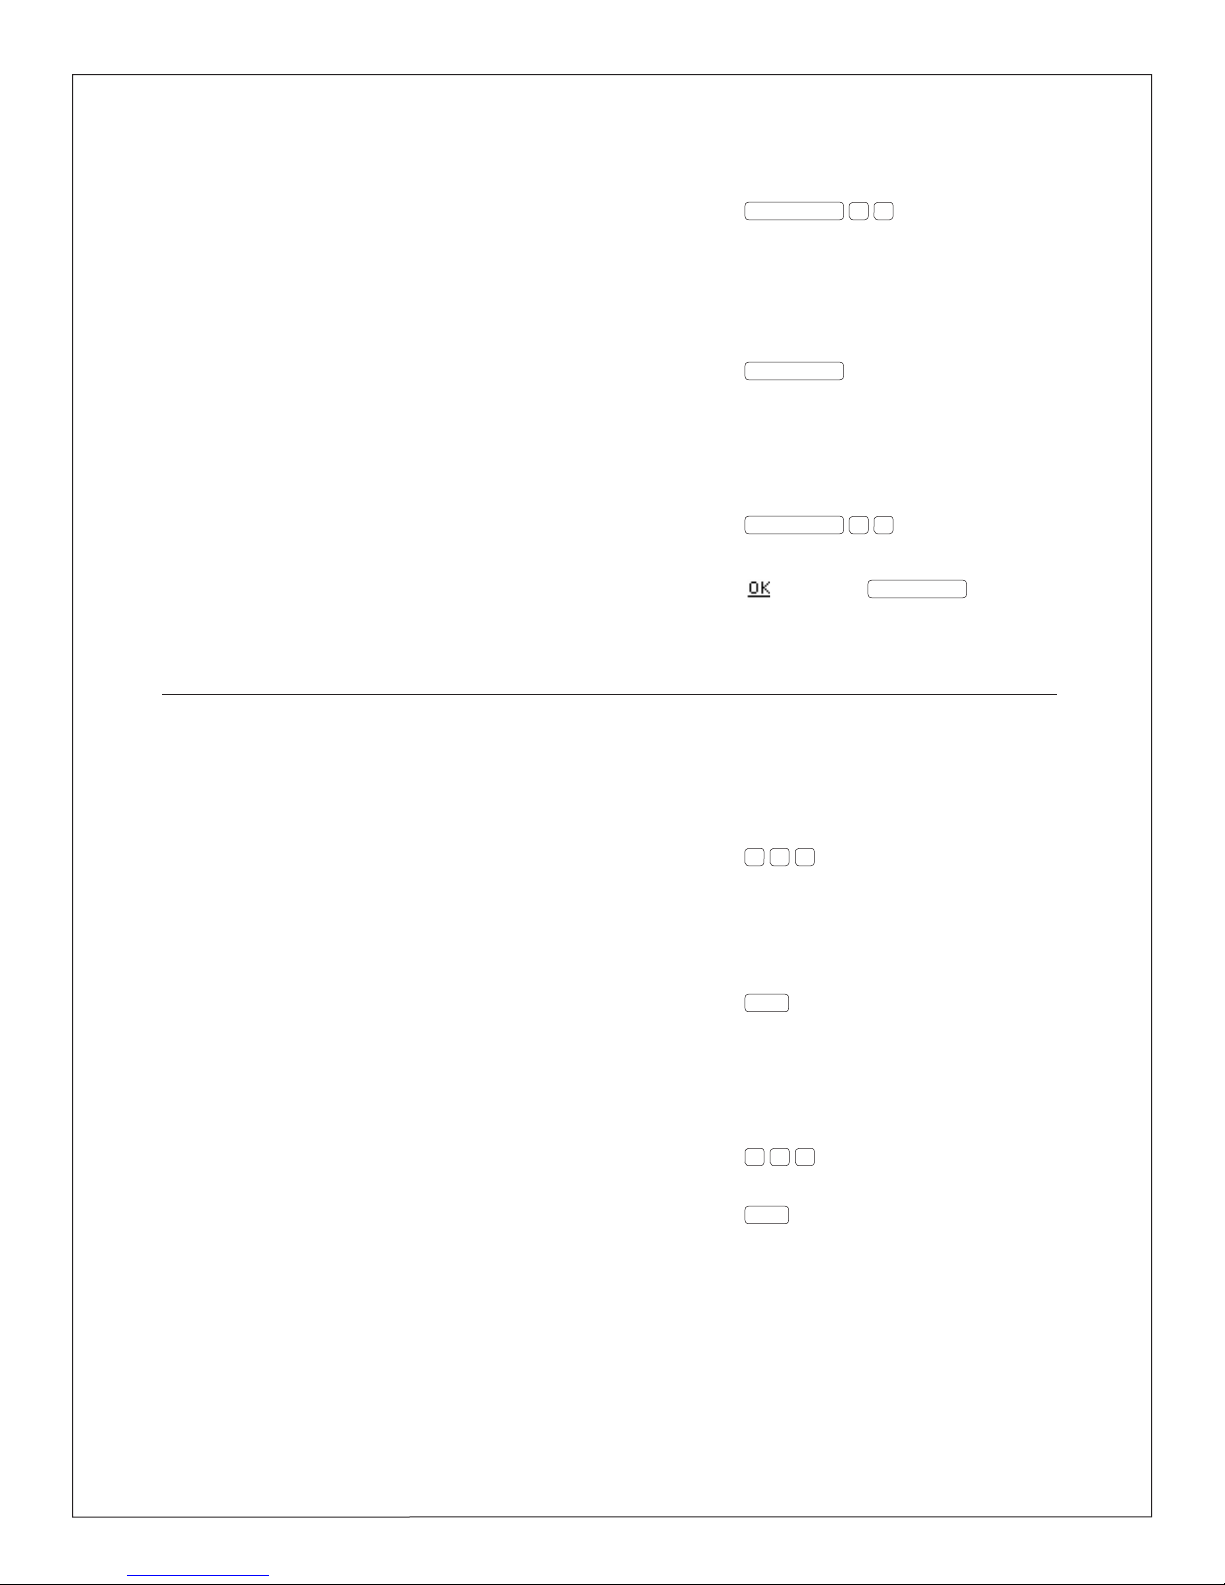
By pressing FEATURE 7 7 , the duration
time of your current or last call is displayed for
approximately five seconds.
Class of Service (COS)
Determines the access privileges and dialing range
assigned to a telephone line and can help control abuse.
Contrast Adjustment
Allows you to set the contrast level of your
telephone display. To activate, press FEATURE
*7 and follow the display prompts, then press
the
softkey or HOLD to store your new setting.
Exclusive Hold
Prevents a held call from being retrieved from
another Norstar telephone set with the same
telephone number. To activate, press FEATURE ,
then HOLD . To return to the held call, press
the line key and lift the handset.
Feature Time Out
If you have taken more than 15-seconds to
press a button in response to a display when
programming or using Norstar features, you will
hear a descending double alert tone notifying you
that you have been timed out of that function. In
this case, you need to start your activity again.
Key Service Unit (KSU)
A hardware component of the Norstar system that
is linked to the CTS telephone system. Provides a
point of connection for the various types of devices,
telephones, and expansion modules used in Norstar.
Controls the service area of Norstar features.
Pause
Allows you to insert a 1.5-second delay in a dialing
sequence when programming a number using a
memory key or speed dial list. Press FEATURE
7 8 to insert a pause during programming.
Programmed Release
Used when programming a number onto a
memory key or speed dial list to end the call.
Press FEATURE
*8 9 to program release at
the end of a dialing sequence.
Ring Type
Offers four distinctive ring types to help
differentiate which office telephone set is ringing.
It changes the ring type for all lines appearing
on the telephone set and is not line specific. To
set a new ring type, press FEATURE
*6 and
follow the display prompts. Press the softkey
or HOLD to store your new settings.
Ring Volume
Activates the ringer to allow you to adjust the
ring level of your telephone set. Press FEATURE
*8 0 , then use the volume control rocker bar
to increase or decrease the ring volume. You can
also use the volume control rocker bar to adjust
the ring level while your telephone is ringing due
to an incoming call.
Run/Stop
Inserts a break point into a dialing sequence
of numbers or codes when programming the
Automatic Dial feature using a memory key. Once
programmed, the first press of the programmed
memory key dials the first sequence of numbers
or codes before the break point; the next press
of the memory key dials the second sequence
of numbers or codes. To insert Run/Stop, press
FEATURE
*9 .
Time
Displays the current time and date for
approximately five seconds while you are on a call.
To activate, press FEATURE 8 0 3 .
Telephone Administration
CTS Training Center

5
Call-Waiting Tone
Short tone heard while on a call. Indicates another
call is waiting.
Confirmation Tone
Two short beep tones that indicate a feature has
been activated or deactivated.
Distinctive Ringing
Different ring patterns indicating a specific type of
incoming call.
• UCLA Campus Call – Two rings (one long
ring, one short ring) in quick succession.
Indicates an incoming call from another
UCLA campus number, including Santa
Monica-UCLA Medical Center.
• Non-UCLA Campus Call – Two long rings
(one long ring, one long ring),
approximately five seconds apart. Indicates
an incoming call from a non-UCLA campus
number or Extended Campus Service (ECS) number.
Overflow Busy Tone
Fast busy tone (120 tones per minute) heard after
dialing a number. Indicates that the called number
is invalid or could not be processed.
Special Dial Tone
Broken dial tone followed by regular dial tone.
Indicates a feature has been accessed.
Standard Busy Tone
Regular intermittent tone (60 tones per minute)
heard after dialing a number. Indicates the called
number is busy.
Telephone Tones
CTS Training Center

6
A CTS Authorization Code allows UCLA telephone
users to place non-campus calls from any
campus telephone, regardless of the assigned
class of service. Calling charges are billed to the
authorization code account holder’s telephone number.
Place Authorization Code Call
1. Dial access code 765; listen for special dial tone
2. Dial your ten-digit authorization code
(shown on Authorization Code card);
listen for dial tone
3. Dial 8+ number (follow dialing instructions)
DialiNg iNstructioNs
CTS telephone service provides station-to-station
campus dialing for the UCLA community. A
campus telephone number is identified by the last
five digits of its seven-digit telephone number.
UCLA telephone service that extends to UCLA
facilities off campus is called Extended Campus
Service (ECS). It is part of the five-digit campus
dialing plan and offers most UCLA telephone features.
UCLA telephone numbers are located within
the 310 area code and encompass one of the
following prefixes:
206 267 312 319 794 825 983
To identify the full seven-digit UCLA telephone
number, match the last digit of the prefix to the
first digit of the five-digit number. CTS provides
campus-dialing service to Santa Monica-UCLA
Medical Center. Santa Monica – UCLA Medical
Center maintains some lines that cannot be dialed
directly from off-campus numbers using the entire
7-digits. These numbers can only be dialed from
another UCLA campus number or via Santa Monica-
UCLA Medical Center Hospital Communications using
their five-digit extension.
Access to non-UCLA campus numbers requires
dialing 8 first. The allowable calling area is based
on the telephone line’s class of service.
UCLA Campus Calls
Dial five-digit campus number
Local Direct Dial Calls (within 310 area code)
Dial 8+ seven-digit number
Toll and Long Distance Direct Dial Calls
Dial 8+1+ area code + seven-digit number
Calling Card and Collect Calls
1. Dial 8+ 0+ 0+ area code + seven-digit
number
2. Enter calling card number at tone or wait
for telephone operator to answer
Person-to-Person Calls
1. Dial 8+ 0+ area code + seven-digit number
2. Follow voice prompt instructions or wait for
telephone operator to answer
International Direct Dial Calls
Dial 8+ 0 1 1 + country code (+ city code if
necessary) + number
International Collect and Credit Card Calls
1. Dial 8+ 0+ 0+ 0 1 + country code (+ city
code if necessary) + number
2. Wait for telephone operator to answer,
Dialing UCLA Campus and Non-Campus Numbers
Authorization Codes
CTS Training Center

7
then provide the necessary billing information
International Person-to-Person Calls
1. Dial 8+ 0 1 + country code (+ city code if
necessary) + number
2. Wait for telephone operator to answer,
then provide necessary billing information
UCLA Campus Emergency - UCPD
1. Dial 911
2. Provide your name, location, and telephone
number to dispatcher
3. Do not hang up until instructed to do so
UCLA ECS Emergency – UCPD
1. Dial 9+ 911 if your prefix is 312
-or-
Dial 8+ 911 if your prefix is 794
2. Provide your name, location, and telephone
number to dispatcher
3. Do not hang up until instructed to do so
Santa Monica-UCLA Medical Center
Emergency
1. Dial 74
2. Provide details to attendant
UCLA Emergency Information Line
800-900-UCLA
UCLA Emergency Radio
AM 810
Emergency Services
UCLA Campus Information Operator
Dial #33
UCLA Medical Center Page Operator
Dial 56301
Local Area Operator (Verizon)
Dial 234
Long Distance Operator
Dial 230
Meet-Me Conference
1. Dial 53333 to obtain Meet-Me Conference
reservation and number
2. Follow representative’s instructions
Operator Assistance
CTS Training Center

8
Outbound Calling Party Number Identification,
also known as Outbound Caller ID, sends the digits
of a caller’s telephone number to the recipient.
The recipient is able to view the caller’s telephone
number when his or her telephone is equipped
with a display or display unit.
There are three types of UCLA Outbound
Caller ID service:
• Standard Block – displays UCLA’s main
telephone number (310-825-4321) to non-
campus recipients
• Line Unblock – displays the caller’s
individual telephone number to
non-campus recipients
• Complete Block – prevents any information
from being displayed
Business and residential telephone numbers
can automatically reject incoming calls that
have blocked the receipt of Outbound Caller
ID. If Standard Block or Line Unblock applies to
your telephone line, you don’t have to unblock
Outbound Caller ID. If Complete Block applies to
your telephone line, and you are calling a number
that rejects blocked incoming calls, you must
unblock Outbound Caller ID using the feature
code ✱82. Outbound Caller ID blocking does not
apply to toll-free numbers or to emergency 911 calls.
Block Caller ID
1. Press
*6 7 to block Outbound Caller ID
for duration of call; listen for special dial tone
2. Dial 8+ number (follow dialing
instructions)
Unblock Caller ID
1. Press
*8 2 to unblock Outbound Caller
ID for duration of call; listen for special dial tone
2. Dial 8 + number (follow dialing instructions)
Outbound Caller ID
CTS Training Center
9
aNsweriNg & placiNg calls
Using Handset
Lift handset; press ringing line key if necessary
Using Handsfree
1. Press HANDSFREE ; press ringing line key
if necessary
2. Lift handset to speak privately
Using Handsfree During Call
1. Press HANDSFREE
2. Replace handset on cradle and speak
3. Lift handset to speak privately
Using Headset
M-Series
Press HANDSFREE ; press ringing line key if necessary
T-Series
Press ; press ringing line key if necessary
Using Headset with Adapter
M-Series
1. Press headset adapter button
2. Press HANDSFREE ; press ringing line key
if necessary
T-Series
1. Press headset adapter button
2. Press ; press ringing line key
if necessary
Answering Calls
Placing Calls
Using Handset
1. Lift handset; press ringing line key
if necessary
2. Dial number (follow dialing instructions)
Using Handsfree
1. Press HANDSFREE
2. Dial number (follow dialing instructions)
3. Lift handset to speak privately
Using Headset
M-Series
1. Press HANDSFREE ; press line key if necessary
2. Dial number (follow dialing instructions)
T-Series
1. Press ; press line key if necessary
2. Dial number (follow dialing instructions)
Using Headset with Adapter
M-Series
1. Press headset adapter button
2. Press HANDSFREE ; press line key if necessary
3. Dial number (follow dialing instructions)
T-Series
1. Press headset adapter button
2. Press ; press line key if necessary
3. Dial number (follow dialing instructions)
CTS Training Center
10
Allows you to communicate with colleagues
that are provisioned with Norstar service from
the same KSU. When using your Intercom, your
campus number remains available to receive
incoming calls.
Place Intercom Call
1. Press INTERCOM
2. Dial three-digit Intercom number
Answer Intercom Call
Press INTERCOM
A group of lines programmed behind a single line
key that is used for outbound dialing or to receive
inbound calls. Line pools are typically shared by a
unit of employees and are identified as inbound
or outbound. An inbound line pool rings at all
designated telephone sets until answered.
Answer Call
Press LINE POOL
Place Call
1. Press LINE POOL
2. Dial access code 8
3. Dial campus number
-or-
Dial 8then dial non-campus number
Intercom Calls
Line Pools
CTS Training Center
telephoNe Features
There are two resources used by CTS to provision
telephone features for Norstar service - Nortel SL-
100 telephone system and Norstar Key Service
Unit (KSU).
Telephone system features are assigned to line
numbers that appear on your Norstar telephone
set and provide campus-wide interaction. The
features commonly provisioned to Norstar lines
are Three-Way Calling (labeled Transfer), Call
Forward, and Call Waiting. Telephone system
features must be provisioned by submitting a
service request to CTS.
The KSU offers Norstar features that are accessed
using the FEATURE key or can be programmed
onto memory keys for one-touch activation. The
majority of Norstar features are accessible without
issuing a service request. However, some Norstar
features do require specified programming and
CTS provisioning.
Program Norstar Features onto Memory Keys
1. Press FEATURE
*3
2. Press memory key to be programmed
3. Press FEATURE , then enter feature code
Erase Memory Keys
1. Press FEATURE
*1
2. Press memory key to be erased
3. Press softkey or HOLD
11
Feature Assignment
Allows you to program a campus number, non-
campus number or intercom number onto a
memory key for one-touch dialing. The handset
remains on the cradle during programming. To
make a change, program the new number over
the existing one.
Campus and Non-Campus Numbers
When programming non-campus numbers, include
8followed by the relative dialing instructions.
A number up to 24-digits in length can be
programmed onto a memory key.
Program Memory Key
1. Press FEATURE
*1
2. Press memory key to be programmed
3. Enternumbertobestored (followdialinginstructions)
4. Press softkey or FEATURE
Use Memory Key
Press programmed memory key to
automatically dial
Erase Memory Key
1. Press FEATURE
*1
2. Press memory key to be erased
3. Press softkey or HOLD
Automatic Dial
CTS Training Center
12
Intercom Numbers
You can program intercom numbers that reside
only within your KSU.
Program Memory Key
1. Press FEATURE
*2
2. Press memory key to be programmed
3. Enter three-digit intercom number
Use Memory Key
1. Press INTERCOM
2. Press programmed memory key to
automatically dial
Erase Memory Key
1. Press FEATURE
*1
2. Press memory key to be erased
3. Press softkey or HOLD
Redirects all incoming calls to another telephone
number. When Call Forward is activated, you can
still place outgoing calls.
Call Forward Indication
Works in conjunction with Call Forward. If Call
Forward Indication is assigned to your telephone
line, you hear an audible tone when accessing a
line that is forwarded.
Activate Call Forward
1. Access campus line you wish to forward
2. Press to activate feature; listen for
special dial tone
3. Enter number to which calls will be
forwarded (include 8if forwarding to non-
campus number); listen for confirmation tone
4. Press RLS
Deactivate Call Forward
1. Access campus line for which you wish to
deactivate call forward
2. Press
*4 3 to deactivate feature; listen
for confirmation tone
3. Press RLS
Call Forward
CTS Training Center
* 4 2

CTS Training Center 13
Call Forward Remote Access (CFRA) redirects all
calls to another telephone number and can be
activated/deactivated from any telephone, on or
off-campus.
Before using CFRA for the first time, you must
change your default PIN to a personal PIN and
identify which Call Forward Remote Access
Number is assigned to your telephone extension.
You must dial into the appropriate CFRA Access
Number to use the CFRA feature. The correct CFRA
access number will be provided to you by CTS
staff.
CFRA Access Numbers :
• Circle Drive Access Number: (310) 206-2488
• Westwood Access Number: (310) 267-2488
Customers can request the CFRA feature by
submitting a Customer Service Request (CSR) by
visiting www.cts.ucla.edu.
Setting up personal PIN
1. Dial *767 from your campus telephone
2. Enter *766#
3. Enter your current PIN (default PIN is your 5
digit campus extension number plus 1), then
press #
4. Enter your desired PIN number. PIN must be
between 2 to 10 digits, then press #
5. Re-enter your desired PIN number and press #
Activate Call Forward Remote Access
1. From any phone dial your assigned Access
Number
• Circle Drive: (310) 206-2488
• Westwood: (310) 267-2488
2. Enter the 5 digit telephone extension of the
telephone set that is being forwarded, PIN,
and #. For example if your extension is 12345
and your password is 6666, dial 123456666#
3. Enter *42 to activate call forwarding
4. Enter the number you wish calls to be
forwarded to. Remember to follow UCLA
dialing instructions
5. Press 1 to confirm. A busy tone will then be
heard confirming that the call forwarding has
been activated.
Deactivate Call Forward Remote Access
1. From any phone dial your assigned Access
Number
• Circle Drive: (310) 206-2488
• Westwood: (310) 267-2488
2. Enter the 5 digit telephone extension of the
telephone set that is being forwarded, PIN,
and #. For example if your extension is 12345
and your password is 6666, dial 123456666#
3. Enter *43 to deactivate call forwarding.
A busy tone will be heard, signaling that the
forwarding has been deactivated
Call Forward Remote Access (CFRA)

14
Allows you to park a call and retrieve it from
another Norstar telephone set within your KSU.
A retrieval code is assigned by the Norstar system
and appears in the display. If the call you park
originally resided on a campus line, the campus
line will remain in use for the duration of the
parked call.
Park Call
1. Press FEATURE 7 4 during call; look for
retrieval code in display
2. Press RLS
Retrieve Parked Call
1. Press INTERCOM
2. Enter three-digit retrieval code; listen for
connection with caller then speak
Call Park
Allows you to answer an incoming call that is
ringing at a colleague’s telephone set.
Pick Up Call
1. You hear a ringing telephone within your
pickup group
2. Press PICKUP or FEATURE 7 5
then speak
Call Pickup Group
Informs you that a second call is waiting. When
you are on a call and hear a call-waiting tone,
you may choose to answer the new call or ignore
it. Three-Way Calling will not operate when Call
Waiting is activated. You can deactivate the Call
Waiting feature on a per-call basis prior to placing
a call. Once your call has ended, Call Waiting is
automatically reactivated.
Answer Call Waiting
1. Press TRANSFER ; original call is placed on hold
2. Speak with new caller
3. Press TRANSFER again to return to first call
Deactivate Call Waiting
1. Access campus line with Call Waiting
2. Press
*9 9 to deactivate feature; listen
for confirmation tone, then dial tone
3. Dial number (following dialing instructions)
Call Waiting
CTS Training Center

15
Stops calls from ringing at your telephone set
but does not prevent call answering. When an
incoming call is received, the line key will flash only.
Priority calls will ring but voice calls are denied.
Activate Do Not Disturb
Press FEATURE 8 5 ; look for Do not disturb
in display
Deactivate Do Not Disturb
Press FEATURE #8 5 ; look for Allow calls
in display
Do Not Disturb
Allows you to transfer a call to an intercom line
within your KSU. If the call you are transferring
resides on a campus line, the campus line will remain
in use for the duration of the transferred call.
Transfer Call
1. Advise caller that you are going to transfer
his or her call
2. Press softkey or FEATURE 7 0
3. D i a l intercom number
4. Wait for second party to answer then
announce call
5. Complete transfer by pressing softkey
or RLS
-or-
Cancel transfer by pressing soft key
or FEATURE #7 0
Intercom Transfer
Allows you to redial the last number called from
your telephone set. Last Number Redial will redial
authorization codes, feature codes, credit card
numbers, and numbers called from your speed-
dialing list. Up to a 24-digit number can be redialed.
Redial Last Number
Press LAST NO. or FEATURE 5
Last Number Redial
CTS Training Center

16
The message-waiting indicator is activated when
you have new messages waiting in your VoiceNet
mailbox. When selecting the line with VoiceNet,
you hear an audible broken dial tone. To retrieve
messages, follow the instructions for mailbox
access in your VoiceNet User Guide, available
online at <www.cts.ucla.edu/support/training.htm>.
Message Waiting
Allows you to leave a message indicator on
the display of another Norstar telephone set. If
equipped with a M-Series 7310, 7324, or a T-Series
7316 telephone set, you can also view message
indicators sent and received, and cancel message
indicators that you sent to someone else. The M-
Series 7100, 7208, and T-Series 7208 telephone sets
are only able to send and cancel messages.
Send Message
1. Press FEATURE 1
2. Press softkey (step not necessary if
equipped with an M-Series 7100,
7208 or T-Series 7208)
3. Enter three-digit intercom number of the
person you want to send the message
indicator to
Cancel Sent Message
1. Press FEATURE #1 ; look for Cancel
in display
2. Enter three-digit intercom number of the
person you sent the message to
View Received Messages
1. Press FEATURE 6 5 ; look for first
message in display
2. Press softkey or * and #to scroll
through your messages
3. Press softkey or 0 to call person
w h o left message
4. Press softkey or FEATURE #6
5 to delete message
View Sent Messages
1. Press FEATURE 1 ; look for Message list
in display
2. Press softkey to display first message sent
3. Press sofkey to view additional messages
4. Press softkey to clear message listing
Messaging
CTS Training Center
17
Used to make announcements over the Norstar
system. You can choose three paging options:
• Internal Page – used for announcements
over the telephone speaker within your
paging area
• External Page – for overhead paging systems
• Internal and External Page – used for
announcements in both systems
Paging zones are set to establish the areas that
receive a page. Each paging zone is identified by a
number 1 through 6. Page zone 0 pages all zones.
Internal Paging
1. Press FEATURE 6 1
2. Enter paging zone (0-6); listen for
paging tone
3. Make announcement
4. Press RLS to end
External Paging
1. Press FEATURE 6 2 ; listen for paging tone
2. Make announcement
3. Press RLS to end
Internal and External Paging
1. Press FEATURE 6 3
2. Enter paging zone (0-6); listen for
paging tone
3. Make announcement
4. Press RLS to end
Paging
Makes a voice call, using the intercom line, to
a telephone set that is idle, busy or has Do Not
Disturb activated. A person who receives a priority
call while on another line has eight seconds to
accept or reject the call. The calling and receiving
parties hear a triple alert tone to identify the call as
a priority call. Use this feature for urgent calls only.
This feature must be enabled by CTS to operate.
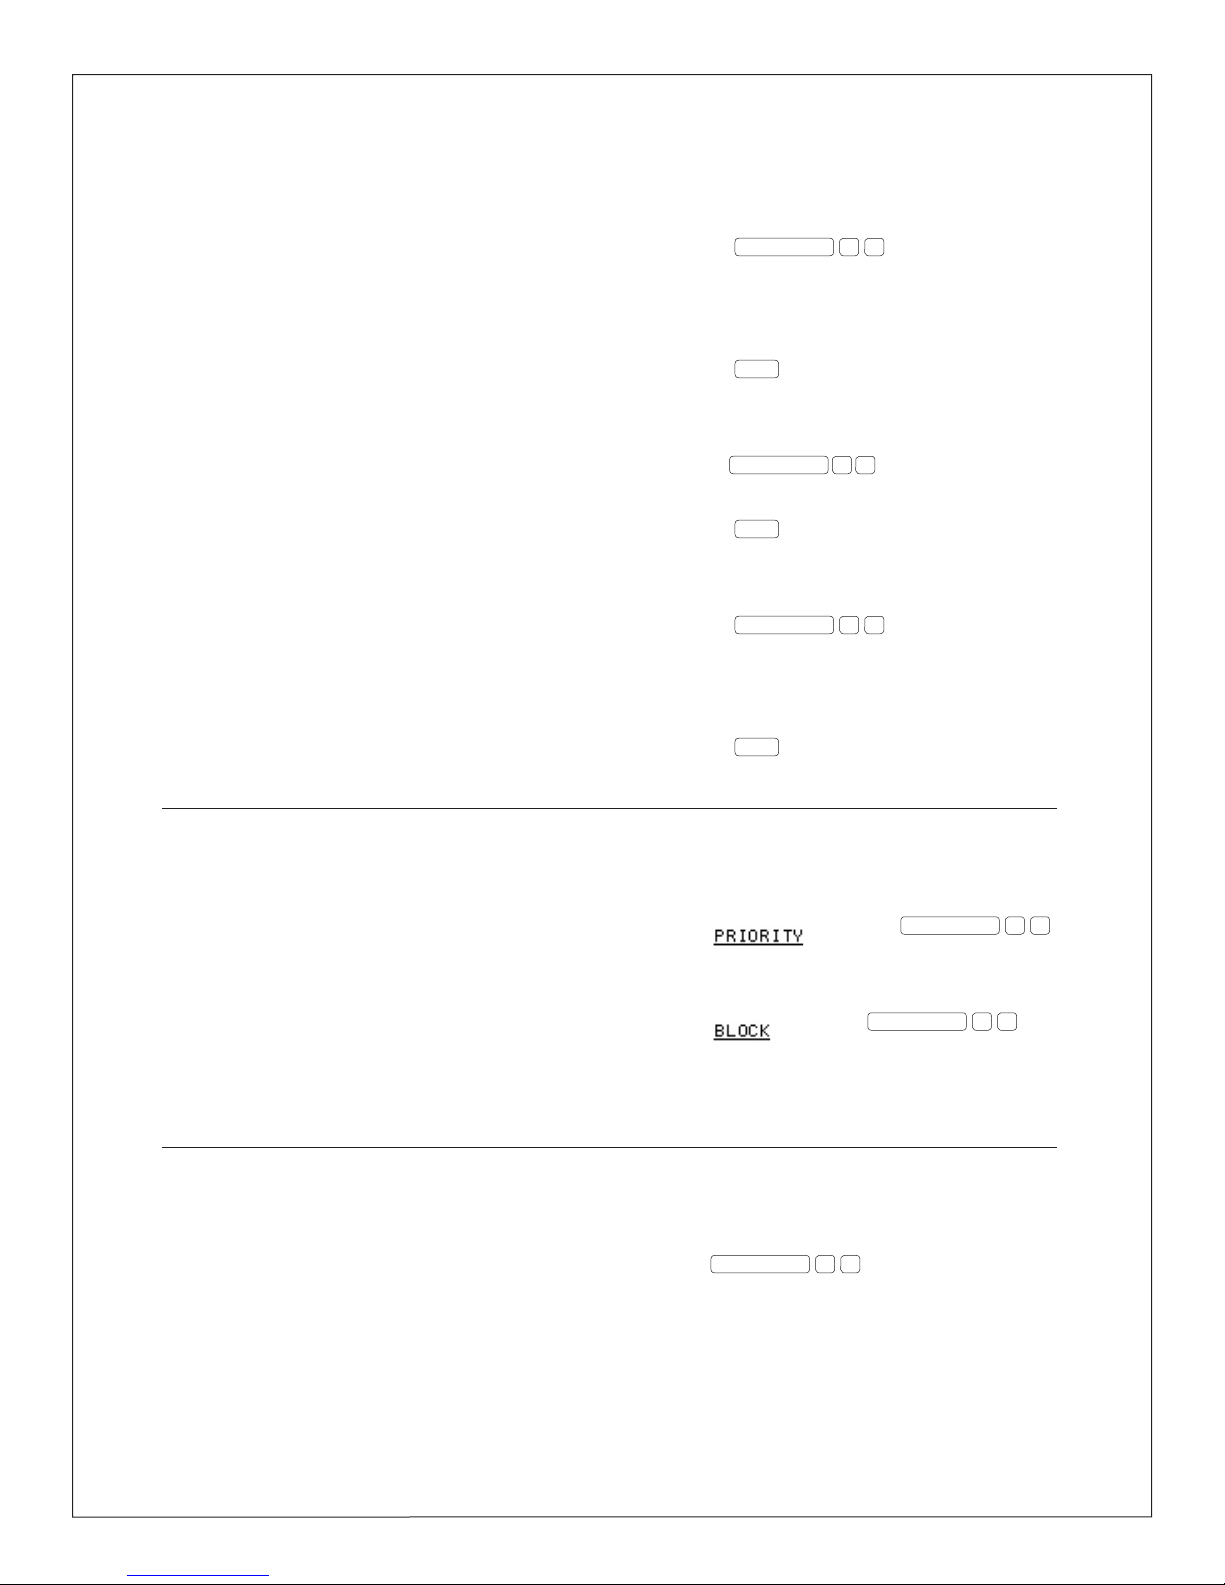
Issue Priority Call
Press softkey or FEATURE 6 9
Block Priority Call
Press softkey or FEATURE 8 5
Priority Call
Used with telephone numbers that appear
on two or more Norstar telephone sets. This
feature changes a non-private telephone line to
private during a conversation. Once Privacy is
activated, you will hear a double alert tone and
the telephone line is secured; your call cannot be
interrupted. The privacy setting will reset once
you end your call.
Activate Privacy
Press FEATURE 8 3 during call; listen for
double tone confirmation
Privacy
CTS Training Center
18
Used with telephone numbers that appear on
two or more Norstar telephone sets. This feature
changes a private telephone line to non-private
during a conversation. Once activated, one Norstar
user can join the call. A double alert tone is heard
once the second Norstar user has joined the call.
The privacy release setting will reset at the end of
your call.
Activate Privacy Release
Press FEATURE 8 3 during call; listen for
joined call
Privacy Release
Used when you encounter a busy signal or receive
no answer when calling an intercom line. When
activated, Norstar will notify you when the line
is available or used. You will hear a double alert
tone when that intercom line becomes available.
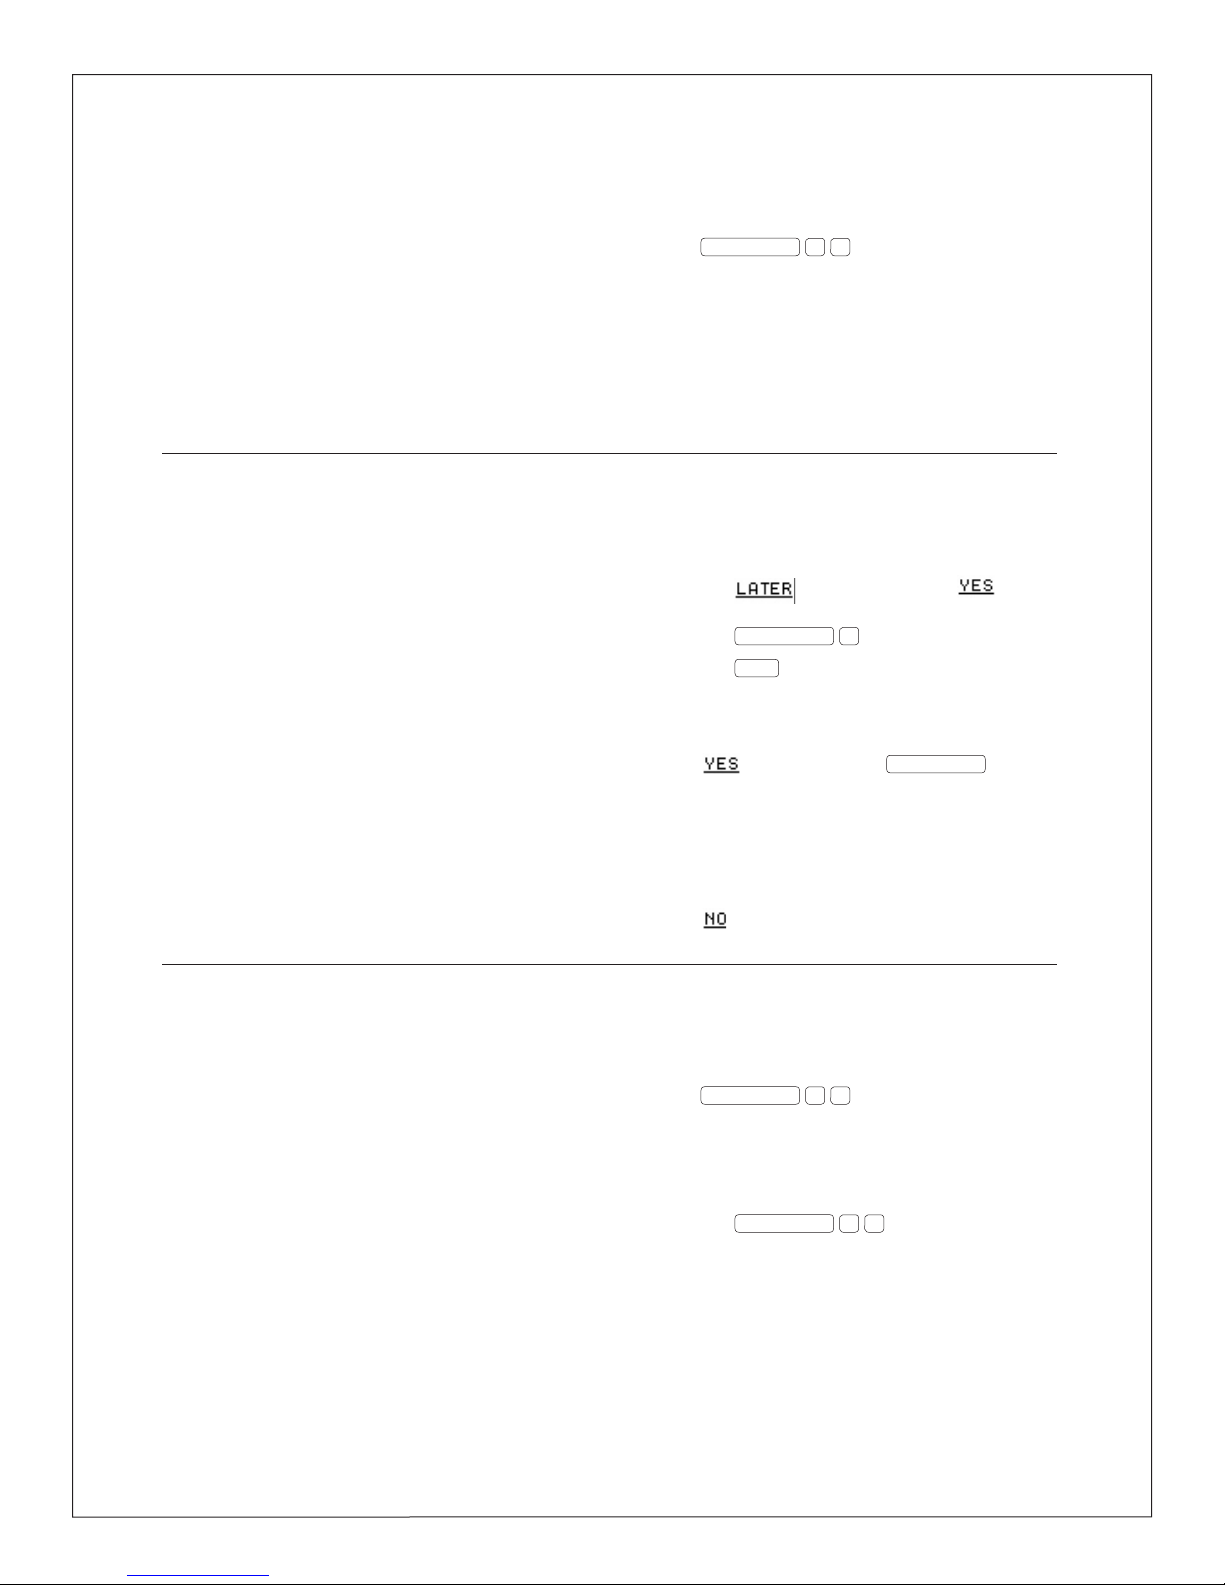
Activate Ring Again
1. Press softkey, then press
softkey -or-
Press FEATURE 2
2. Press RLS
Accept Ring Again Notification
Press softkey or press INTERCOM ; your
call
Deny Ring Again Notification
Press softkey or ignore
Ring Again
Allows you to save the current number dialed to
redial it again later as often as needed. The saved
number is stored until a new number is saved
in its place. This feature will not interrupt your
current call.
Save Number
Press INTERCOM 6 7 to store number
Redial Number
1. Lift handset
2. Press INTERCOM 6 7 to dial number
Save Number Redial
is then connected
CTS Training Center

19
Allows you to program a list of frequently called
numbers and access them by dialing a two-digit
code. When programming, the handset stays on
the cradle.
Program Speed Dial
1. Press FEATURE
*4
2. Enter two-digit speed dial code (71-94)
3. Enter number to be stored (follow
dialing instructions)
4. Press softkey or HOLD
Use Speed Dial
1. Press SPEED DIAL or press FEATURE 0
2. Enter speed dial code (71-94)
Speed Dial
Three-Way Calling is accessed by pressing
TRANSFER or FEATURE 7 1 . Three-Way
Calling offers you two options:
• Call Transfer – allows you to transfer calls
to other campus numbers
• Three-Way Conference – allows you to
establish a three-way conference call
Call Transfer
Allows you to transfer calls to campus or non-
campus numbers. When a busy signal or no
answer is received, you can cancel the transfer and
return to the original call. If transferring a call to a
non-campus number, toll charges will be billed to
the originating number (transferring telephone).
Non-campus calls cannot be transferred to non-
campus numbers.
Transfer Call
1. Advise caller that you are going to transfer
his or her call
2. Press TRANSFER or FEATURE 7 1
(caller is placed on hold); listen for special
dial tone
3. Dial number (follow dialing instructions)
4. Wait for second party to answer, then
announce caller
5. Press RLS or hang up to complete transfer
Cancel Call Transfer
1. Listen for busy signal or no answer
2. Press TRANSFER or FEATURE 7 1
twice; listen for reconnection with original caller
Three-Way Calling
CTS Training Center

20
Used to make an announcement or begin a
conversation through the speaker of another
Norstar telephone set within your KSU. When
initiating a voice call, the destination telephone
set does not ring. Instead, the telephone set
beeps followed by your voice announcement. The
telephone set beeps periodically to remind the
receiving caller that the microphone is open. Voice
Call can be prohibited by activating Voice Call
Deny. In this case, an initiated voice call rings until
answered by the caller.
Activate Voice Call
1. Press FEATURE 6 6
2. Enter three-digit intercom number for
who you wish to voice call; listen
for announcement tone
3. Make announcement or begin conversation
Activate Voice Call Deny
Press FEATURE 8
Deactivate Voice Call Deny
Press FEATURE #8 8
Voice Call
Three-Way Conference
Allows you to establish a three-way conference
call with campus or non-campus parties. The
destination to which you may place the three-way
conference call is based on your telephone line’s
class of service. Toll charges will be billed to the
originating telephone number. For conference
calls that exceed three parties, call Meet-Me
Conference Services at 310-825-3333.
Place Three-Way Conference Call
1. Place or receive initial call
2. Press TRANSFER or FEATURE 7 1
(caller is placed on hold); listen for special
dial tone
3. Dial third party’s number (following dialing
instructions)
4. Wait for third party to answer, then
announce conference call
5. Press TRANSFER or FEATURE 7 1
again to establish three-way conference
CTS Training Center
Table of contents
Other CTS Telephone manuals


 manual")


