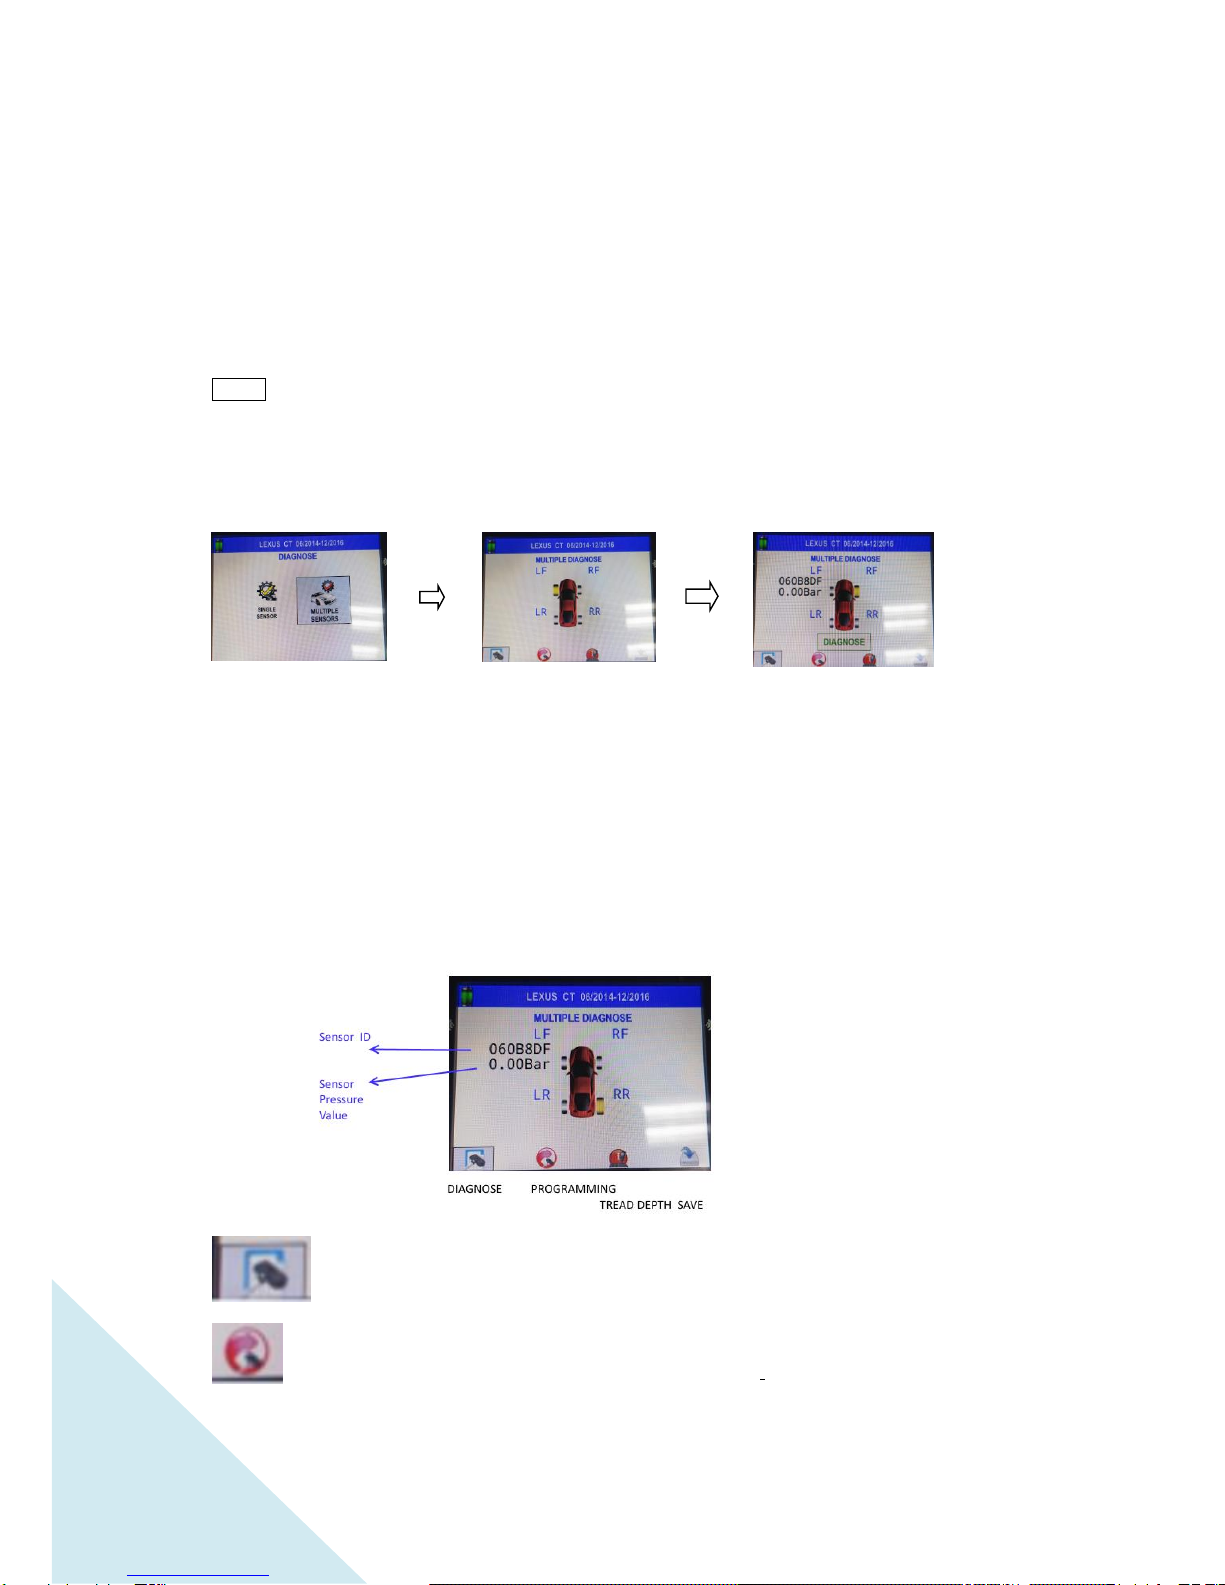
TREAD DEPTH: To process TREAD DEPTH function (See page xxx).
SAVE: To save the existing data to SAVED VEHICLES menu (will be enabled when
there is existing data, see page XX).
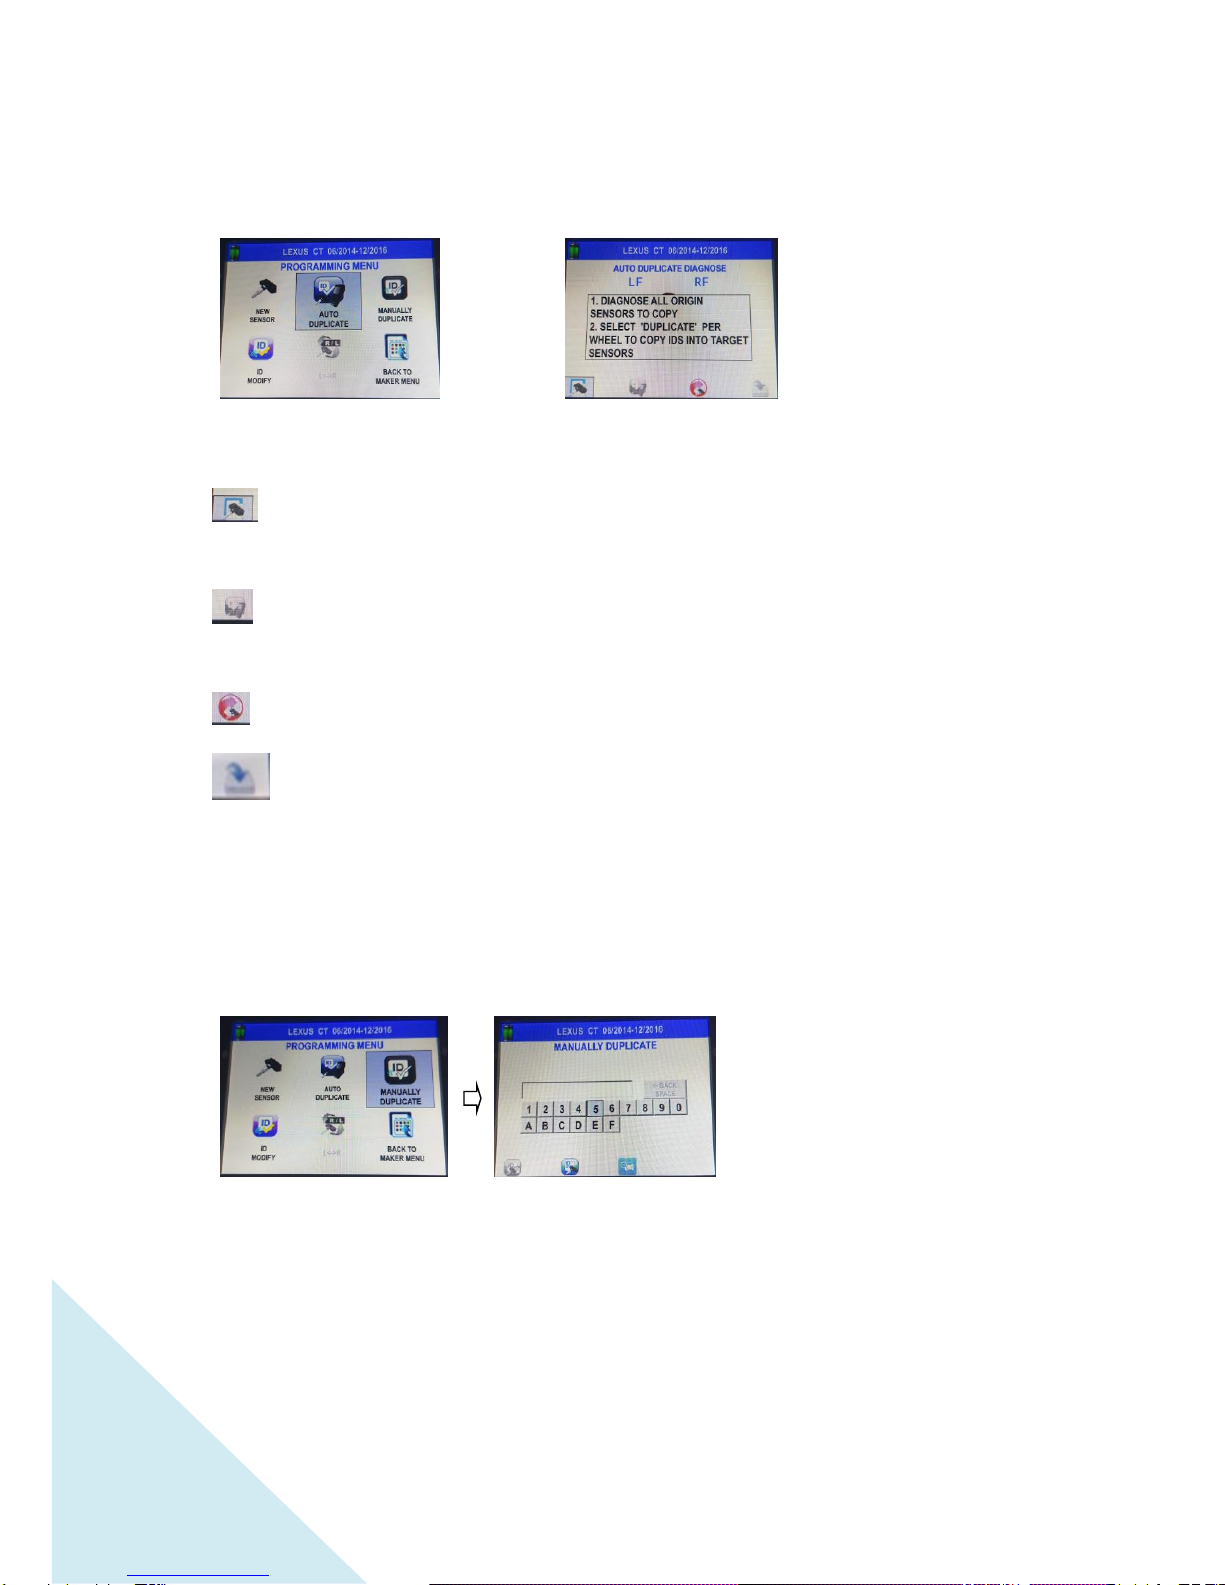
2.1.2 PROGRAMMING
2.1.2.1
NEW SENSOR
HINT:
IN CRADLE: Indicates programming by wire (Uni-Sensor must be placed inside cradle).
WIRELESS: Indicates programming by wireless (Wireless Uni-Sensor must be within
programming range from the tool)
NOTE: Make sure there are no other Wireless Uni-Sensors within 1 m from the tool when you
use wireless programming ; otherwise, the programming will fail.
Program blank sensor. When selected and pressing the “OK” key, it will
automatically program the next Uni-Sensor in the same way (in cradle/wireless) as previously
selected.
DEL ALL: Delete all the existing data of all the previously programmed
Uni-Sensors.