PB SP-12 User manual
SP-12 User Guide
Water Detection Sensor
A water-resistant sensor specially designed to provide early
detection of water sources, leaks or spills and also to
prevent damage and downtime around your facilities.
Type:
Spot Water Detection Probe
Power Supply:
12VDC or 24VDC (refer to the table)
Output Rating:
NC Relay Dry Contact, 24V, 1A (Non-polarity)
Sensing Height:
1mm to 6mm (Adjustable)
Dimension:
24(h) x 44(diameter) mm
Weight:
120g
Enclosure:
Chrome Plated, Brass Material
Cord:
4-core (2 Power, 2 Contacts), 3 meters
Color
Description
Red
Positive Supply (+)
Black
Negative Supply (-)
Yellow
Relay Contact (NC)
White
Relay Contact (COM)
Color
Supply
Green
12VDC
Blue
24VDC
▪Solid chrome brass construction
▪Sealed, waterproof and impact resistant
▪12 or 24VDC, 1 A output relay contact
▪Fail-safe, normally closed (NC) relay
contact
▪Adjustable sensor height
▪Visual alarm indication
▪Standard 3m cable length
FEATURES
TECHNICAL SPECIFICATIONS
Wiring Color Code
PCB Color Scheme
*Refer to the figure above
LED Indicator
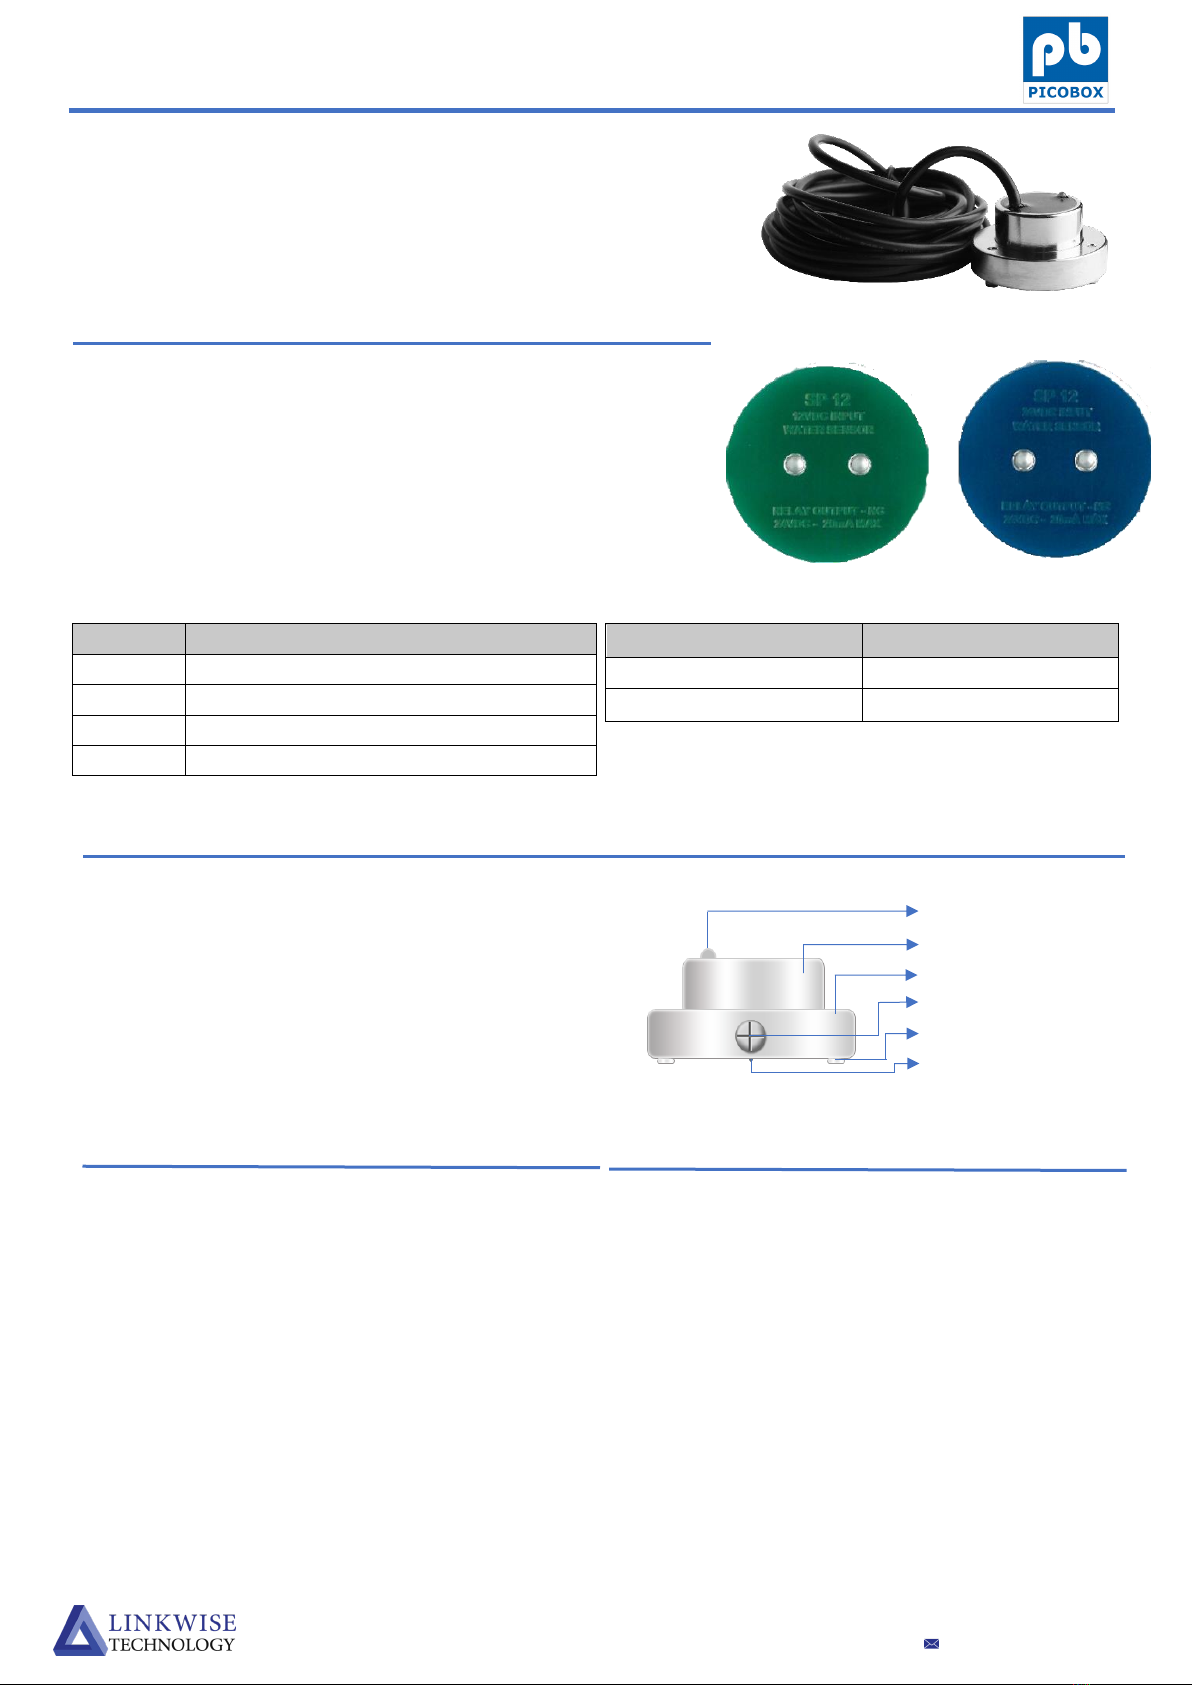
Sensing Head
Mounting Ring
Locking Screw
Spacing Screws
Sensing Probe
INSTALLATION
1. Place SP-12 on a flat surface where
water accumulation or water leakage
can possibly occur. (Ex: air-conditioner
water tray, pantry, flood prone rooms)
2.
Connect the red (+) and black (-) wires
to the power supply. It depends on the
color of the PCB if it will be connected
to a 12VDC or 24VDC supply
3.
The white and yellow wire are the relay
alarm outputs. You can connect it as
inputs in EMS devices such as Picobox
REX and FMGuard or other alarm
detection systems.
OPERATION
When water comes in contact with the
two sensing probes, the relay contact
would change from close to open
contact and the LED indicator would
turn red.
Figure 1
www.linkwisetech.com

SP-12 User Guide
Water Detection Sensor
+
-
12VDC or 24VDC
+
-
12VDC or 24VDC
ADJUSTING WATER SENSING HEIGHT
1. Loosen the locking screw using a Philips head screwdriver (anti-clockwise)
2. Adjust the Sensing Head to the required height. (1mm to 6mm)
3. Tighten the Locking screw in clockwise direction (Note: Do NOT over tighten)
4.
If higher than 6mm sensing height is required, 3 spacing screws below the mounting ring can
be adjusted to provide additional height of several more millimeters.
5.
Third party mounting bracket can be used with this sensor to raise to other desired heights just
like the one shown in the figure 2 and 3.
Wiring Instructions
Figure 2
Figure 3
Example 1: Figure 4 shows the connection of one unit of SP-12 to REX
Example 2: Figure 5 shows the connection of one unit of SP-12 to FMG
Figure 4
Figure 5
Note: During operation, device may become hot
www.linkwisetech.com


