This checklist has been developed to help identify common issues that can be quickly
addressed to prevent unnecessary product returns. Please also refer to the product’s
Directions for Use and instructional video on Curbell’s website (www.curbellmedical.com).
If, after completing the checklist, the product continues to malfunction, please call your
Curbell Representative at 888-222-2188.
No power/green “in use” light does not blink
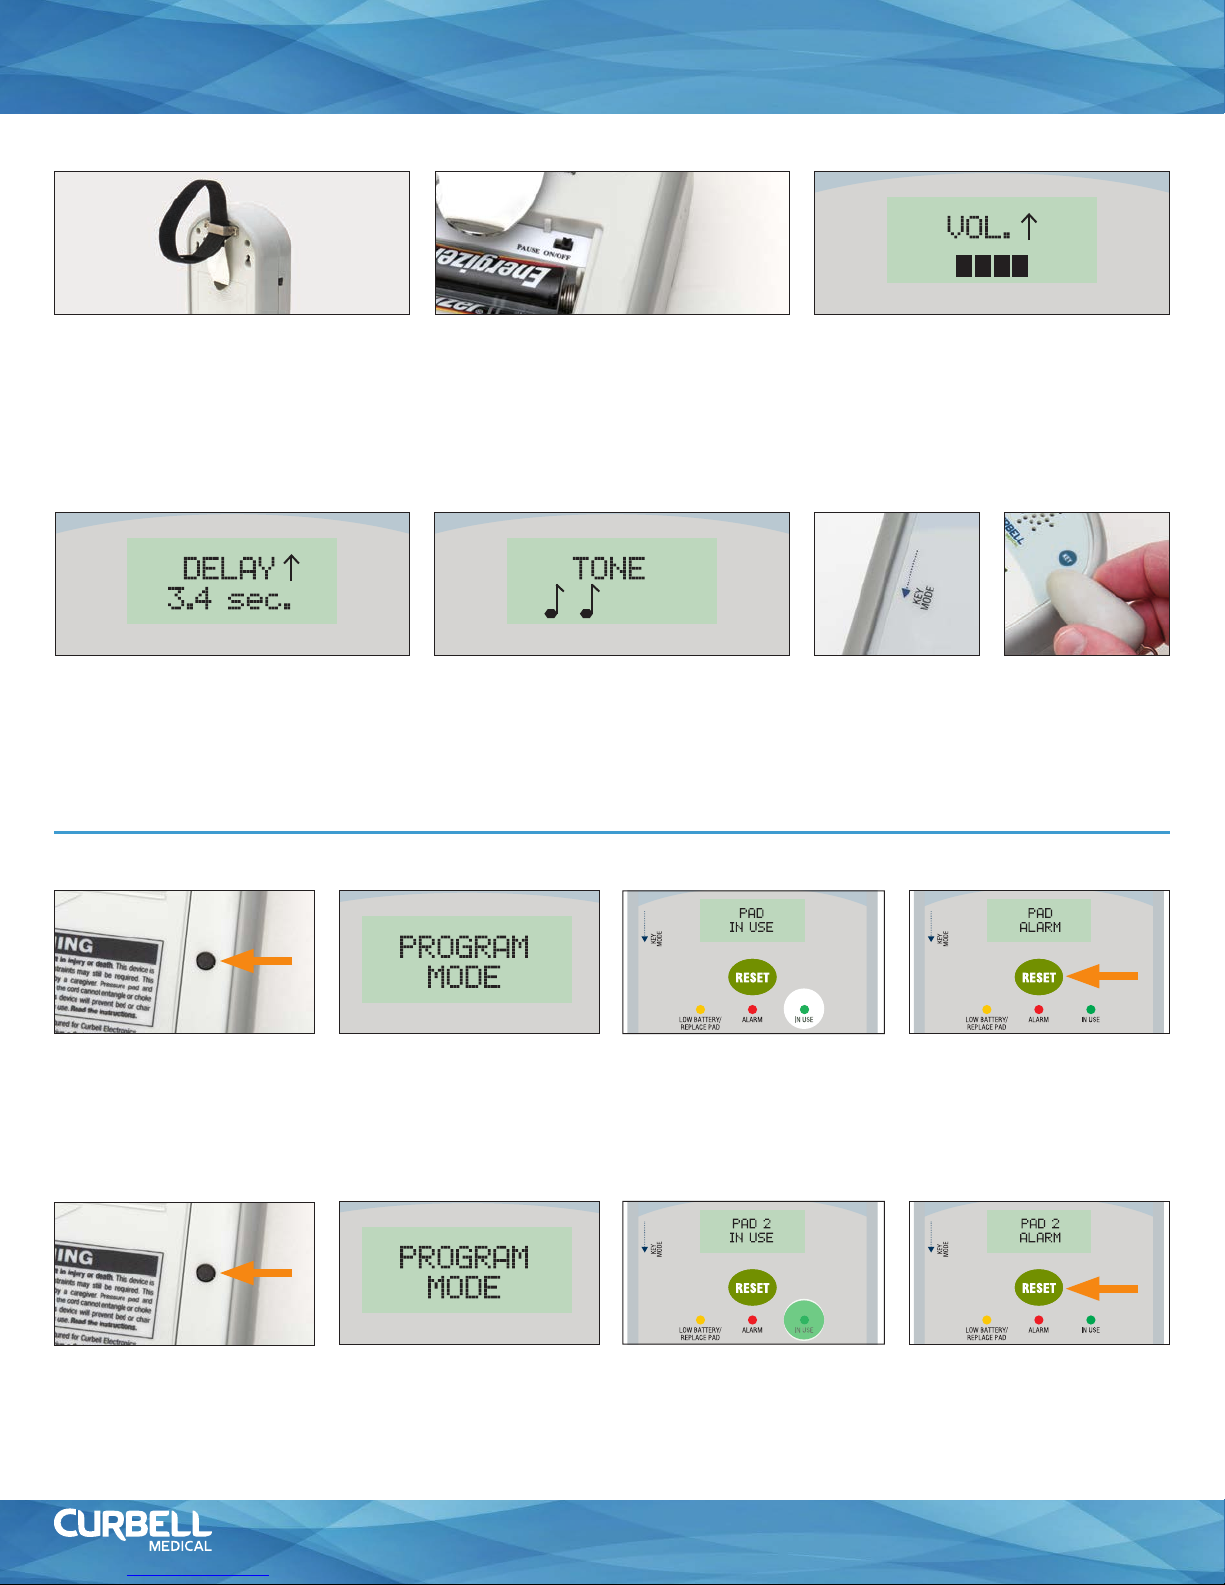
o Batteries are installed according to the diagram in the battery compartment.
o Batteries are fresh and/or known to be good.
If an AC adapter being used:
o The connection between the monitor and the AC outlet is secure and not damaged.
o The outlet in use is functioning properly and not controlled by a light switch.
LCD displays “LOW BATTERY” or “REPLACE BATTERY”
o Replace all batteries with new Energizer Industrial (or equivalent) batteries.
Wireless sensor pad does not synchronize to the monitor
o The transmitter in the sensor pad is securely connected with no visible cord or connector damage.
o The transmitter’s ON/OFF switch has been permanently turned ON. The red STATUS/IN USE light on the transmitter blinks approximately every 30 seconds.
o No part of the pad/mat (including in the neck of the sensor) is folded and/or creased.
o The sensor is in a flat position on a flat surface with no heavy blanket, gel, or foam interfering.
o The pad is within 30 feet of the monitor.
o The transmitter and transmitter antenna are properly connected and positioned
to maximize range and performance (see figure 1).
o Reset the monitor by unsynchronizing the sensor and monitor and then resynchronize them.
o A corded sensor pad is not plugged into the monitor..
o If the monitor is in the KEY MODE (the switch on the side of the monitor is down), the RESET button will not work
unless first using the override key, or sliding the KEY MODE switch to the up position.
Reset button does not cancel the alarm
o If the monitor is in the KEY MODE (the switch on the side of the monitor is down), the RESET button will not work unless first using the override key, or
sliding the KEY MODE switch to the up position.
No alert is given to the facility’s nurse call system
o The connection between the monitor and the nurse call patient station is securely connected and not damaged (a 1/4” mono nurse call jack and/or an
adaptor for compatibility is required).
o The connection cable is connected to the monitor’s 1/4" “NURSE CALL CONNECTION” jack.
False alarm or no alarm sound occurs
o The pad is placed properly on the chair or bed.
o No part of the pad/mat (including the neck of the pad) is folded and/or creased.
o The pad/mat has not expired.
o There is no heavy blanket, gel, or foam cushion on the pad that may interfere with proper operation or cause delay in the alarm.
o The volume level has been turned up.
o The PAUSE switch located in the battery compartment is not turned on. If it’s in the ON position, when the RESET button is pressed,
the monitor is programmed to not alarm for 30 seconds, and the display will show “PAUSE”.
If a Corded Sensor Pad is being used:
o The cord between the monitor and sensor is securely connected and not damaged.
o The breakaway cord connector has been pushed in fully until it clicks.
BC400 TROUBLESHOOTING CHECKLIST 3
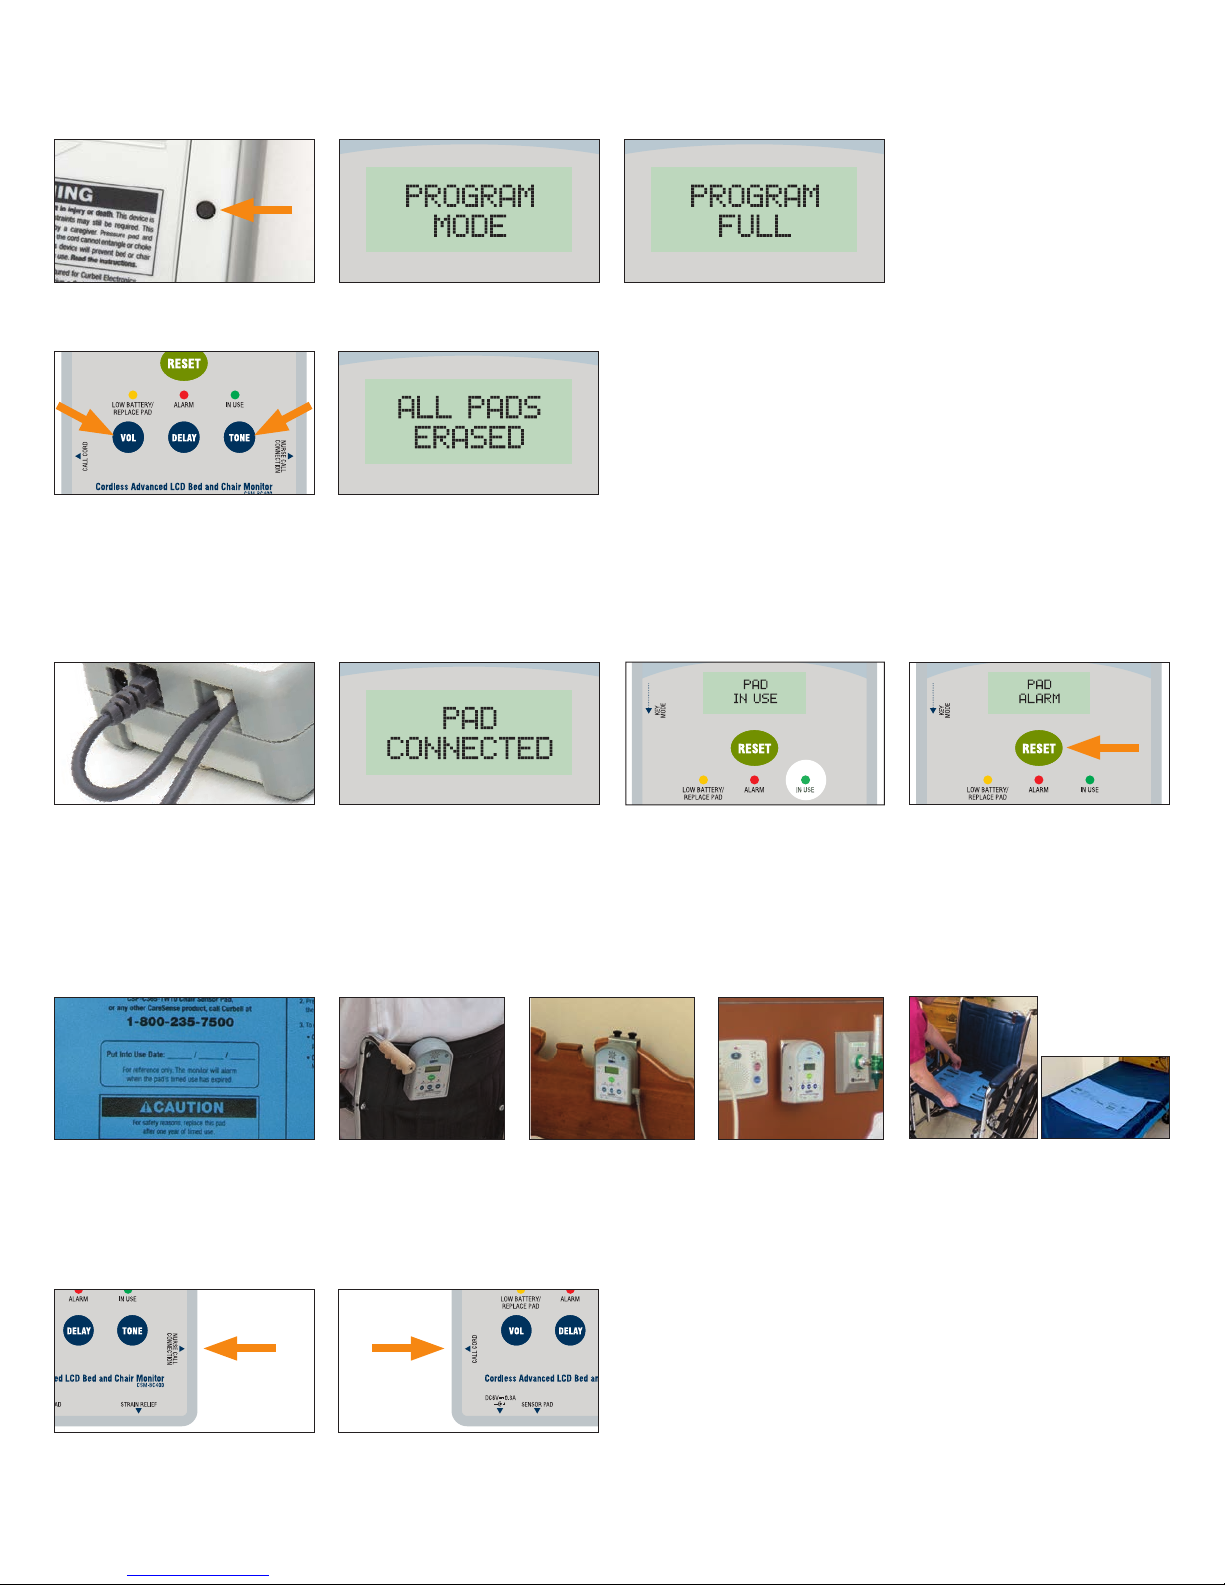
Wireless Transmitter CSP-TW-TX1
Toreorder this or any other CareSense product,
call Curbell at 1-800-235-7500
FCCID:WNGTM-01
LAB-1146-001 Rev.A
This device complies with Part 15 of the FCC Rules. Operation is
subject to the following two conditions: 1.This device may not cause
harmful interference. 2. This device must accept any interference
received,including interference that may cause undesired operation.
12
2015 2016
2017 20181110987
654321
QC
BA
Status/In use
Antenna
figure 1