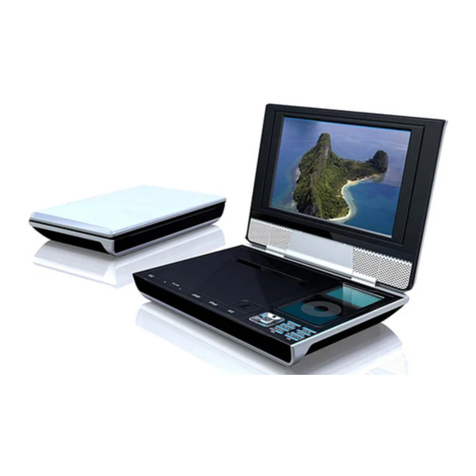
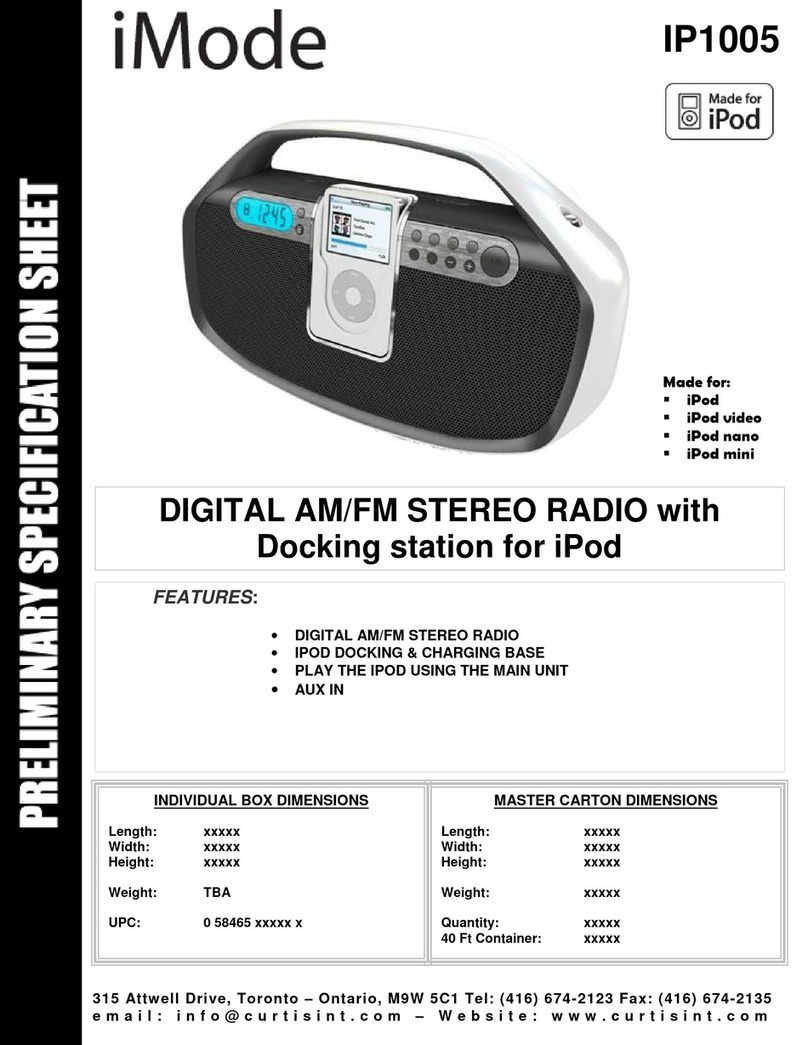
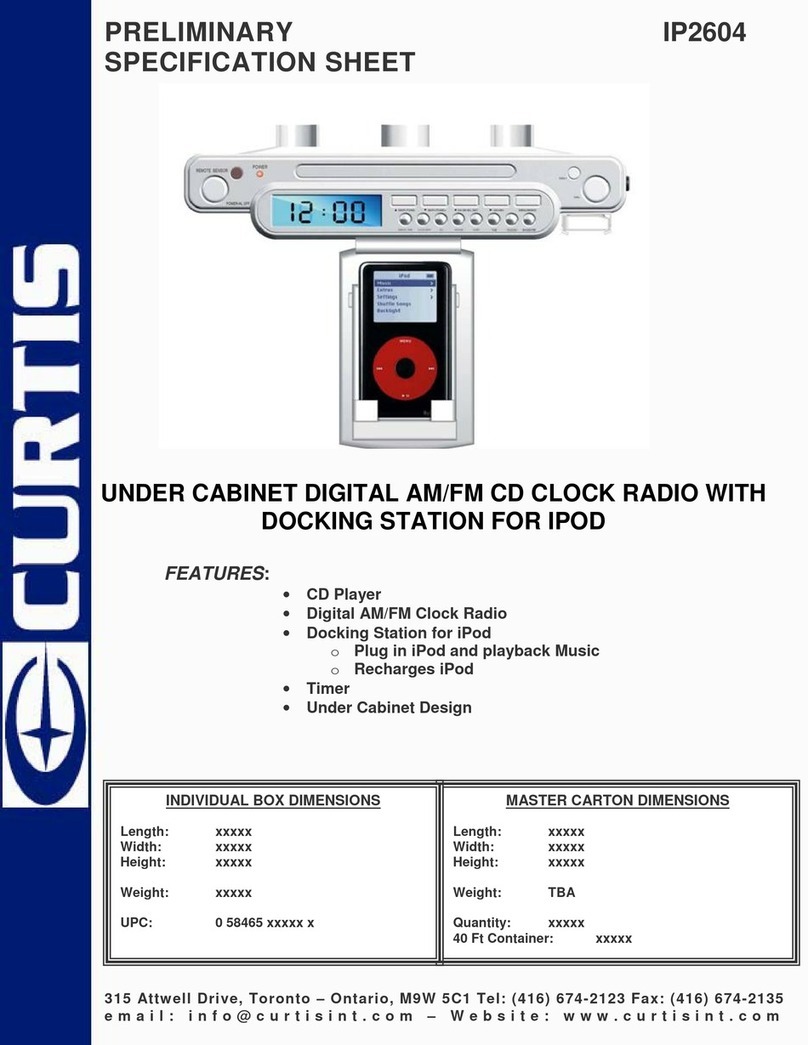
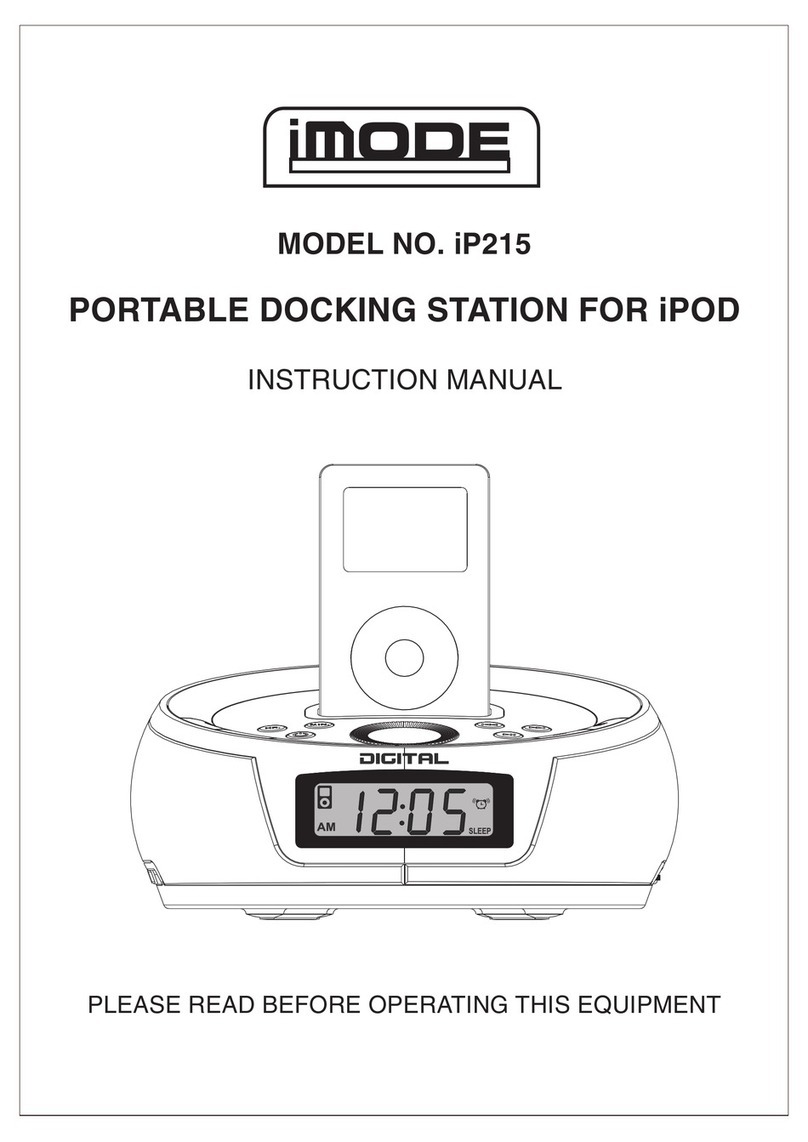
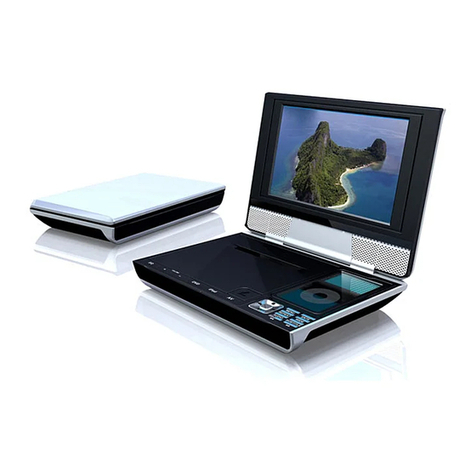
Curtis iMODE iP9012 User manual

OWNER'S MANUAL
PLEASE READ BEFORE OPERATING THIS EQUIPMENT
MODEL NO. iP9012
DOCKING STATION FOR iPOD VIDEO

TO PREVENT FIRE OR SHOCK HAZARDS, DO NOT EXPOSE THIS UNIT TO RAIN
OR MOISTURE.
This symbol, located on back or bottom of the unit, is intended to alert the
user to the presence of un-insulated “dangerous voltage” within the product’s’s
enclosure that may be of sufficient magnitude to constitute a risk of electric
shock to persons.
This symbol, located on back or bottom of the unit, is intended to alert the
user to the presence of important operating and maintenance (servicing)
instructions in the literature accompanying the appliance.
Any use of the controls or an adjustment to the procedures other than those
specified herein may result in hazardous radiation.
CAUTION :TO PREVENT ELECTRIC SHOCK, MATCH WIDE BLADE
OF PLUG TO WIDE SLOT, FULLY INSERT.
To reduce the risk of electric shock, do not remove cover (or back). There are no
user-serviceable parts inside. Please refer any servicing to qualified service personnel.
WARNING: Changes or modifications to this unit not expressly approved by the
party responsible for compliance could void the user’s authority to operate the
equipment.
Warnings and Precautions
2

11
12
1
2
3
4
8 7
9
10
15
Location of Controls
3
1. TFT PANEL
2. STOP BUTTON
3. PLAY/PAUSE BUTTON
4. REMOTE SENOR
5. TFT ON/OFF BUTTON
6. MENU BUTTON
7. STAND BY BUTTON
8. AV IN BUTTON
9. VOLUME DOWN BUTTON
10. VOLUME UP BUTTON
11. IPOD COMPARTMENT
DOOR RECESS
12. IPOD COMPARTMENT
13. SKIP/REV BUTTON
14. SKIP/FWD BUTTON
15. IPOD BUTTON

16. AV IN JACK
17. AV OUT JACK
18. HEADPHONE JACK
19. POWER SWITCH
20. BATTERY COMPARTMENT
21. AC ADAPTOR JACK
18 17 16 19
20
21
Location of Controls
4

5
Features Defined
1
2
3
4
5
6
7
8
9
10
11
12
13
14
15
16
17
18
19
20
21
TFT PANEL Show the video / picture in the TFT panel
STOP BUTTON To stop the playback.
PLAY/PAUSE BUTTON Press to play / pause the unit.
REMOTE SENSOR Using remote control pointing at the remote sensor window to control the unit.
TFT ON/OFF BUTTON Press to off the TFT screen.
MENU BUTTON Press to select TFT display setup.
STANDBY BUTTON Press the button between standby and power on mode.
AV BUTTON Press to select AV mode.
VOLUME DOWN BUTTON Press to decrease the volume sound.
VOLUME UP BUTTON Press to increase the volume sound.
IPOD COMPARTMENT OPEN SWITCH Lift to open the iPod compartment
IPOD COMPARTMENT Compartment for iPod unit
SKIP BACKWARD/REWIND BUTTON Press to select previous track and hold to select fast reverse.
SKIP FORWARD/ FAST FORWARD BUTTON Press to select next tack and hold to select fast-
forward.
IPOD BUTTON Press to select iPod mode.
AV IN JACK Uses the AV cord to connect external video device and receive signal from outer source.
AV OUT JACK Uses the AV cord to connect TV video in and send the signal to TV.
HEADPHONES JACK Connect a headphone or earphone 3.5mm.
POWER SWITCH Slide the switch to select power on or off.
BATTERY COMPARTMENT Rechargeable battery (LI-POLYMER 7.2V)
POWER ADAPTER JACK To connect power adapter.

6
Location of Controls
1. AV IN BUTTON
2. POWER/STANDBY BUTTON
3. WIDE BUTTON
4. iPod MENU BUTTON
5. TFT ON/OFF BUTTON
6. DBBS BUTTON
7. TFT MEMU BUTTON
8. REPEAT BUTTON
9. ALBUM UP BUTTON
10. ALBUM DOWN BUTTON
11. SHUFFLE BUTTON
12. PLAY LIST DOWN BUTTON
13. VOLUME DOWN BUTTON
14. VOLUME UP BUTTON
15. PLAY LIST UP BUTTON
16. MUTE BUTTON
17. NETVIGATION BUTTON
18. SELECT BUTTON
19. STOP BUTTON
20. PLAY/PAUSE BUTTON
21. iPod BUTTON
2
4
5
7
9
10
1
3
6
8
11 12
15
18
21
13
14
16
17
19
20

7
Features Defined
1
2
3
4
5
6
7
8
9
10
11
12
13
14
15
16
17
18
19
20
21
AV IN BUTTON Press to select AV IN or AV OUT mode.
POWER / STANDBY BUTTON Press the button between standby and power on mode.
WIDE BUTTON To wide screen mode.
IPOD MENU BUTTON Press to select iPod mode.
TFT ON/OFF BUTTON To ON/OFF TFT screen.
DBBS BUTTON Press to DBBS mode.
TFT MENU BUTTON Press to open TFT menu
REPEAT BUTTON Press to repeat mode.
ALBUM UP BUTTON Press to scroll up album.
ALBUM DOWN BUTTON Press to scroll down album.
SHUFFLE BUTTON In playback mode, press to shuffle playback.
PLAY LIST DOWN BUTTON Press to scroll down play list.
VOLUME DOWN BUTTON Press to decrease the volume sound.
VOLUME UP BUTTON Press to increase the volume sound.
PLAY LIST UP BUTTON Press to scroll up play list.
MUTE BUTTON Press to mute the speakers. Press again to cancel.
NETVIGATION BUTTON Press to navigate the setup menus.
SELECT BUTTON Press to confirm a choice, or select an option on one of the setup menus.
STOP BUTTON To stop the playback.
PLAY/PAUSE BUTTON Press to play / pause the unit.
iPOD BUTTON Press to iPod playback.

8
Installing a Battery in the Remote
To install or replace the battery:
1Pull the battery tray out of the remote.
2If you are replacing the battery, remove the old battery and
dispose of it properly. Note the orientation of the + and - sides of
the battery.
3Insert the new battery into the battery tray, orienting it the same
way the old battery was placed.
4Close the battery tray.
Warning
There is danger of an explosion if you replace the battery
incorrectly. Replace only with the same or equivalent battery.
LITHIUM BATTERY
CR2025
3V

9
iPod Adaptors
1
2
3
iPod NANO 1st 2GB & 4GB
iPod NANO 2nd 2GB,4GB,8GB
iPod MINI 4GB & 6GB
6
5
4
iPod Video 30GB
3G iPod 10GB,15GB,20GB
iPod Photo & Color
U2 iPod 20GB & 30GB
4G iPod
*iPod Video 60GB & 80GB
not require any adaptors

10
UNPACKING
First inventory the contents of your Portable player package:
If any item should be damaged or missing, please contact your dealer without
delay.
Keep the packaging materials, you may need them to transport your player in the
future.
WARNING: Changes or modifications made to this equipment, not expressly approved
by us or parties authorized by us will void all manufacture warranties.
Portable Player x 1
RCA Cable x 1 pair
Li-Polymer Battery Pack x 1
Remote Control x 1
External Power Adapter x 1
Operating Manual x 1
Stereo Headphone x 1

11
Quick Starting Guide
CONNECTING TO AN EXTERNAL POWER SOURCE
Connect the power adapter (supplied with the player) to the rear DC input jack and to a
wall outlet. Do not use any other device otherwise specified by your dealer.
HOW TO USE DC IN JACK
Use DC IN JACK to connect power adapter or car adapter to provide power for player.

A/V IN
A/V OUT
12
Quick Starting Guide
CONNECTING TO A TV
Step 1:connect the audio cables to AUDIO IN/OUT of the player.
Step 2:connect the yellow cable to the VIDEO IN/OUT on the side of your player.
CONNECTING HEADPHONES
1. Connect the headphones.
Headphones with a 3.5 mm stereo plug can be connected.
2. Adjust the volume by VOL – / VOL +.

13
Quick Starting Guide
MENU SETUP
BRIGHTNESS
CONTRAST
SHARPNESS
COLOR
HUE
DISPLAY MODE
RESET
Press “MENU” on key control and go
into TFT display setup
Press MENU once to select BRIGHTNESS
then press VOLUME UP/DN to adjust value.
MENU SETUP
BRIGHTNESS
CONTRAST
SHARPNESS
COLOR
HUE
DISPLAY MODE
RESET
15
SYSTEM CONNECTION
Use audio cable, video cable to connect from player to TV set and amplifier.
CONNECT THE PLAYER TO TV SET BY AUDIO / AV CABLE
Use audio cable, video cable to connect the player and TV set.
CONNECT OTHER MEDIA TO THE PLAYER
Use audio cable, video cable to connect from other media to player.
TFT SETUP

14
Quick Starting Guide
Press MENU twice to select CONTRAST
then press VOLUME UP/DN to adjust value.
MENU SETUP
BRIGHTNESS
CONTRAST
SHARPNESS
COLOR
HUE
DISPLAY MODE
RESET
15
Press MENU three times to select
SHARPNESS then press VOLUME UP/DN
to adjust value.
MENU SETUP
BRIGHTNESS
CONTRAST
SHARPNESS
COLOR
HUE
DISPLAY MODE
RESET
3
Press MENU four times to select
COLOR then press VOLUME UP/DN
to adjust value.
MENU SETUP
BRIGHTNESS
CONTRAST
SHARPNESS
COLOR
HUE
DISPLAY MODE
RESET
21
Press MENU four times to select
HUE then press VOLUME UP/DN
to adjust value.
MENU SETUP
BRIGHTNESS
CONTRAST
SHARPNESS
COLOR
HUE
DISPLAY MODE
RESET
15

15
Quick Starting Guide
MENU SETUP
BRIGHTNESS
CONTRAST
SHARPNESS
COLOR
HUE
DISPLAY MODE
RESET
15
Press MENU six times to select
DISPLAY MODE then press VOLUME
UP/DN to choose 16:9 or 4:3.
Press MENU six times to select
HUE then press VOLUME UP/DN
to adjust value.
MENU SETUP
BRIGHTNESS
CONTRAST
SHARPNESS
COLOR
HUE
DISPLAY MODE 16:9
RESET
MENU SETUP
BRIGHTNESS
CONTRAST
SHARPNESS
COLOR
HUE
DISPLAY MODE
RESET RESET OK
Press MENU seven times to select
RESET then press VOLUME UP/DN
to reset back to factory default
setting

16
Quick Starting Guide
To Playback iPod
1. Lift the Dock Release button. Locate the correct holder to use as shown on page 9.
2. Insert the holder onto the dock and slip the side tabs into place.Insert the iPod
onto the holder.
3. Gently push down so the connector on the iPod slides onto the connector on the
unit.
4. Press the edge area of the holder down gently (as shown) until it clicks into
place.
5. Once you connect the iPod, it will start charging the battery until it is full. (The
iPod can charge only when the unit is connected with the AC adapter.)
6. With an iPod connected, turn the unit on by slide the Power button to “ON”
position.
7. Operate the iPod as per its ownerʼs manual.
For music selections, the sound will be heard through the unit speakers.
For photo selections, the image will be seen on the unit screen.
For A/V selections, the sound will be heard through the unit speakers and the image
will be seen on the TFT screen.
Make sure to go into the Settings menu of your iPod and set the TV Out setting to
ON and set the TV Signal to NTSC; otherwise, you may not be able to view the
videos/ photos on your external TV.
• The photo and video selections are for iPod with video (5th generation). The photo
selection is also suitable for iPod photo.
When done, slide the Power button to OFF and also turn off the iPod.

17
Quick Starting Guide
HOW TO PAUSE PLAYBACK (STILL PLAYBACK)
Press the PAUSE once during playback.
The player is pause mode.
Press the STOP button.
The player is stopped
FAST FORWARD & REWIND
You can playback a movie at 2x the normal speed for fast forward or rewind.
Hold the REV or FWD button during playback.
The playback speed becomes double the normal speed.
TO RESUME NORMAL PLAYBACK. Press PLAY or release the REV or FWD
button.
Rechargeable Battery Installation & Use
INSTALLING & REMOVING THE BATTERY PACK
1 . Make sure the unit is powered off and unplugged.
2 . Unscrew the battery compartment by using a screw driver (Not Included)
Attach the battery pack to the outlet of the unit, push it forward align them with each
other till you hear a click sound and screw back the battery compartment.
Removing the Battery Pack
1 . Make sure the unit is powered off and unplugged.
2 . Unscrew the battery compartment by using a screw driver (Not Included).
Pull the battery pack back ward while sliding the latch (at the bottom of the unit).

18
Quick Starting Guide
USE AND MAINTENANCE
THIS UNIT IS SUPPLIED WITH HIGHLY- EFFECTIVE RECHARGEABLE
BATTERY (LI-POLYMER). SUCH BATTERY PACK
A HIGH STORAGE CAPACITY AND LOW LEVEL OF DEGRADATION. THE
LATTER MEANS THAT THE BATTERY CAN ALSO BE RECHARGED WHEN
ONLY PARTLY SPENT.
Plug the AC adapter into the unit.
Please fully charge the battery prior to first use.
Rechargeable Battery Installation & Use.
The provided battery can be recharged for about 300 times.
It takes about 4-5 hours to recharge the battery, then the red indicator is put out. A fully
charged battery can power the unit for about 2.5 hours. Power consumption depends on
the operations of the player such as brightness of the screen, volume level, etc.
Recharge the battery when fully spent in order to maximize its life.
Never recharge the battery already fully charged.
Under no circumstance should you short out the battery, store it in a metal container, or
leave it in a humid or damp environment. Store the battery in an airtight container if
possible.
Recharge effectiveness will degrade when environmental temperatures drop below
10 oC or exceed 35 oC.
Battery Storage
1 . Storage Temperature and Humidity (Short - term)
In a dry location with low humidity (Max.85%), no corrosive gases, at a temperature
range of -20 oC to 45 oC.
In a location where humidity is extremely high or with temperature below -20 oC or
above 45 oC, the metallic parts of battery will rust and result in electrolyte leakage due
to expansion or contraction in parts composed of organic materials

19
Quick Starting Guide
2 . Long-term Storage (2 years , -20 oC to 35 oC)
As long-term storage can accelerate battery self-discharge and lead to the deactivation
of reactants, locations where the temperature ranges between 10 oC and 30 oC are
suitable for long-term storage.
When charge for the first time after long-term storage, deactivation of reactants may
may have led to increased battery voltage and decreased battery capacity. Restore such
such batteries to original performance through repeating several cycles of charge
and discharge.
When storing battery for more than 1 year, charge at least once a year to prevent leakage
and deterioration in performance due to self discharge. When using a rapid charger of
of voltage detection type, carry out charge and discharge at least once every 6 months.
Note :
To get the best performance, charge your battery for more than 12 hours at the first time
after unpacking, and carry out 3 cycles of charge and discharge under proper conditions.
Specifications
Power requirements: AC~100-240V, 50-60HzDC 12V, 1.5A
Power consumption: 22W maximium
Signal system: NTSC
Operating temperature range: +5 oC to +35 oC
Battery charging time: Approximately 7 hours
Battery life(Fully charge): Approximately 2 1/2 hours

Table of contents
Other Curtis Docking Station manuals

Curtis
Curtis iMode iP201 User manual

Curtis
Curtis iMode IP220 User manual

Curtis
Curtis iMode IP1005 User manual

Curtis
Curtis iP1002 User manual

Curtis
Curtis iP1002M User manual

Curtis
Curtis iMode IP1500 User manual

Curtis
Curtis iP215P User manual

Curtis
Curtis iP1035 User manual

Curtis
Curtis IP2604 User manual

Curtis
Curtis iMode IP220 User manual

Curtis
Curtis iMODE iP9844 User manual

Curtis
Curtis iP205 User manual

Curtis
Curtis Bush IP289BUK User manual

Curtis
Curtis iMode IP333UK User manual

Curtis
Curtis iP1002UK User manual

Curtis
Curtis iMode IP2093 User manual

Curtis
Curtis Proline IP220 User manual

Curtis
Curtis iP220UK User manual

Curtis
Curtis iMode IP1007UK User manual
Curtis
Curtis iP215 User manual