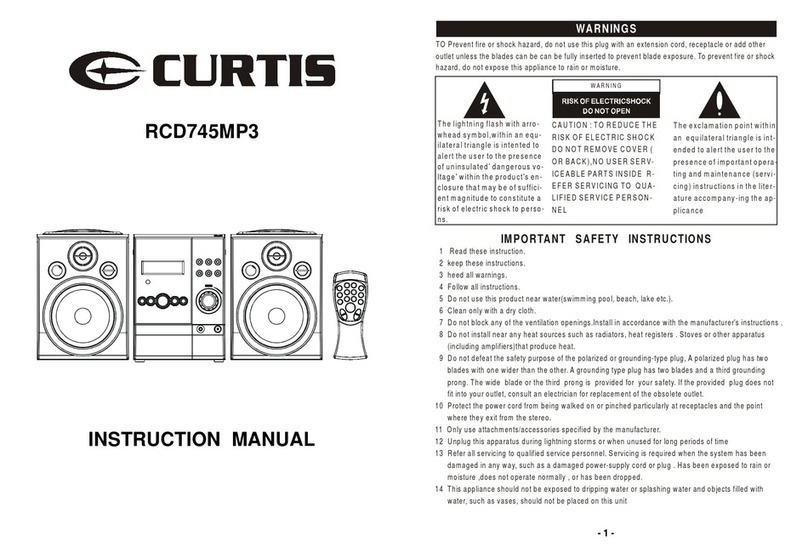
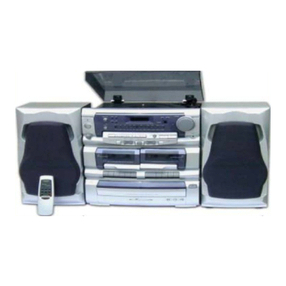
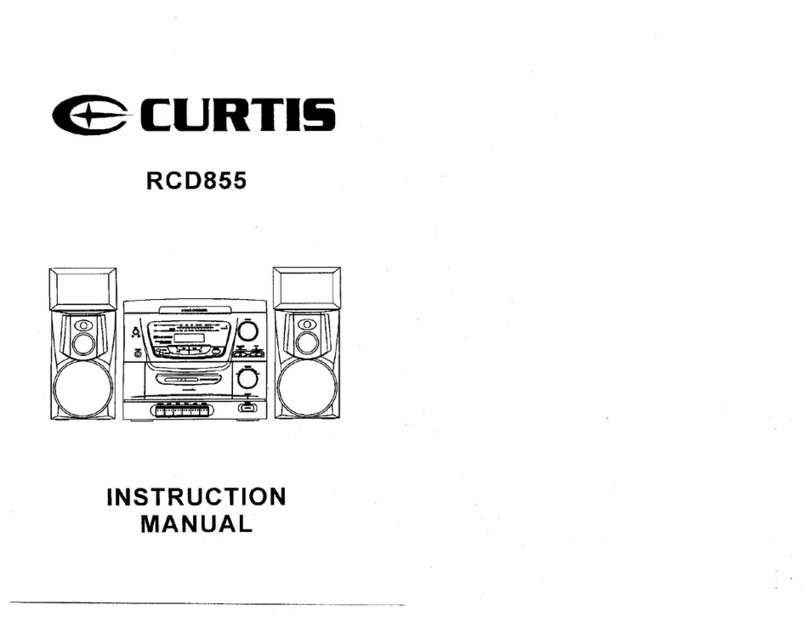
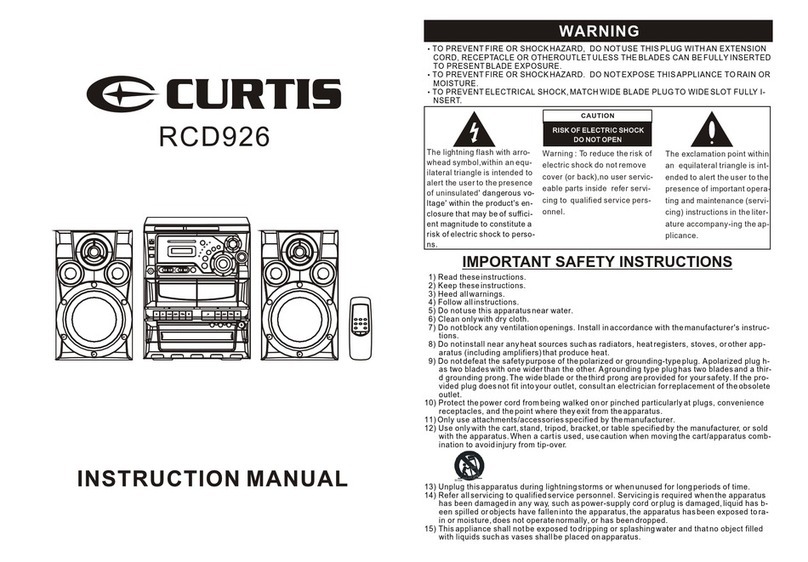
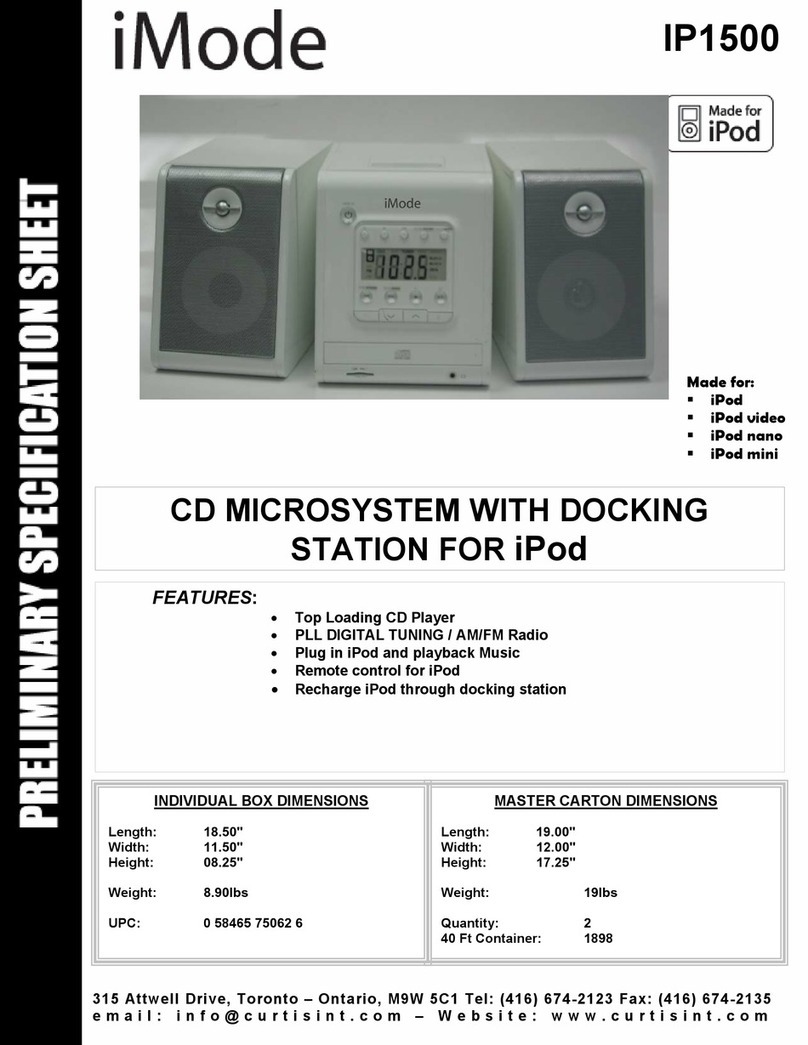
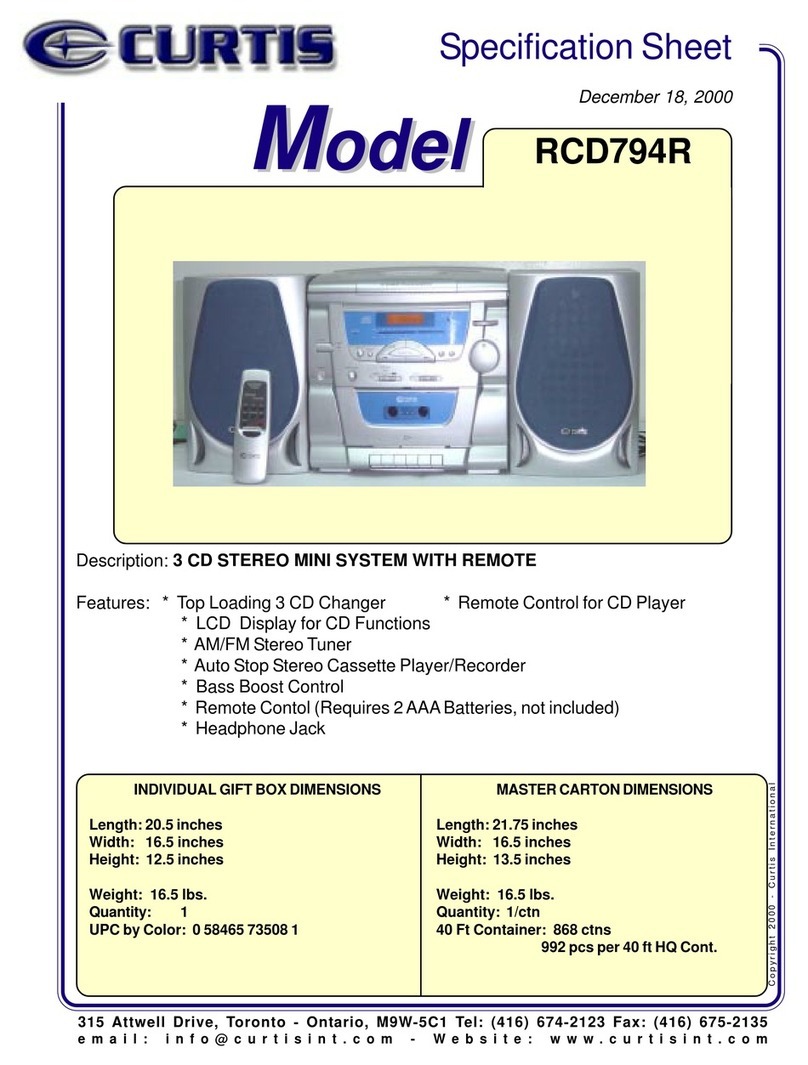
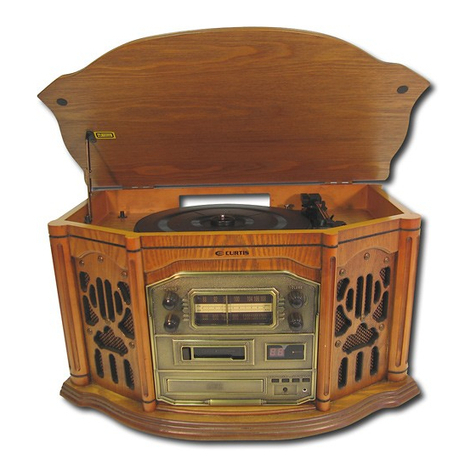
Curtis RCD820 User manual


WARNINGS
1
DO NOT OPEN
RISK OF ELECTRICSHOCKRISK OF ELECTRICSHOCK
DO NOT OPENDO NOT OPEN
WARNING
TO Prevent fire or shock hazard, do not use this plug with an extension cord, receptacle or add other
outlet unless the blades can be can be fully inserted to prevent blade exposure. To prevent fire or shock
hazard, do not expose this appliance to rain or moisture.
The lightning flash with arro-
whead symbol,within an equ-
ilateral triangle is intented to
alert the user to the presence
of uninsulated' dangerous vo-
ltage' within the product's en-
closure that may be of suffici-
ent magnitude to constitute a
risk of electric shock to perso-
ns.
CAUTION : TO REDUCE THE
RISK OF ELECTRIC SHOCK
DO NOT REMOVE COVER (
OR BACK),NO USER SERV-
ICEABLE PARTS INSIDE R-
EFER SERVICING TO QUA-
LIFIED SERVICE PERSON-
NEL
The exclamation point within
an equilateral triangle is int-
ended to alert the user to the
presence of important opera-
ting and maintenance (servi-
cing) instructions in the liter-
ature accompany-ing the ap-
plicance
IMPORTANT SAFETY INSTRUCTIONS
1 Read these instruction.
2 keep these instructions.
3 heed all warnings.
4 Follow all instructions.
5 Do not use this product near water(swimming pool, beach, lake etc.).
6 Clean only with a dry cloth.
7 Do not block any of the ventilation openings.Install in accordance with the manufacturer's instructions .
8 Do not install near any heat sources such as radiators, heat registers . Stoves or other apparatus
(including amplifiers)that produce heat.
9 Do not defeat the safety purpose of the polarized or grounding-type plug, A polarized plug has two
blades with one wider than the other. A grounding type plug has two blades and a third grounding
prong. The wide blade or the third prong is provided for your safety. If the provided plug does not
fit into your outlet, consult an electrician for replacement of the obsolete outlet.
10 Protect the power cord from being walked on or pinched particularly at receptacles and the point
where they exit from the stereo.
11 Only use attachments/accessories specified by the manufacturer.
12 Unplug this apparatus during lightning storms or when unused for long periods of time
13 Refer all servicing to qualified service personnel. Servicing is required when the system has been
damaged in any way, such as a damaged power-supply cord or plug . Has been exposed to rain or
moisture ,does not operate normally , or has been dropped.
14 This appliance should not be exposed to dripping water or splashing water and objects filled with
water, such as vases, should not be placed on this unit
Before Use
For U.S.A.
Choose unit installationlocation carefully .Avoidplacing it indirect sunlight orclose to asource of heat.
Also avoid locationssubject to vibrations andexcessive dust , coldor moisture . Keepaway from sources thathum , such
as transformers ormotors .
Do not open thecabinet as this mightresult in damage tothe circuitry or electricalshock . If aforeign object should getinto
the set ,contact your dealer.
Be sure not tohandle discs with dirtyfingers . Never inserta disc that hasa crack on thesurface .
When removing the powerplug from the walloutlet , always pulldirectly on the plug, never yank the cord .
Tokeep the laserpickup clean ,do not touchit , anddo not forgetto close thedisc tray .
Do not attempt toclean the unit withchemical solvents as thismight damage the finish. Use a clean, dry cloth .
Keep this manual ina safe place forfuture reference .
Beware of Condensation
When the player(or a compactdisc) is movedfrom a coldto a warmplace or isused after asudden temperature change,
there is the dangerof condensation . Water vapor in theair could condense onthe mechanism or thelaser pickup . Ifdroplets
of water formon these parts, correct playbackwill be impossiblebecause the lasercannot read theinformation from the
disc correctly .Toprevent this ,if you aregoing to usethe player ina condition wherecondensation could occur, you should
leave the playerfor 1 or2 hours afterplugging it intoan ACoutlet depending onthe amount ofcondensation . Ifthis is done,
the player willstabilize at thetemperature of itssurroundings .
TO THE USER
This equipment hasbeen tested andfound to complywith the limitsfor a ClassB digital device, pursuant toPart 15 ofthe
FCC Rules. Theselimits are designed toprovide reasonable protection againstinterference in a residentialarea. This device
generates and uses radiofrequency energy and ifnot installed and usedin accordance with theinstructions , it maycause
interference to radioor TV reception. If thisunit does causeinterference with TVor radio reception you can try to correct the
interference by oneor more ofthe following measures:
A)Reorient or relocatethe receiving antenna.
B)Increase the separationbetween the equipmentand receiver .
C)Plug the equipmentinto a differentoutlet so thatit is noton the samecircuit as thereceiver .
If necessary ,consult the dealeror an experiencedradio / TVtechnician for additionalsuggestions .
CAUTION:
Changes or modifications tothis equipment not expresslyapproved by the manufacturerfor compliance could voidthe users
authority to operatethis equipment .
2

Listening to Compact Disc
Compact Disc
Handing the Discs:
This unit hasbeen designed specificallyfor sound
reproduction f om compact discs bearingthe mark .
No other discscan be used.
Always place the compactdisc in the disctray with
label facing upward. (Compact discscan be
on one side).
Toremove a discfrom its storagecase , pressdown
center of thecase and liftthe disc out, hold
by the edge.
r
the
player only
on the
ing it carefully
HANDLE DISC ONLY ASSHOWN
Fingermarks and dustshould be carefullywiped off
the disc recordedsurface with asoft cloth (notincluded) .
Never use chemicals suchas : record sprays,
sprays or fluid ,benzine or thinner to
Such chemicals willdo
plastic surface .
Discs should be returnedto their cases afteruse
serious scratches thatcould cause thelaser pickup toskip .
Do not exposediscs to directsunlight or high
temperature for extendedperiods .
Long exposure to hightemperature can warp thedisc .
Do not stickpaper or writeanything with aball
the surface ofthe label side.
Do not useirregular shaped CD`s(octagonal ,
etc .) ,allof which candamage the unit.
CLEAN FROM CENTERTO EDGE
anti- static
clean compact discs .
irreparable damage to thedisc`s
to avoid
humidity and
point pen on
heart-shape,
3
Preparation of Use
Loosen the screwused for transportationby turning it
clockwise with acoin .
AC CONNECTION
Plug the powercord into anAC outlethaving 120v,60Hz
only. Connectingthis unit toother power
sources may damage theunit.
NOTES:
*The ACpolarized to help
minimize the possibility
of electric shock.If the polarizedplug does not
fit into anonpolarized ACoutlet, do notfile or cutthe
wide blade; itis the user`sresponsibility to havean
electrician replace the obsoleteoutlet.
*The power cordshould be unpluggedfrom the outlet
when the unitis not goingto be usedfor a longperiod
of time.

4
Basic Operation
Power on .
Connect the powerplug into thewall
outlet .
(A)Listening through Earphones/ Headphones .
The sound fromall speakers iscut off .
PHONES
(B)BBS
Bass Boost Sound.
Press once to switchon BBS / Pressagain to switch off.
(A)
(B)
COMPACT
DIGITAL AUDIO
WOOD COMPACT COMPONENT SYSTEM
COMPACT
DIGITAL AUDIO
WOOD COMPACT COMPONENT SYSTEM
Select the source .
PHONO CD TUNER
Volume
Adjust the volume. VOLUME- +

Listening to a Record
The tone arm willreturn to the tonearm-rest
automatically after reachingthe end ofthe
record .
Remove the tonearm-rest holder .
Lower the Que-leverslowly .
Lift the Que-lever andmove the tone arm
gently to the desiredposition over the record.
Switch the PHONO CDTUNER knob to
select PHONO .
Select player speed.
33
45
78
5
COMPACT
DIGITAL AUDIO
WOOD COMPACT COMPONENT SYSTEM
PHONO CD TUNER
Put a recordonto the turntable.
(Use 45 rpmadaptor when playingsingle
Record . A )

Listening to CD
Switch the PHONOCD TUNER knob
to select CD.
Open the tray, and placethe CD onthe tray .
OPEN / CLOSE
OPEN / CLOSE
(D)Fast Reverse (FR) andFast Forward (FF)
You canreverse or forward to any point in a selected
track by pushingand holding theFR or FFbutton .
NOTE : Donot push bothbuttons together asthis
may damaged theunit .
As the unit istracking quickly , forwardor backward
you will hearyour selection playingat a distorted
speed . Simply releasethe depressed button to
continue playing atnormal speed atthe desired
position in the selectedtrack .
CD`s should beplaced in theirtrays with thelabel side up.
Close the trayand start playingthe CD .
The CD will startplaying from the firsttrack .
Do not switchoff the unitduring CD-function ,because
it will damage theunit .
(B)Pausing the CDplay .
Pressing the PLAY / PAUSE button will restart
playing the CD.
(A) Stopping theCD play .
STOP
(C)Press the buttononce to thebeginning of the
next track .
Press the buttononce to goback to thestart of
the current track. Press the button twice togo
back to the startof the previous track.
6
COMPACT
DIGITAL AUDIO
WOOD COMPACT COMPONENT SYSTEM
(A)
COMPACT
DIGITAL AUDIO
WOOD COMPACT COMPONENT SYSTEM
(C) (D)
(B)
PHONO CD TUNER
(B)PLAY /PAUSE
PLAY /PAUSE
Lights
Flashing
Lights

Listening to Radio
Switch the PHONO CDTUNER knob to
select TUNER .
Switch theAM / FMknob to select desired
band .
Tune to thedesired frequency .
(A) FM reception
Any strong FMstation will cause the FM stereo indicator
light to illuminate .
Weaker stations cannotbe received instereo so thelight
will not illuminate andreception will automatically switch
to mono .
(B) Antenna
For optimal FMreception be sure to stretch the built-in
FM antenna wirelocated at the lower back of the unit
and move itaround until the station you have tuned in
is being receivedclearly .
7
COMPACT
DIGITAL AUDIO
WOOD COMPACT COMPONENT SYSTEM
Light
PHONO CD TUNER
FM ST. FM AM
TUNING

Repeat Play
Program
WOOD COMPACT COMPONENT SYSTEM
(A)
(A)
(B)
(B)
(D)
(D)
( )C
(E)
(E)(F)
Torelpeat same fraek,press the (A)repeat button
once and the (B)repeat indicator ligat will Flash .
To repleatall disc, press the(A) repeat button twice
and the (B)repeat indicator will light up.
Tocancel repeat play, press (E) stop or press the
repeat button untilthe repeat indicator dis appeared.
It is notpossible to enterprograms during disc play.
Press the stop(F) first, thenfollow the instructions
below.
Press the (C)program button andthe (D) program
indicator light Flash .
Press the (C)program button. Thefirst program
selection is now storedin the program memory.
Press the Forward andreverse skip track buttonsto
select the trackto be storedin location 1
(i.e. track 03)
Continue entering tracksin this wayuntil all the
desired tracks are stored(up to a limitof 20). Press
the (E)play/pause button toplay this stored tracks.
To clearthe program memory
Simply press (F)stop button toclear the progammed
tracks.
8

Specifications
AMPLIFIER section
Output Power ........................................... 2W + 2W (U.S.A. / Canada)
Frequency Response ................................ 60 to 20,000Hz
TUNER section
FM Section
Frequency Range ..................................... 87.5 to 108.5MHz
AM Section
Frequency Range ..................................... 525 to 1710KHz (U.S.A. / Canada)
CD PLAYERsection
Frequency Response ................................ 60 to 20,000Hz +/- 4dB
Signal - to -Noise ratio .............................. 55dB (1EC -A)
PHONO section
Motor ....................................................... DC servo motor
Drive System ............................................ Belt Drive
Speeds .................................................... 33 - 1/3rpm , 45rpm and 78rpm
Wow & Flutter.......................................... 0.4% (WRMS)
Stylus ...................................................... 402 - M208 - 165
Output Level ............................................. 160 ~ 380mV (5cm/secat 1kHz)
SPEAKER SYSTEM section
Impedance ............................................... 8 ohms
Input Power .............................................. Max. 5W
GENERAL
Power Requirements ................................. 120V AC , 60Hz (U.S.A. / Canada)
Power Consumption .................................. 19W
Dimension (W x Hx D) ............................... 20 x 7.30 x 13 (approx.)
Weight .................................................... 35.27lbs. (Approx.)
Standard Accessories ............................... Operating Instruction Booklet
Warranty Card
45 rmp Adaptor
9

Troubleshooting guide
Problem Cause Solution
In case oftrouble with theunit , pleaselook through thischart and seeif you cansolve the problemby yourself beforecalling
your dealer .
No sound The CD playeris paused
Can not listento any station, or signal
appears weak
The station isnot tuned inproperly
A TVset is beingused nearby
Tune in thestation correctly
Turn offthe TV set
The sound isdistorted The antenna isnot oriented properly Re-orient the antennauntil reception
improves
Play stop immediately afterstarting to
pl y the CD, or playpauses or stops
during play
a
The CD isinserted upside down
The CD isdusty or dirty, or thereis
condensation on theCD
Insert the CDwith the printedside
upper most
Clean and drythe CD
Press the PLAY / PAUSE button
Specific CD isnoisy , orplayback stops
or skips
The CD isscratched , damagedor
warped
The disc is verydirty
The CD shouldbe changed
Clean the CD
No sound comes outof the speakers The volume is turned down (to MIN)
The input selectordoes not matchthe
playback source
Adjust the volume
Re-select the input source
The sound is noisy The unit istoo close toa TV setor
another similar appliance
Turn offthe TV orother appliance ,and
relocate the unit
Power does notcome on whenthe
power switch ispressed
Unit is unplugged Connect the unit to the AC power
supply
CD Player Tuner unit The whole unitCD Player Tuner unit The whole unit
10
Other manuals for RCD820
1
Table of contents
Other Curtis Stereo System manuals

Curtis
Curtis RCD856 User manual

Curtis
Curtis RCD847 User manual

Curtis
Curtis RCD881 User manual

Curtis
Curtis RCD-719 User manual

Curtis
Curtis iP1490UK User manual

Curtis
Curtis RCD629 User manual

Curtis
Curtis Shelf System RCD 897 User manual

Curtis
Curtis RCD313 User manual

Curtis
Curtis RCD631 User manual

Curtis
Curtis RCD633 User manual

Curtis
Curtis RCD745MP3 User manual

Curtis
Curtis iMode IP1502 User manual

Curtis
Curtis iMode IP1500 User manual

Curtis
Curtis iP1500UK User manual

Curtis
Curtis RCD836 User manual

Curtis
Curtis RCD831 User manual

Curtis
Curtis iP1490UK User manual

Curtis
Curtis RCD739UK User manual

Curtis
Curtis RCD635UK User manual

Curtis
Curtis RCD877 User manual