manuals.online logo
Brands
  1. Home
  2. •
  3. Brands
  4. •
  5. Cutter Industries
  6. •
  7. Cutter
  8. •
  9. Cutter Industries Automatic Cutter II User manual

Cutter Industries Automatic Cutter II User manual

REASON SOLUTION
Material not cutting o cleanly/completely
Dull or damaged cut-blade Sharpen or replace cut-blade. (See
Change Cut-Blade in Setup Guide.)
Loose shoulder-bolt holding top of
cut-blade
Adjust shoulder-bolt. (See Cut-Blade
Adjustment in Setup Guide.)
Foreign material in solenoid-arm is
shortening blade travel
Remove exit-side cover (See Internal
Access in Setup Guide). Clear material
from solenoid-arm.
Material not feeding properly
Flattened width of material greater
than feed system or incoming material
obstructed
Remove covers (See Internal Access in
Setup Guide). If possible, remove the
obstruction.
Drive-roller knurling lled with foreign
material
Clean knurls with steel brush, through
inlet hole.
Cut-blade not returning to neutral
position
Adjust cut-blade. (See Cut-Blade
Adjustment in Setup Guide.)
Motor not turning Remove covers (See Internal Access in
Setup Guide.) and clear fan obstruction.
Tension arm not holding material
against drive-roller
Replace/strengthen tension arm spring.
Tension arm roller not turning freely. Requires factory adjustment/
replacement
End-of-spool material left between
drive-roller & exit
Remove material through Exit side, with
needle-nose pliers.
Inlet feed-guide not in place with small
material
Adjust feed-guide as necessary.
Troubleshooting
Always disconnect from power source when troubleshooting!
Automatic Cutter II & III
Set-up Guide
Automatic Cutter II
Wire 12 to 40 AWG
Tubing to 3/8” OD (Heat Shrink to 1/4” OD)
Automatic Cutter III
Wire 10 to 18 AWG
Tubing to 1/2” OD (Heat Shrink to 5/16” OD)
Cutter Industries Inc.
417-533-1019
info@automaticwirecutter.com
AutomaticWireCutter.com
Copyright © 2016 Cutter Industries, Inc. All rights reserved. Operational software manufactured by Cutter
Industries, Inc. is protected by the copyright laws of the United States. ©1998, 1999, 2000, 2005, 2008, 2015.
Use this set-up guide when you have to make adjustments or need to troubleshoot
our automatic cutting machines.
Workbench Attachment
You can secure the Automatic Cutter II or III to a workbench by inserting 1/4-20 studs
in the bottom of the base plate (front-center and back-center). Next, extend the
studs below the rubber legs to set them into the matching workbench holes (semi-
permanent) or through the holes with nuts and washers below.
Cutting Length Calibration
If you need to use your cutter for dierent materials, you will need to reset the program
length on the cutter. Dierent materials or sizes may cut longer/shorter than the originally
programmed length due to their dierent compression through the feed and count
rollers. There will be some variance. Run a test piece at the desired length to determine
the length variance re-run. Lengthen or shorten to compensate for the variance.
Full One-Year Warranty
Our automatic cutters are warranted to be free of defects in material or workmanship for
one full year from the date of purchase (not including the cutting blade or rubber feed
rollers). During this warranty period, the unit will be repaired or replaced at our option.
Please see our website for deatiled information and instructions if your automatic
cutter needs service.
AutomaticWireCutter.com/automatic-cutter-warranty-and-service
Set-up Guide for the Automatic Cutter II & III
Internal Access (after 1-year warranty expires)
Doing Your Own Repairs
For owners who would like to do their own service on units that are out of warranty,
call us for standard replacement parts at (417) 533-1019.
• Disconnect from 120V power source.
• Remove exit-side - Remove base-screws and pull o.
• Remove back - Remove base-screws and slide down.
• Remove front-top (not required for normal service).
• Remove base-screws and top-screw, then roll to the side.
• To properly replace the covers...
- Replace front-top - Wires must clear motor-fan and solenoid
- Replace back - Slide up under the front-top lip
- Replace exit-side - Wires must clear motor-fan and solenoid
Cut-Blade Replacement
• Disconnect from 120V power source.
• Remove exit-side and back - See Internal Access, above.
• Remove key and pin - Holds cut-blade to solenoid.
• Remove upper shoulder-bolt - Upper end of cut-blade.
• Drip thread-locker into the shoulder-bolt hole threads.
• Replace the cut-blade and upper shoulder-bolt.
• Adjust cut-blade tightness - See Cut-Blade Adjustment, below.
• Replace pin and key holding the cut-blade to the solenoid.
• Replace exit-side and back - See Internal Access, above.
Cut-Blade Adjustment
• Disconnect from 120V power source.
• Remove exit-side & front-top. See Internal Access, above. With the knife return
spring in place, use a 7/64” allen-wrench to loosen the set screw on the side of
the knife base (the block the knife cuts across). Using a 1/8” allen-wrench, adjust
the tightness of the cut-blade upper shoulder-bolt as tight as possible, so that
when the cut-blade is manually drawn over the exit-hole and released, it returns
fully and freely to its neutral position. Once adjusted, tighten the set screw which
seats into the shoulder of the shoulder screw and holds the adjustment. Attach
case sides before reconnecting to the power source.

This manual suits for next models

1

Other Cutter Industries Cutter manuals

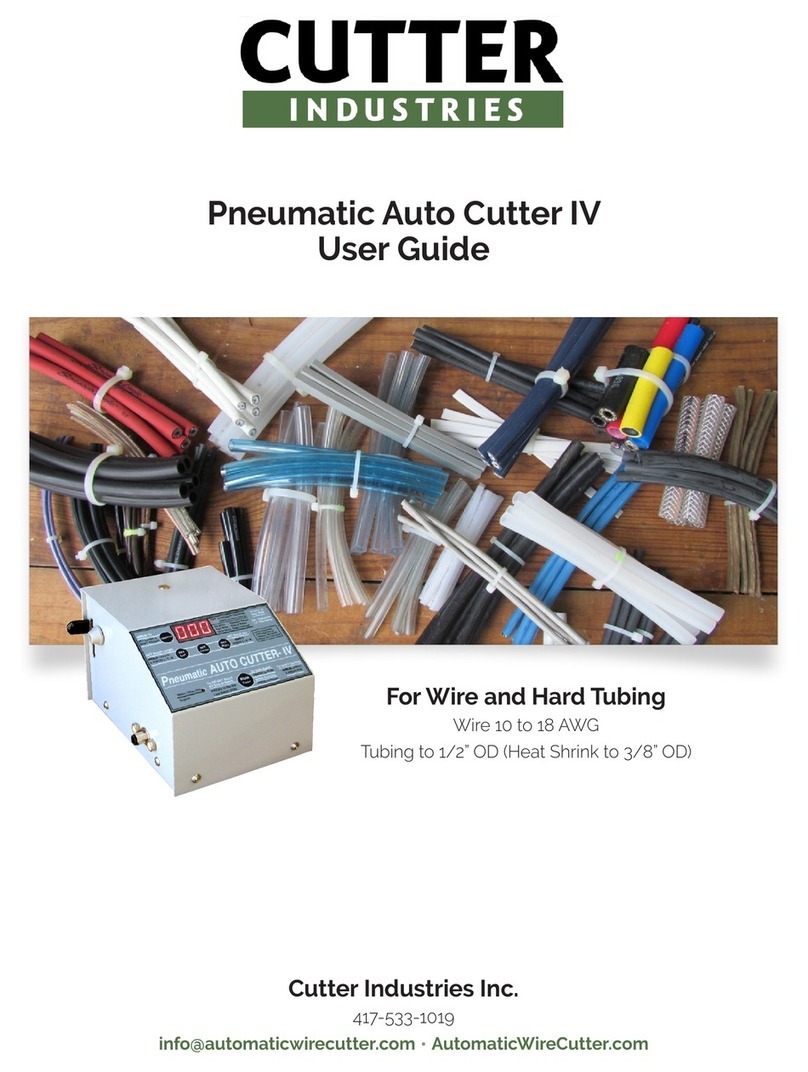
Cutter Industries Pneumatic Auto Cutter IV User manual

Cutter Industries

Cutter Industries Pneumatic Auto Cutter IV User manual

Popular Cutter manuals by other brands

Makita CS002G instruction manual

Makita

Makita CS002G instruction manual

Tapco PRO14 operating instructions

Tapco

Tapco PRO14 operating instructions

Meec tools 040022 operating instructions

Meec tools

Meec tools 040022 operating instructions

Diamond Products CC7574DKV Operator's manual

Diamond Products

Diamond Products CC7574DKV Operator's manual

Evolution R255SMS Original instructions

Evolution

Evolution R255SMS Original instructions

N.KO B3 user manual

N.KO

N.KO B3 user manual

RotaTrim PT Series Operator's manual

RotaTrim

RotaTrim PT Series Operator's manual

SU LEE MACHINE FA-200 instruction manual

SU LEE MACHINE

SU LEE MACHINE FA-200 instruction manual

Husqvarna K 3000 Cut-n-Break Operator's manual

Husqvarna

Husqvarna K 3000 Cut-n-Break Operator's manual

Cembre B-TC4500 Operation and maintenance manual

Cembre

Cembre B-TC4500 Operation and maintenance manual

PAC MMC200 operating manual

PAC

PAC MMC200 operating manual

Weaver NYLON HOT quick start guide

Weaver

Weaver NYLON HOT quick start guide

Makita DF333DWYE instruction manual

Makita

Makita DF333DWYE instruction manual

Hilti AG 230-S operating instructions

Hilti

Hilti AG 230-S operating instructions

Cambre B-TC500 Operation and maintenance manual

Cambre

Cambre B-TC500 Operation and maintenance manual

Meec tools 013965 operating instructions

Meec tools

Meec tools 013965 operating instructions

PROWLER WSPROBD4191-1 manual

PROWLER

PROWLER WSPROBD4191-1 manual

Omcan 24242 instruction manual

Omcan

Omcan 24242 instruction manual

manuals.online logo
manuals.online logoBrands
  • About & Mission
  • Contact us
  • Privacy Policy
  • Terms and Conditions

Copyright 2025 Manuals.Online. All Rights Reserved.