manuals.online logo
Brands
  1. Home
  2. •
  3. Brands
  4. •
  5. CyberData
  6. •
  7. Amplifier
  8. •
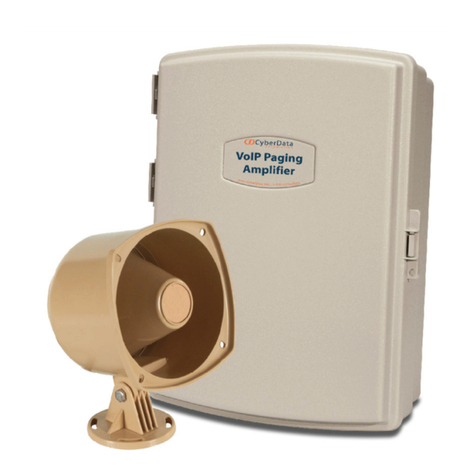
  9. CyberData InformaCast Enabled 011406 Manual

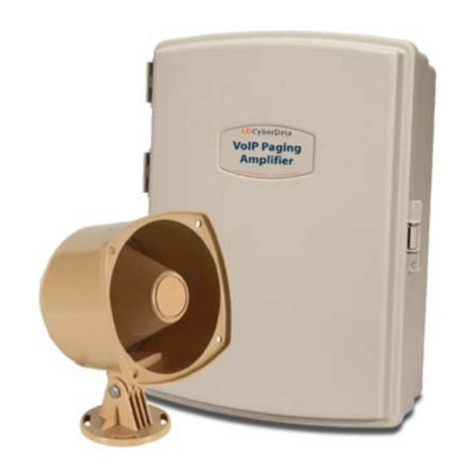
CyberData InformaCast Enabled 011406 Manual

Other manuals for InformaCast Enabled 011406

2

Other CyberData Amplifier manuals

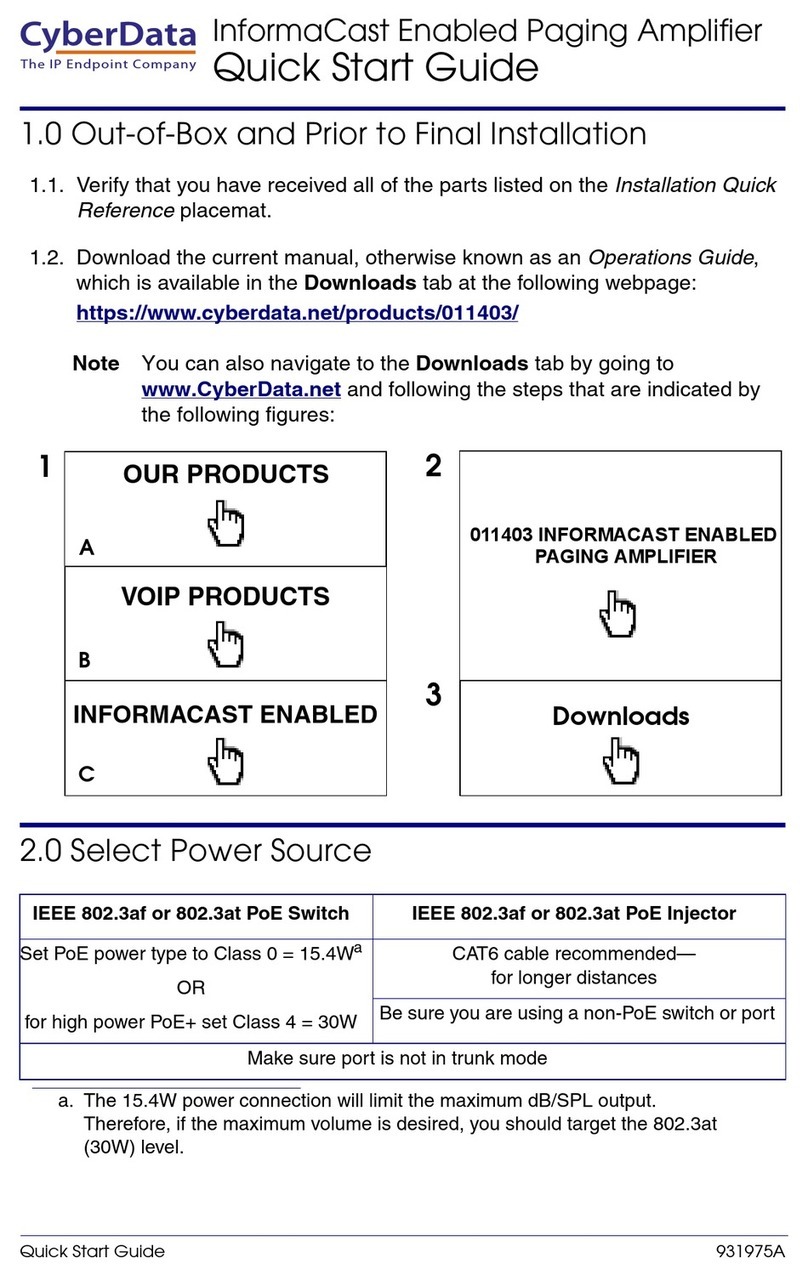
CyberData InformaCast Enabled 011406 User manual

CyberData

CyberData InformaCast Enabled 011406 User manual

CyberData 011324 Manual

CyberData

CyberData 011324 Manual

CyberData 11097 Manual

CyberData

CyberData 11097 Manual

CyberData 11061 User manual

CyberData

CyberData 11061 User manual

CyberData 10860 User manual

CyberData

CyberData 10860 User manual

CyberData Part #010861 930106D User manual

CyberData

CyberData Part #010861 930106D User manual

CyberData InformaCast Enabled 011406 User manual

CyberData

CyberData InformaCast Enabled 011406 User manual

CyberData VoIP V2 User manual

CyberData

CyberData VoIP V2 User manual

CyberData InformaCast Enabled 011407 Manual

CyberData

CyberData InformaCast Enabled 011407 Manual

CyberData Syn-Apps 011413 Manual

CyberData

CyberData Syn-Apps 011413 Manual

CyberData InformaCast Enabled 011407 Manual

CyberData

CyberData InformaCast Enabled 011407 Manual

CyberData 11096 User manual

CyberData

CyberData 11096 User manual

CyberData 11097 User manual

CyberData

CyberData 11097 User manual

CyberData 11095 User manual

CyberData

CyberData 11095 User manual

CyberData 11115 Manual

CyberData

CyberData 11115 Manual

CyberData 11085 User manual

CyberData

CyberData 11085 User manual

CyberData 11095 Manual

CyberData

CyberData 11095 Manual

CyberData 11116 User manual

CyberData

CyberData 11116 User manual

CyberData 011405 Manual

CyberData

CyberData 011405 Manual

CyberData 011404 Manual

CyberData

CyberData 011404 Manual

CyberData 11095 User manual

CyberData

CyberData 11095 User manual

CyberData InformaCast Enabled 011407 User manual

CyberData

CyberData InformaCast Enabled 011407 User manual

CyberData 011579 User manual

CyberData

CyberData 011579 User manual

CyberData 11097 User manual

CyberData

CyberData 11097 User manual

Popular Amplifier manuals by other brands

Magnat Audio EDITION FOUR Owner's manual/warranty document

Magnat Audio

Magnat Audio EDITION FOUR Owner's manual/warranty document

Inter-m PA-2000A Operation manual

Inter-m

Inter-m PA-2000A Operation manual

Yamaha TX6n owner's manual

Yamaha

Yamaha TX6n owner's manual

Peavey TNT 150 user guide

Peavey

Peavey TNT 150 user guide

Bosch LBB 1903/10 Installation and user instructions

Bosch

Bosch LBB 1903/10 Installation and user instructions

Avocent Emerge DA1200D Installer/user guide

Avocent

Avocent Emerge DA1200D Installer/user guide

Redgum RGi35 operating instructions

Redgum

Redgum RGi35 operating instructions

Cambridge Audio AXA25 user manual

Cambridge Audio

Cambridge Audio AXA25 user manual

Alpine MRP-M200 owner's manual

Alpine

Alpine MRP-M200 owner's manual

Technical Pro H1502UrBT user manual

Technical Pro

Technical Pro H1502UrBT user manual

FMS EMGZ307 operating manual

FMS

FMS EMGZ307 operating manual

Racal Instruments 5601 user manual

Racal Instruments

Racal Instruments 5601 user manual

Valcom V-1094A Technical specifications

Valcom

Valcom V-1094A Technical specifications

Cambridge Audio 851D user manual

Cambridge Audio

Cambridge Audio 851D user manual

QSC 3800 Specifications

QSC

QSC 3800 Specifications

NAD C300 owner's manual

NAD

NAD C300 owner's manual

Rotel RMB-1077 owner's manual

Rotel

Rotel RMB-1077 owner's manual

Peavey Monitor 300 Series operating guide

Peavey

Peavey Monitor 300 Series operating guide

manuals.online logo
manuals.online logoBrands
  • About & Mission
  • Contact us
  • Privacy Policy
  • Terms and Conditions

Copyright 2025 Manuals.Online. All Rights Reserved.

Quick Reference 931279E © 2019, CyberData Corporation, ALL RIGHTS RESERVED© 2019, CyberData Corporation, ALL RIGHTS RESERVED 931279E Quick Reference
Installation Quick Reference
InformaCast Enabled Loudspeaker
Amplifier (AC-Powered)
SIP Compliant
011406
The IP Endpoint Company
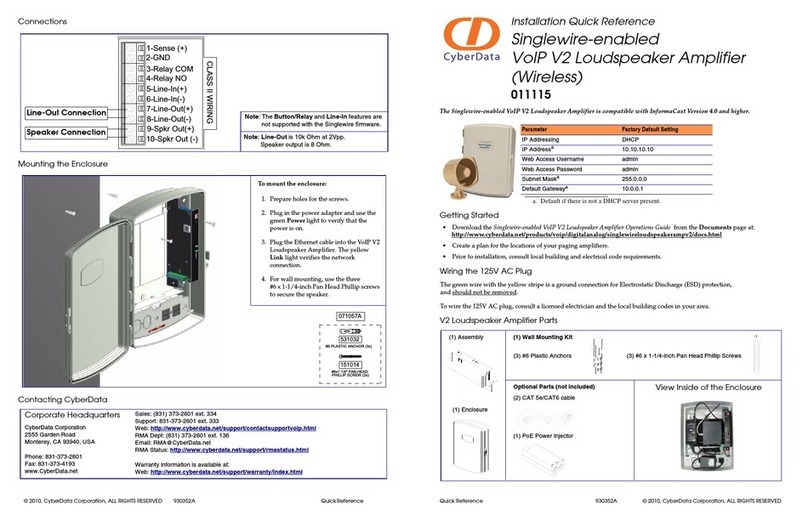
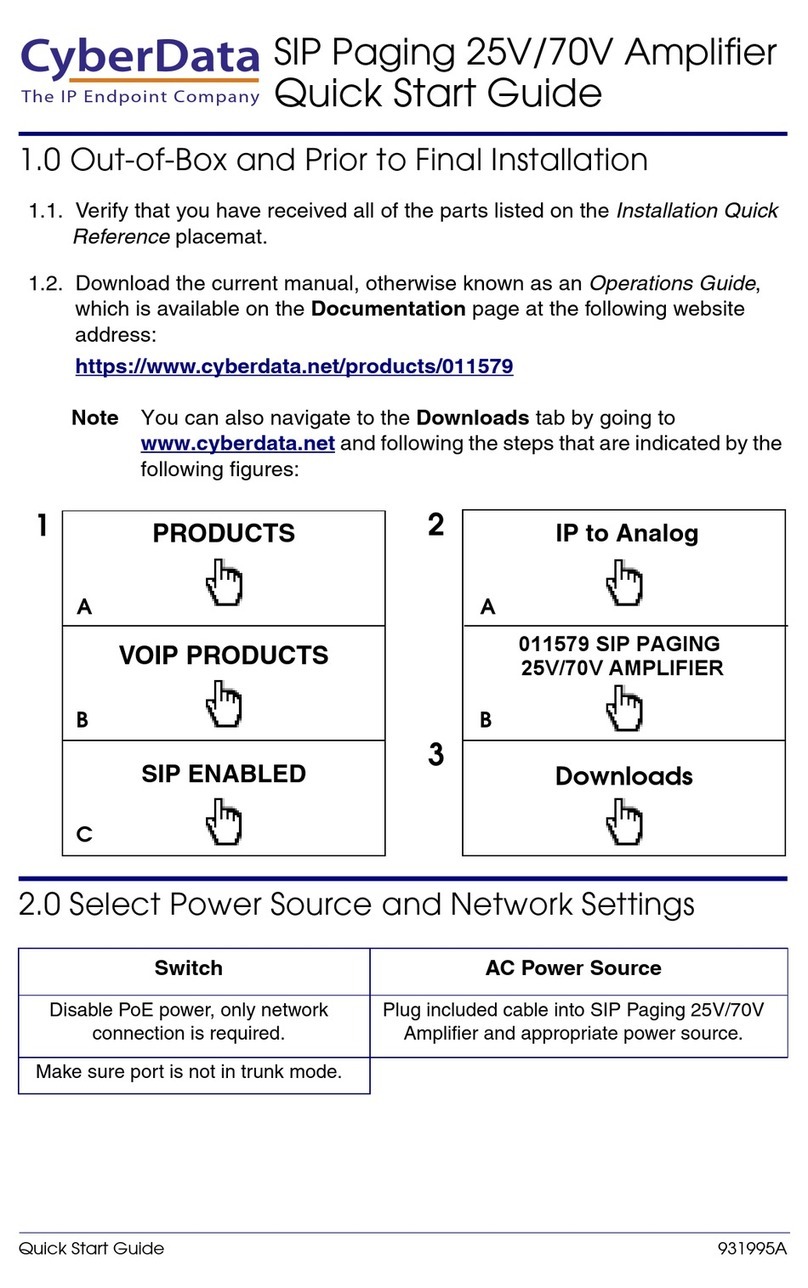
Getting Started
• Download the InformaCast Enabled Loudspeaker Amplifier Operations Guide PDF file from the Documents tab at the
following webpage: https://www.cyberdata.net/products/011406
• Create a plan for the locations of your paging amplifiers.
• WARNING: This product should be installed by a licensed electrician according to all local electrical and building codes.
• WARNING: To prevent injury, this apparatus must be securely attached to the floor/wall in accordance with the
installation instructions.
• WARNING: The PoE connector is intended for intra-building connections only and does not route to the outside plant.
• WARNING: The InformaCast Enabled Loudspeaker Amplifier enclosure is not rated for any AC voltages!
Wiring the 125V AC Plug
Parts
Parameter Factory Default Setting
IP Addressing DHCP
IP Addressa
a. Default if there is not a DHCP server present.
10.10.10.10
Web Access Username admin
Web Access Password admin
Subnet Maska255.0.0.0
Default Gatewaya10.0.0.1
The green wire with the yellow stripe is a ground connection for electrostatic discharge (ESD) protection,
and should not be removed.
To wire the 125V AC plug, consult a licensed electrician and the local building codes in your area.
(1) Wall Mounting Kit
(4) #8 Plastic Anchors (4) #8 x 1-1/4" Pan Head Phillips Self-Tapping Screws
(1) CAT 5e/CAT6 cable
Additional Parts
(1) PoE Power Injector
(1) Assembly
(1) Enclosure
(1) IEC Power Cord (1) Universal Receptacle
Mounting the Enclosure
Contacting CyberData
To mount the enclosure:
1. Prepare holes for the screws.
2. Plug in the power adapter and use
the Power (PWR) LED to verify that
the power is on.
3. Plug the ethernet cable into the
device. The Link/Activity (Link/
Act.) LED verifies the network
connection.
4. For wall mounting, use the three
#8 x 1-1/4-inch Pan Head Phillips
Self-Tapping Screws.
Sales: (831) 373-2601 ext. 334
Support: 831-373-2601 ext. 333
Support Website: http://support.cyberdata.net/
RMA Department: (831) 373-2601 ext. 136
RMA Email: [email protected]
RMA Status: http://support.cyberdata.net/
Warranty Information: http://support.cyberdata.net/
Corporate Headquarters
CyberData Corporation
3 Justin Court
Monterey, CA 93940, USA
Phone: 831-373-2601
Fax: 831-373-4193
http://www.cyberdata.net/
© 2019, CyberData Corporation, ALL RIGHTS RESERVED 931279E Quick Reference Quick Reference 931279E © 2019, CyberData Corporation, ALL RIGHTS RESERVED
Features
Enclosure Features
SPD Link/Act.
PWR Status
Volume
RTFM
VoIP
Loudspeaker
Speaker Volume
Speed (SPD) LED (AMBER)
The Speed (SPD) LED illuminates AMBER for a 100Mb link
or is off for a 10MB link when the network link to the device is established.
Status LED (GREEN)
The GREEN Status LED illuminates after supplying power to the device.
Link/Activity (Link/Act.) LED (GREEN)
The GREEN Link/Activity (Link/Act.) LED blinks to indicate network traffic.
Power (PWR) LED (GREEN/BLUE)
The Power (PWR) LED is GREEN in low power mode (802.3af)
and BLUE during high power mode (802.3at).
RTFM Switch
To broadcast the device’s current IP address, press and hold the RTFM switch for a couple
of seconds and then release it.
To restore the factory defaults, complete the following steps:
1. Press and hold the RTFM switch until you hear the device announce the words,
“restoring defaults” and “rebooting”.
2. Release the RTFM switch. The device will be restored to the factory default settings.
*See the Operations Guide for more information about the features in this section.
HINGES
LATCHES
COVER OPEN LEFT
THREE CABLE GLAND WITH
ONE HOLE PLUG
Dimensions
Mounting Bracket
5.12 [130] 7.87 [200]
11.81 [300]
Notes:
1. Dimensions
are in inches
[millimeters].
2. Projection:
Third Angle
Pull the mounting bracket
outward while tightening the
screw. Do the same to all
four mounting brackets.
© 2019, CyberData Corporation, ALL RIGHTS RESERVED 931279E Quick Reference Quick Reference 931279E © 2019, CyberData Corporation, ALL RIGHTS RESERVED
8.5 [216]
9.92 [252]
DIMENSIONS ARE IN INCHES [MILLIMETER]
In Order to Assure Size Accuracy,
Make Sure that PAGE SCALING is Select to NONE
Change this Settings by Selecting:
File, Print - PAGE HANDLING - Page Scaling to NONE.
After Printing, Verify that Size is Correct by
Checking Scale on Printed Page.
Prior to Printing this Mounting Template.
Click on "Properties" Tab
Change the Paper Size to 11" x 17" or
A3 (297mm x 420mm)
Mounting Hole (11/64”, 0.172” or 4.4mm)
t #8 Screw or 4mm Screw
Mounting Template