7. Operation Controls and Functions
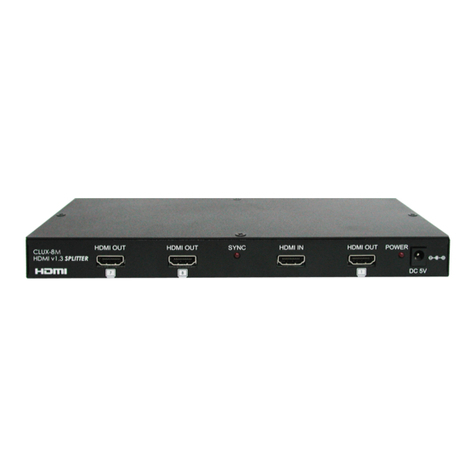
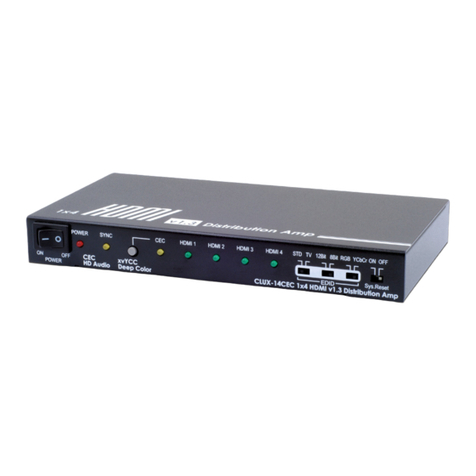
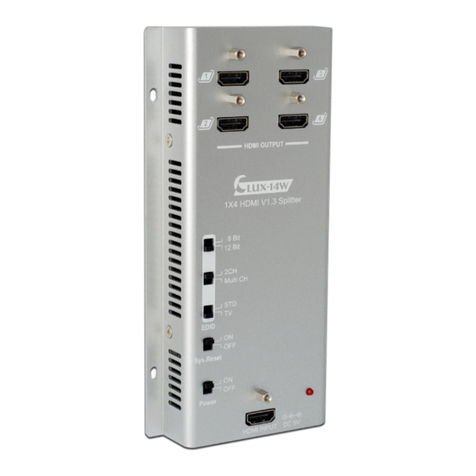
7.1 Front Panel ① HDMI OUTPUT 1~4:
Connect your LCD TV or HD monitor with
HDMI cables.
② EDID selection:
STD/TV – By switching to STD users can
select both deep color and audio
channels function, if switching to TV the
unit will read TV’s EDID and send the
image from source accordingly.
Note: When in STD mode the deep color
is suggest to switch to 8-bit for longer
distant display.
2CH/MultiCH – Supports 2 channels or
Multi audio channels audio function.
This selection is only available when EDID
is in STD mode.
Note: When Multi CH is selected TV/
display must also supports Multi CH
function otherwise, TV/display will have
no audio output. Unless, HDMI output
connect to AVR and then to TV/display.
8/12bit – Supports 8 or 12 bit’s deep
color function. This selection is only
available when EDID is in STD mode.
Note: When HDMI output has both 8-bit
and 12-bit displays, to ensure all output
will display, switch to 8-bit is imply.
On the other hand, when all output are
with the same bit’s displayer of 12-bit or
8-bit then switch the function to 12-bit or
8-bit will be proper. The splitter will not
function according to different bits’ of
display on HDMI outputs simultaneously.
③ Sys. Reset: System reset function.
It is suggest having this function switch
OFF always except when doing system
reset. By switching to ON the system will
reset TV to HDMI 1 within 8~10 minutes
(TV must support CEC), switching to OFF
means CEC bypass.
Note: The system reset function only
functioning when the displayer is build
with CEC function.
④ Power & LED: Power switch On/Off Red
LED illuminate when power is on.
⑤ HDMI INPUT: Connect your source
equipment with HDMI cables.
①. DC 5V: Plug the 5VDC power supply into
HDMI INPUT DC 5V
1
2
3
4
1X4 HDMI V1.3 Splitter
HDMI OUTPUT
EDID
Power
Sys.Reset
ON
OFF
8 Bit
12 Bit
2CH
Multi CH
STD
TV
ON
OFF
LUX-14W
①
②
③
④
⑤
4
