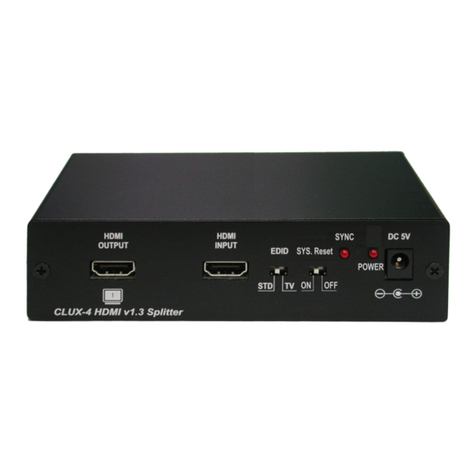
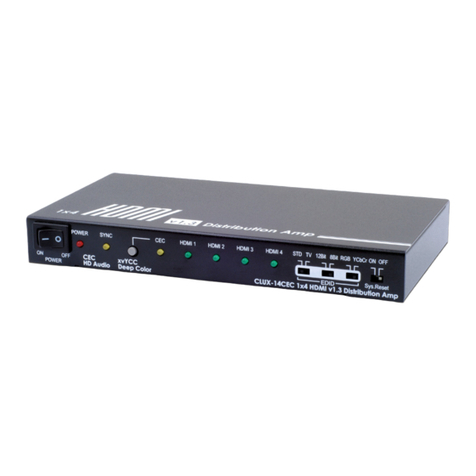
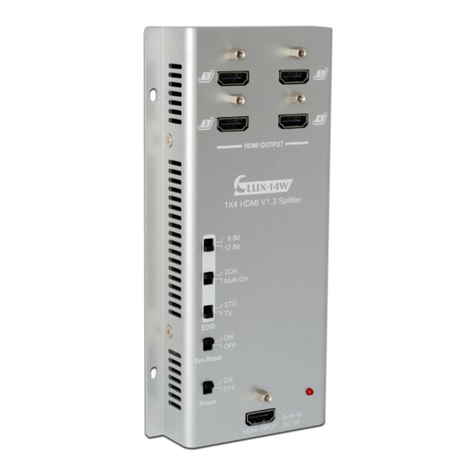
③ EDID Control Switcher: Switch the EDID between STD & TV. Switch to STD
to use the built-in EDID or switch to TV to use TV’s EDID. Default factory setting
is on TV, leave as is when the display is working properly.
Note:
1. When EDID is switched to TV, the unit will detect the first HDMI output EDID
and record in the unit. If the first detected output source is DVI it will pass
on to the next one until the first HDMI source been detected. The detection
priority is HDMI v1.3 > HDMI v1.2 > DVI.
2. When EDID switches to STD the unit will use built-in EDID which supports:
Video →1080p 8-bit or 12-bit (max)
Audio →PCM 2CH
3. The EDID selection will only activate when the unit is plugged in and
powered on.
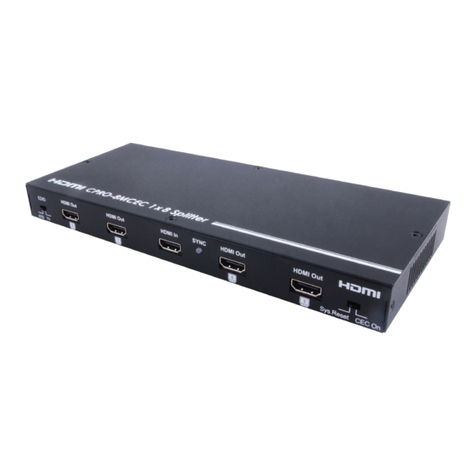
④ System Reset: When switched “ON”, the system will send the internal CEC to
the display within 8~10 minutes to force all the displays to switch to HDMI 1
input port. Meanwhile, the source’s CEC will not be functioning. When
switched “OFF”, the system reset function will be stopped. Factory default is
“OFF”.
⑤ HDMI input: This slot is for connecting the source equipment with HDMI
cables.
⑥ HDMI output: These slots are for connecting the display with HDMI Cables.
Note:
A. This system was tested with CAT6/23AWG/ cables, so if using cables of
another type, the user must be warned that this may result in a lower
maximum distance.
B. Cable distance tested with a PS3 40G, and 37" Samsung 12 bit LCD TV.
C.Figures provided in this manual are reference figures only, actual figures
may depend on source and display use with cable specification.
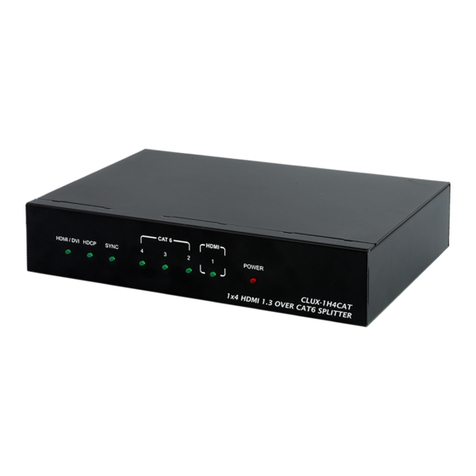
⑦ Video/DDC 2~4: These slots allow you to connect HDMI displays with a
CAT6 to HDMI receiver. When more than one output is connected, the HDMI
outputs will play an identical video signal.
⑧ Power: This slot is where you plug in the 5VDC power supply included in the
package into the unit and connect the adaptor to an AC outlet.
5
