manuals.online logo
Brands
  1. Home
  2. •
  3. Brands
  4. •
  5. D-Link
  6. •
  7. Adapter
  8. •
  9. D-Link DVG-7111S User manual

D-Link DVG-7111S User manual

Other manuals for DVG-7111S

2

Other D-Link Adapter manuals

D-Link D DPH-50U DPH-50U Instruction manual

D-Link

D-Link D DPH-50U DPH-50U Instruction manual

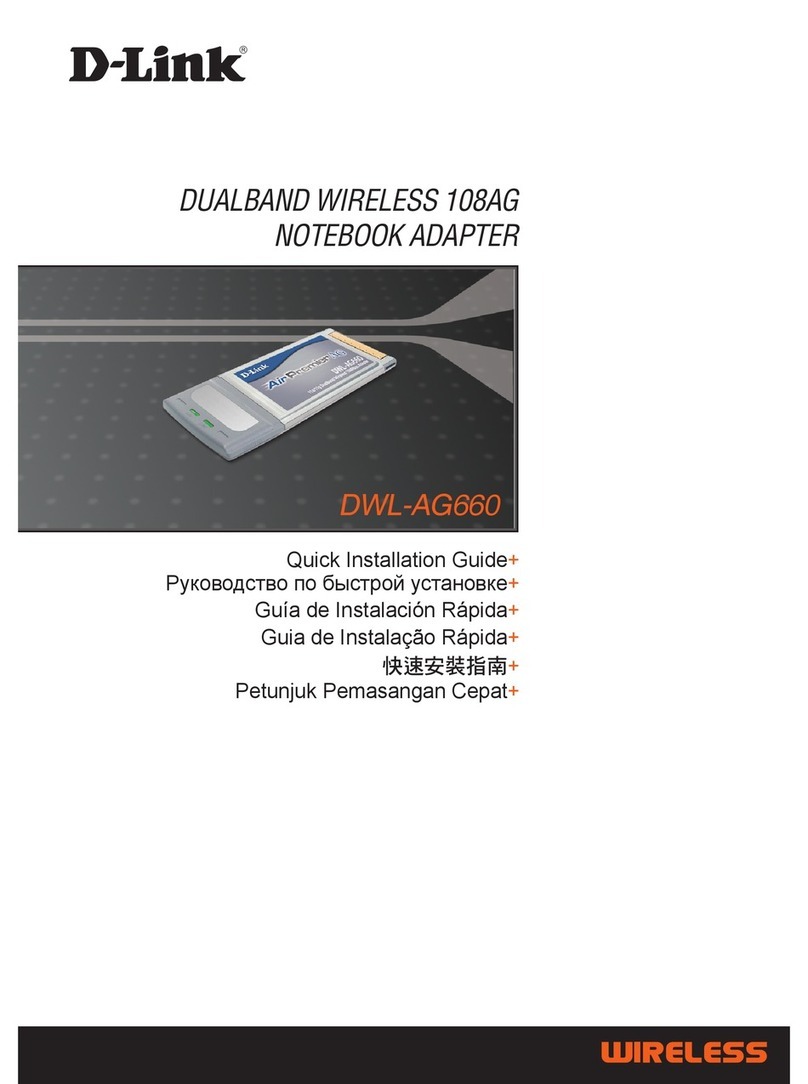
D-Link Air DWL-660 User manual

D-Link

D-Link Air DWL-660 User manual

D-Link Air DWL-120 User manual

D-Link

D-Link Air DWL-120 User manual

D-Link DWA-510 User manual

D-Link

D-Link DWA-510 User manual

D-Link Rangebooster G WNA-2330 User manual

D-Link

D-Link Rangebooster G WNA-2330 User manual

D-Link DHP-600AV User manual

D-Link

D-Link DHP-600AV User manual

D-Link DHP-P306AV User manual

D-Link

D-Link DHP-P306AV User manual

D-Link Air DWL-120 User manual

D-Link

D-Link Air DWL-120 User manual

D-Link DWM-152 User manual

D-Link

D-Link DWM-152 User manual

D-Link DWM-221 User manual

D-Link

D-Link DWM-221 User manual

D-Link DHP-541 User manual

D-Link

D-Link DHP-541 User manual

D-Link DHP-501AV User manual

D-Link

D-Link DHP-501AV User manual

D-Link DBT-122 User manual

D-Link

D-Link DBT-122 User manual

D-Link AirPremier DWL-G680 User manual

D-Link

D-Link AirPremier DWL-G680 User manual

D-Link DWA-137 User manual

D-Link

D-Link DWA-137 User manual

D-Link AirPlus DWL-650+ User manual

D-Link

D-Link AirPlus DWL-650+ User manual

D-Link PersonalAir DBT-120 User manual

D-Link

D-Link PersonalAir DBT-120 User manual

D-Link PCI-Express X4 User manual

D-Link

D-Link PCI-Express X4 User manual

D-Link DWL-P200 User manual

D-Link

D-Link DWL-P200 User manual

D-Link AirPro DWL-A650 User manual

D-Link

D-Link AirPro DWL-A650 User manual

D-Link DFE-580TX User manual

D-Link

D-Link DFE-580TX User manual

D-Link DWA-162 User manual

D-Link

D-Link DWA-162 User manual

D-Link DWA-110 User manual

D-Link

D-Link DWA-110 User manual

D-Link Air DWL-120 User manual

D-Link

D-Link Air DWL-120 User manual

Popular Adapter manuals by other brands

Mini Gadgets BB2Outlet user manual

Mini Gadgets

Mini Gadgets BB2Outlet user manual

LSI LSISAS3442E-R Quick installation guide

LSI

LSI LSISAS3442E-R Quick installation guide

Moeller BBA -16 Series installation instructions

Moeller

Moeller BBA -16 Series installation instructions

Acer MWA3 quick start guide

Acer

Acer MWA3 quick start guide

Connect Tech ADG095 user guide

Connect Tech

Connect Tech ADG095 user guide

cable matters 604002 user manual

cable matters

cable matters 604002 user manual

Solwise PL-85PEW Easy start

Solwise

Solwise PL-85PEW Easy start

HP Photosmart 7100 user guide

HP

HP Photosmart 7100 user guide

HP E2494A installation guide

HP

HP E2494A installation guide

StarTech.com USB150WN1X1 quick start guide

StarTech.com

StarTech.com USB150WN1X1 quick start guide

Lindy 43198 user manual

Lindy

Lindy 43198 user manual

A&D AD-8527 instruction manual

A&D

A&D AD-8527 instruction manual

Motorola WU830G user guide

Motorola

Motorola WU830G user guide

Hawking HUF2 Specifications

Hawking

Hawking HUF2 Specifications

Allen-Bradley E3 Plus installation instructions

Allen-Bradley

Allen-Bradley E3 Plus installation instructions

Trust BT-2210Tp manual

Trust

Trust BT-2210Tp manual

HP NC7170 overview

HP

HP NC7170 overview

Uconnect BLE-485C user manual

Uconnect

Uconnect BLE-485C user manual

manuals.online logo
manuals.online logoBrands
  • About & Mission
  • Contact us
  • Privacy Policy
  • Terms and Conditions

Copyright 2025 Manuals.Online. All Rights Reserved.

DVG-7111S
VoIP Telephone Adapter
User’s Manual
Version 1.0
(21 Feb. 2014)
Preface
D-Link reserves the right to revise this publication and to make changes in the content hereof without
obligation to notify any person or organization of such revisions or changes.
Trademarks
D-Link and the D-Link logo are trademarks or registered trademarks of D-Link Corporation or its
subsidiaries in the United States or other countries. All other company or product names mentioned herein
are trademarks or registered trademarks of their respective companies.
Copyright © 2014 by D-Link Corporation.
All rights reserved. This publication may not be reproduced, in whole or in part, without prior expressed
written permission from D-Link Corporation.
FCC Warning
This equipment has been tested and found to comply with the limits for a Class B digital device, pursuant
to Part 15 of the FCC Rules. These limits are designed to provide reasonable protection against harmful
interference in a residential installation. This equipment generates, uses, and can radiate radio frequency
energy and, if not installed and used in accordance with the instructions, may cause harmful interference
to radio communication. However, there is no guarantee that interference will not occur in a particular
installation. If this equipment does cause harmful interference to radio or television reception, which can
be determined by turning the equipment off and on, the user is encouraged to try to correct the
interference by one or more of the following measures:
‧Reorient or relocate the receiving antenna.
‧Increase the separation between the equipment and receiver.
‧Connect the equipment into an outlet on a circuit different from that to which the receiver is connected.
‧Consult the dealer or an experienced radio/TV technician for help.
CE Mark Warning
This is a Class B product. In a domestic environment, this product may cause radio interference in which
case the user may be required to take adequate measures.
Warnung!
Dies ist ein Produkt der Klasse B. Im Wohnbereich kann dieses Produkt Funkstoerungen verursachen. In
diesem Fall kann vom Benutzer verlangt werden, angemessene Massnahmen zu ergreifen.
Precaución!
Este es un producto de Clase B. En un entorno doméstico, puede causar interferencias de radio, en cuyo
case, puede requerirse al usuario para que adopte las medidas adecuadas.
Attention!
Ceci est un produit de classe B. Dans un environnement domestique, ce produit pourrait causer des
interférences radio, auquel cas l`utilisateur devrait prendre les mesures adéquates.
Attenzione!
Il presente prodotto appartiene alla classe B. Se utilizzato in ambiente domestico il prodotto può causare
interferenze radio, nel cui caso è possibile che l`utente debba assumere provvedimenti adeguati.
Contents
1. Introduction ........................................................................................................................................................4
1-1 Product Overview .......................................................................................................................................4
1-2 Hardware Description.................................................................................................................................5
2. Getting Started ...................................................................................................................................................7
3. VoIP TA Web Configuration.............................................................................................................................14
3-1 SETUP......................................................................................................................................................17
3-1-1 Internet Setup.................................................................................................................................17
3-1-2 VoIP Setup .....................................................................................................................................21
3-1-3 LAN Settings ..................................................................................................................................27
3-1-4 Time and Date................................................................................................................................29
3-2 ADVANCED..............................................................................................................................................30
3-2-1 VoIP................................................................................................................................................30
3-2-2 Access Control ...............................................................................................................................63
3-2-3 Firewall and DMZ...........................................................................................................................64
3-2-4 Advanced Network .........................................................................................................................69
3-3 MAINTENANCE........................................................................................................................................73
3-3-1 Device Management ......................................................................................................................73
3-3-2 Backup and Restore.......................................................................................................................74
3-3-3 Firmware Update............................................................................................................................76
3-3-4 Dynamic DNS.................................................................................................................................77
3-3-5 Log Settings ...................................................................................................................................78
3-3-6 Diagnostics.....................................................................................................................................79
3-3-7 Provision.........................................................................................................................................80
3-3-8 CDR................................................................................................................................................81
3-4 STATUS....................................................................................................................................................82
3-4-1 Device Info .....................................................................................................................................82
3-4-2 VoIP Status.....................................................................................................................................83
3-4-3 LAN Client......................................................................................................................................84
3-4-4 Statistics.........................................................................................................................................85
3-4-5 Logout ............................................................................................................................................85
4. Configuring the VoIP TA through IVR ............................................................................................................86
4-1 IVR (Interactive Voice Response) ............................................................................................................86
4-1-1 IVR Functions Table:......................................................................................................................87
4-2 IP Configuration Settings—Set the IP Configuration of the WAN Port.....................................................88
4-2-1 PPPoE Character Conversion Table:.............................................................................................90
5. Dialing Principles.............................................................................................................................................91
5-1 Dialing Options .........................................................................................................................................91
5-2 Number Translation..................................................................................................................................91
5-3 Routing .....................................................................................................................................................92
Appendix...............................................................................................................................................................94
Product Features ............................................................................................................................................94
DVG-7111S User’s Manual Product Overview
D-Link Systems, Inc. 4
1. Introduction
1-1 Product Overview
The DVG-7111S is designed to carry both voice and facsimile over the IP network. It uses the industry
standard SIP call control protocol so as to be compatible with free registration services or VoIP service
providers’ systems. As a standard user agent, it is compatible with all common Soft Switches and SIP proxy
servers. While running optional server software, the VoIP TAcan be configured to establish a private VoIP
network over the Internet without a third-party SIP Proxy Server.
The DVG-7111S can be seamlessly integrated into an existing network by connecting to a phone set and fax
machine. With only a broadband connection such as an ADSL bridge/router, a Cable Modem or a leased-line
router, the VoIP TA allows you to use voice and fax services over IP in order to reduce the cost of all long
distance calls.
The DVG-7111S can be configured a fixed IP address or it can have one dynamically assigned by DHCP or
PPPoE. It adopts either the G.711, G.726, G.729A or G.723.1 voice compression format to save network
bandwidth while providing real-time, toll quality voice transmission and reception.
DVG-7111S User’s Manual Telephone Interface Description
D-Link Systems, Inc. 5
1-2 Hardware Description
Front Panel
Power: Solid green light indicates a normal power supply.
Alarm: Red light indicates abnormal status, such as failed to register or provision or not obtained IP
address.
Register: The Register LED will turn on when the VoIP Router is connected to a VoIP service
provider. The LED will blink if not connected to a service provider.
LAN indicator: When a connection is established the LED will light up solid. The LEDs will blink to
indicate activity. If the LED does not light up when a cable is connected, verify the cable
connections and make sure your devices are powered on.
WAN indicator: When a connection is established the LED will light up solid. The LED will blink to
indicate activity. If the LED does not light up when a cable is connected, verify the cable
connections and make sure your devices are powered on.
Phone Indicator: Phone LED will light up solid if a phone connected to a phone port is off the hook
or in use. When a phone is ringing, the indicator will blink.
Line Indicator: Line LED light on means FXO/PSTN line is in use (off-hook).
Note: When starting up DVG-7111S, all indicators will light up. After about 40 seconds, the Reg.
indicator will blink in green. If the Prov./Alm indicator continues to blink, it means DVG-7111S is
currently communicating with ISP and has yet to obtain an IP address or fail to register to VoIP
Service Provider.
DVG-7111S User’s Manual Telephone Interface Description
D-Link Systems, Inc. 6
Rear Panel
1. Line: Connect to your original telephone line on the wall jack with RJ-11 cable.
2. Phone Port: Connect to your phones using standard phone cabling (RJ-11).
3. WAN: Connect to your broadband modem using an Ethernet cable.
4. LAN: Connect to your Ethernet enabled computers using Ethernet cabling.
5. Power Receptor: Receptor for the provided power adapter.
6. Reset : Use to Restore to factory default :
(1) Power on.
(2) Press and hold the reset button for 5 seconds.
(3) Release the reset button. Factory settings will be restored.
WARNING: DO NOT connect any phone port directly to a PSTN line (FXS to PSTN) or to an
internal PBX line (FXS to PBX extension). Doing so may damage your VoIP TA.
POWER Connects to
the power adapter
(comes with VoIP TA)
FXS ports 1 ~ 6
(telephone connectors)
Connects to phone sets
FXO ports 7,8
(PSTN line connectors)
Connects to PSTN lines
LAN ports 1 ~ 4
P2-P4
DVG-7111S User’s Manual SETUP
D-Link Systems, Inc. 7
2. Getting Started
To access the web-based configuration utility, open a web browser such as Internet Explorer and enter the IP
address of the DVG-7111S.
Open your Web browser and type
http://192.168.8.254 into the URL address
box. Press the Enter or Return Key.
Click Login to enter Web Site.
DVG-7111S User’s Manual SETUP
D-Link Systems, Inc. 8
Click Setup Wizard.
Click Next.
DVG-7111S User’s Manual SETUP
D-Link Systems, Inc. 9
The username of ADMIN and USER have
been defined and locked by default. It is
highly recommended to create a login
password to keep your router secure.
Click Next.
DVG-7111S User’s Manual SETUP
D-Link Systems, Inc. 10
Enter a NTP server or use the default
server.
Click Next.