doerr-outdoor.de6
05 |FIRST STEPS
05.1 Charging the battery
▶
NOTICE
Please fully charge the supplied 18650 3.7V 2,500mAh Li-Ion bat-
tery before first use.
CAUTION
Never leave the device unattended while charging the batteries.
After charging disconnect the device from power supply.
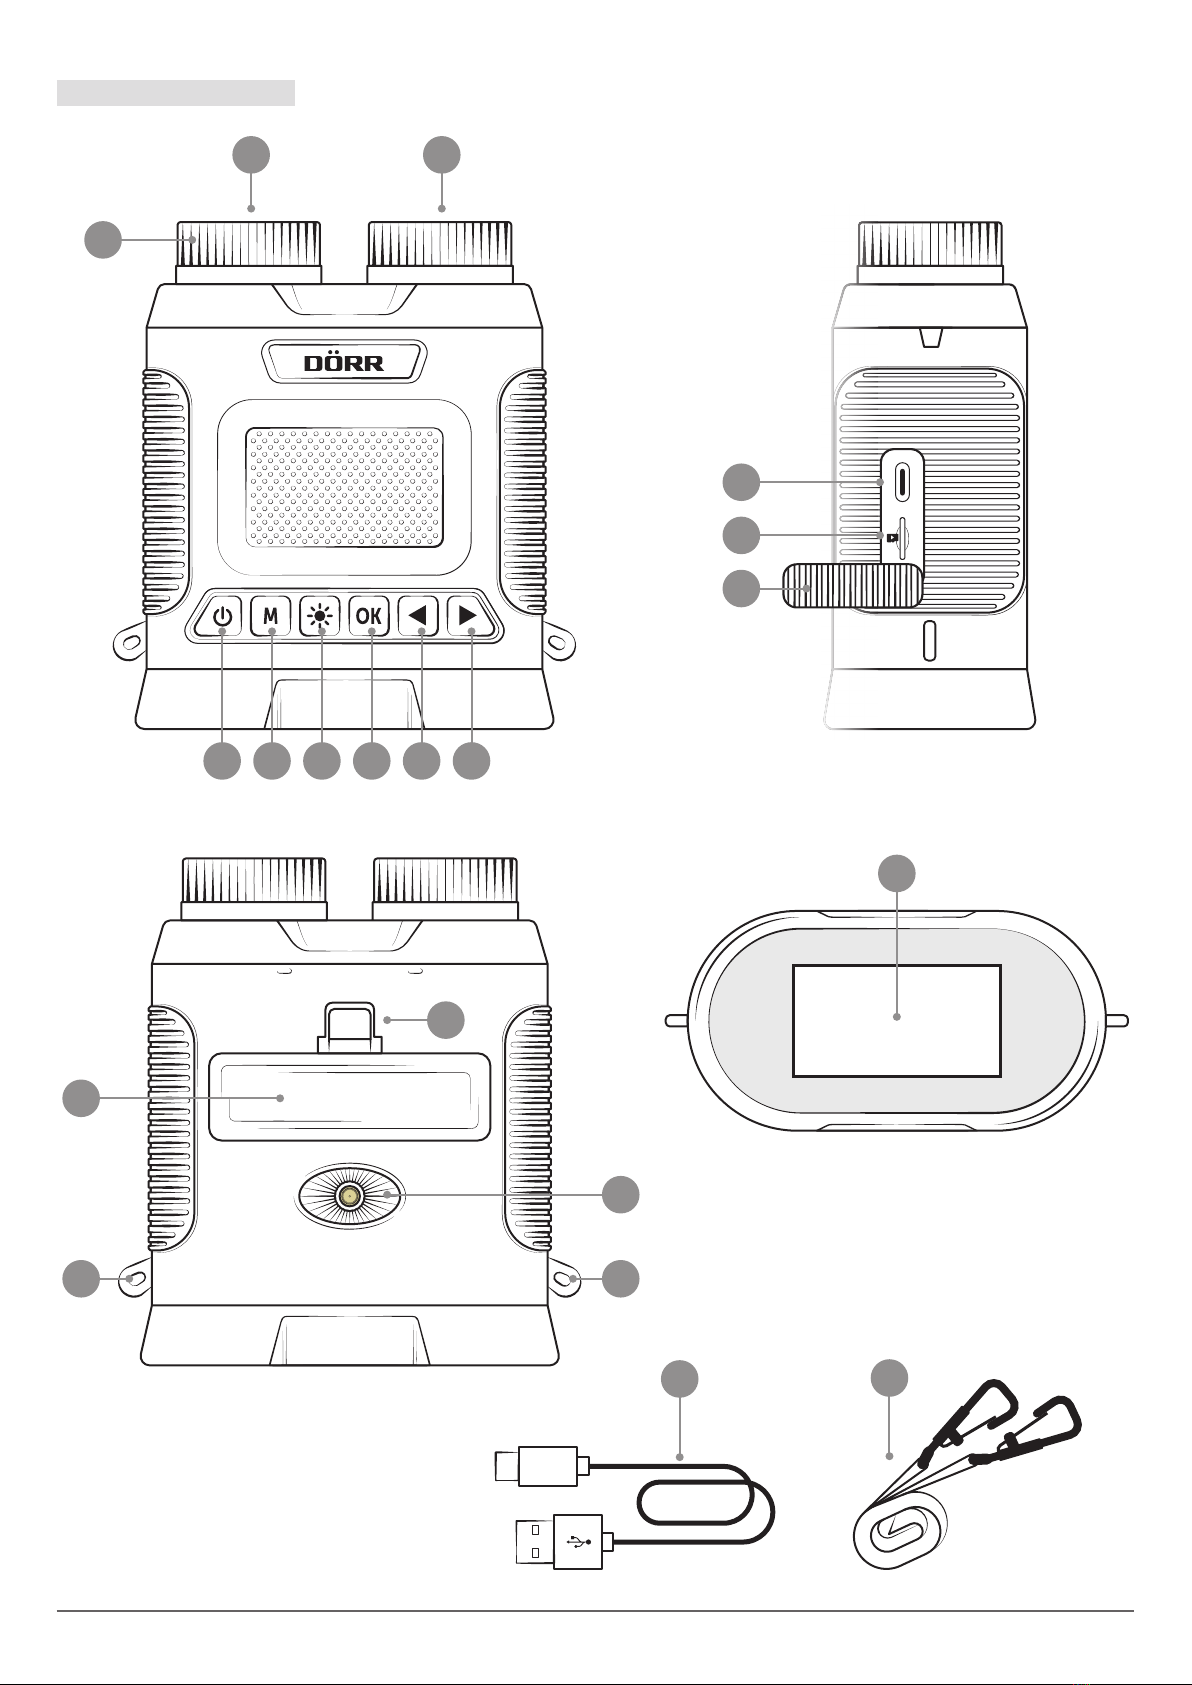
Open the rubber cover (10). Below is the USB-C charging socket (11).
Use the supplied USB-C charging cable (17) to connect the night vision
device to a USB charging source, e.g. PC/laptop/power bank. The
battery is fully charged after approx. 4-5 hours. Disconnect the night
vision device from the USB charging source. Close the rubber cover
(10) again properly to ensure splash water protection.
▶
NOTICE
To avoid deep-discharge of the Li-Ion battery when device is not
in use for a longer period, please charge the Li-Ion battery up to
approx. 60%.
05.2 Insert a micro SD/SDHC/SDXC memory card
05.2.1 micro SDXC memory cards 64 GB & 128 GB
⛔
IMPORTANT
micro SDXC memory cards 64 GB & 128 GB
Due to their standard formatting, micro SDXC memory cards with
64 GB and 128 GB must be formatted with the night vision device
before use. If you want to use a micro SDXC memory card that still
contains necessary files, save them to your computer before for-
matting. To format your SDXC 64GB or 128GB card with the night
vision device, please proceed as follows:
1. Do NOT insert the memory card into the device yet.
2. Press the on/off button (04) for approx. 3 seconds to switch on
the night vision device.
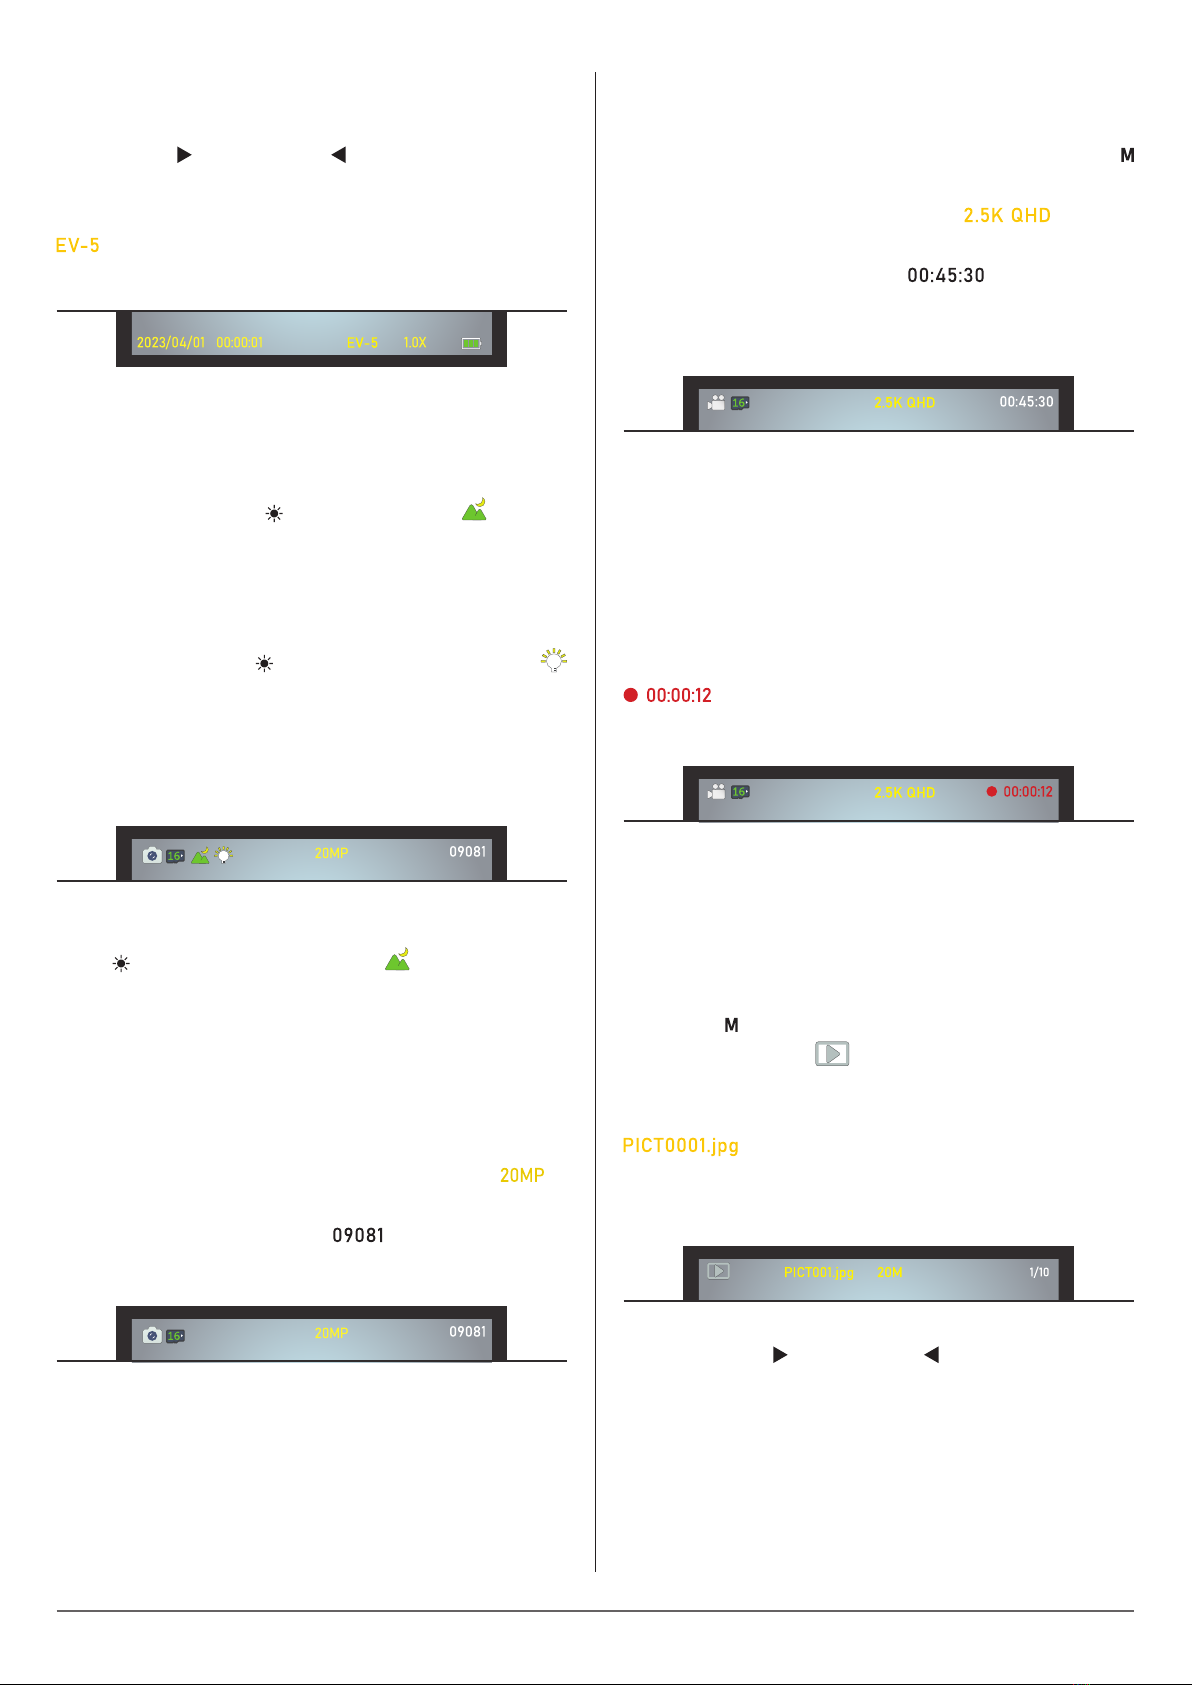
3. Press the menu button (05) for approx. 2 seconds until the
device menu opens.
4. Use the Left button (08) to scroll to the submenu "Format
Card".
5. Open the rubber cover (10) and now slide your micro SDXC me-
mory card with the labelled side up into the micro SD card slot
(12) until it clicks into place.
6. Select "Format" in the device menu with the right button (09)
and press the OK button (07) to start formatting.
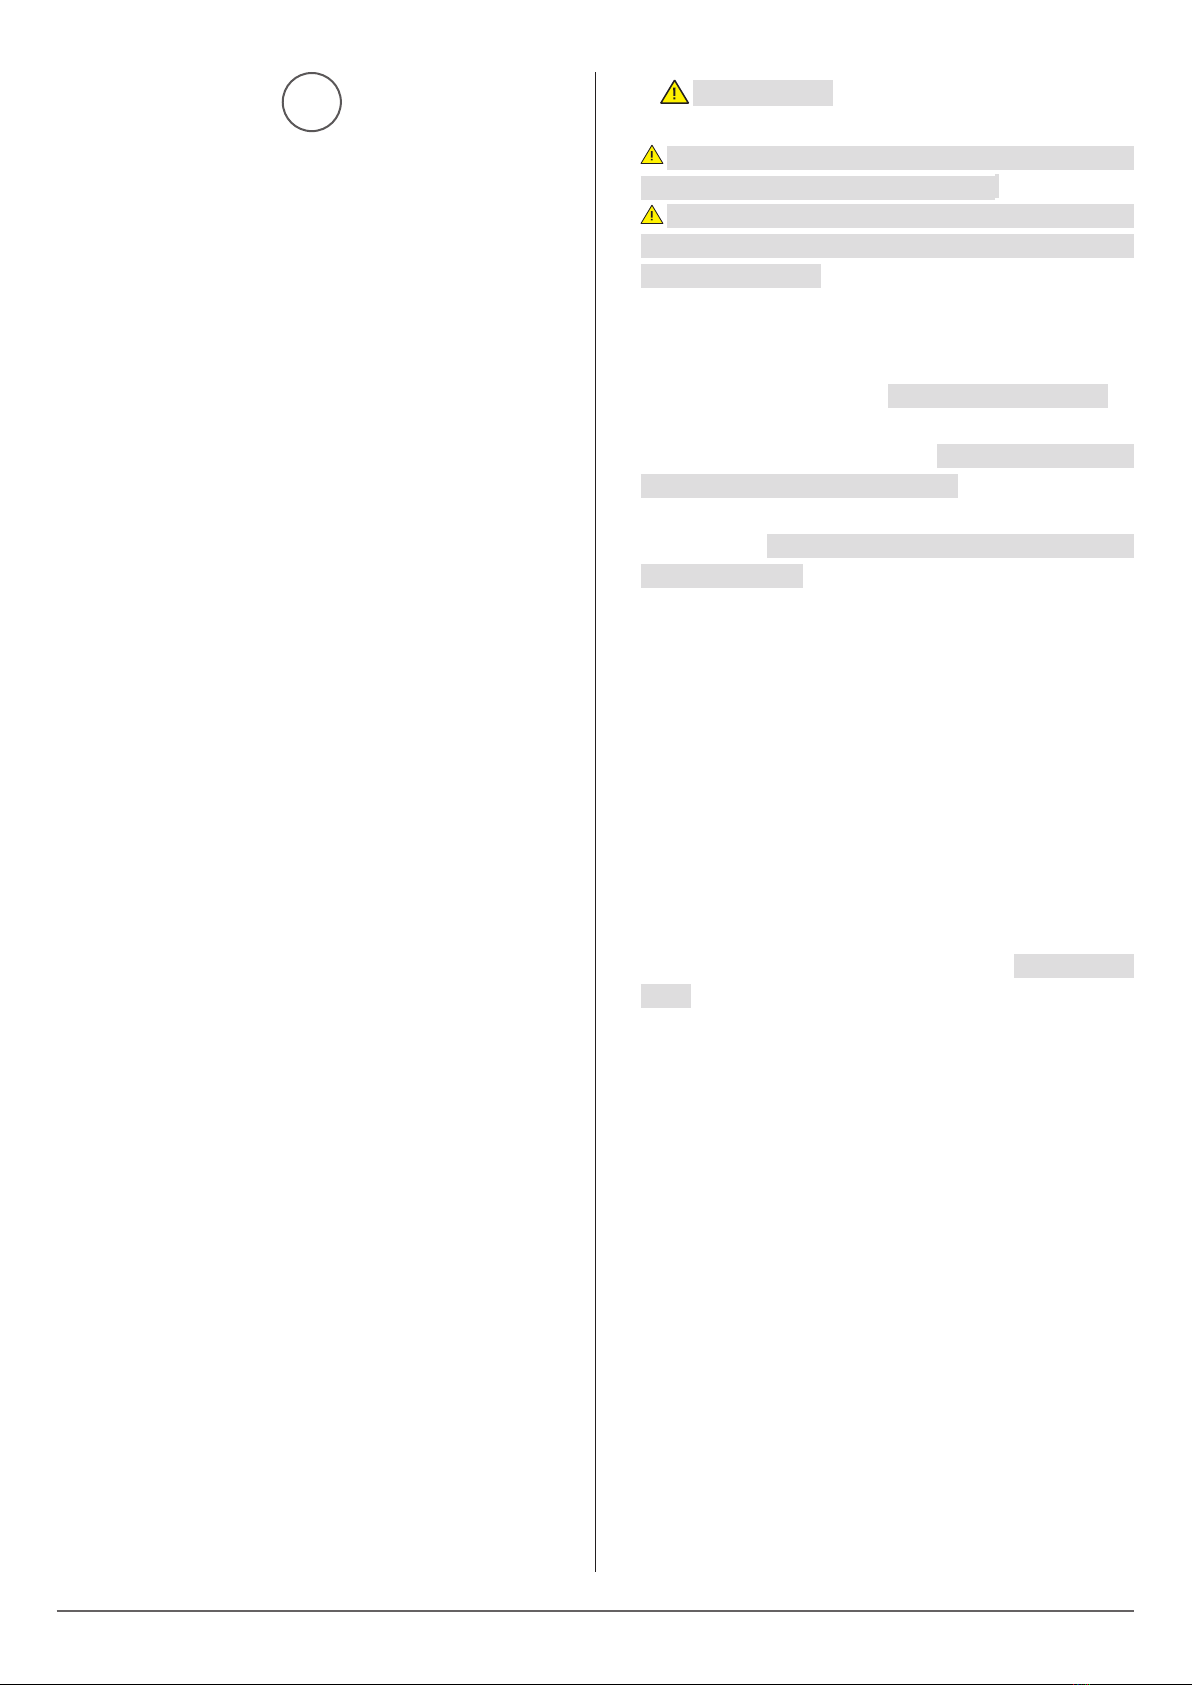
7. After successful formatting, the night vision device switches back
to the live view and the following symbol appears in the top right
of the LCD display (16):
64 GB card: 128 GB card:
05.2.2 micro SD/SDHC memory cards 4 GB to 32 GB
▶
NOTICE
If you want to use a micro SD/SDHC memory card that still con-
tains files, we recommend saving them to your computer and for-
matting the micro SD card before use.
Open the rubber cover (10) and slide your micro SD/SDHC memory
card with the labelled side up into the micro SD card slot (12) until it
clicks into place.
If the micro SD/SDHC memory card is inserted correctly, the fol-
lowing symbol appears in the top right of the LCD display (16) after
switching on the night vision device:
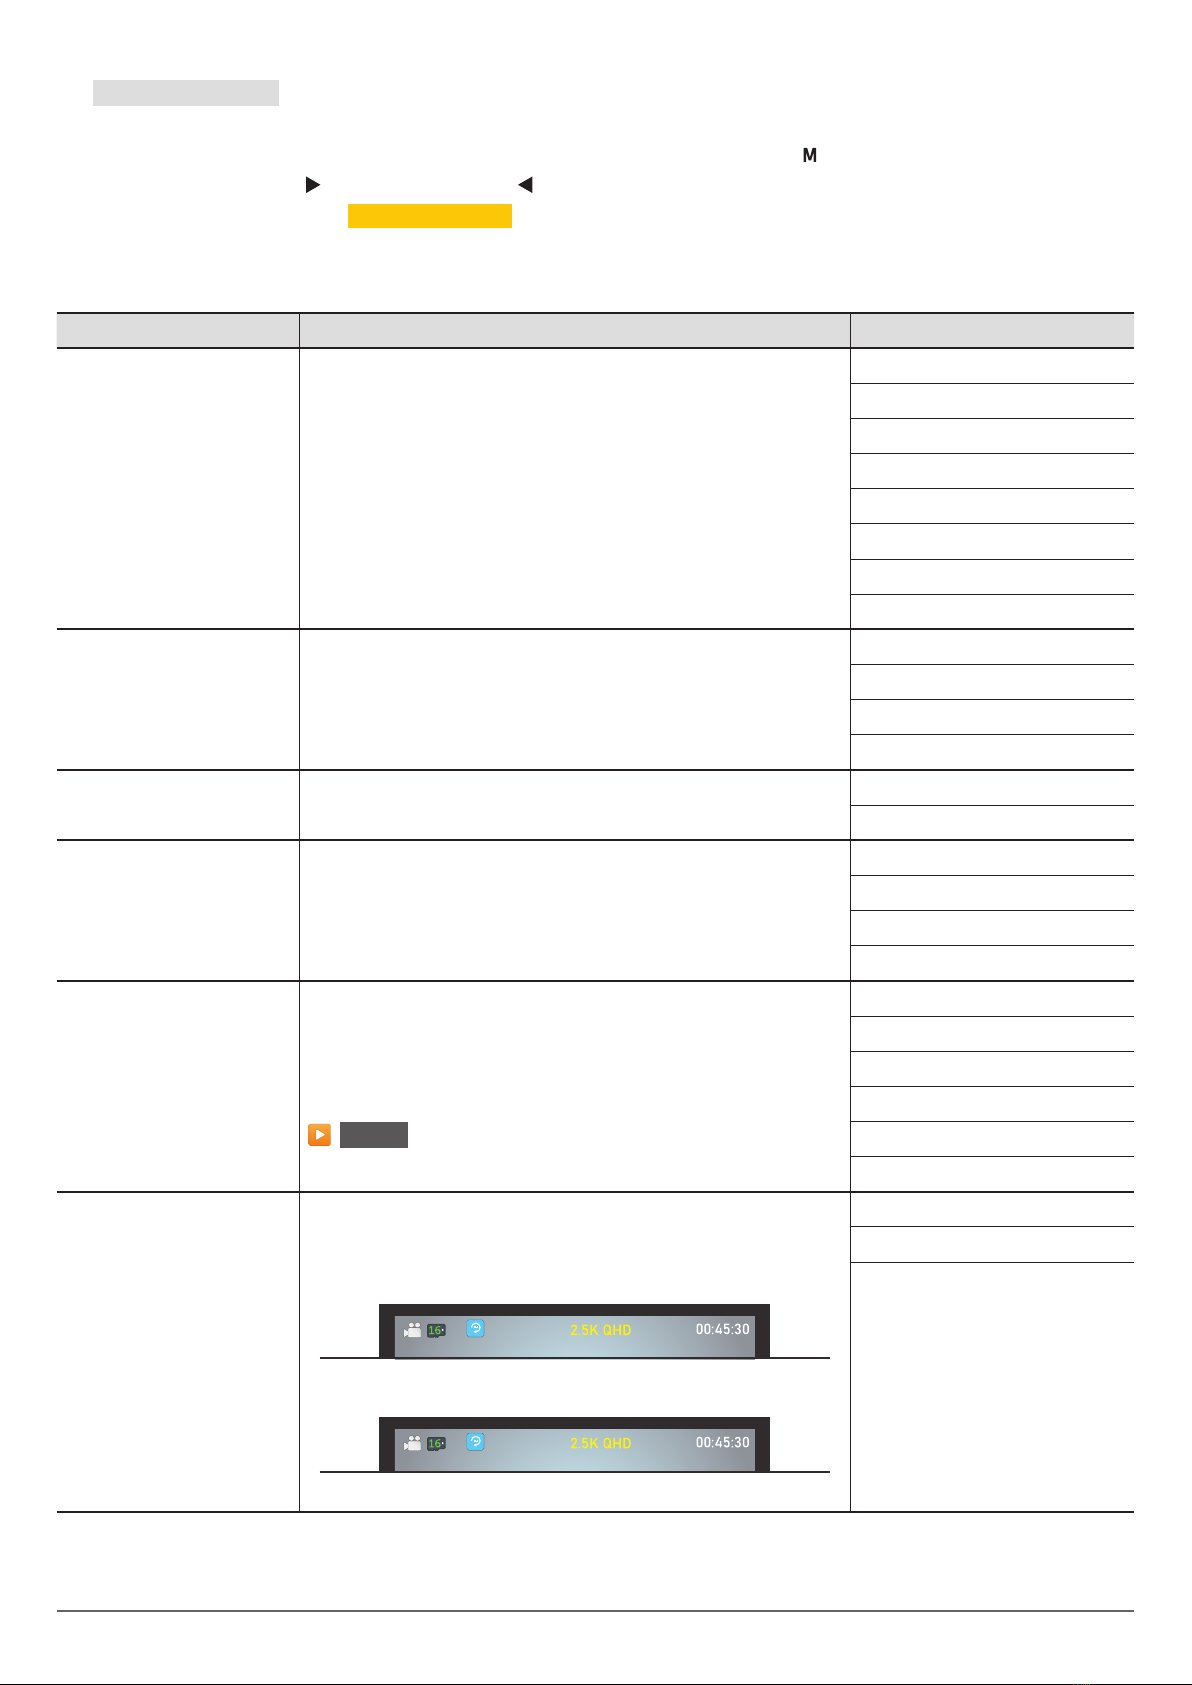
Example 16 GB card:
If the memory card is not inserted correctly or if the card is missing
or defective, the following symbol appears at the top right of the LCD
display (16) after switching on the night vision device:
05.3 Removing the memory card
To remove your micro SD/SDHC/SDXC memory card, push the card
further into the micro SD card slot (12) until it pops out slightly with a
click - the micro SD memory card can now be pulled out completely.
05.4 Attaching the neck strap
To protect the night vision device from falling down, we recommend
using the supplied neck strap (18). To fix the neck strap hang the two
carabiners of the neck strap in the eyelets (15) of the night vision de-
vice.