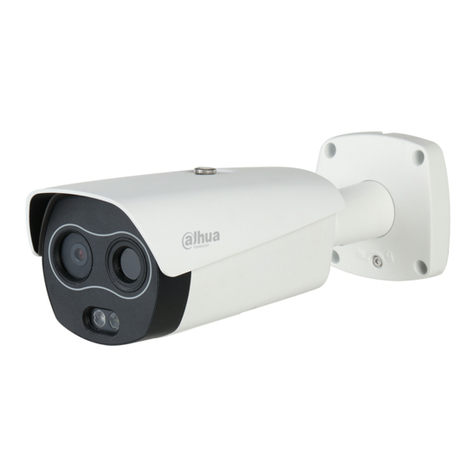
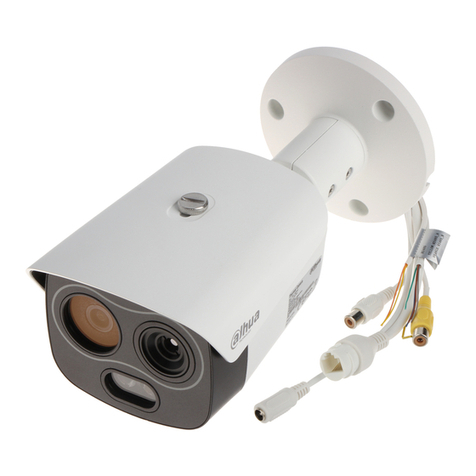
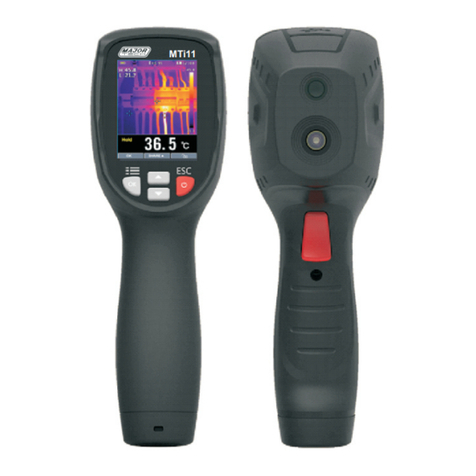
Dahua D-TPC-HI20 User manual

DH Thermal
User’s Manual
V1.0.0
ZHEJIANG DAHUA VISION TECHNOLOGY CO., LTD.

User’s Manual
II
Foreword
General
This manual introduces the functions and operations of the software DH Thermal.
Safety Instructions
The following signal words might appear in the manual.
Signal Words Meaning
DANGER
Indicates a high potential hazard which, if not avoided, will result in
death or serious injury.
WARNING
Indicates a medium or low potential hazard which, if not avoided,
could result in slight or moderate injury.
CAUTION
Indicates a potential risk which, if not avoided, could result in
property damage, data loss, reductions in performance, or
unpredictable results.
TIPS Provides methods to help you solve a problem or save time.
NOTE Provides additional information as a supplement to the text.
Revision History
Version Revision Content Release Time
V1.0.0 First release. September 2021
Privacy Protection Notice
As the device user or data controller, you might collect the personal data of others such as their face,
fingerprints, and license plate number. You need to be in compliance with your local privacy protection
laws and regulations to protect the legitimate rights and interests of other people by implementing
measures which include but are not limited: Providing clear and visible identification to inform people
of the existence of the surveillance area and provide required contact information.
About the Manual
The manual is for reference only. Slight differences might be found between the manual and the
product.
We are not liable for losses incurred due to operating the product in ways that are not in
compliance with the manual.
User’s Manual
III
The manual will be updated according to the latest laws and regulations of related jurisdictions.
For detailed information, see the paper user’s manual, use our CD-ROM, scan the QR code or visit
our official website. The manual is for reference only. Slight differences might be found between
the electronic version and the paper version.
All designs and software are subject to change without prior written notice. Product updates
might result in some differences appearing between the actual product and the manual. Please
contact customer service for the latest program and supplementary documentation.
There might be errors in the print or deviations in the description of the functions, operations and
technical data. If there is any doubt or dispute, we reserve the right of final explanation.
Upgrade the reader software or try other mainstream reader software if the manual (in PDF
format) cannot be opened.
All trademarks, registered trademarks and company names in the manual are properties of their
respective owners.
Please visit our website, contact the supplier or customer service if any problems occur while
using the device.
If there is any uncertainty or controversy, we reserve the right of final explanation.

User’s Manual
IV
Table of Contents
Foreword........................................................................................................................................................... II
1 Introduction................................................................................................................................................... 1
2 Installation and Uninstallation..................................................................................................................... 2
3 Connecting the Device.................................................................................................................................. 6
4 Live View ........................................................................................................................................................ 7
5 Configuration ................................................................................................................................................ 9
6 Heat Map Analysis ....................................................................................................................................... 11
Importing Heat Map ...............................................................................................................................................................11
Heat Map Analysis....................................................................................................................................................................12
6.2.1 Setting Point Area.......................................................................................................................................................14
6.2.2 Region and Temperature .........................................................................................................................................15
6.2.3 Filtering Temperature................................................................................................................................................16
Saving Data ................................................................................................................................................................................17
Cybersecurity Recommendations............................................................................................. 18

User’s Manual
1
1Introduction
With DH Thermal, you can:
●Connect the device to see live view on the PC, and to take manual snapshot and recording.
●Enable automatic snapshot, recording and audible alarm when an alarm is triggered, and set
storage paths for these files.
●Import and analyze heat maps, including regional temperature measurement, temperature filter
and other functions.

User’s Manual
2
2Installation and Uninstallation
Installation
Step 1 Double-click DH Thermal.exe.
Step 2 Click Next.
Figure 2-1 Installation interface
Step 3 Read the Software License Agreement carefully. Select "I agree" and then click Browse to
choose a path. It is recommended to install it outside the system disk.

User’s Manual
3
Figure 2-2 Select a path
Step 4 Voredist is selected by default. Click Install.
Figure 2-3 Ready to Install

User’s Manual
4
Step 5 Click Enjoy Now to run the program. Or click Close to finish the process.
Figure 2-4 Installation completed
Uninstallation
Step 1 Open Control Panel, click Programs and Features, right-click DH Thermal and then click
Uninstall/Change.
Figure 2-5 Uninstall/Change
Step 2 Click Uninstall.

User’s Manual
5
Figure 2-6 Uninstallation
Step 3 Click OK.
Figure 2-7 Uninstallation completed

User’s Manual
6
3Connecting the Device
Preparations
Use a USB cable to connect the device to PC.
Install DH Thermal on PC and run it.
Procedures
Step 1 Power on the device. On the device, select System Settings > USB Option > PC Preview
Mode.
Step 2 You can now see the live view from the device on PC.

User’s Manual
7
4Live View
Open DH Thermal, you can see the live view from the device.
Figure 4-1 Live view
Table 4-1 Interface description
No. Description
1
Live: Connect the device to PC and see the live view from the device. The live view
displays information such as temperature of the center spot and time. You can take
snapshot and recording manually.
Setting: Configure various function parameters. See "5 Configuration" for details.
Thermal Image: Import and analyze heat maps.
2 Name of the connected device.
3 See help document and the version of the client.
4
Snapshot: Take snapshot of the live view. The default path is "./Snapshot".
Record
: Click to start recording and then click again to stop. You can see the
recording time on the live view. The default path is "./Records".
5 Live view of the device.
Enable high temperature alarm, alarm recording and snapshot, and audible alarm.
When the temperature of the objects reaches the threshold, the device gives off the alarm sound,
and triggers alarm snapshot that will appear on the right side.
When the alarm sound stops, the alarm recording finishes.

User’s Manual
8
Figure 4-2 High temperature alarm
When monitoring body temperature, on the device select Temp Monitor > Temp Monitor Mode >
Head Detection. Point the device to faces. Alarms will be triggered when the temperature reaches the
threshold.

User’s Manual
9
5Configuration
Enable high temperature alarm, alarm snapshot and audible alarm. For audible alarm, you can import
an audio file and set loop times when triggered. Select recording file type and storage paths for
manual and alarm snapshot and recording.
Open DH Thermal and then click Setting.
Figure 5-1 Configuration
Table 5-1 Configuration
Parameter Description
Alarm Setting
High temp
alarm
On the device, select Temp Monitor > Alarm Settings > Alarm
Threshold, and set a value. Alarms will be triggered when the
temperature of an object reaches the threshold.
Alarm record
When the temperature of an object reaches the threshold,
recording starts and will be saved to the default path.
Alarm
snapshot
When the temperature of an object reaches the threshold, a
snapshot will be taken and saved to the default path.
Audible alarm When the temperature of an object reaches the threshold, the
imported audio file will be played.

User’s Manual
10
Parameter Description
Loops Set how many times the alarm sound will be played.
Audio file
When an alarm is triggered, the imported audio file will be
played.
Video Setting
Record type .mp4 or .dav format.
Manual record
path
Click Browse to set a path for manual recordings. The default
path is "./Records”.
Manual
snapshot path
Click Browse to set a path for manual snapshots. The default
path is "./Snapshot".
Alarm record
path
Click Browse to set a path for alarm recordings. The default
path is "./AlarmRecords".
Alarm
snapshot path
Click Browse to set a path for alarm snapshots. The default path
is "./AlarmImages".

User’s Manual
11
6Heat Map Analysis
Import and analyze heat maps, and then save the analytical information.
Importing Heat Map
Step 1 Open DH Thermal.
Step 2 Click Thermal Image.
Step 3 Click Add and import the heat map file. Imported heat map files will appear under Thermal
Image.
Figure 6-1 Importing a heat map (1)
.jpg, .dtp, .csv, and .bmp formats are supported. For all heat map analysis operations, the
actual interface shall prevail.
Step 4 Click the imported heat map file.

User’s Manual
12
Figure 6-2 Importing a heat map (2)
Heat Map Analysis
You can analyze the data in the heat map to generate temperature information and temperature ratio,
and calculate maximum, minimum as well as average temperature of a region.
Open DH Thermal. Click Thermal Image and then click the heat map file.
Figure 6-3 Heat map interface

User’s Manual
13
Table 6-1 Heat map interface description
No. Name Description
1 Drawing a region
You can draw a region on the heat map to measure the temperature.
It can be: point, rectangle, circle, line, or polygon. See "6.2.2 Region
and Temperature" for details.
2
Resizing and
rotation
Click to set as original or stretched size.
Click to rotate the image 90° clockwise.
3 Save data Save the information after analysis.
4 Rendering type
There are 14 types of rendering. The default setting is White Hot.
White Hot: Brighter when temperature is higher in gray image.
Black Hot: Brighter when temperature is lower in gray image.
Fusion: Colors fall within purple-red-yellow range. Purpler when
temperature is lower, and yellower when temperature is higher.
The following content will take Fusion as an example.
Rainbow: Colors fall within blue-green-red-yellow range. Bluer
when temperature is lower, and yellower when temperature is
higher.
Globow: Colors fall within red-
yellow range. Redder when
temperature is lower, and yellower when temperature is higher.
Ironbow1: Colors fall within blue-purple-red-yellow range. Bluer
when temperature is lower, and yellower when temperature is
higher.
Ironbow2: Color range is similar to Ironbow1, but its brightness
is lower than Ironbow1
Sepia: Mainly brown. Brighter when temperature is higher.
Color1: Colors fall within purple-red-yellow-green-
blue range.
Purpler when temperature is lower, and bluer when temperature
is higher.
Color2: Colors fall within blue-red-yellow range
. Bluer when
temperature is lower, and yellower when temperature is higher.
Ice Fire: In a colored image, high temperature is red and low
temperature is blue. Ice Fire is usually used to give warnings.
Rain: Colors fall within purple-blue-green-yellow-red range.
Purpler when temperature is lower, and redder when
temperature is higher.
Red Hot: Colors are mostly red. Brighter when temperature is
higher.
Green Hot: Colors are mostly as green. Brighter when
temperature is higher.
5
Heat degree
mode
.dtp and .jpg formats are supported. Displays a blended image of a
thermal image and a visible light spectrum image.

User’s Manual
14
No. Name Description
6 Temperature
Generates a color bar that corresponds to different temperature
values, based on the selected rendering type. The values at either
end define the temperature range in the heat map.
Temperature and color: When the mouse hovers on the heat
map, the temperature of this spot displays.
Enhanced temperature contrast: Enter temperature values at
either end of the bar, and the heat map will automatically change
the color to this temperature range.
Regions with temperatures below the minimum value are
displayed in the leftmost color on the bar.
Regions with temperatures above the maximum value are
displayed in the rightmost color on the bar.
7 Auto
Automatically adjust the color according to the maximum and
minimum temperature of the heat map.
8 Heat map size
Click "-", "+" or drag the slider to adjust the heat map size.
Move the mouse over the heat map and scroll to adjust the heat
map size.
If the size is too big, click and hold to drag.
9 Area temperature
information
On the heat map, select a region (except for points) and its maximum,
minimum and average temperature displays. See "6.2.2 Region and
Temperature" for details.
10 Coordinates Use the grid function to set a point area. See "6.2.1 Setting a Point
Area" for details.
6.2.1 Setting Point Area
Set the X/Y values of a point area to see its temperature.
Step 1 Open DH Thermal.
Step 2 Click Thermal Image and then click the heat map file.
Step 3 Click .
Step 4 Move and hover the mouse over the heat map, and the X/Y values and temperature will
appear.
You can also see the changing X/Y values, temperature and raw value on the right as the
mouse moves.
Step 5 To set a point area, you can:
Right-click the heat map and then select set fixed point as point area.

User’s Manual
15
Enter X/Y values on the right and then click .
Right-click the heat map, you can also select Lock grid to fix the coordinates, or Exit grid
mode.
Figure 6-4 Setting a point area
6.2.2 Region and Temperature
Draw a region on the heat map to see the maximum, minimum and average temperature of this region.
Add multiple regions on the heat map to compare temperature differences among them.
Step 1 Open DH Thermal.
Step 2 Click Thermal Image and then click the heat map file.
Step 3 Select a shape and draw on the heat map.
Select from the left menu.
Right-click the heat map, click Select and choose Point, Rectangle, Circular, Linear or
Polygon.

User’s Manual
16
Figure 6-5 Draw a region
The maximum, minimum and average temperature of a region will display on the rights.
6.2.3 Filtering Temperature
Enable alarm, set threshold and the heat map will display alarming regions.
Step 1 Open DH Thermal.
Step 2 Click Thermal Image and then click the heat map file.
Step 3 Click Calculate.
Figure 6-6 Setting alarm conditions (1)
Step 4 Set Alarm as None, Above, Below or Between.
Take Above as an example.
Other manuals for D-TPC-HI20
1
Table of contents
Other Dahua Thermal Camera manuals

Dahua
Dahua ASF172X-T1 User manual

Dahua
Dahua DH-TPC-BF5300 User manual

Dahua
Dahua TPC-BF1241-B3F4-S2 User manual

Dahua
Dahua DH-TPC-PT8320A User manual

Dahua
Dahua TPC-M20-B10-G User manual

Dahua
Dahua BF Series User manual

Dahua
Dahua D-TPC-HI20 User manual

Dahua
Dahua DH-TPC-PT8320A User manual

Dahua
Dahua BF Series User manual