DAKEWE 6250 User manual

Revised Version V4.1-English Version-June 2021
Dakewe(Shenzhen)Medical Equipment Co,. Ltd 1V4.1
Cryostat
User’s Manual
Applicable Model:
6250

Dakewe(Shenzhen)Medical Equipment Co,. Ltd 2 V4.1
Foreword
Dear user,
Thank you for choosing our product!
In order to make you have an overall understanding of the Company’s product to facilitate your use.
We have specially configured this User Manual to the instrument, which includes the instrument’s
structural features, technical characteristics, instructions for use, simple troubleshooting,
maintenance, etc. For your ease of use this instrument.
Before use, be sure to read the User Manual carefully and follow the instructions correctly to the
user manual. In addition, if you have any questions during use, contact technical support, we will
be glad at your service.

Dakewe(Shenzhen)Medical Equipment Co,. Ltd 3V4.1
Important Statement
The information, data, and precautions etc. contained in this Manual only represent the scientific
knowledge and advanced technologies that we currently possess through the institutes in this field.
Dakewe (Shenzhen) Medical Equipment Co., Ltd reserves the right to make changes to the
manufacturing process subject to regulatory requirements without prior notice. In this way we can
continuously improve the technology and manufacturing techniques used in our products.
For the error descriptions, charts, technical illustrations, etc. contained in this Manual, organizations
or personnel are encouraged to give us feedback for updating. It is also important to note that we
shall not be liable for any direct or indirect economic loss or damage caused by non-compliance
with statements or other information in this Manual.
This document is protected by copyright law and all copyright in this document belongs to Dakewe
(Shenzhen) Medical Equipment Co., Ltd. Copying the text and illustrations (or any part thereof) of
this document by printing, photocopying, microfilming, webcam or other methods, including any
electronic systems and media, requires prior written permission from Dakewe (Shenzhen) Medical
Equipment Co., Ltd.
For the instrument serial number and year of manufacture, check the nameplate on the back of the
instrument.

Dakewe(Shenzhen)Medical Equipment Co,. Ltd 4 V4.1
Table of Contents
1. Information ...............................................................................................................................6
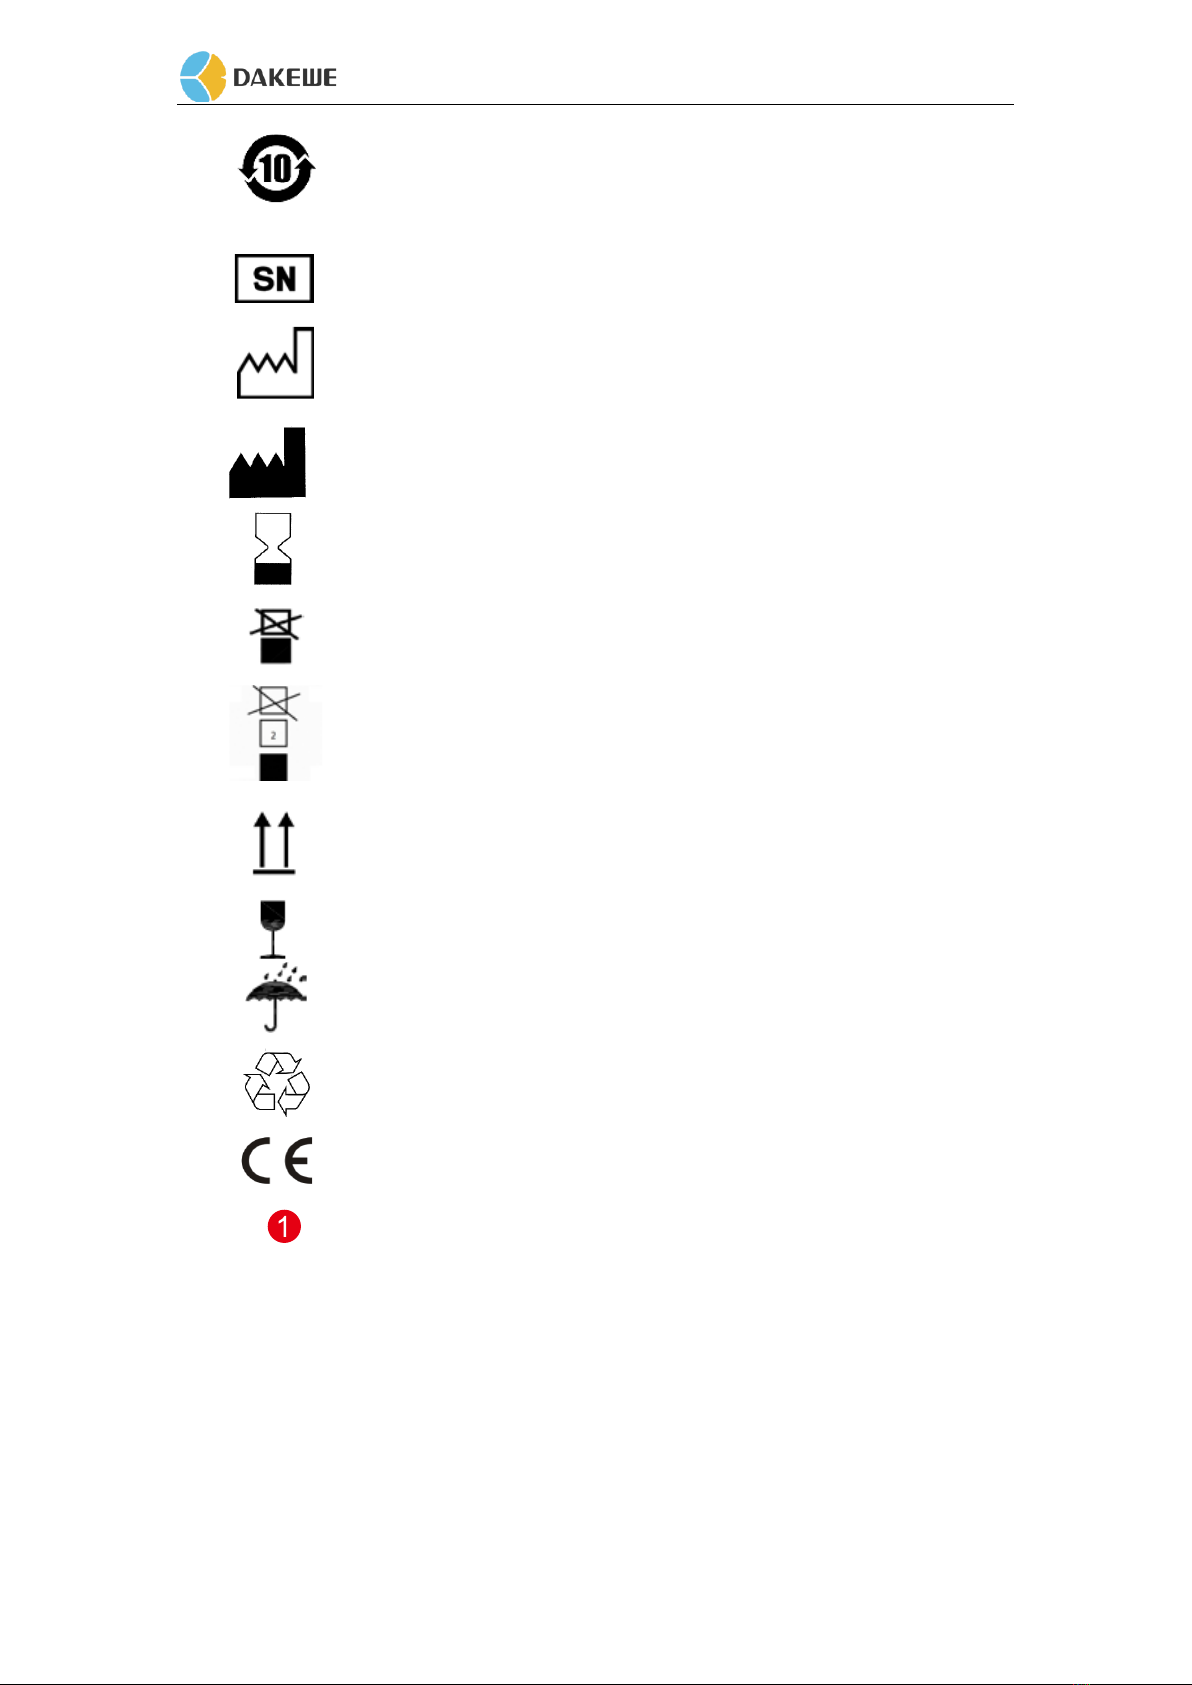
1.1 Symbol and Meaning ........................................................................................................6
1.2 Instrument Use ..................................................................................................................8
1.3 Working principle..............................................................................................................8
1.4 Personnel Qualification.....................................................................................................8
1.5 Instrument Model..............................................................................................................8
1.6 Contraindications ..............................................................................................................8
2. Safety ........................................................................................................................................9
2.1 Safety Precautions.............................................................................................................9
2.2 Warning...........................................................................................................................10
2.2.1 Warning - Signs on the Instrument....................................................................10
2.2.2 Warning – Transport and Installation ................................................................10
2.2.3 Warning - Operation..................................................................................................11
2.2.4 Warning - Cleaning and Maintenance.......................................................................11
2.3 Equipment Placement Requirements ...........................................................................11
2.4 Instrument Handling.....................................................................................................12
2.5 Precautions for Use of the Instrument..........................................................................12
3. Instrument Components and Specifications............................................................................13
3.1 Overview.......................................................................................................................13
3.2 Technical Parameters ...................................................................................................14
4. First Installation....................................................................................................................16
4.1 Installation Requirements..............................................................................................16
4.2 Unpacking Tools ...........................................................................................................16
4.3 Unpacking .....................................................................................................................17
4.4 Accessory Installation ...................................................................................................18
4.4.1 Hand Wheel Installation.........................................................................................18
4.4.2 Hand Wheel Block Installation ..............................................................................19
4.4.3 Unlock the Instrument Cover.................................................................................19
4.4.4 Fixed Card Core.....................................................................................................20
4.4.5 Waste Trough Installation.......................................................................................20
4.4.6 Blade Holder Installation .......................................................................................21
4.4.7 Glass Door Installation...........................................................................................21
4.4.8 Power Supply Cable Connection............................................................................22
4.5 Boot Preparation ...........................................................................................................22
5. Operation.................................................................................................................................23
5.1 Section Function Setting ...................................................................................................23
5.1.1 Cooling Temperature Setting..................................................................................23
5.1.2 Slice and Retouch Setting ......................................................................................24
5.1.3 Cold Stage Temperature Setting / Semiconductor Cooling Function.....................24
5.1.4 Lighting and UV Lamp ..........................................................................................25
5.1.5 Drying Button ........................................................................................................25
5. 2 Button Panel.....................................................................................................................26
5. 3 Function Setting and Introduction....................................................................................26

Dakewe(Shenzhen)Medical Equipment Co,. Ltd 5 V4.1
5.3.1 Defrost Setting .......................................................................................................27
5.3.2 Hibernation Setting ................................................................................................28
5.3.3 Disinfection Setting................................................................................................28
5.3.4 Time reset in the function interface........................................................................29
5. 4 Compressor Overheat Protection Function ......................................................................29
5. 5 System Setting..................................................................................................................30
5.5.1 System Time Setting ..............................................................................................30
5.5.2 Slice Retraction Value Setting................................................................................30
5.6 Blade Holder Module........................................................................................................31
5.6.1 Blade Holder Front and Rear Position Adjustment................................................32
5.6.2 Blade Holder Left and Right Position Adjustment.................................................32
5.6.3 Blade Installation or Replacement .........................................................................32
5.6.4 Anti-roll Plate Adjustment......................................................................................33
5.6.5 Microtome Blade Angle Adjustment......................................................................33
5.7 Sample disk Installation ....................................................................................................34
5.8 Specimen Cryoforming .....................................................................................................35
6. Sectioning Operation...............................................................................................................36
6.1 Starting the Instrument......................................................................................................36
6.2 Preparing Sectioning Tools, Specimen Disc and Auxiliary Preparation Tools..................36
6.3 Retouching Slice ...............................................................................................................36
6.4 Sectioning .........................................................................................................................37
6.5 Sectioning Reference ........................................................................................................37
7. Cleaning and Maintenance......................................................................................................38
7.1 Daily finishing work .........................................................................................................38
7.2 Long-term Suspension of Finishing Work ........................................................................38
7.3 Cleaning Instrument..........................................................................................................38
7.3.1 Before each cleanup, perform the following steps first..........................................38
7.3.2 Cleaning the Instrument Enclosure ........................................................................39
7.3.3 Cleaning the Blade Holder .....................................................................................39
7.4 General Maintenance ........................................................................................................39
7.5 Take the Slicing Core from the Freezer.............................................................................40
7.6 Replacing Component.......................................................................................................41
7.6.1 Replacing the Fuse.................................................................................................41
7.6.2 Replacing the UV Lamp.........................................................................................41
7.7 Use of Waste Tank.............................................................................................................42
8. FAQ and Handling ..................................................................................................................42
9. Section Tissue Temperature Selection Table...........................................................................45
10. Warranty and Service ..............................................................................................................46
10.1 Warranty..........................................................................................................................46
10.2 Technical Service Information ........................................................................................46
10.3 Scrapping and Disposal...................................................................................................46

Dakewe(Shenzhen)Medical Equipment Co,. Ltd 6 V4.1
1. Information
1.1 Symbol and Meaning
Danger:
Indicating an urgent dangerous situation that, if not avoided, will result in
death or serious injury.
Warning:
If you do not avoid this danger, it may result in death or serious injury.
Caution:
Indicating a potentially hazardous situation that, if not avoided, may
result in death or serious injury.
Note:
Indicating information that is not related to risk but is very important.
Follow this User Manual.
Note that see the User Manual for relevant warning information.
IVD medical device
In accordance with appendix four of directive 2002/96/EC of the
European Parliament and Council
Power on
Power off
Biohazard warning (black line on yellow background)
Sign indicator of using flammable solvents and reagents (black line on yellow
background)
This warning symbol indicates the instrument surface that will be hot during
operation.
Avoid direct contact to prevent burns.

Dakewe(Shenzhen)Medical Equipment Co,. Ltd 7 V4.1
Environmental protection sign of RoHS Directive. The figure in the symbol
refers to the product’s number of years of “environment-friendly use”. Use this
symbol if the use of a restricted substance exceeds the maximum allowable limit.
Serial number
Manufacturing date
Manufacturer
Expiration
No stacking
Limited height of 2 floors (accessory cases only)
Indicating the correct vertical position of the packing container.
Goods are fragile and must be handled with care.
The package must be stored in a dry environment.
Recycle in accordance with local laws and regulations.
It meets the requirements of EU Directive 98/79/EC for IVD medical devices.
Item indication number in the illustration.

Dakewe(Shenzhen)Medical Equipment Co,. Ltd 8 V4.1
1.2 Instrument Use
The instrument consists of 3 major parts:
• Control parts: including related function buttons and display.
• Freezer sections: quickly obtaining low temperature and slicing.
•Refrigeration parts: including refrigeration compressor and semiconductor cooling fin.
The 6250 Semi-automatic Cryostat Microtome is used for rapid freezing of pathological
sections of human and animal body tissue. It can be widely used for preparing thin sections of
samples of varying hardness for use in pathological diagnosis, analysis and research in
hospitals, medical colleges by legal medical experts and propagation institutes.
It is used exclusively by pathology laboratories and is limited to the following tasks:
• Only operate the instrument as described in this Manual.
Any other ways of use are regarded as inappropriate!
1.3 Working principle
After the operator quickly freezes the fresh tissue hard, the frozen hard tissue is placed in a
precision-controlled slicing system, and the tissue is sliced into thin slices of the required
thickness with a blade.
1.4 Personnel Qualification
• Only trained laboratory staff can operate.
• Only operate the instrument as described in this Manual.
1.5 Instrument Model
As described in nameplate.
Product software version
Main control board:V03,Industrial Control Board:V02,Screen board:V03.
1.6 Contraindications
Not found yet.

Dakewe(Shenzhen)Medical Equipment Co,. Ltd 9 V4.1
2. Safety
2.1 Safety Precautions
This User Manual contains important information related to operational safety and equipment
maintenance.
As an important part of the product, the User Manual must be read carefully before installation
and use, and always be placed near the instrument.
Electrical safety of instruments conform to IEC 61010-1:2018 Safety requirements for
electrical equipment for measurement, control and laboratory use - Part 1: General
requirements, IEC 61010-2:2018 Safety requirements for electrical equipment for
measurement, control and laboratory - Part 2-101 Special requirements for in vitro diagnostic
(IVD) medical devices".
This instrument meets the requirements for radiated interference and interference immunity
specified in the EMC standards IEC 61326-1:2012 and IEC 61326-2-6:2012
The performance indicators of the instrument are in line with Dakewe's technical requirements
of the cryostat.
In order to maintain this condition and ensure safe operation, the user must comply with all
safety precautions and warnings in this User Manual.
⚫Always observe the safety and precautions described in this Chapter.
⚫Even if you are already familiar with the operation and use of other
Dakewe products, be sure to read these instructions.
⚫Do not remove or modify the protective devices on the instrument and
accessories. Only Dakewe-certified qualified maintenance personnel can
repair the instrument and dispose of the instrument’s internal
components.
⚫The instrument is designed and manufactured with advanced technology
and complies with relevant safety technical standards and specifications.
Improper instrument operation or handling can result in injury to the
user or other personnel, damage to the instrument and other property
damage. The instrument must be used for its intended use and only when
all safety functions are in proper working condition. Faults that are
detrimental to safety must be corrected immediately.
⚫Only original spare parts and allowed original accessories can be used.
⚫Only use original spare parts and permitted original accessories.
Be sure to observe the safety instructions and warnings in this Chapter.
Even if you are already familiar with the operation and use of the product, be sure to read
these instructions.

Dakewe(Shenzhen)Medical Equipment Co,. Ltd 10 V4.1
2.2 Warning
The safety device installed by the manufacturer on this instrument only constitutes the basis of
accident prevention. The primary responsible party for the safe operation is the organization,
followed by the personnel assigned by the organization to operate, maintain or repair the
instrument. In order to ensure the smooth operation of the instrument, be sure to observe the
following instructions and warnings.
2.2.1 Warning - Signs on the Instrument
2.2.2 Warning – Transport and Installation
Do not remove or modify protective devices of the instrument and accessories.
Only authorized maintenance personnel are allowed to repair the instrument
and dispose of the instrument’s internal components.
The warning triangle is displayed on the instrument to ensure that correct
operating instructions defined in this Manual must be observed during
operation and replacement. Failure to follow these instructions may result in
accidents, personal injuries, and damages to the instrument or accessories.
This warning label is used on the surface of the instrument that will be hot
during operation.
Touching these surfaces may cause burns.
The instrument must be kept upright after unpacking.
Do not grasp the handle of the handlewheel or the knob of setting the slice thickness to carry
the instrument.
It is strictly forbidden to disassemble or modify the protective equipment on the instrument
and accessories.

Dakewe(Shenzhen)Medical Equipment Co,. Ltd 11 V4.1
2.2.3 Warning - Operation
2.2.4 Warning - Cleaning and Maintenance
2.3 Equipment Placement Requirements
Ground must be flat.
No vibration on the ground.
There are three-hole power sockets near the instrument placement position.
No obstacles near the hand wheel.
The ambient temperature range is 5 °C ~ 30 °C, when the ambient temperature
reaches 26 °C or above, the air conditioner should be open for cooling.
Air humidity does not exceed 60%.
No sunlight for placing.
Be careful when handling the slicing knife, the blade is extremely sharp, and it is very
serious once being injured! It is highly recommended to wear safety gloves.
Be sure to remove the blade before removing the knife holder from the instrument. When
the blade is not in use, it should be put back into the knife box.
No matter where the blade is placed, the blade must never be upward. Never touching the
falling blade!
Be sure to clamp the sample block first, then clamp the blade.
The handlebar must be locked and the blade must be guarded with the blade guard during
operation or replacement of the blade and sample and during the rest periods!
Be sure to wear safety goggles when making fragile sample sections! Sample may be
fragmented.
Make sure that liquid does not enter the inside of the instrument during operation!
Immediately picking up and removing the embedding agent that has fallen on the floor. It
can cause slipping and there is a risk of injury!
Before slicing, check that the cartridge is firmly clamped on the sample - failure to follow
this instruction may result in damage of the sample.
Before each maintenance or cleaning, the instrument shall be TURNED OFF and the main
power supply shall be disconnected.
Only authorized qualified personnel can access the internal components of the instrument
for maintenance and repair!
⚫Do not touch falling accessories – there is a risk of injury!
⚫Lock the hand wheel before cleaning!
⚫Do not use any solvents containing acetone or xylene for cleaning!
⚫Ensure that liquid does not enter the instrument during the cleaning process!

Dakewe(Shenzhen)Medical Equipment Co,. Ltd 12 V4.1
Attention: Within 100mm of the machine, 300mm of the vent,no other items can be
placed. The too high room temperature and the humidity will affect the cooling
capacity of the cryostat.
2.4 Instrument Handling
The machine is a movable floor-type device, with 4 casters on the bottom, 2
directional casters on the rear side, 2 universal casters on the front side, and 2 foot
cups on the front side directional caster attachment. The foot cup can be adjusted by
rotating.
When the whole machine needs to be fixedly placed, raise the foot cup so that the
front side directional casters are suspended and the whole machine is in a fixed state.
When the whole machine needs to move, lower the foot cup so that the front side
directional caster touches the ground, and the machine can be pushed at this time.
After unloading the transport package, adjust the front side directional caster to the
ground position and move to the place where it is placed. After it is in place, adjust
the height of the foot cup, adjust the front side directional caster to the suspended
state, and stabilize the machine horizontally.
2.5 Precautions for Use of the Instrument
The machine must be allowed to stand for two hours after installation in the
designated location.
Before starting the equipment, please check the voltage and frequency of the input
power to ensure that it conforms to the specification requirements on the instrument
nameplate (refer to figure 1).
After confirming that the power supply has a grounding wire (three-hole socket),
connect the unit and the power socket with the supplied power cord, and turn on the
power switch on the right of the machine to enter the working state.
Keep the hand wheel in the locked position if the machine is shutdown.
After the machine is stopped, the glass door should be opened to allow the water
vapor to evaporate as soon as possible to keep the cooling chamber dry.
After the UV lamp is damaged, it needs to be replaced as it is the same brand, model
and specification. Pay attention to safe conditions when replacing.
The components of the electrical system, such as the control panel, electric control
box, etc., must be maintained by professionals, not other personnel.
The refrigeration system is mainly composed of a compressor, a condenser, a filter,
an evaporator, etc., wherein the condenser (with a fan) adsorbs dust after long-term
use, affecting the cooling effect, and needs to open the ventilation plate on the right
side of the fuselage, Brush the dust on the condenser fins or blow it with high
pressure compressed air. (If the air filter on the right side is equipped with a dustproof
net, it must be cleaned regularly with a brush to ensure that the mesh is unblocked,
and the mesh blockage will reduce the cooling effect of the equipment)
The cooling chamber should be cleaned frequently and kept clean, but especially pay
attention that not to be scratched by the blade.

Dakewe(Shenzhen)Medical Equipment Co,. Ltd 13 V4.1
3. Instrument Components and Specifications
3.1 Overview
1 Display 2 Keyboard 3 Waste barrel 4 Foot cup
5 Power switch 6 Glass door 7 Hand wheel
8 Sample disk 9 Hammer 10 Specimen clamp 11 Tool holder
12 Front brush holder 13Brush
Figure 2 Front picture of 6250 Cryostat
Figure 3 The picture of cooling chamber

Dakewe(Shenzhen)Medical Equipment Co,. Ltd 14 V4.1
3.2 Technical Parameters
Convention
Parameter
Nominal supply voltage
a.c.220V~240V/110V
Nominal frequency
50Hz/ 60Hz
Main fuse
4A
Nominal power
1200VA
Operating temperature range
+5°C to +30°C
Transport and storage temperature
+5°C to +55°C
Relative humidity for transport and storage
Maximum 60 %, non-condensing
IEC 61010-1 classification
Pollution level 2
Over-voltage category II
Atmospheric pressure
700 hPa ~ 1060hPa
A weighted noise level
≤ 70 dB (A)
Size and weight
Parameter
Size, without packaging (width ×depth ×
height), unit: mm(Excluding hand wheel)
Size, without packaging (width ×depth ×
height), unit: mm(Including hand wheel)
650 × 700 ×1280mm, ±5%
780×700×1280 mm, ±5%
Empty weight, without packaging
140kg
Weight with packaging
170kg
Section
Parameter
Section thickness range
0~100μm
Section step amount
0μm~20μm, with a step of 1μm
20μm~50μm, with a step of 2μm
50μm~100μm, with a step of 5μm
Section thickness deviation
±20%
Trimming thickness range
0~600μm
Trimming step amount
1μm~50μm, with a step of 5μm
50μm~100μm, with a step of 10μm
100μm~600μm, with a step of 50μm
Sample retraction
0~200μm adjustable, with a step of 5μm
Sample horizontal stroke
25mm±1mm
All relevant temperature indexes are only valid if the ambient temperature is
between 5°C and 30°C and the relative humidity does not exceed 60%.

Dakewe(Shenzhen)Medical Equipment Co,. Ltd 15 V4.1
Sample vertical stroke
59mm±0.5mm
Maximum sample size
Maximum sample chuck adjustment angle
Sample slow forward and rewind speed
Sample fast forward and rewind speed
55mm×55mm
12°for X&Y axis, 360°for Z axis
300μm/s
900μm/s
Cooling
Parameter
Freezing chamber’s operating temperature
-35℃ ~40℃ adjustable
Freezing shelf’s operating temperature
-40℃~40℃
Defrost
Manual defrosting; automatic defrosting
Minimum reaching temperature
of semiconductor rapid cooling area
-60℃(+5℃)
Number of common freezing points
Number of semiconductor fast cooling points
Refrigerant
18
2
R449A/400g±5g
Cooling capacity 690W
Refrigerant and compressor oil should only be replaced by qualified authorized service personnel!

Dakewe(Shenzhen)Medical Equipment Co,. Ltd 16 V4.1
4. First Installation
4.1 Installation Requirements
Room temperature is always between +5°C and +35°C.
Relative humidity is up to 60% without condensation.
The instrument is for indoor use only.
There shall be enough space around the hand wheel for easy operation.
For smooth operation, make sure that there are no other instruments that can cause vibration
near the microtome.
When placing the instrument, it must be fixed with the feet so as to avoid instability of the
instrument to affect the quality of the sections.
Avoid vibration, direct sunlight, and sudden temperature changes.
The installation site must be well ventilated, and no fire source is allowed.
4.2 Unpacking Tools
1. Electric screwdriver 2. Adjustable wrench 3. Utility knife 4. Allen wrench
Always wear protective gloves for installation and removal to avoid cuts.
Before unpacking, check whether the fasteners on the packing container are complete, and
whether the appearance is damaged or deformed. If the above situation occurs, mark it on
the delivery documents and check whether the goods are damaged.
Figure 4 Tools for unpacking

Dakewe(Shenzhen)Medical Equipment Co,. Ltd 17 V4.1
4.3 Unpacking
1. Wooden box: The front and direction indicator of the packing container is on the box
(Figure 5-1).
2. Remove the upper board and the top foam: When disassembling, Use the M8 open-end
wrench or the movable open-end wrench to unscrew the 8 screws on the top of the wooden
box, then to remove the upper board and remove the top foam (Figure 5-2).
3. Remove four side planks and surrounding foam: Use the M8 open-end wrench or the
movable open-end wrench to unscrew the remaining screws of the wooden box, remove
the four side planks and the surrounding foam, and remove the wrapped packaging film to
move the carton with the accessories to the ground. Place it smoothly (Figure 5-3).
4. Placing it on the ground, then rotate the left and right foot cups counterclockwise, and push
the device (roller rolling) to the installation position.
The wooden box can be reused. Do not throw away it after unpacking and keep it in a safe place.
Check the received parts with the configuration list and order to confirm whether the delivery is
complete! If any discrepancies are found, contact your local Dakewe sales office immediately.
Figure 5 The procedure of unpacking

Dakewe(Shenzhen)Medical Equipment Co,. Ltd 18 V4.1
4.4 Accessory Installation
4.4.1 Hand Wheel Installation
Use the 6mm Allen wrench to loosen the fastening screw that comes with the hand wheel
fixed pin (Figure 6-1).
Insert the hand wheel in alignment with the fixed pin: The positioning pin shaft shall
correspond to the pin hole of the hand wheel (Figure 6-1).
Then use the Ф6 Allen wrench to lock the fastening screw (Figure 6-3).
After tightening, rotate the hand wheel in the direction of the arrow to observe that the
universal specimen clamp in the freezing chamber shall move along with it.
Place the hand wheel handle at the highest position, push the hand wheel lock lever into the
bottom of the hand wheel groove. If it is not locked, turn the hand wheel slightly until the
locking mechanism engages. The hand wheel can only be locked at the highest and lowest
position and the rest of the position cannot be locked.
Hand wheel unlock: reversely push the hand wheel lock lever.
Hand wheel fastening screw
Hand wheel positioning pin shaft
Hand wheel lock lever
Hand wheel positioning pin hole
Ф6 Allen wrench
Figure 6 The procedure of hand wheel installation

Dakewe(Shenzhen)Medical Equipment Co,. Ltd 19 V4.1
4.4.2 Hand Wheel Block Installation
Take the hand wheel block out of the accessory box.
Remove the 3M back adhesive layer of the block by hand (Figure 7-1).
Fit the block into the fastening screw hole on the hand wheel (Figure 7-2).
4.4.3 Unlock the Instrument Cover
The cover should be locked and cannot be opened when the instrument is shipped and in
normal operation.
Use the M5 Allen key to loosen the two top cover fixing screws (Figure 8-1).
After the screw is completely loose, flip up the top cover to unlock.
Upper cover fixing screw position
Figure 7 The procedure of hand wheel block installation
Figure 8 The picture of upper cover fixing screw position
The top cover can be opened by loosening the screw for 5~8 cycles, and the screw does not have to
be taken out. When the top cover is locked, it is also tightened for 5~8 cycles. Make sure that the
screw can support the top cover properly. Continue to tighten the screw, which will cause the top
cover to deform or even rupture.

Dakewe(Shenzhen)Medical Equipment Co,. Ltd 20 V4.1
4.4.4 Fixed Card Core
In order to prevent the bumpy transportation from affecting the accuracy of the slicer, the chuck
core is supported by the pearl cotton block. After the whole machine is placed in place, lock the
handwheel at the highest position, buckle the bottom of the supporting EVA cotton, and take out the
EVA cotton. The chuck core can move up and down normally.
4.4.5 Waste Trough Installation
Place the waste trough in the body of the universal specimen clamp in the direction of the
illustration (Figure 10)
Figure 9 The picture of card core fixing
Figure 10 The picture of waste trough
Table of contents
Other DAKEWE Medical Equipment manuals
Popular Medical Equipment manuals by other brands

Buffalo filter
Buffalo filter Porta PlumeSafe 604 Operator's manual

bort medical
bort medical Stabilo quick guide

Brainlab
Brainlab Novalis 600N reference guide

Ultimate Healthcare
Ultimate Healthcare Heritage II Bariatric user manual

Omron
Omron H-CR24 Instructions for use

Arthrex
Arthrex AR-1627-01 Instructions for use