Dali HRYXJ-F5 User manual

HRYXJ-F5
Thermal Infrared Imager For Fire Protection
User Manual
Zhejiang Dali Technology Co., Ltd.

Warning!
In a dark and smoky environment, firemen can utilize the functions of HRYXJ-F5 thermal infrared imager for fire protection (hereinafter
referred to as F5) to the fullest to make a better judgment about such harsh environment and take actions in a more efficient way. Users
must read and understand the following information carefully; otherwise serious injury or death may be caused!
• Prior to use of F5, users must have professional trainings and have sufficient understanding on F5’s characteristics and the correct
method of application. Prior to use of F5 in a real emergency, a live fire drill is recommended; otherwise, serious personal injury or even
death may be caused during an emergency.
• F5 is a complicated optoelectronic device, so it is likely that a user may experience operational failure or disorientation during emergency,
just like what may happen when he/she uses other optical or electronic devices. Therefore, the thermal infrared imager shouldn’t be used
as the only navigation device in a dark and smoky environment; otherwise serious consequences may be caused.
• In a high-temperature environment, the device must be operated strictly in accordance with the operational procedures; otherwise
damage of the device, or personal injury or even death may be caused.
• Almost all electronic devices stop running at a certain high temperature. Tests on F5 show that when its surface temperature is
maintained at 80°C, it can provide thermal images for 30 minutes; when its surface temperature is maintained at 120°C, it can provide
thermal images for 10 minutes; when its surface temperature is maintained at 260°C, it can provide thermal images for 5 minutes. If
surface temperature of the device exceeds 260°C, it can be damaged and thus can no longer provide any thermal image.
• Use of F5 for providing thermal images of glass, water or any article with a smooth surface is not recommended because thermal images
provided under such circumstances may lead to hallucination or confusion of users.
• F5 isn’t defined as an “Intrinsically Safe” device. Do not use the device in any environment with a risk of explosion.
• Prior to entry into a dangerous environment, system testing must be performed as required in order to ensure normal operation and
functionality of the device. After use, the device must be inspected in order to determine whether any repair or maintenance is necessary
or whether the device is damaged or should be degraded.
• Long-time exposure of the device to a high temperature may result in performance degradation or loss of thermal image. Overexposure
of the device or exposure of the device to a high temperature exceeding its design limits must be avoided; otherwise, thermal saturation
will be caused. In case of thermal saturation of thermal images, please remove the device from high temperature in order to regain
normal thermal images; otherwise the device will be damaged.
• Service life of the device is related to number of times of use and service environment. Service life of the device varies depending on
number of times of use and service environment. Use of the device in an extreme environment may result in a different service life.
• When the device is used at a relatively low temperature, service time of battery may be slightly reduced.
• When a user detects a low-voltage warning concerning battery in a dangerous environment, it is necessary to evacuate from the site
through any emergency exit immediately; otherwise the device may stop working and thus causes serious consequences.
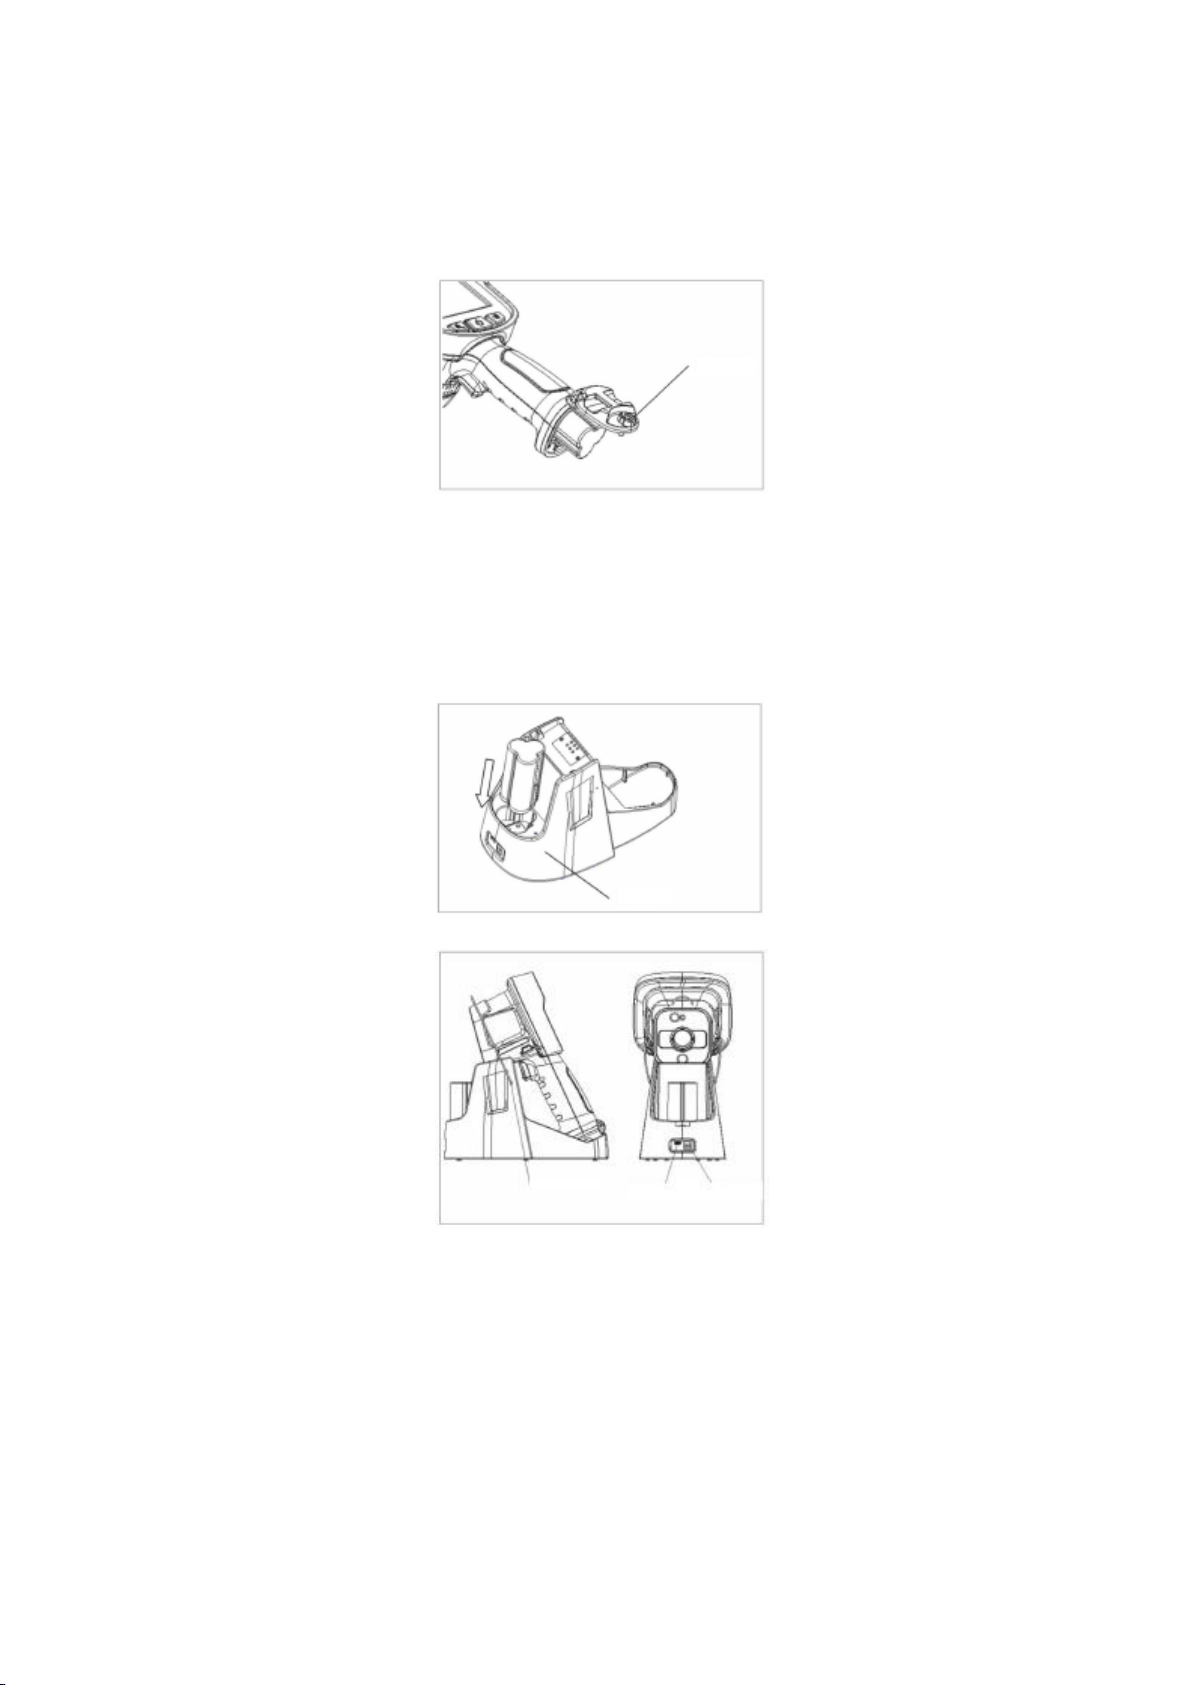
• The device’s battery is designed and made based on accurate calculation conducted by this company, so any replacement battery must
be configured based on the original battery configuration. Use of unauthorized battery will lead to system damage.
• This device can be maintained by authorized professional technicians only. Please do not disassemble the housing or the shield.
• Please do not connect the two battery poles directly or place the battery in any moist place that may lead to electric conduction. Short
circuit may have an impact on battery service life.
Failure to follow the above instructions may lead to serious personal injury or even death.

1 Introduction
Thank you very much for choosing HRYXJ-F5 thermal infrared imager for fire protection.
HRYXJ-F5 thermal infrared imager for fire protection is specially designed for assisting firemen in search and rescue in a smoky or dark
environment with low visibility, which meets requirements of China’s public safety industry standard GA/T 635—2006 Thermal Infrared
Imager for Fire Protection.
HRYXJ-F5 thermal infrared imager for fire protection is equipped with advanced uncooled infrared focal plane detector and advanced
real-time Infrared thermal image processing circuit independently developed by this company, which can provide high-definition and
high-sensitivity thermal images. HRYXJ-F5 thermal infrared imager for fire protection has a handheld external structure with an ergonomic
design, which can be operated with one hand.
Special Note:
In accordance with requirements specified in China’s public safety industry standard GA/T 635—2006 Thermal Infrared Imager for Fire
Protection, the official model of this thermal infrared imager for fire protection is HRYXJ-F5 (hereinafter referred to as F5). (In the following,
F5 refers to HRYXJ-F5 thermal infrared imager for fire protection)

1.1 Quick Start
Please start operation as follows:
1. Prior to start of the thermal infrared imager for the first time, charge the battery for 3 hours or until the green battery status indicator
lights up.
2. Long press on the power button to turn on the thermal infrared imager.
3. Point the thermal infrared imager to the target.
4. Short press on the power button to select the appropriate detection mode.
5. Short press on the “Shoot” button to save images.
6. Place the thermal infrared imager on the charging dock and connect the charging dock to a computer with a USB cable for obtaining
images.
! Caution: In case of poor image quality or shadow, please long press on the “Zoom” button for forced zero setting.
1.2 Standard Configuration
F5 Thermal Infrared Imager
Safety Box
User Manual
Rechargeable Battery (2)
Charging Dock
USB Cable
Power Adapter (DC12V/2A)
Shoulder Strap & Hand Strap
Quality Certificate
Packing List
1.3 Optional Configurations
Rechargeable Battery
Clamp Spring for Device Fixture

2 Introduction to Thermal Infrared Imager
2.1 Function Buttons
[1] The “Power” Button
The power button has the following two functions.
a) The power button can be used for turning on and turning off the thermal infrared imager. Press this button for more than 3
seconds to turn on/turn off the thermal infrared imager.
b) Short press on the color mark for mode switch.
! Caution: If the device is turned off, it is necessary to wait at least 10 seconds to turn on the device again in order to ensure safety
of the thermal infrared imager.
[2] The “Zoom” Button
Short press on the “Zoom” button to zoom in or zoom out (zooming factors: X2, X4). Long press the button for manual zero setting.
[3] The “Shoot” Button
Short press on the “Shoot” button to save a single frame of image; long press on the button to start shooting; short press on the
button to stop shooting.
[4] The “Trigger” Button
Short press on the button to trigger laser ranging; long press on the button to turn on/turn off WIFI hotspot.

2.2 Port and Indicator
[1] Device Contact
This contact is connected to the charging dock and is used for data transmission and charging.
[2] Indicator Light
This indicator light is used as power indicator light and charging status indicator light. After the device is turned on, the power
indicator light is green. When the charging dock is used for charging, the indicator is red during charging and turns green upon
completion of charging.

3 Screen Elements
3.1 User Interface
[1] Company logo: The logo of Dali Technology.
[2] Laser ranging display: The result of the last laser ranging can be displayed.
[3] WIFI display: The WIFI display appears after WIFI is turned on and disappears when WIFI is turned off.
[4] Compass: The compass indicates status and direction.
[5] Storage capacity display: The percentage of used storage capacity is displayed.
[6] Battery capacity display: Battery capacity is displayed.
[7] Time display: The current time is displayed (XX:XX:XX/DD/MM/YYYY). Time of shooting is displayed during shooting.
[8] Status bar display: The status bar display appears during zooming or zero setting.
[9] Point temperature measurement cursor: The central point, the highest temperature point/lowest temperature point can be
displayed.
[10] Color mark & temperature display: The color mark and the highest temperature point/lowest temperature can be displayed
at the upper/lower limit of the color mark.
[11] Color mark name: Users may select among 6 modes, including black hot, white hot, fire protection, iron red, firefighting and
search & rescue.
[12] Point temperature display: The temperature value at the central point can be displayed.
[13] Shooting status indication: An indication is displayed when shooting starts.
3.2 Battery Status Description
Battery status displays in various time periods are shown in the following figure:
When the percentage of battery capacity is less than 5%, the battery icon starts to flash, alerting the operator about automatic shutdown
that will happen after about 1 minute of flashing.

4 Basic Operation
4.1 Battery Installation & Removal
To remove the battery, unscrew the
battery knob firstly (a one-yuan coin or
other tools with the same thickness may
be used) and then open the battery cover
to remove the battery. To install the
battery, place the battery into the device
with the metal contact facing the inside of
the device, then close the battery cover
and tighten the battery knob. (There is a
waterproof pad inside the battery cover,
so the battery knob must be tightened to
ensure sealing)
! Caution: Standard battery should be
used; otherwise the mechanical or
electrical performance of the device may
be damaged due to incorrect battery size
and voltage.
4.2 Battery Charging
Prior to battery charging, the indicator light
is green after the charging dock is
connected to the power adapter. The
battery should be inserted into the
charging port in the direction shown in the
figure, after which the indicator light turns
red. When the battery is fully charged, the
indicator light turns green.
4.3 Device Charging & Data Transmission
The device may be placed directly on the
charging dock for charging or data export.
When power is turned on, the indicator
light is red, indicating that the battery is
being charged. When the indicator light
turns green, the battery is fully charged.
When data needs to be exported, the
device should be powered on. A standard
USB cable should be used to connect the
USB port of the charging dock to the USB
port of a computer to export the images
stored in the device to the computer.
! Caution: After the device is placed on
the charging dock, it is necessary to avoid
touching or shaking, so as to avoid
interruption of data transmission or even
data loss due to poor contact. For reliable
fixation, an optional clamp spring for
device fixture may be used to secure the
device as shown in the figure.
Battery Knob
Indicator Light
Clamp Spring
for Device
USB Port
Power Port

General Instructions on Safe Battery Use
1. The battery should be stored at an ambient temperature of -20 °C to 20 °C, because the battery has a small amount of self-discharge
during storage. In order to avoid any impact on battery capacity due to possible over-discharge of the battery during storage, the battery
should be fully charged when being put into storage and then be charged at regular intervals. The following intervals should be adopted:
When the ambient temperature ranges from -20 °C to 20 °C, the battery should be charged once every 6 months;
When the ambient temperature ranges from 20℃ to 45℃, the battery should be charged once every 3 months;
When the ambient temperature ranges from 45℃ to 60℃, the battery should be charged once every 1 months;
The battery must be charged to greater than 50% of its capacity for every time of charging.
2. The ambient temperature during charging should range from 0 °C to 40 °C. When the ambient temperature is 0 °C, charging may
cause battery capacity loss. When the ambient temperature is greater than 40 °C, charging may cause the battery temperature to get too
high and thus causes damage.
3. Cautions for Battery Use:
• Do not disassemble, squeeze or poke the battery;
• Do not cause short circuit of the external contact of the battery;
• Do not place the battery in fire or water;
• Do not place the battery within the reach of children;
• Dispose of any used battery in accordance with local government regulations.
4.4 Turning on and Turning off the Thermal Infrared Imager
Long press on the “Power” button for more than 3 seconds to turn on/turn off the thermal Infrared Imager.

4.5 Selection among Color Mark Modes
The thermal infrared imager has six different color mark modes. Short press on the “Power” button to switch among color mark modes.
4.5.1 The Iron Red Mode
The iron red mode is the default mode of
the thermal infrared imager. This is a
versatile model for initial firefighting,
including life-saving work, fire control and
electrical equipment overhaul.
4.5.2 The Black/White Firefighting Mode
The black/white firefighting mode is a
standardized firefighting mode based on
the basic mode. This is a versatile model
for initial firefighting, including life-saving
work and fire control. This mode is
designed for fire services that don’t need
the thermal tinting function. The black hot
mode and the white hot mode are
available.
4.5.3 The Fire Protection Mode
The fire protection mode is optimized for
searching for hot spots during a thorough
inspection after a fire is extinguished.
Such inspection usually aims to ensure
that there is no residual fire risk. This
mode can also be used for finding thermal
patterns (such as signs of people in the
car seats after an accident), so as to
ensure that everyone can be found. This
mode can also be used to search for
people in water and in open spaces.

4.5.4 The Firefighting Mode
The firefighting mode is similar to the
basic mode; however, the thermal tinting
mode is characterized by a higher starting
temperature. This mode is suitable for fire
scenes with relatively high background
temperatures, especially for a fire scene
characterized by a large number of open
flames and a high-temperature
background.
4.5.5 The Search & Rescue Mode
The search & rescue mode is optimized
for search and rescue of people on the
ground, in buildings or on traffic accident
scenes, which can maintain a high
contrast of infrared images.
4.6 Direct Temperature Measurement
The thermal infrared imager allows the
operator to view the temperature at the
central point of the screen and the lowest
temperature and the highest temperature
on the screen. The reading of the central
point is displayed in the upper left corner
of the screen. The upper limit of the color
mark is the highest temperature on the
screen, and the lower limit of the color
mark is the lowest temperature on the
screen. The system is designed to allow
the operator to detect possible hazards
(such as high-temperature gas bottle or
gas canister) or thermal signals from
people or objects and conduct
temperature comparison.
The central point - The target temperature corresponding to the central point of the screen can be displayed.
The lowest temperature point - The lowest temperature point on the screen can be displayed at the lower limit of the color mark.
The local temperature point - The highest temperature point on the screen can be displayed at the upper limit of the color mark.

4.7 The Zooming Function
Short press on the “Zoom” button to zoom in or zoom out. The zooming factor X2/X4 will appear at the status display bar in the upper
right corner of the screen.
4.8 Laser Ranging
Short press on the “Trigger” button to trigger the laser ranging function. The distance value will be displayed in the upper left corner
of the screen.
! Cautions:
1. The object to be measured is perpendicular to the laser preferably; the inclination (β) of the object to be measured can be up to
75°;
2. The object to be measured has a color with a higher reflectance of light colors (white) preferably; the higher the reflectance, the
farther the distance that can be measured by the range finder. The reflection effect of black objects is the poorest and the
measurement distance is thus the shortest;
3. The darker the working environment, the better the effect (the best effect can be realized at night). Strong light affects the distance
of the device and has no impact on parameters of the device, such as accuracy and stability;
4. The object to be measured should be as far as possible from surfaces of black objects, such as charcoal, tyre, and transparent
objects (colorless liquid or glass).
4.9 Compass
The compass can display N, NE, E, SE, S, SW, W or NW in accordance with the direction indicated by the thermal infrared imager, with
the pointer always pointing at north (N), which allows the operator to find direction.
Warnings:
The accuracy of the magnetic compass depends on proper calibration and isolation from external magnetic interference. Possible causes
of magnetic interference include, but are not limited to, soft iron structure and electronic device. The compass can only be used as an
auxiliary tool and should not be used as the primary means of navigation.

4.10 The WiFi Function
Long press on the “Trigger” button to trigger the WiFi function, and the WiFi symbol can be displayed on the screen. The operator may
access the thermal infrared imager via a wireless device such as mobile app to view the images displayed on the screen.
4.11 Saving Images
Short press on the “Shooting” button to save a single frame image. After successful saving, “Image Saved Successfully” is displayed on
the screen. Images are stored in the thermal infrared imager in the format of “.jpg”.
4.12 Video Shooting
Long press on the “Shoot” button to start shooting. A flashing circle in the upper right corner of the screen indicates that the thermal
infrared imager is shooting a video clip. Short press on the “Shoot” button to stop shooting. Images are stored in the thermal infrared
imager in the format of “.avi”.
4.13 Exporting Images
You may connect the thermal infrared imager in the power-on state to a computer with a USB cable via the charging dock. After successful
connection, you can export the images stored in the thermal infrared imager to your computer.

5 Technical Specifications
Item
Technical Specifications
Optical Data Detector
(Sensor)
Type
Uncooled focal plane micro-heat type
Resolution Ratio
384*288
Pixel Size
17um
Spectral Response
8~14um
Thermal Sensitivity (NETD)
≤60mK
Frame Frequency (Refresh Rate)
50/60HZ
Optical Data Lens
Angle of View Field
49.2°*36.3°
Focusing Range
0.5m -∞
Optical Data Display
Display
4.3” TFT color LCD display, resolution 800*480
Color Mark Mode
Black hot, white hot, fire protection, iron red, firefighting, search & rescue
Image Adjustment
Automatic
Image Performance
Spatial Resolution
2.58mrad
Image Processing
The dual-band image fusion technology
Digital Zooming
2x, 4x
Image Storage
Memory
Built-in 32G memory
Video Shooting
Yes, the format of “AVI” is available
Image Storage
Yes, the format of “JPEG” is available
Measurement
Temperature Measurement Range
From -20°C to +1200°C, automatic shift
Temperature Measurement Accuracy
±10°C or ±10% of the measured value, which is greater
Temperature Measurement Modes
The central point, the highest temperature point, the lowest temperature point
Temperature Measurement Correction
Automatic/Manual Zero Setting
Power Supply System
(Electrical Data)
Battery Type
Rechargeable lithium battery
Working Time of Battery
More than 4 hours
Battery Charging Time
The battery can be fully charged within 3 hours
Power Supply Management
Automatic power-off/automatic sleep
Physical Properties
(Mechanical Data)
Overall Dimension
W145*D125*H270mm
Total Weight
≤1.3Kg (battery included)
Logo on Housing
Fluorescent reflective strip
Other Configuration
Compass
Yes
Laser Ranging
Yes
WiFi
The built-in WiFi module can transmit wireless video
Data Interface
USB type C for image/video transmission
Environmental
Parameters
(Environmental Data)
Operating Temperature (Thermal
Conditions)
-10°C to +50°C. The device can keep running for 30 minutes at 80 °C. The device can keep running for 10 minutes at +120°C or
for 5 minutes at +260°C.
Storage Temperature
From -30°C to +60°C
Humidity & Temperature
The device can keep running for 2 hours at 40°C and 85% RH
Level of Protection
IP67
Vibration
2.5g, IEC60068-2-6
Impact
25g, IEC60068-2-29
Falling
2m
Safety Requirements
(Compliance Data)
Performance
This device conforms to GA/T 635—2006 Thermal Infrared Imager for Fire Protection
Safety
GB4943.1-2011
EMC
This device is CE certified
RoHS
Compliance
Laser
IEC60825-1-2014

6 Countermeasures for Common Malfunctions
In case of any problem with your thermal infrared imager, please use the following table for troubleshooting. If the problem cannot be
resolved, please disconnect the power supply and contact our maintenance department.
Symptoms
Causes & Solutions
The thermal infrared imager cannot be turned on.
The battery isn’t installed or incorrectly installed.
→Install or reinstall the battery.
The battery power is exhausted.
→Replace the battery.
The thermal infrared imager is powered off for protection.
→Wait 5 seconds and restart the device.
Automatic power-off of the thermal infrared imager
The battery power is exhausted.
→Replace the battery.
Battery power drains too fast
The ambient temperature is too low.
The rechargeable battery isn’t fully charged.
→Recharge the rechargeable battery.
The rechargeable battery power is exhausted and the battery can no longer be charged.
→Replace it with a new rechargeable battery.
Table of contents
Other Dali Thermal Camera manuals
Popular Thermal Camera manuals by other brands

SUN CREATIVE
SUN CREATIVE ZS-H350 user manual

OEM Tools
OEM Tools 24552 Operating instructions and parts manual

HIK VISION
HIK VISION DS-2TD5537T-7/W quick start guide

HIK VISION
HIK VISION Performance Series Configuration guide

ISAFE MOBILE
ISAFE MOBILE IS-TC1A.M1 operating manual

Unit
Unit UTi712S user manual

Intellisystem
Intellisystem ThermalTronix TT-1007D MARINE user manual

Chauvin Arnoux
Chauvin Arnoux DiaCAm 2 CA 1900 user manual

TESTO
TESTO 875i Brief instructions

Kusam-meco
Kusam-meco TG-301 Operation manual

OmniSense
OmniSense Ulysses mini user manual

ARTRAY
ARTRAY ARTCAM-L1024TNIR Series Instruction booklet