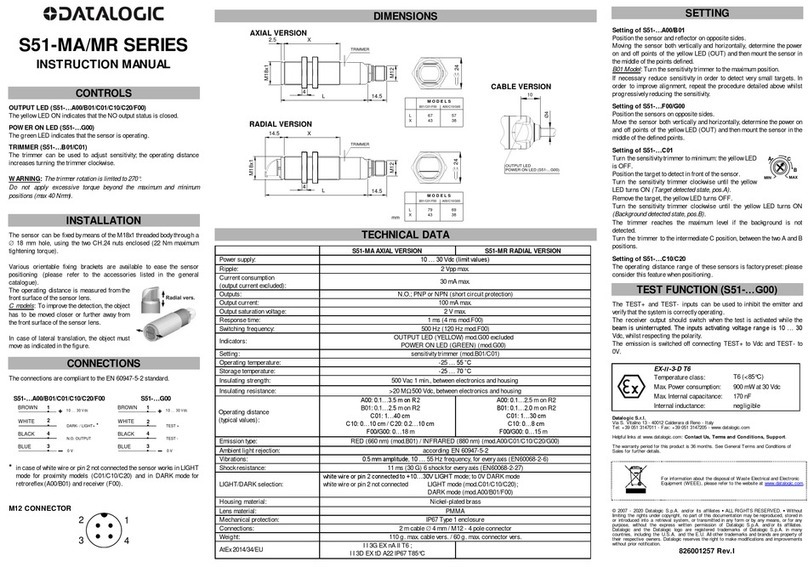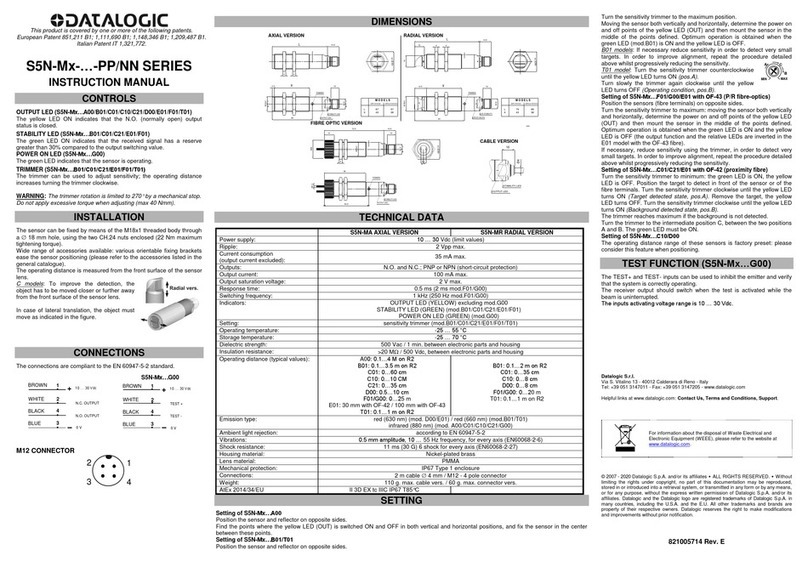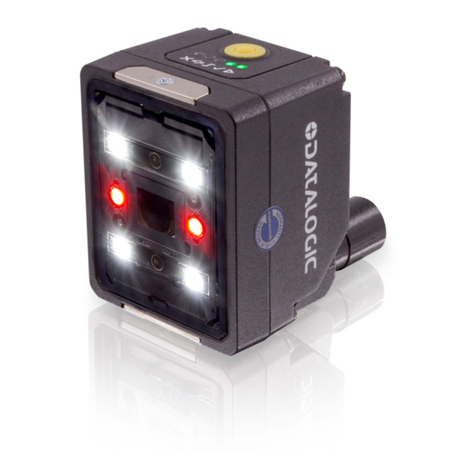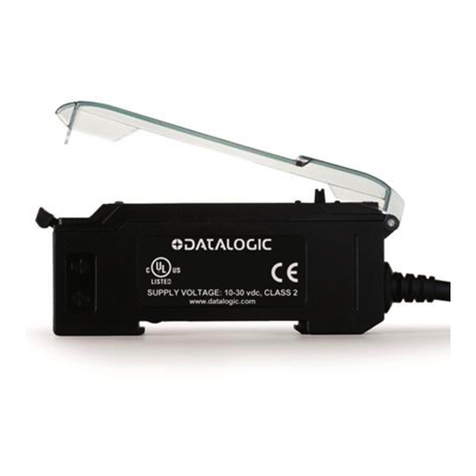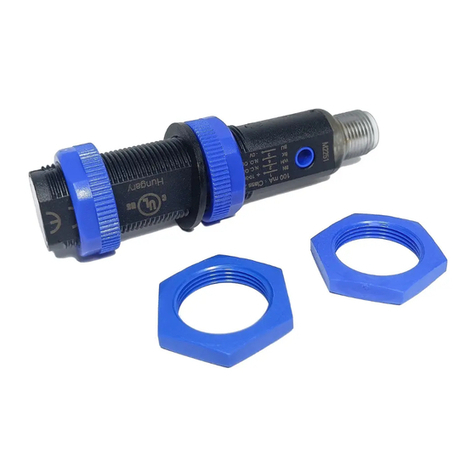
SRX3
Ultrasonic Fork Clear Label
Static or Dynamic teach with Remote in
INSTRUCTION MANUAL
The forked ultrasonic sensor for label detection works by the difference of
material width inside the sensible area.
The sensor is able to detect paper, plastic (transparent type too) and metallic
label on paper, plastic and metallic support tapes.
CONTROLS
STATUS LED (YELLOW)
The yellow LED ON indicates output activation.
MODE LED (GREEN)
In working mode, the green LED MODE is on.
The MODE LED shows the phases of the calibration and NO/NC toggling
procedures (see the following chart).
The MODE LED is quickly blinks in three conditions:
1- if the sensor is not able to do a calibration,
2- if the SET push-button or the REMOTE input are activated more than 60
sec,
3- if the sensor detects a short-circuit condition on the outputs.
To skip from the conditions 1 and 2, it is necessary to press SET or activate
REMOTE briefly, then the sensor restores the last valid calibration.
In case of condition 3, it is necessary to remove the short-circuit cause.
To start the LABEL calibration procedure press SET or activate REMOTE and
deactivate them when the MODE LED is on for the first time (1s < Tp< 4s).
To start the OFFSET regulation procedure press SET or activate REMOTE
and deactivate them when the MODE LED is off for the second time
(4s < Tp < 7s).
To toggle the NO/NC output function press SET or activate REMOTE and
deactivate them when the green LED is on for the second time
(7s < Tp< 15s).
To skip any operations, release SET or deactivate REMOTE when the green
LED is off, after 15s.
SET PUSH-BUTTON
Press SET push-button to activate acquisition.
CONNECTIONS
M12 CONNECTOR (SRX3-5-US-M12-PNH / SRX3-5-US-3-M12-PNH)
When the REMOTE wire is connected to 0V, it is as if the SET push-button was pressed.
M8 CONNECTOR
(SRX3-6-US-M8-PH / SRX3-6-US-3-M8-PH)
(SRX3-6-US-M8-PN / SRX3-6-US-3-M8-PN)
TECHNICAL DATA
Power supply: 12 … 30 VDC
reverse polarity protection
Ripple: 10 %
Consumption: < 80 mA
Output type: PNP + NPN
Output current: 250 mA max.
(short-circuit protection)
Voltage: <1.5 V @ 100
mA
Minimum pulse time: 1 ms
Detectable sizes: > 2 mm
Max. Tape speed (see note 1): 60 m/min
Tape size (see note 2): > 16 mm
Rising time: 0.8 us max
Falling time: 1.6 us max
Switching frequency: 500 Hz
Power on delay: 325 ms
Ultrasonic frequency: 300 kHz
Slot width: 3 mm
Setting: SET push-button / REMOTE input
Indicators: STATUS LED (yellow) /
MODE LED (green)
Operating temperature: 0 to 50 °C
Storage temperature: -25 to 75 °C
Humidity: 35 … 85% rH non condensing
Dielectric strength: 500 VAC, 1 min between electronic parts and
housing
Insulating resistance: >20 M, 500 VDC between electronic parts and
housing
Ambient light rejection: according to EN 60947-5-2
Vibrations: 0.5 mm amplitude, 10 … 55 Hz frequency,
for every axis (EN60068-2-6)
Shock resistance: 11 ms (30 G) 6 shocks per every axis
(EN60068-2-27)
Housing material: Aluminium
Mechanical protection: IP54
Connections: M12 or M8 connector
Dimensions: 90 x 55 x 22 mm
Weight: 300 g
NOTE 1:
The maximum sliding speed is
proportional to the size of the
short target to detect.
Example:
Speed = label gap / min. detection
time = 2 mm / (2 x 1 ms) = 1 m/s = 60
m/min
NOTE 2:
The width and the placement of the tape in the fork, must to cover always all the dashed
area drawn around the sensing point.
DYNAMIC CALIBRATION (SRX3-5-US)
The setting procedure is shown in the following table.
The calibration parameters are saved for restoring at next power-on.
STEP USER ACTION MODE LED SENSOR ACTION
1 Place the label in the fork ON In working mode
2
Press SET or activate REMOTE > 1s,
release SET or deactivate REMOTE <
4s.
OFF -
ON
Measure the SET or
REMOTE activation
times
3 Wait blinking on the LED.
ON -
Midd
Blink
Do the calibration on
the label
4 Run the tape for some labels. Midd
Blink
Search the best
working condition
5
To end and store the calibration, press
SET or activate REMOTE briefly
Midd
Blink
Measure the SET or
REMOTE activation
times.
Store the new values
To end but NOT store the calibration,
press SET or activate REMOTE up to
the LED switch off
Midd
Blink -
OFF
Measure the SET or
REMOTE activation
times.
Restore the previous
values.
6 Release the button ON Return to working
mode
STATIC CALIBRATION (SRX3-5-US-3)
The setting procedure is shown in the following table.
The calibration parameters are stored, so they are pick up at next power-on.
STEP USER ACTION MODE
LED SENSOR ACTION
1 Place the label in the fork. ON In working mode
2 Press SET or activate REMOTE > 1s,
release SET or deactivate REMOTE < 4s
OFF -
ON
Measures the press
and release times
3 Wait blinking on the LED
ON –
Midd
Blink
Do the calibration
on the label
4
To end and store the calibration, wait the
end of the blinking on the LED
Midd
Blink
- ON
Wait 3 s, it stores the
new values and
return in working
mode
To end but NOT store the calibration,
press SET or activate REMOTE briefly
within 3s
OFF -
ON
When the button is
released, restore the
previous values
OFFSET REGULATION (SRX3-5-US-3)
At the SET release or REMOTE deactivation, during the second switch off
LED MODE phase, the device enters in the manual OFFSET regulation
mode, shown by a slow blink on the MODE LED.
The OFFSET regulation is the adjustment of the threshold value used to
discriminate the signal.
In the OFFSET regulation mode the outputs and the status LED work like in
the working mode.
After 10 s of no operations on SET or REMOTE, the OFFSET manual
regulation mode is stopped.
The variations are saved, for restoring at the next power-on.
The OFFSET manual regulation mode is executed by pressing SET or
activating REMOTE. The sensor will do the first five variations at the speed of
1/sec, the second five variations at the speed of 2/sec and the next variations
at the speed of 5/sec, up to the SET or REMOTE deactivation or up to the
reaching of minimum or maximum OFFSET value.
Each OFFSET variation is shown by a blink on the green LED.
To choose the variation mode between increment or decrement of the
OFFSET value, press SET or activate REMOTE twice rapidly (double click),
in this way the sensor toggles between the two modes at each double click.
At the end of the double click the chosen mode is shown by 2 s of LED OFF
in increment mode and 2 s of LED ON in decrement mode.
At each OFFSET manual regulation startup the sensor activates the
increment mode, while the chosen mode remains activated up to the exit of
the OFFSET manual regulation procedure.
With increment mode and SET or REMOTE activation, the MODE LED is
OFF and the pulse variations are ON.
With decrement mode and SET or REMOTE activation, the MODE LED is ON
and the pulse variations are OFF.
At the end of the label calibration, the sensor has an operative threshold.
It is suggested to do:
- an OFFSET increment to increase the label position variations tolerance in
the sensing area,
- an OFFSET decrement to improve the gap detection with little sizes and
high speed tape movement.
NO – NC WORKING MODE
At the SET or REMOTE deactivation, after the second time MODE LED light
on phase, the device toggles the NO/NC function of the output and the
STATUS LED.
The NO/NC output function is saved, for the restoring at the next power on.
NO mode: outputs and STATUS LED are activated on the label.
NC mode: outputs and STATUS LED are activated with the label gap.
WORKING MODE NOTE
For the correct label detections, the tape must be taut and on the carriage, in
calibration and working mode.
Press SET or activate REMOTE at the power on for more than 3 s to restore
the default working condition (calibration for transparent tape and label and
NO output mode), release SET or deactivate REMOTE during the double
blink phase on the MODE LED.
DIMENSIONS
Dimensions in mm
A Fixing Slot Ø 4.5 mm
B Working point reference
C Allen screw Ø 3 for labels carriage
AVAILABLE MODELS
Model Description Order No.
SRX3-5-US-M12-PNH
Ultrasonic Fork Clear Label - Dynamic
teach with remote in PNP+NPN NO
M12 connector
953171000
SRX3-6-US-M8-PH
Ultrasonic Fork Clear Label - Dynamic
teach with remote in PNP
M8 connector
953171020
SRX3-6-US-M8-PN
Ultrasonic Fork Clear Label - Dynamic
teach PNP+NPN NO
M8 connector
953171040
SRX3-5-US-3-M12-PNH
Ultrasonic Fork Clear Label - Static
teach with remote in PNP+NPN NO
M12 connector
953171010
SRX3-6-US-3-M8-PH
Ultrasonic Fork Clear Label - Static
teach with remote in PNP
M8 connector
953171030
SRX3-6-US-3-M8-PN
Ultrasonic Fork Clear Label - Static
teach PNP+NPN NO
M8 connector
953171050
The sensors are NOT safety devices, and so MUST NOT be used in the safety control of
the machines where installed.
Datalogic S.r.l.
Via S. Vitalino 13 - 40012 Calderara di Reno - Italy
Tel: +39 051 3147011 - Fax: +39 051 3147205 - www.datalogic.com
Helpful links at www.datalogic.com: Contact Us, Terms and Conditions, Support.
The warranty period for this product is 36 months. See General Terms and Conditions of
Sales for further details.
Under current Italian and European laws, Datalogic is not obliged to take care of
product disposal at the end of its life. Datalogic recommends disposing of the
product in compliance with local laws or contacting authorised waste collection
centres.
© 2015 - 2017 Datalogic S.p.A. and/or its affiliates ALL RIGHTS RESERVED. Without limiting the
rights under copyright, no part of this documentation may be reproduced, stored in or introduced into a
retrieval system, or transmitted in any form or by any means, or for any purpose, without the express
written permission of Datalogic S.p.A. and/or its affiliates. Datalogic and the Datalogic logo are registered
trademarks of Datalogic S.p.A. in many countries, including the U.S.A. and the E.U. All other trademarks
and brands are property of their respective owners. Datalogic reserves the right to make modifications
and improvements without prior notification.
821003464 (Rev. E)
SET or
REMOTE
SET or
REMOTE
SET or
REMOTE
SET or
REMOTE
