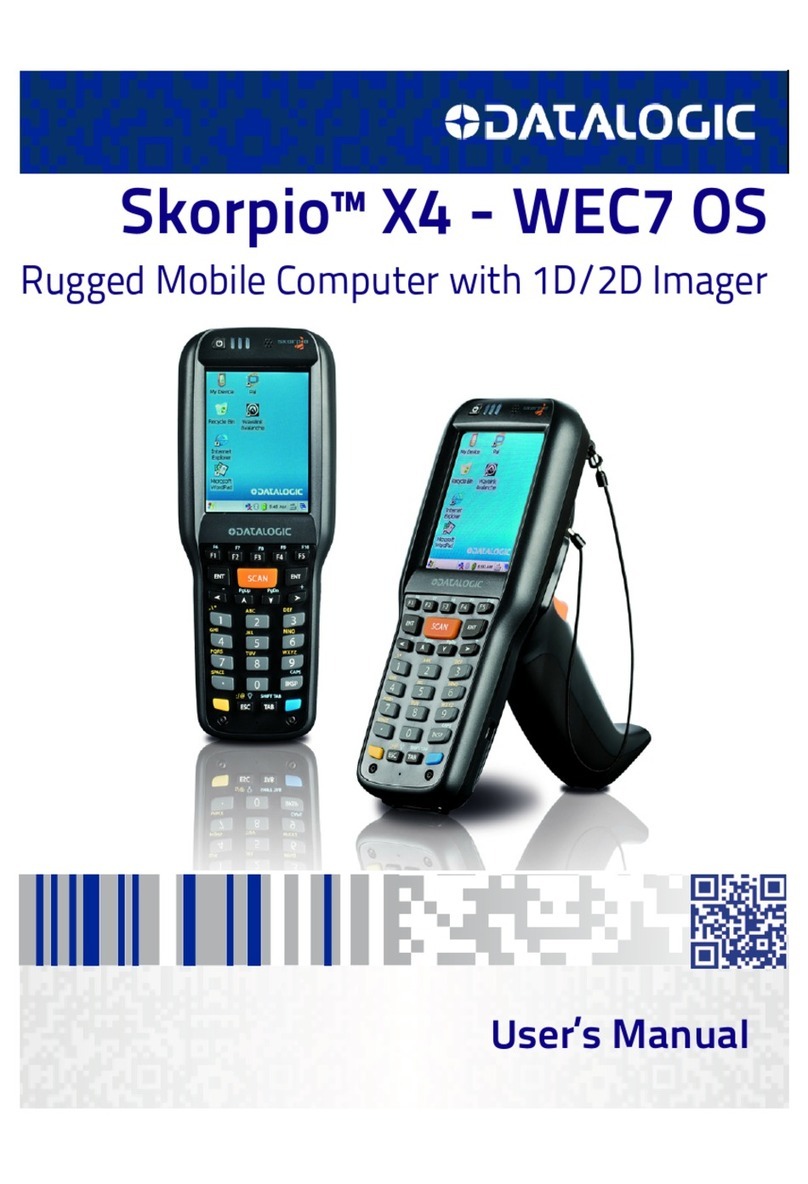
Battery Installation
Insert the battery's alignment lugs into the recesses, then press firmly
until the battery latch clicks twice:
Charging Instructions
The battery pack is not initially fully charged. After installing the battery,
charge it with the USB cable or with the single dock.
Charge with USB
You can use a standard micro USB to USB cable in conjunction with a
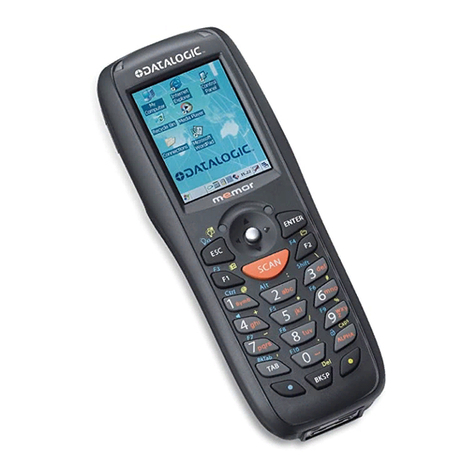
power supply adapter to charge the Skorpio X4 from a power outlet.
Charge with the Single Slot Dock
NOTE
Use only a Datalogic approved power supply.
CAUTION
Don’t insert the wall charger into the micro USB port when the
Skorpio X4 is inserted into the dock.
SD Card Installation
1. Turn off the Skorpio X4 (press the power key and waiting for device
poweroff).
2. Pull the battery latch down and remove the battery pack:
3. Shift the cardholder upwards and then pull it up:
4. Insert the microSD card with the written part upward:
5. Lock the card into place by pushing the cardholder down and then
shifting it downwards:
6. Insert the battery's alignment lugs into the recesses, then press firmly
until the battery latch clicks twice:
Synchronise your Device with the PC*
Set up Synchronisation using Windows Mobile®
Device Center
Windows Mobile® Device Center can be from Microsoft
website www.microsoft.com. It is only compatible with Windows Vista
and Windows 7; if you run Windows XP or earlier, you have to download
Microsoft ActiveSync.
You can establish a connection to your Skorpio X4 through the following
interfaces:
• USB either directly or through the Single Dock
• RS232 either directly or through the Single Dock
• Bluetooth®
To establish a partnership between the Skorpio X4 and a host PC, start
Windows Mobile® Device Center and follow the steps below:
1. Connect the Skorpio X4 to the host PC. Windows Mobile® Device Cen-
ter configures itself and then opens.
2. On the license agreement screen, click Accept.
3. On the Windows Mobile® Device Center’s Home screen, click Set up
your device.
4. Select the information types that you want to synchronize, then click
Next.
5. Enter a device name and click Set Up.
When you finish the setup wizard, Windows Mobile® Device Center
synchronizes the mobile computer automatically. Microsoft® Office
Outlook® emails and other information will appear on your device after
synchronization.
USB Direct Connection
USB HandyLink™ Connection
*. For Windows Embedded Compact 7 models only.
Scanning and Imaging
1D Imager Data Capture
2D Imager Data Capture
Aiming System Pattern
The following information applies to Laser Aiming System, used on Skorpio
X4 variants with 2D Imager:
Linear Bar Code
2D Matrix Symbol
