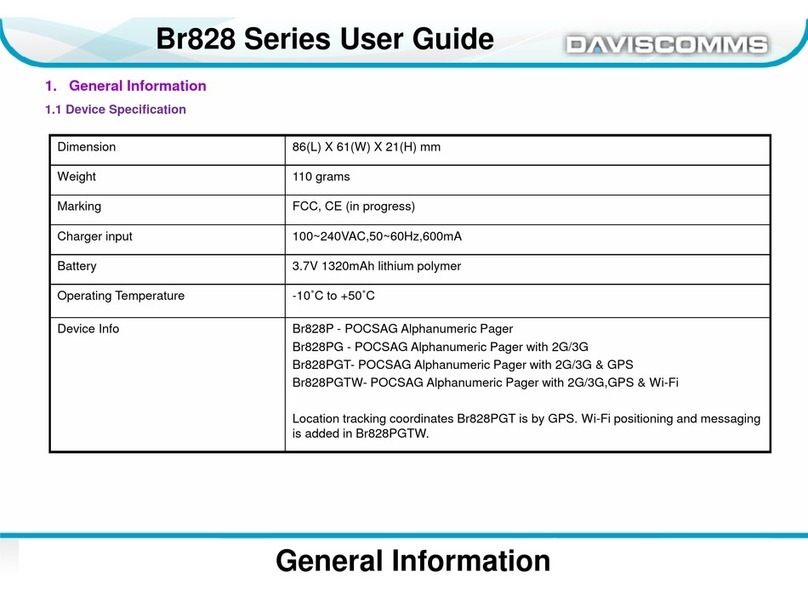
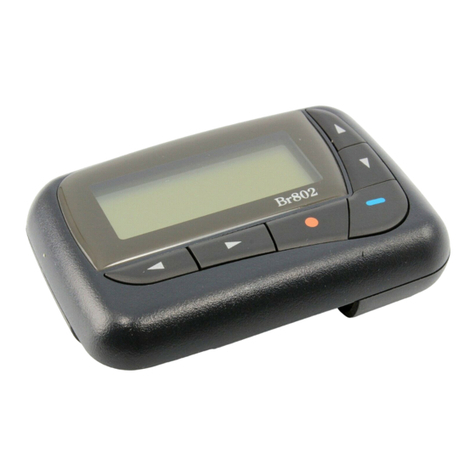
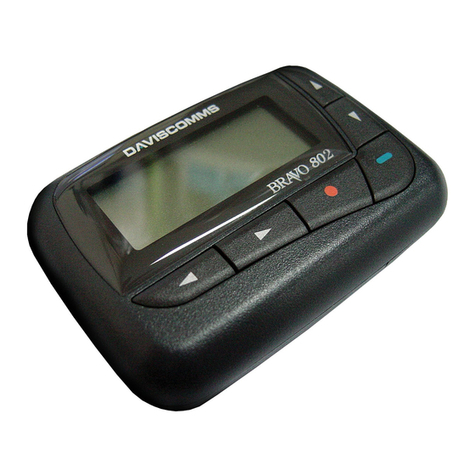
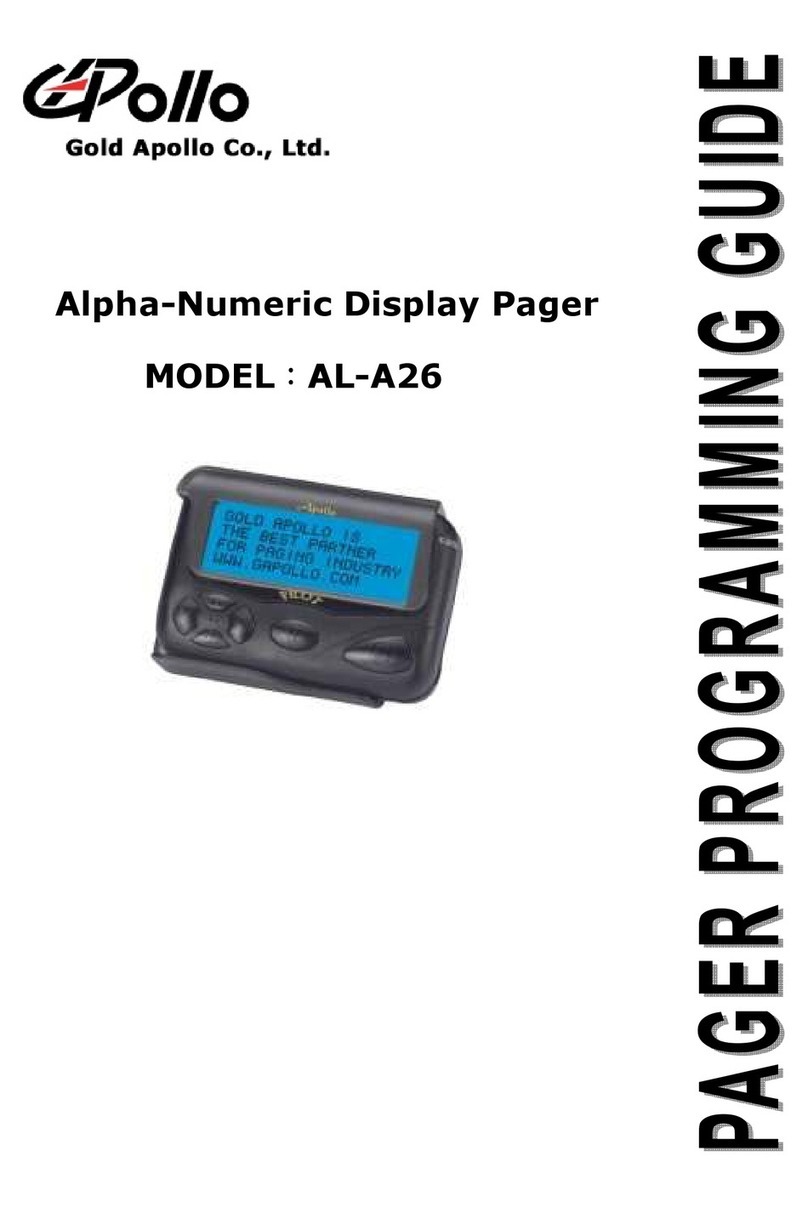
Daviscomms Br808-G User manual

DAVISCOMMS (S) PTE LTD
Block 70 Ubi Crescent #01-07 | Ubi TechPark | Singapore 408570
500326R01 User Manual
POCSAG Alphanumeric Pager
with GSM Message Acknowledgement
-G

GETTING STARTED
1.1 Device Specications
100~240VAC, 50~60Hz,
600mA
Charger Input
Rohs, FCCMarking
3.7V 1300mAh Lithium polymerBattery
220 hours depending on network
Pager and GSM
110 gramsWeight
86 (L) x 61 (W) x 21 (H) mmDimension
1
GETTING STARTED
1.2 Device Description
Speaker
2.2 inch Display
320x240 Pixels
Left Arrow
Left Soft Key
Right Arrow
Power Key
Right Soft Key
Mini-USB
Charging Digital
I/O port
Up/Down Key
Volume Control
Silent Mode
Reset Button
Status LED
Sim Card
Back Label
2
GETTING STARTED
3
1.3 Device Features
• Large TFT Color Display, 2.2 inch, 320 x 240 pixels
• Normal display: 6-line, up to 25 characters per line
• 6-button user interface
• Status LED
• Rechargeable lithium ion battery
• Message folders:
1 SMS Message Folder
2 Page Message Folder
- Personal / Group / Tone Only / Priority Page
3 News Message Folder
4 Archive Message Folder
• Up to 200 messages per folder
• Up to 500 characters per message
• Message received or read acknowledgement via SMS
• 3 individual alarms with choice of day with weekly repeat
GETTING STARTED
5
GETTING STARTED
4
1.3 Device Features
• Private time (auto pager o interval setting)
• European languages prompt (up to 7)
• GSM On / O
• Canned message reply
• Auto time and date update (GSM operator dependent)
• Message time and date stamp
• Sub-address alert tone (Only for Alert 1)
• SIM Card Lockout (Operator dependent)
• Sequential Lock Out (30s, 1m, 2m, 4m)
• Duplicate message detection
• Message retention (ash memory)
• Out-of-range indicator
• IP54 rating
• Audio and vibrate mode alerts
• Battery level indicator
1.4 Inserting and Removing SIM card
Failure to unplug the wall charger and power o the device
before inserting or removing the SIM card may cause damage to
both the SIM card and device.
CONTENTS
1. Getting Started……………1
1.1 Device Specications
1.2 Device Description
1.3 Device Features
1.4 Inserting & Removing
SIM card
1.5 Charging the Battery
1.6 Reset Button
1.7 Powering the Device
ON & OFF
1.8 Idle Screen Unlock & Soft
Keys
1.9 Shortcut Keys
1.10 Icons
2. Message…………………14
2.1 Message Type
2.2 SMS & Page Message
2.3 Reading Message
2.4 Reply, Archive & Delete
a Message
2.5 Archive Messaage
2.6 News Message
2.7 News Filter
2.8 Message Setting
3. Setting ………………...........….20
3.1 Date Setting
3.2 Time Setting
3.3 Alarm
3.4 Private Time
3.5 Language Setting
3.6 Audio & Vibrate Alert
3.7 Page Alert
3.8 Unread Page Reminder
3.9 Brightness Control
3.10 Auto Lock
4. Battery Information……….…..26
5. Health and Safety
Information…………………. . 29
6. Federal Communications
Commission (FCC) Statement…32

Screen Unlock in Idle mode
Press the Right Soft Key followed by the Left Arrow
Key then Right Arrow Key/Power Key to unlock the
screen.
Left and Right Soft Key
The roles of the soft keys vary depending on the function used.
The keys below select the function desired when pressed.
GETTING STARTED
7
GETTING STARTED
8
GETTING STARTED
6
GETTING STARTED
9
Inserting SIM Card
SIM Card
1. Unscrew the SIM card cover located at the
side of the device.
2. Peel open SIM card cover.
3. Insert SIM card into the SIM card slot with
the Orientation shown. Push and release
only when a “click”sound is heard.
A small tool (paper clip) may help in pushing
in the SIM card.
GETTING STARTED
10
1. Push in the SIM card and release when a
“click” sound is heard.
2. Pull out the SIM card.
Removing SIM Card
1.7 Powering the Device On & O 1.8 Idle Screen Unlock & Soft Keys
To Power ON
- Press and hold the Right/Power key for 2 seconds,
release and the device will power on with a screen that show the
word “Initializing”.
The device will show the main screen once start up completes.
To Power OFF
- Press and hold the Right/Power key for 2 seconds,
release and a conrmation prompt will appear.
- Select <Yes> to power o the device.
GETTING STARTED
Yes No
Power Off ?
11
Left Soft Key
Menu
07:35
PM
WED 28/12/11
MessageMessage
Daviscomms
Right Soft Key
1.5 Charging the Battery
1. Plug the USB cable into the charger or to a
computer USB port.
2. Insert the Charger into your wall power
outlet
3. Peel open the USB cover from the end.
4. Plug the other end of the USB cable into
the device.
LED Status:
- Red: Battery charging
- Green: Battery fully charged
Reset Button
Sharp tool,
eg pen, pencil or pin.
1.6 Reset Button
- Press to reset the device.

GETTING STARTED
12
GETTING STARTED
1.10 Icons
Main Screen Icons
GSM
Paging
Audio
Alarm
New Message
Battery Gauge
registered
hospital mode
private time active
in range
audio only
silent
alarm active
3/4 fullfull
low
charging 2/4
charged
audio &
vibration vibration
only
not
registered not
operational
out of
range not
operational
13
MESSAGE
16
MESSAGE
2.5 Archive Message (For Page Message Only)
User can archive a message and it will be moved to the Archive
message folder. If the Archive message folder is full, it will display
‘archive folder full’. The user will have to remove unwanted
messages from the archive folder to make way for new ones
2.6 News Message (For Page Message Only)
“News”are page messages that are broadcast periodically and
meant for all pagers. Examples of “news”messages are weather,
trac, etc. 17
2.4 Reply, Archive & Delete a Message
2.3 Reading Message
- Select <OPTION> in the Message Screen to choose <REPLY>,
<ARCHIVE> or <DELETE>
- Select <OPTION> in the Message Archive Screen to choose
<DELETE>
A SMS reply can be sent in response to a page message. A list
of canned reply messages can be chose from Message Option.
- Press <Reply> in the Message Option to select canned reply
- Press < > to choose and press <Select> to conrm
If GSM is in hospital mode or not registered, the canned reply
function will not be allowed
- Press <1 Unread> on the Main Screen to read message
- Press < > in the Message Screen to scroll up and down the
page
- Press < > in the Message Screen to turn to next page or
previous page
The device can switch to silent very quickly by holding the down
arrow key. All previous audio and vibrate will be turned o. If the
device is already in silent mode, then the quick silent toggle will
not make any dierence. Holding the up arrow key will revert
back to the previous audio/vibrate mode.
1 Unread1 Unread
message received
1/4 full
2/4 full
fully
charged
Message Inbox Icons
Message List unread message read message
Pe
Pe
Note: Pe indicate which capcode it received.
Canned Reply (Manual Acknowledgement)
Hospital Mode Shortcut
- Press and hold the Left Soft Key for 2 seconds to switch to
hospital mode in Main Screen.
- In Audio + Vibrate, Press and hold the Down Key to switch
to Vibrate Only in Main Screen.
- In Audio Only, Press and hold the Down Key to switch to
Silent mode in Main Screen.
- Press and hold the Up Key to switch to Normal mode
or in Main Screen.
1.9 Shortcut Keys
14 15
MESSAGE
2.1 Message Type
It will have 4 folders for the messages
• SMS message folder - all SMS messages will go into this folder.
• Page message folder – all page messages will go into this folder.
• News message folder – all news messages will go into this folder.
• Archive message folder – any message from Page & News
message can be (manually) archive into this folder.
For Page Message Only
The device will only receive page from the pre-dened CAPCODES
and recognize the following message types
• Page messages – a page intended for a single pager or group
of pagers
• News message – broadcast of news and meant for all pagers
turn on the status LED (for 5 seconds). These messages will go
into the SMS or page message folder. If the message folder is full,
the oldest message will be removed to make way for new messages.
The new message will automatically be displayed on screen. Any
key press will be treated as reading the message and it will no
longer be treated as a new and unread message. If there is no key
press after the screen timeout, it will go back to idle screen and this
message is counted as an unread message.
If new messages come in successively, the latest page message will
be displayed and the earlier ones will be treated as unread page
messages.
When a new message is received, the device will sound alert and
MESSAGE
2.2 SMS & Page Message
Message
1 Unread1 Unread
Main
EAM !
(Emergencncy Action Message)!
Defcon 2
To report back to camp
1 Unread
message
Note: oA reminder alert at 5 minute intervals for unread messages when alert
mode is set to audio or vibrate.
oArchive is for Page message only.
Silent Mode Shortcut
1 Unread1 Unread
Main
SMS - EAM !
(Emergencncy Action Message)!
Defcon 2
To report back to camp
Pop out box for
new message
SMS message Page message

Clock
The device has 4 audio alert settings. They are:
• Audio + vibration
• Audio only
• Vibrate only
• Silent
Every Capcode can have its own alert and alert length. For News
alert, it only can have short beeps.
3.6 Audio and Vibrate Alert
3.7 Page Alert
3.1 Date Setting
The device will have a real time clock that can be set by the user.
In addition, if the GSM module is present, the device will attempt
to obtain the clock and time zone information from the GSM
signal.
Three independent alarm clocks are available. Each alarm clock
can be congured to run once only or to be repeated weekly.
User can have choice of day of week for the alarm to repeat in, e.g.
dierent time for weekdays and weekends
The device can set private time where the pager will automatically
be set to silent. E.g. private time from 7pm to 6am. When private
time is active, pages will still be received but there will be no
audio/vibrate notication, and no unread reminders. New
incoming page will still display on the screen for duration of
screen timeout.
Exceptions are priority pages (set at capcode level). These pages
will ignore private time and alert as per normal.
The language can be selected at the device. In addition the
European character mapping for the paging will also be activated
according to the language setting.
- Select MENU>CLOCK>DATE SETTING> Set date value
- Press < > Set date format
- Press < > Select day, month or year
- Press < > Select date value
Choose <Back> to set.
- Press < > Set audio, vibrate, silent mode
Choose <Select> to set.
3.2 Time Setting
- Select MENU>CLOCK>TIME SETTING> Set hour value
- Press < > Set time format
- Press < > Select hour or minute (Select am/pm for 12 Hours)
- Press < > Select time value
Choose <Back> to set.
3.3 Alarm
- Select MENU>CLOCK>ALARM> Set hour value
- Press < > Set type of repeats
- Press < > Select hour or minute(Select am/pm for 12 Hours)
- Press < > Select time value
Choose <Back> to set.
3.4 Private Time
3.5 Language Setting
- Select MENU>CLOCK>PRIVATE TIME> Set hour value
- Press < > Set on or o
- Press < > Select hour or minute for start (Select am/pm for 12
Hours)
- Press < > Select time value
-- Press < > Select hour or minute for stop (Select am/pm for
12 Hours)
Choose <Back> to set.
20
SETTING
SETTING
21
2.8 Message Setting
2.7 News Filter (For Page Message Only)
- Select message setting for <DELETE ALL SMS MESSAGE>,
<DELETE ALL PAGE MESSAGE>, &<DELETE ALL NEWS
MESSAGES>
Note: To prevent accidental delete of message that need to be
kept, the user should archive it to the archive folder.
News can ltered out to avoid lling the news folder with
unwanted news. Filtered news will not be received by the device.
When a news is turned on, any new news will then be accepted
and start going into the news folder.
When this type of message is received, it will go into the news
message folder. User can opt to turn on alert or be silent for such
message arrives. The alert options are short beeps. There will be
no LED or vibration alert. In addition, there will be no reminder
alert for unread messages.
If the message folder is full, the oldest message will be removed
to make way for new messages.
MESSAGE
MESSAGE
18 19
Language
SETTING
22
SETTING
23
Alerts
If the pager is set to silent of vibrate only, it will not aect the
alarm clock audio alert (if set).
The device can be congured to auto-acknowledge page
messages. The acknowledgement will be sent via SMS to a
prexed number (congurable). There are 2 levels of acknowl-
edgement that can be turned on.
o Message received – an auto-acknowledgement will be sent on
receipt of the message
oMessage read – an auto-acknowledgement will be sent when
the message is read by the user.
If GSM is in hospital mode is in hospital mode , the auto-ack
message will not be sent out. Instead it will be stored in
memory, pending for the GSM to come back on. Up to 5 auto-ack
messages can be put in pending and if new auto-ack message
comes in, the oldest pending message will be pushed out. Pending
messages are stored in RAM and will not survice a power reset.
SMS Auto-Acknowledgement

Page & News Alert
3.8 Unread Page Reminder
When there are unread messages, the following audio & visual
alert will occur as a reminder.
• Unread message count will appear on the status bar.
• Orange LED short ash every 5 seconds.
• An audio/vibrate alert will sound periodically (if not on silent, or
if private time is not active).
The unread message notication will continue until there are no
more unread messaged
- Press < > Select reminder length value
Choose <Select> to set.
3.9 Brightness Control
3.10 Auto Lock
- Select MENU>DEVICE SETTING>BRIGHTNESS LEVEL> Set
brightness level for screen
Press the Up/Down Key < > to adjust the brightness.
SETTING
24
SETTING
25
26
BATTERY INFORMATION
BATTERY INFORMATION
4 Charging and discharging
Your device is powered by a rechargeable battery.
When the battery voltage drops below low battery threshold, the
device will sound low battery alert and display low battery icon.
The low battery alert will follow the setting in alert mode as
follows:
• Audio only – 3 short chirps
• Vibrate only – 3 short vibrations
• Audio and vibrate – 3 short chirps and vibrations
• Silent – No alert
The battery can be charged and discharged hundreds of times,
but it will eventually wear out. Recharge your battery only with
Daviscomms approved chargers designated for this device.
Unplug the charger from the electrical plug and the device when
not in use. Do not leave a fully charged battery connected to a
charger, since overcharging may shorten its lifetime. If left
unused, a fully charged battery will lose its charge over time. If
the battery is completely discharged, it may take several minutes 27
29
Warning:
Use only chargers and enhancements approved by Daviscomms
for use with this particular model. The use of any other types may
invalidate any approval or warranty, and may be dangerous.
For availability of approved enhancements, please check with
your dealer. When you disconnect the power cord of any
enhancement, grasp and pull the plug, not the cord.
before the charging indicator appears on the display or before any
calls can be made.
Never use any charger that is damaged. Leaving the device in hot
or cold places, such as in a closed car in summer or winter
conditions, will reduce the capacity and lifetime of the battery.
Always try to keep the battery between 15°C and 25°C (59°F and
77°F). A device with a hot or cold battery may not work temporar-
ily, even when the battery is fully charged. When battery fault is
detected, the device will display “Charging Fault” on the screen
and freeze everything else. The only way to recover from this
situation is a hardware reset or if the fault self recovers, e.g. in the
case the temperature comes down below threshold.
Do not dispose the device in a re as they may explode. Dispose of
device according to local regulations. Do not dispose as
household waste. Do not dismantle the device. In the event of a
battery leak, do not allow the liquid to come in contact with the
skin or eyes. In the event of such a leak, ush your skin or eyes
immediately with water, or seek medical help.
BATTERY INFORMATION
28
HEALTH AND SAFETY INFORMATION
5 Read these simple guidelines.
Failure to comply may be dangerous or illegal.
TURN OFF WHEN REFUELLING Do not use the
product at a refueling point. Do not use near fuel or
chemicals.
ROAD SAFETY COMES FIRST Obey all local laws. Always
free your hands to operate the vehicle while driving. Your
rst consideration while driving should be road safety.
TURN ON SAFELY Do not turn the product on when
wireless product use is prohibited or when it may cause
interference or danger.
INTERFERENCE All wireless products may be subject to
interference. Turn the product o near medical
equipment.
TURN OFF IN HOSPITALS Follow all restrictions. Turn the
product o near medical equipment.
TURN OFF IN AIRCRAFT Follow any restrictions. Wireless
devices can cause interference in aircraft.
- Select MENU>DEVICE SETTING>AUTO LOCK> Set timing for
auto lock
- Press < > Set time for keypad lock
Choose <Select> to set.
- Select MENU>ALERTS>PAGE ALERTS> Set page type
- Press < > Set page type
Choose <Select> to set.
- Press < > Select alert type
- Press < > Move to next box
- Press < > Select alert length value (not available for news alert)
Choose <Back> to set.
Device Setting

31
HEALTH AND SAFETY INFORMATION
32
HEALTH AND SAFETY INFORMATION
30
Road Safety
- Your wireless product gives you the powerful ability to
communicate by voice, anywhere and anytime. But an
important responsibility accompanies the benets of wireless
products, one that every user must uphold.
- When driving a car, driving is your rst responsibility. When
using your wireless product while driving, follow local
regulations in the country or region you are in.
QUALIFIED SERVICE Only qualied personnel may
install or repair this product.
WATER-RESISTANCE Your product is not water-proof.
Keep it dry.
ENHANCEMENT Use only approved enhancements.
Do not connect incompatible products.
33
Hearing Aids
- Some digital wireless products may interfere with some
hearing aids. In the event of such interference, you may wish to
consult your hearing aid manufacturer to discuss alternatives
regulations in the country or region you are in.
Potentially Explosive Environments
- Turn o your product when in any area with a potentially
explosive atmosphere, and obey all signs and instructions.
Sparks in such areas could cause an explosion or re resulting in
bodily injury or even death.
- Areas with a potentially explosive atmosphere are often but
not always clearly marked. They include the areas below deck
on boats, chemical transfer or storage facilities, vehicles using
liquied petroleum gas, such as propane or butane, areas where
the air contains chemicals or particles, such as grain, dust or
metal powders, and any other area where you would normally
be advised to turn o your vehicle engine.
FCC STATEMENT
FCC STATEMENT
6 Federal Communications Commission (FCC)
Statement
15.21
You are cautioned that changes or modications not expressly
approved by the part responsible for compliance could void the
user’s authority to operate the equipment.
15.105(b)
This equipment has been tested and found to comply with the
limits for a Class B digital device, pursuant to part 15 of the FCC
rules. These limits are designed to provide reasonable
protection against harmful interference in a residential
installation. This equipment generates, uses and can radiate
radio frequency energy and, if not installed and used in
accordance with the instructions, may cause harmful interfer-
ence to radio communications. However, there is no guarantee
that interference will not occur in a particular installation. If this
equipment does cause harmful interference to radio or
television reception, which can be determined by turning the
equipment o and on, the user is encouraged to try to correct the
interference by one or more of the following measures:
-Reorient or relocate the receiving antenna.
-Increase the separation between the equipment and receiver.
-Connect the equipment into an outlet on a circuit dierent
from that to which the receiver is connected.
-Consult the dealer or an experienced radio/TV technician for help.
This device complies with Part 15 of the FCC Rules.Operation is
subject to the following two conditions:
1) this device may not cause harmful interference and
2) this device must accept any interference received, including
interference that may cause undesired operation of the device.
FCC RF Radiation Exposure Statement:
For body worn operation, this phone has been tested and meets
FCC RF exposure guidelines when used with an accessory that
contains no metal and that positions the handset a minimum of
1.3cm from the body. Use of other accessories may not ensure
compliance with FCC RF exposure guidelines. SAR Max. Value is
0.846W/Kg(1g)
34 35
ADDITIONAL INFORMATION
Note
SMS acknowledgement sent by BR808-G can be checked.
The components used for this feature are as follows;
Hardware: GSM Modem (EaziTRAC 1000)
Software: "Message Acknowledgement Console"
This software package is available at
"DAVISCOMMS".
Application
• Connect GSM Modem to PC via USB.
• Launch the software and it will be autoconnected to the modem.
• All the SMS acknowledgement from the device will be displayed
on PC screen.
Message
Acknowledgement USB
BR808G
Message
Acknowledgement
Console Software
Package
EaziTrac 1000
(with USB option)
Table of contents
Other Daviscomms Pager manuals

Daviscomms
Daviscomms Bravo User manual

Daviscomms
Daviscomms Bravo 800 User manual

Daviscomms
Daviscomms BR802 Flex User manual

Daviscomms
Daviscomms Br808 User manual

Daviscomms
Daviscomms Br828 Series User manual

Daviscomms
Daviscomms Bravo 800 User manual

Daviscomms
Daviscomms Br808 User manual

Daviscomms
Daviscomms Bravo 502 User manual

Daviscomms
Daviscomms Bravo 800 User manual

Daviscomms
Daviscomms Br502 User manual