manuals.online logo
Brands
  1. Home
  2. •
  3. Brands
  4. •
  5. deerma
  6. •
  7. Vacuum Cleaner
  8. •
  9. deerma DX118C User manual

deerma DX118C User manual

DX118C
1. Handle
2. Power cord hook
3. Metal tube
4. Power cord
5. Power switch
6. Machine Body
7. Dust Panel frame switch
8. Trainer
9. Dust panel frame
10. Round brush
11. Ground brush
1. Vacuum cleaner is an electric appliance, it must be used in
accordance with the conditions of the specification, the
specification must be properly preserved for future reference.
2 .Check and confirm that the vacuum cleaner uses voltage
must be consistent with the power supply voltage.
3 .Do not inhale the following objects, or may damage the
vacuum cleaner or cause a fire, resulting in personal injury
and other accidents.
A. heating objects, such as carbon fire, etc.;
B. cut sharp fragments, such as glass, etc.;
C. harmful objects or water and liquids (solvents, corrosive
agents, etc.)
D. flammable and explosive substances, such as gasoline or
alcohol products
4. To clean, repair or temporarily do not use vacuum cleaner,
must be cut o the power supply. When cutting o the
power supply is not allow to pull the power line, should be
hand up the plastic part of the plug pull it out.
5. Avoid the vacuum cleaner be immersed in water, avoid
closing to heating equipment or exposure, so as to avoid fire.
6. Don't let the children play with the vacuum cleaner, so as
to avoid accident.
7 .Please do not use the vacuum cleaner in the following
situations:
A. fall and appear obviously damaged or running is not
normal;
B. power cord breakage.
In above case, do not starting the machine, in a timely hand it
over to our company designated maintenance Department
to repair.
8 .Avoid long running in the state of the suction mouth blocking,
so as to avoid motor damage and vacuum cleaner heating
deformation.
9.This product power line and motor using Y type connection,
if the power line is damaged, must use the special equipment
to be replaced, or send it to the professional maintenance
department.
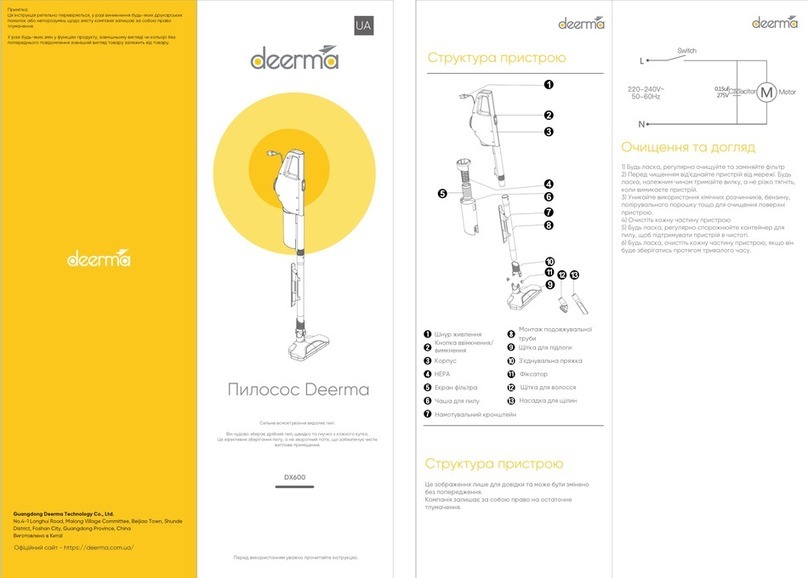
This diagram is for reference only. No further notice will be issued in
case of any change. The product is subject to the real object, and
our company reserves all the right for final interpretation.
1. Press the dust panel frame switch to open the dust panel frame
before use, confirm that the dust panel frame is equipped with the
strainers, and the reassemble the dust panel frame. Check that the
part of the body are firmly connected, and set the power switch to
„0” (o) gear.
2. Open the buckle at the back of the main machine handle, align
the metal tube with the hole in the middle of the handle, insert the
metal tube straightly into the bottom, and then clamp the buckle on
the handle to the fixed block on the metal tube handle assembly.
3. The ground brush is facing the direction of the power switch
of the machine body. Insert the ground brush into the suction
inlet and confirm that the connection is secure.
4. Insert the power plug into the socket and confirm that the
connection is secure. Put the power switch of the machine body
to „1” (ON) gear and the vacuum cleaner starts working.
5. Set the power switch to „0” (OFF) gear, and remove the plug
from the socket.
6. Wind the power cord onto the two power cord hooks and place
the cleaner upright in the storage area.
1. Rotate the power cord hooks on
the handle to release the power
cord quickly.
2. After open the buckle from the
fixing block on the metal tube, pull
out the metal handle as a whole,
and then clamp the buckle to the corresponding position of the
main machine handle.
3. Rotate the ground brush slowly and firmly, and remove the
ground brush after the ground brush is loosen.
4. Insert the brush nozzle into the suction inlet in the direction of
the arrow as shown in Figure (4).
5. Insert the power plug into the socket and confirm that the con-
nection is secure. Put the power switch of the machine body to „1”
(ON) gear and the vacuum cleaner starts working.
6. Set the power switch to „0” (OFF) gear, and remove the plug
from socket.
7. Press the dust panel frame switch, take the dust panel frame
together with the strainer, and then take out the strainer to put the
garbage in the dust panel frame into the waste container.
Note: Out o the power and unplug the power plug before
troubleshooting.
The vacuum cleaner has a reduced suction force and an abnormal
sound.
Troubleshooting: Stop working (overheated motor)
Blocked ground brush or suction
Troubleshooting: Dredge the attachments.
Blocked strainer
Troubleshooting: Clean or replace the strainer.
Vacuum cleaner motor does not work.
Troubleshooting: Check whether the plug is securely plugged into
the outlet or the power is on.
The machine stopped working suddenly
Troubleshooting: Turn o the power switch, unplug the power
plug, and after the vacuum cleaner has been cooled for 30
minutes, clean the garbage in the dust panel frame and reuse the
machine.
If the problem persists, please contact our special maintenance
department for maintenance,
Daily maintenance
Open the dust panel frame and take out the strainer, wash the
strainer with water and let it dry naturally.
Precautions:
1. Clean the strainer at least once a month, When there is
obvious accumulation on the strainer, clean it immediately,
After washing, dry the strainer before use.
2. Operate the vacuum cleaner with the strainer installed.
3. Before using the vacuum cleaner again, be sure to check
whether the strainer is installed or damaged.

Other manuals for DX118C

2

Other deerma Vacuum Cleaner manuals

deerma DEM-VX910W User manual

deerma

deerma DEM-VX910W User manual

deerma DX700 User manual

deerma

deerma DX700 User manual

deerma DX700 User manual

deerma

deerma DX700 User manual

deerma DX600 User manual

deerma

deerma DX600 User manual

deerma DX115C User manual

deerma

deerma DX115C User manual

deerma DX118C User manual

deerma

deerma DX118C User manual

deerma DX118C User manual

deerma

deerma DX118C User manual

Popular Vacuum Cleaner manuals by other brands

Storch VarioVac 50 manual

Storch

Storch VarioVac 50 manual

Panasonic MC-E3002 operating instructions

Panasonic

Panasonic MC-E3002 operating instructions

LG V-KC581H Series owner's manual

LG

LG V-KC581H Series owner's manual

Panasonic MCV7399 - UPRIGHT VACUUM operating instructions

Panasonic

Panasonic MCV7399 - UPRIGHT VACUUM operating instructions

Orca 020H Operating and maintenance instructions

Orca

Orca 020H Operating and maintenance instructions

Lavor ASHLEY 901 manual

Lavor

Lavor ASHLEY 901 manual

LG ROBOKING VR668 V Series owner's manual

LG

LG ROBOKING VR668 V Series owner's manual

Tower Hobbies PERFORMANCE PET VL50PRO quick start guide

Tower Hobbies

Tower Hobbies PERFORMANCE PET VL50PRO quick start guide

cecotec CONGA POPSTAR 4000 ULTIMATE PRO instruction manual

cecotec

cecotec CONGA POPSTAR 4000 ULTIMATE PRO instruction manual

POLTI FORZASPIRA D-POWER SR550 instruction manual

POLTI

POLTI FORZASPIRA D-POWER SR550 instruction manual

Porter-Cable 7812 instruction manual

Porter-Cable

Porter-Cable 7812 instruction manual

iRobot Roomba Combo j9+ owner's guide

iRobot

iRobot Roomba Combo j9+ owner's guide

Hoover Jive DRY user manual

Hoover

Hoover Jive DRY user manual

Tesvor X500Pro user guide

Tesvor

Tesvor X500Pro user guide

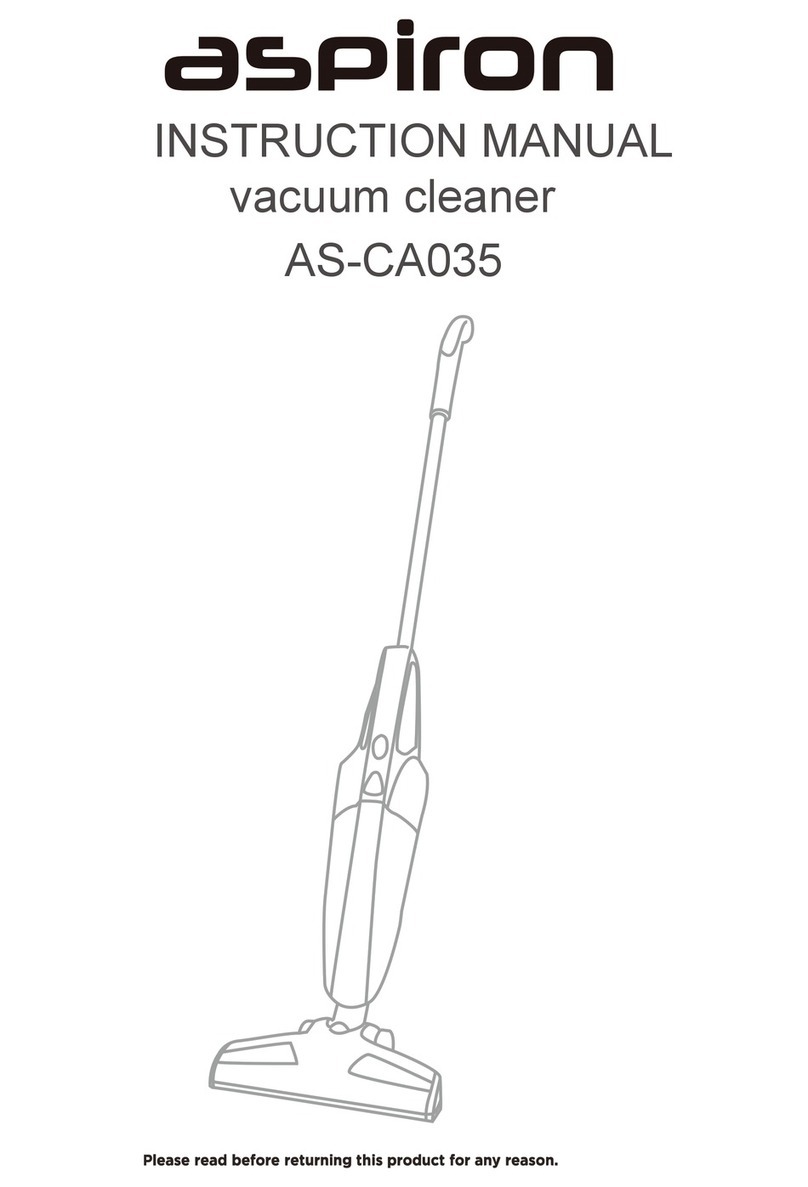
aspiron AS-CA035 instruction manual

aspiron

aspiron AS-CA035 instruction manual

Electrolux Ergorapido 12V+ user manual

Electrolux

Electrolux Ergorapido 12V+ user manual

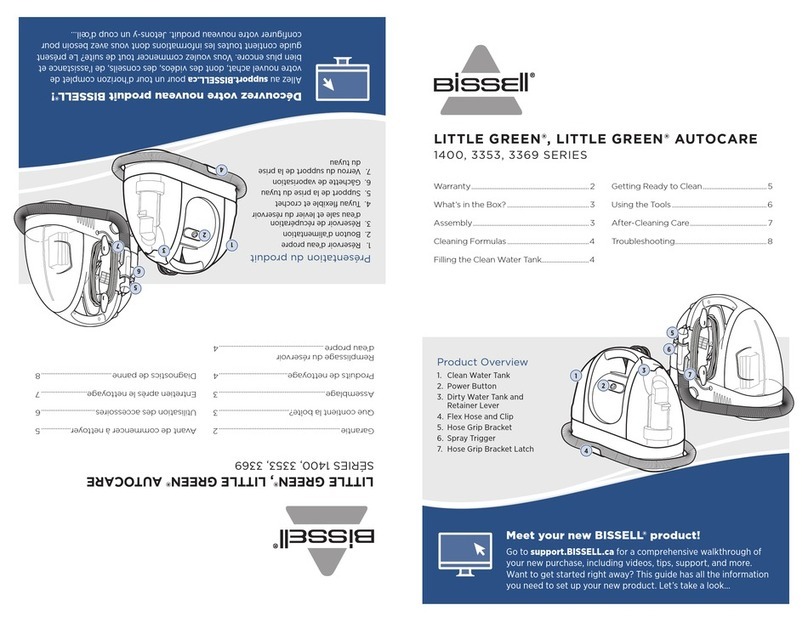
Bissell LITTLE GREEN 1400 SERIES manual

Bissell

Bissell LITTLE GREEN 1400 SERIES manual

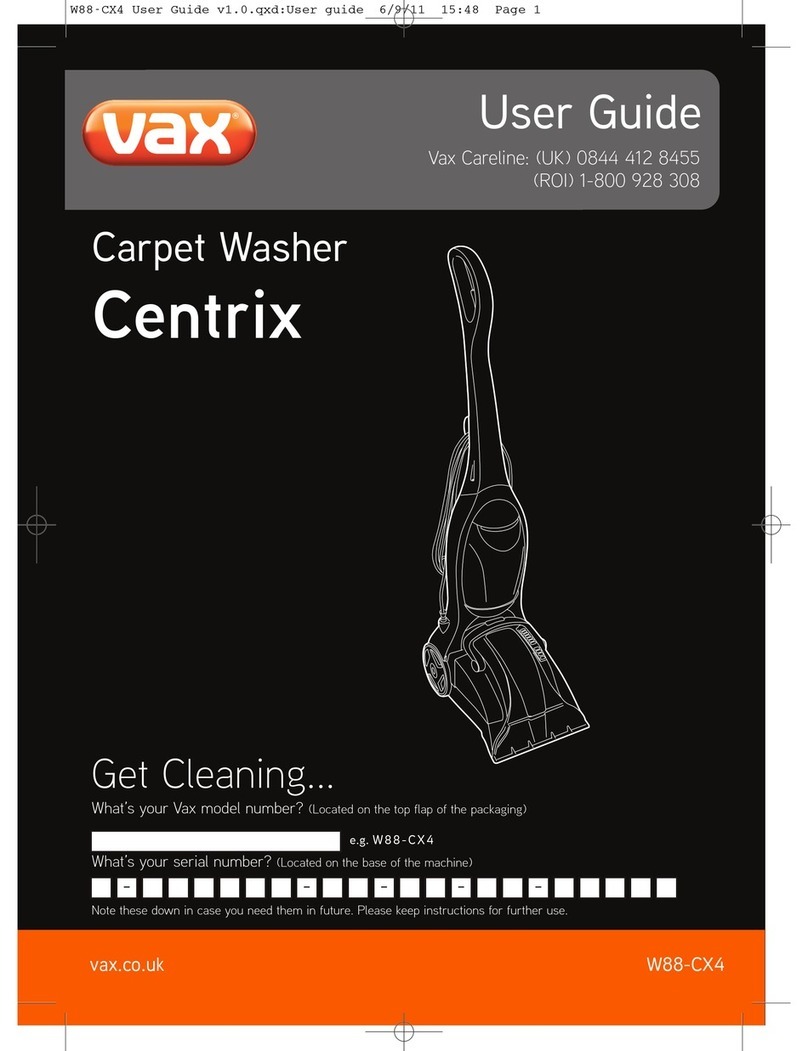
Vax W88-CX4 Centrix user guide

Vax

Vax W88-CX4 Centrix user guide

manuals.online logo
manuals.online logoBrands
  • About & Mission
  • Contact us
  • Privacy Policy
  • Terms and Conditions

Copyright 2025 Manuals.Online. All Rights Reserved.