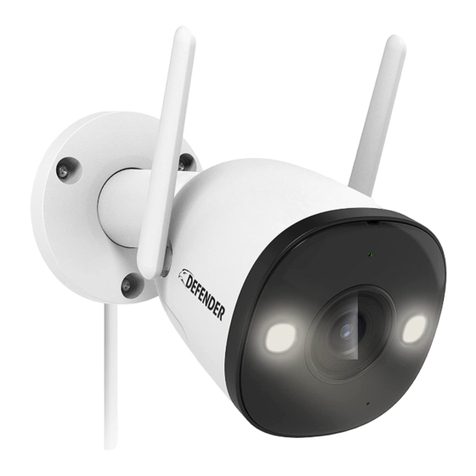
Defender GUARD IP4MCB1 User manual

User Manual
IP4MCB1

2
SUPPORT
For product inquiries, updates, and for help, visit defender-usa.com/support
PRODUCT VIDEOS
Do you need quick walkthroughs of how to setup and use your camera? Visit: defender-usa.com/guardsupport
WARRANTY
1. DEFENDER®products are guaranteed for a period of one year from the date of purchase against defects in
workmanship and materials. This warranty is limited to the repair, replacement or refund of the purchase
price at DEFENDER®’S option.
2. The warranty becomes void if the product shows evidence of having been misused, mishandled or tampered
with contrary to the applicable instruction manual.
3. Routine cleaning, normal cosmetic, and mechanical wear and tear are not covered under the terms of this
warranty.
4. The warranty expressly provided for herein is the sole warranty provided in connection with the product itself
and no other warranty, expressed or implied is provided. DEFENDER®assumes no responsibilities for any
other claims not specically mentioned in this warranty.
5. The warranty does not cover shipping costs, insurance or any other incidental charges.
6. You MUST contact DEFENDER®before sending any product back for repair. You will be sent a Return
Authorization Number with return instructions. When returning the product for warranty service, please
pack it carefully in the original box with all supplied accessories, and enclose your original receipt or a copy,
and a brief explanation of the problem (including the RA#).
7. This warranty is valid in Canada and the contiguous USA.
8. This warranty cannot be re-issued.
Disclaimers
• Wireless cameras require a wired connection to a power outlet.
• When viewing remotely: Video quality and connectivity is dependent on network performance. An upload speed of 5Mbps is recommended for optimal video
performance.
• DEFENDER®highly recommends the use of an Uninterruptible Power Supply (UPS) with surge protection for all products.
• The product requires a broadband router and broadband internet connection – not included.
• DEFENDER®does not endorse any DEFENDER®products for illegal activities.
• DEFENDER®is not responsible or liable in any way for any damage, vandalism, theft or any other action that may occur while a DEFENDER®product is in use
by the purchaser.
• We reserve the right to change models, conguration or specications without notice or liability. Product may not be exactly as shown
• Night vision range is up to 30 M (100 ft) under ideal conditions in ambient lighting. Objects at or beyond this range may be partially or completely obscured,
depending on the camera application.
• This product contains small parts. Exercise care when unpacking and assembling the product around children.
© 2019 DEFENDER®. All rights reserved.
DEFENDER®, the DEFENDER®logo, and other DEFENDER®marks may be registered. All other Trademarks are the property of their respective owners.
3
COMPLIANCE
DEFENDER®FCC STATEMENT
This equipment has been tested and found to comply with the limits for a Class B digital device, pursuant to Part
15 of the FCC Rules. These limits are designed to provide reasonable protection against harmful interference in a
residential installation. This equipment generates, uses, and can radiate radio frequency energy and, if not in-
stalled and used in accordance with the instructions, may cause harmful interference to radio communications.
However, there is no guarantee that interference will not occur in a particular installation. If this equipment does
cause harmful interference to radio or television reception, which can be determined by turning the equipment
o and on, the user is encouraged to try to connect the interference by one or more of the following measures:
• Reorient or relocate the receiving antenna.
• Increase the separation between the equipment and receiver.
• Connect the equipment into an outlet on a circuit dierent from that to which the receiver is connected.
• Consult the dealer or an experienced radio/TV technician for help.
FCC Caution: This device complies with Part 15 of the FCC Rules. Operation is subject to the following two condi-
tions: (1) This device may not cause harmful interference, and (2) This device must accept any interference re-
ceived, including interference that may cause undesired operation.
Non-modication Statement: Changes or modications not expressly approved by the party responsible for com-
pliance could void the user’s authority to operate the equipment.
FCC Radiation Exposure Statement: This equipment complies with FCC radiation exposure limits set forth for
an uncontrolled environment. This equipment should be installed and operated with minimum distance 20 cm
between the radiator.
IC STATEMENT
This device complies with Industry Canada license-exempt RSS standard(s). Operation is subject to the following
two conditions:
This device may not cause interference, and
This device must accept any interference, including interference that may cause undesired operation of the
device.
RF Exposure Statement: IC Radiation Exposure Statement. This equipment complies with IC RSS-102 radiation
exposure limit set forth for an uncontrolled environment. This equipment should be installed and operated with
minimum distance 20 cm between the radiator and your body.
ICES-003
CAN ICES (B) / NMB-3 (B)
SAFETY
We recommend using an Uninterruptable Power Supply (UPS): Connecting to a UPS allows for continuous
use during a power outage. The remaining power duration will depend on the USP used.
Use the Power Supply/Adapter provided: Do not use this product with a power supply that exceeds the
specied voltage.

CONTENTS
Overview 5
What’s Included 6
Getting to Know your Camera 6
Powering On Your Camera 7
Setting up Your Camera 7
How do I get started with creating a Defender account? 7
Account Setup 8
Getting to know the home screen 9
How do I setup my camera using a Wi-Fi network? 9
Ensure your phone is connected to a 2.4 GHz Wi-FI network before proceeding! 10
How do I setup my camera using a wired connection? 11
How do I manage multiple cameras and accounts? 12
How do I install and mount my camera? 13
Using the App 14
How do I navigate the home screen? 14
How do I use Live View to stream live video? 15
How do I setup motion notications? 17
How do I manage my notications? 18
How do I disable notications? 19
How do I setup a motion region? 20
How do I setup continuous recording? 21
How do I view and share recordings? 22
Settings and Troubleshooting 25
How do I change my account password or delete my account? 25
How I log out of my current account? 26
How do I use FaceID, TouchID, or biometrics to log in? 27
How do I enable streaming over cellular connection? 28
How do I format my SD card? 29
How do I swap/remove my SD card or reset my camera? 30
Technical Specications 31

5
OVERVIEW
Congratulations on purchasing your new Defender Guard Wi-Fi camera! We hope you like it just as much as
we loved building it so that you can protect what you value most.
We encourage you to reach out to our support team for assistance, help videos, and feedback on how we can
improve. You can nd all of this and more at defender-usa.com/guardsupport
Camera System Setup
NOTE: Your Defender Guard camera can only connect over 2.4 GHz Wi-Fi and not 5 GHz connections.
You can also setup a wired connection directly to your camera. See page 7 for more details.
Camera is connected to a
power outlet
Camera connects to your
2.4 GHz network via Wi-FI*
Camera feed is viewed on
Mobile App via a Wi-Fi or
Cellular network

6
WHAT’S INCLUDED
GETTING TO KNOW YOUR CAMERA
LIFETIME
Customer Support
Camera with pre-installed
16GB Micro SD Card
Camera Mounting
Hardware
Camera Power
Supply (10 ft)
Ethernet
Cable Shield
Camera Power
Extension (25 ft)
Quick Start Guide Free Lifetime Customer
Support & Access to the
Defender Guard App
IMPORTANT: The Camera Power Supply is not waterproof.
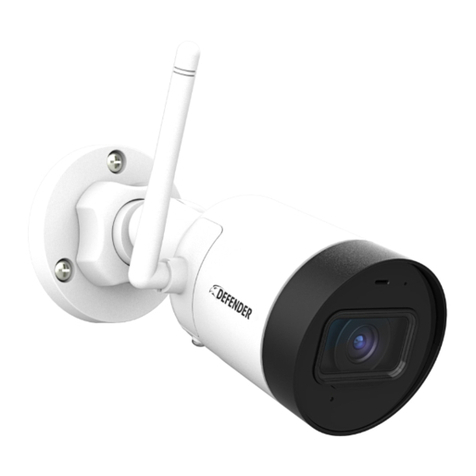
Antenna
Microphone
Night Vision Sensor
Camera Lens
Indicator Light
Lower Cover
(Reset Button
& SD Card) Ethernet Cable Connector
Power Adapter Connector
Detachable
Mounting Base

7
POWERING ON YOUR CAMERA
SETTING UP YOUR CAMERA
How do I get started with creating a Defender account?
First, download the Defender Guard app from the Google Play Store or Apple App Store.
Scan the QR code to go directly to the Store pages, for your convenience. Then, proceed to download the app using
your Google Play Store or Apple AppStore credentials. Follow the steps on the next page for steps within the app.
1. Connect the Power Adapter to the Power
Connector on the Camera.
2. Connect the Power Adapter to a power
outlet.
3. Connect an Ethernet cable (not included)
to the Network conncetor on the Camera
and to your modem/router.
OPTIONAL: Step 3 may be required for initial
setup depending on your network type.

8
Account Setup
1. Tap Sign Up to begin creating an account.
3. Enter an email you’d like to use for your
account. Then enter a password. Ensure
to agree to the Terms and Conditions at
the bottom of the screen.
2. Select your country, then tap next.
4. You will receive a verication code within 15
mins at the email you used in Step 3. Enter it
now. Tap Get Again after a minute if no code
is received.

9
Getting to know the home screen
How do I setup my camera using a Wi-Fi network?
Once your camera is powered on and the app is downloaded on your device with an active account, it is recom-
mended you rst perform a Network Quality Check at the location where you intend to mount your camera:
Live View Add Camera
Device Settings
Account SettingsDevice Menu
Do Not Disturb Toggle
Notications Menu
1. Tap Me to access
Account Settings.
2. Tap Network Quality
Check.
3. Tap Start Wi-Fi Range
Test.

10
4. After powering on your
device, wait 60 seconds for
the LED to ash green.
7. Tap Next.
5. Tap the + icon to add a
new camera.
8. Now enter the Wi-Fi
password for the network
you are connected to.
9. Conrm that the LED
Indicator is ashing green.
Then tap Next.
6. Scan the QR code on the
bottom of the camera.
Ensure your phone is connected to a 2.4 GHz Wi-FI network before proceeding!
Now, follow these steps to connect your camera to the Wi-Fi network:

11
10. Turn up the volume on
your device and it will
communicate securely
with your camera.
1. On the Wi-FI screen, tap
the Menu button at the
top right and then tap
Switch to wired add.
11. Enter a password to protect
your camera.
2. Connect an ethernet cable from your
router directly to your camera. The
ethernet cable should always be
connected from this step onwards.
12. If you like, you change the
default camera name to your
own choosing. Ensure time
settings are correct.
3. Make sure your device is con-
nected to your network’s Wi-FI,
and then proceed as in Steps
11-12 in Wi-Fi camera setup.
How do I setup my camera using a wired connection?
These steps should be followed when your Wi-Fi network is not stable enough for a Wi-Fi connection or you intend
to use this camera via a wired connection. Your device will still need to be connected to your network’s Wi-Fi for
this process to work.

12
How do I manage multiple cameras and accounts?
Depending on your network speed, it is recommended you do not pair more than 6 cameras to 1 user account or
share 1 camera with more than 6 user accounts.
To add a new camera, follow the steps in How do I setup my camera using a Wi-Fi network? and How do I manage
multiple cameras and accounts?
Follow these steps to share a camera among multiple user accounts:
1. On the Device Main Menu, tap the Play icon
on any you’d like to share.
3. Tap either + or Add Shared User buttons to add
another user account to your camera. The other
user account must be created beforehand.
2. On the Live View screen, tap the Share icon.
Then tap Share Device.
4. Conrm you would like to share your camera with
the other user. Once shared, you may also delete
user access.

13
How do I install and mount my camera?
Before mounting your camera, it is strongly advised that you test your intended location with the Network Quality
Check tool. See Steps 1-3 in How do I install and mount my camera?
You’ll need the following before installation:
• A 2.4 GHz high speed Wi-FI Internet connection
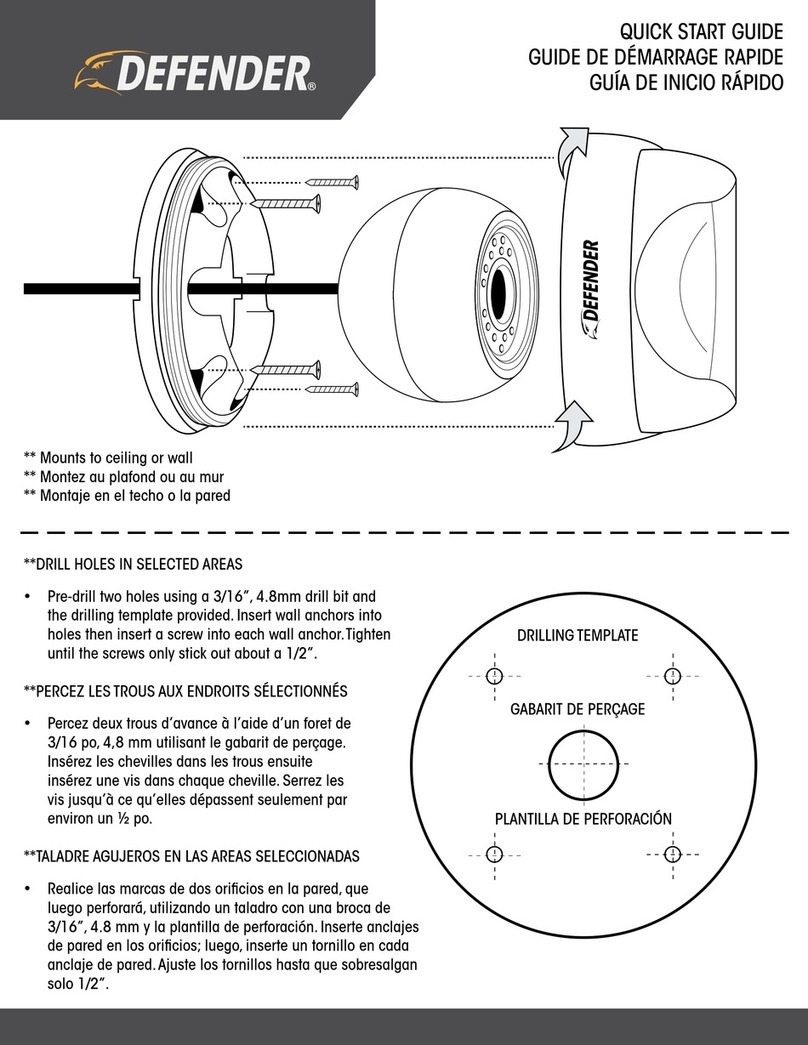
• Drill with a Philips driver bit set and 1’ drill bit, OR a standard Philips #2 screwdriver
• Ladder (if required)
• A suciently long ethernet cable from your router to camera (for wired connection setups)
1. Note that certain exterior nishes, thicker walls
and ceilings, and other materials/obstacles can
reduce range signicantly.
Watch for:
• Brick
• Concrete
• Stone
• Ceramic
• Glass and mirrors
• Metal framing, structure, sheathing
• Tanks holding liquid (e.g., aquariums)
3. Your camera has a 123-degree viewing angle.
Position the camera so that the space you’d like
to monitor is within this eld of view.
2. Position your camera at least 7 ft. o the ground so
that you can see faces, etc. Ensure there is a nearby
power outlet.
4. Use the screw-tightened adjustment to both rotate
and lower/raise your camera.
2.5 m
(8 ft)

14
USING THE APP
How do I navigate the home screen?
Tap to add Camera
Device Settings
Tap for Live View
Camera Name
Device Menu Account Settings
Notications Menu
Global Live View
(for multiple cameras)
Reorder Cameras
Do Not Disturb

15
How do I use Live View to stream live video?
If you rotate your device (if supported), you can enter a full-screen view of your live feed:
Device DetailsBack to home screen
Share camera with other users
Switch stream quality
Mute audio feed
Tap to see mutliple camera
feeds at once
Switch to full-screen view
(or rotate your device, if supported)
Take video
(saved to Local Files)
Tap to see multiple
camera feeds at once
Lock rotation
Pause
live video
Mute Take video
Switch stream
quality
Take
snapshot
View recorded
videos
Pause live view
View recorded videos
Take snapshot
(saved to Local Files)

16
In either full screen landscape or regular portrait live view mode, tapping on to enter the multiple camera
feed mode will always start with the active camera feed. To add additional cameras to your screen:
1. Tap on the empty feed you’d like to assign to a particular camera.
2. Tap again and then select the camera you’d to add to the screen.

17
How do I setup motion notications?
Motion notications will be pushed to your device as motion is detected. If you tap on a notication within 60
seconds, you will see a recording of all activity up until the motion is detected. After 60 seconds, your camera will
nish recording, and you can access the full recording with all motion (depending on the type, magnitude, and
length of motion, it may take longer than 60 seconds.
1. On the Device Main Menu, tap to
access device settings.
3. Turn on Motion Detection. To set a schedule of
when you’d like to receive notications, continue
to step 4.
2. Then tap Motion Detection Setting.
4. Tap Motion Alert Schedule, then tap on a day you’d
like to set a specic time period. Then tap Save and
repeat.

18
How do I manage my notications?
To disable all notications from all cameras, you’ll need to activate Do Not Disturb (DND) mode from the app
home screen, or through Me if you’d like to set a notication schedule. When DND is disabled, your notications
will be pushed to your device according to the Notication Window you set.
1. On the Device main menu, tap to
activate Do not Disturb mode. You will
see a prompt when DND is active.
3. Turn ON Notications using the slider. If
activated, you can set a notication schedule.
2. Then tap Motion Detection Setting.
4. Tap Notication Window, and then set a window
when you’d like to receive notications.

19
How do I disable notications?
To disable notications on specic cameras and not all paired cameras, follow these steps:
1. On the Device Main
Menu, tap to access
device settings.
2. Tap Notications. 3. Turn ON Notications to
receive notication alerts.
You can also turn on Device
Oine to be notied when
your camera is oine.
Notications Reminder

20
How do I setup a motion region?
A motion region allows you to specify active regions for motion detection. Use this function to prevent motion
notications from passing cars, trees/plants, and very high trac regions in the camera’s eld of view.
1. On the Device Main Menu, tap to
access device settings.
3. Ensure Motion Detection is active. Then, tap
Detection Region Setting.
2. Then tap Motion Detection Setting.
4. By default, the entire orange selection is active. Tap
Clear, then by either dragging or tapping individual
squares, specify your region.
Then tap Save.
Other manuals for GUARD IP4MCB1
3
Table of contents
Other Defender Security Camera manuals

Defender
Defender PX301 User manual

Defender
Defender GUARD IP4MCB1 User manual

Defender
Defender Sentinel PRO User manual

Defender
Defender PH300 User manual

Defender
Defender DV8MP1T4B4 User manual

Defender
Defender 21060 User manual

Defender
Defender 4K1T4Bx User manual

Defender
Defender PH301 User manual

Defender
Defender SP301-C User manual

Defender
Defender 82-12165 User manual