7 HOMEDEPOT.COM
Please contact 1-866-308-3976 for further assistance.
Operation (continued)
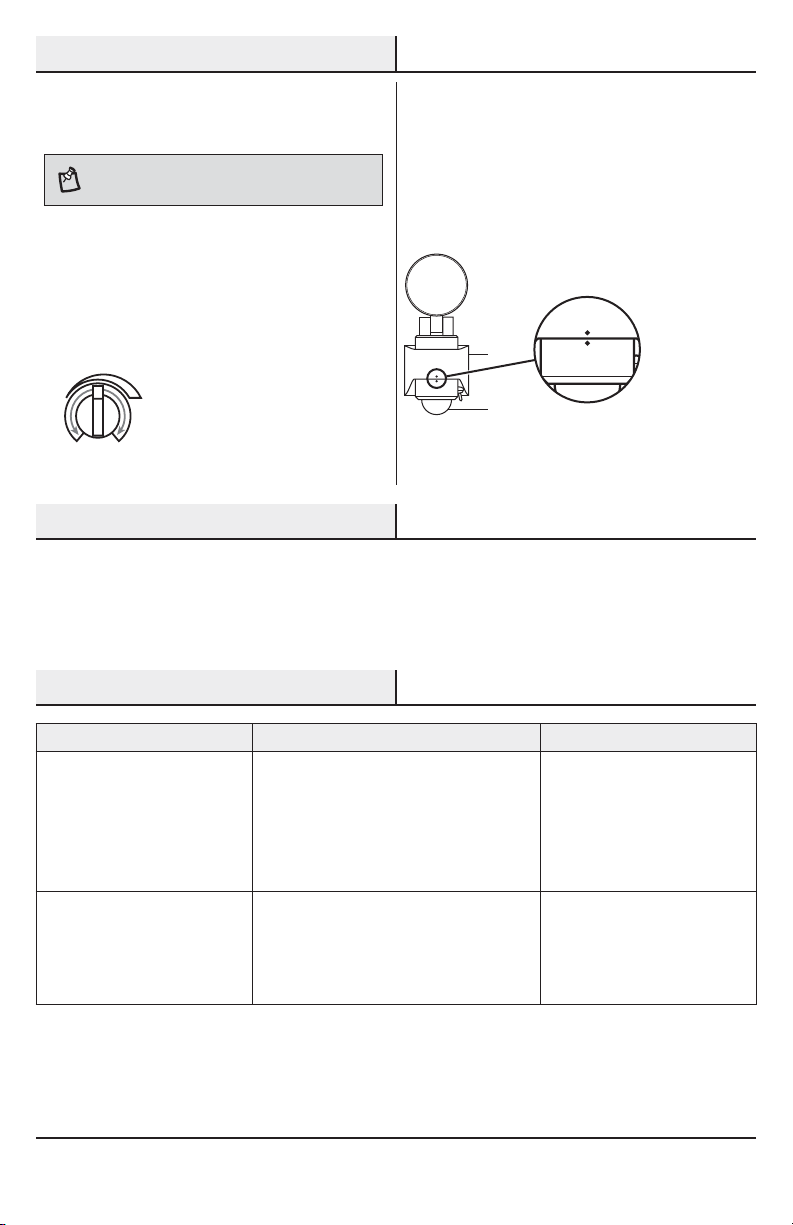
3 Setting the sensor for testing
NOTE: When the “LUX” control is set to the “ + ” position,
the light xture will operate during the day or night. When
the “TIME” control is set to the “ – “ position, the light will
stay on for 10 seconds after all motion is stopped.
ƑToggle the OFF/AUTO switch (E) to the auto
position.
ƑGrasp the motion sensor (C) housing and rotate
right or left to access the controls.
ƑSet the “LUX” control to the “ + ” position.
ƑSet the “TIME” control to the “ – ”
position.
ƑSet the “SENS” control to the “ – ”
position.
NOTE: The motion sensor will need to completely warm
up (60 seconds) before beginning the setup process.
+–
LUX
+–
SENS
+–
TIME
4 Adjusting the motion sensor
detection zone
ƑPerform a “walk test”: walk in an arc across
the front of the motion sensor (C).
ƑWatch the light. The light will come on
indicating motion has been detected.
ƑStop, wait for the light to turn off, and then
begin walking again.
ƑContinue this process until the detection zone
has been established.
5 Adjusting the SENS control
ƑTo increase the detection zone, turn the
“SENS” dial toward the “ + ” position.
ƑTo decrease the detection zone, turn the
“SENS” dial toward the “ – ” position.
NOTE: The motion sensor (C) is more sensitive to motion
moving across the front of the sensor. The motion sensor
(C) is less sensitive to motion moving directly toward the
front of the sensor.
NOTE: The higher the “SENS” setting (sensitivity), the
greater the possibility of false triggering. To reduce false
triggering, turn the “SENS” dial toward the “ – ” setting.
+–
SENS
6 Adjusting the TIME control
NOTE: The “TIME” control determines the amount of
time the light will stay on full bright after all motion has
stopped.
ƑTurn the “TIME” dial toward the “ + ” position
to increase the light on-time (up to 30
seconds).
ƑTurn the “TIME” dial toward the “ – ” position
to decrease the light on-time (10 seconds
minimum).
+–
TIME
C
E
C