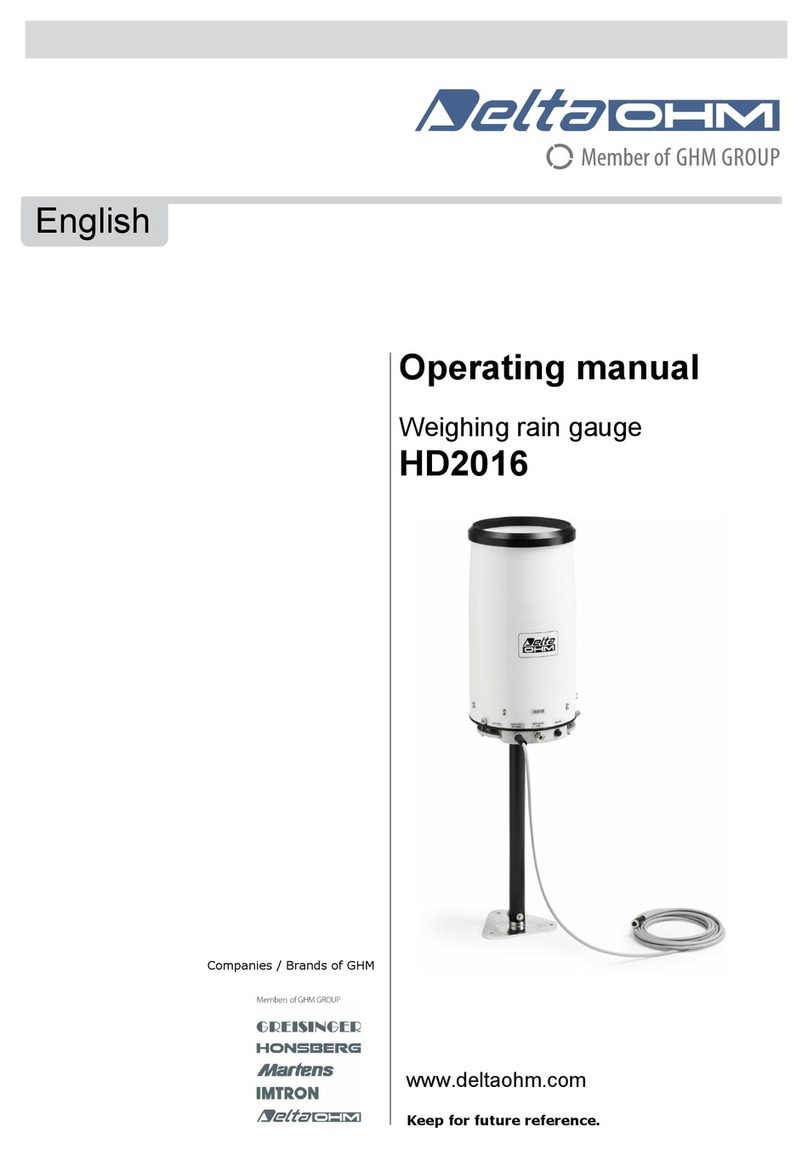
Delta OHM HD2013 User manual

Operating manual
Tipping bucket rain gauge
HD2013
www.deltaohm.com
English
Keep for future reference.
Companies / Brands of GHM

HD2013 - 2 - V1.0
TABLE OF CONTENTS
1INTRODUCTION.................................................................................................... 3
2TECHNICAL CHARACTERISTICS ............................................................................ 4
3INSTALLATION ..................................................................................................... 6
3.1ELECTRICAL CONNECTIONS ..................................................................................... 6
3.2CONFIGURATION OF ANALOG OUTPUT ......................................................................... 9
3.3TIPPING BUCKET................................................................................................ 10
3.4INSTALLATION MODES ......................................................................................... 11
4SERIAL COMMANDS ............................................................................................ 14
5SDI-12 PROTOCOL.............................................................................................. 20
6MAINTENANCE.................................................................................................... 27
7INSTRUMENT STORAGE ...................................................................................... 29
8SAFETY INSTRUCTIONS...................................................................................... 29
9ORDERING CODES .............................................................................................. 30

HD2013 - 3 - V1.0
1INTRODUCTION
The HD2013 is a reliable and sturdy tipping bucket rain gauge, built entirely from cor-
rosion resistant materials in order to guarantee its durability. So as to ensure accurate
measurement even with low temperature climatic conditions or during and after pre-
cipitations of snow, a version with heating which is automatically activated around
+4 °C has been developed so that snow deposits and ice formations are prevented.
The rain gauge is formed by a metal base on which a tipping bucket is set. The rain
collector cone, fixed to the aluminium cylinder, channels the water inside the tipping
bucket: once the predefined level is reached, the calibrated bucked rotates under the
action of its own weight, discharging the water. During the rotation phase, the nor-
mally closed reed contact opens for a fraction of a second, sending an impulse to the
counter.
The quantity of rainfall measured is based on the count of the number of times the
bucket is emptied: the reed contacts, normally closed, open at the moment of the rota-
tion between one bucket’s section and the other. The number of impulses can be de-
tected and recorded by a data logger such as the HD2013-DB Delta OHM or by a
pulse counter.
The rain gauge is available with optional analog output (HD2013UA) at choice be-
tween 4…20 mA or 0…10 Vdc (to be specified when ordering) or with optional
SDI-12 digital output (HD2013UD).
The version with 4…20 mA output and the version with SDI-12 output require 7…30 Vdc
power supply. The version with 0…10 Vdc output requires 13…30 Vdc power supply. The
versions with analog or SDI-12 output are equipped with a backup battery that allows
maintaining the rainfall information even after short power supply outages (at least 10
seconds for HD2013UA, approx. 5 minutes for HD2013UD).
A removable filter for periodic cleaning and maintenance is inserted in the water col-
lector cone so as to prevent leaves or other elements blocking the end of the hole.
For a better water flow, the collecting cone is treated with a non-adherent product.
In the version with heating HD2013R, the heating circuit operates with 12 Vdc or
24 Vdc direct voltage (to be specified when ordering) and absorbs about 165W.
Heating is activated around +4 °C.
When submitting your order, upon request a bird dissuader, made of eight 3 mm
diameter spikes, 60 mm in height, can be installed on the rain gauge.

HD2013 - 4 - V1.0
2TECHNICAL CHARACTERISTICS
HD2013R HD2013
HD2013UA
analog output
option
HD2013UD
SDI-12 output
option
Power supply
Heating circuit:
12 or 24 Vdc ±10%
(to be specified when
ordering)
---
7…30 Vdc
(4…20 mA output)
13…30 Vdc
(0…10 V output)
7…30 Vdc
Consumption 165 W ---
26 mA max. @ 18 Vdc
(4…20 mA version)
≈4 mA @ 18 Vdc
(0…10 V version)
≈100 µA @ 18 Vdc
in SDI-12 mode
Contact output
NC contact (opens during tipping).
With HD2013UA and HD2013UD options, the contact output is alternative to
the analog or SDI-12 output and the rain gauge is factory-configured
with analog (HD2013UA) or SDI-12 (HD2013UD) output.
Analog output --- ---
4…20 mA or 0…10 V
(to be specified
when ordering)
---
Digital output --- --- --- SDI-12
Resolution 0.1 – 0.2 or 0.5 mm/tip
on request when ordering
Accuracy
+3.5…-2.5% in the interval 0…100 mm/h
(version with 0.2 mm @ 50 mm/h nominal resolution)
+ 2…-3,5% in the interval 0…200 mm/h
(version with 0.5 mm @ 50 mm/h nominal resolution)
The error refers to the calculation of the amount of rain using the resolution
stated in the rain gauge label.
If the amount of rain is calculated using the correction curves as a function of
the rainfall rate (fig. 1 and 2), the error is typically less than ± 2% in the in-
terval 0…200 mm/h.
If the HD2013-DB data logger is used, the measurement can be automatically
corrected according to the graphs in fig. 1 and 2.
With HD2013UA and HD2013UD options, the curve can be stored in the rain
gauge itself (on request when ordering).
Maximum rainfall rate 600 mm/h (version with 0.2 mm nominal resolution)
1000 mm/h (version with 0.5 mm nominal resolution)
Operating temperature -20…+70 °C +4…+70 °C
Heating intervention tem-
perature +4 °C ---
Protection degree IP 64
Collector area 400 cm2
Minimum section of the
wires of the connecting
cable
0.5 mm2for the version without heating (HD2013)
2.5 mm2for the version with heating (HD2013R)

HD2013 - 5 - V1.0
Fig. 1 – Normalized resolution (0.2 mm @ 50 mm/h) as a function of the rainfall rate
Fig. 2 – Normalized resolution (0.5 mm @ 50 mm/h) as a function of the rainfall rate
To correct the measurement depending on the rainfall rate, it is necessary to log, in
addition to the number of pulses, also the instants at which the pulses occur.
Example of measurement correction:
Let’s assume that a rain gauge with nominal resolution RN = 0.209 mm @ 50 mm/h
has generated 25 pulses at the frequency of 1 pulse every 50 seconds.
The rainfall rate can be estimated considering the nominal resolution RNand the inter-
val between two successive pulses: I = 0.209 x 3600 / 50 ≈15 mm/h.
From the graph in fig.1 we obtain the normalized corrected resolution: RCn = 0.1944 mm.
The corrected resolution of the rain gauge is: RC= RCn x RN/ 0.2 = 0.2031 mm.
The amount of rain detected is 25 x 0.2031 = 5.07 mm.
Rainfall rate
(
mm/h
)
Normalized resolution (mm)
Rainfall rate
(
mm/h
)
Normalized resolution (mm)

HD2013 - 6 - V1.0
3INSTALLATION
Upon request the rain gauge can be supplied already calibrated at 0.1 - 0.2 or 0.5 mm
of rain per tip of the bucket: the calibration value is shown on the instrument label.
The instrument must be installed in an open area, away from buildings, trees, etc.,
ensuring the space over it is free from all objects which could obstruct rain measure-
ments, and in an easily accessible position for the filter to be cleaned periodically.
Avoid installation in areas exposed to gusts of wind, turbulence (for example the top
of a hill) as these may distort the measurements.
The rain gauge can be installed on the ground or raised 500 mm above the ground.
Other sizes above the ground are available on request.
For ground installation, three adjustable support feet, so that the instrument can be
levelled correctly, and holes for fixing to the floor have been provided.
For raised installations, a collar to be fastened to the base of the instrument, and on
which the support staff must be inserted, is provided. The staff may end with either a
flange so that it can be fixed to the floor, or a tip to be driven into the ground. The
various fastening systems can be seen in the figures 6, 7, 8 and 9.
For the tipping device to function correctly and so for the measurement to be correct,
it is important that the instrument is placed perfectly levelled. The base of the rain
gauge is fitted with a bubble level.
For installation, unscrew the three screws at the base of the cylinder that supports the
water collector cone.
Attention: a heating resistor is fitted around the cone in the HD2013R version. To
disconnect the cone heater, unplug the connector on the upper side of the terminal
block protection cover (see fig.3).
3.1 ELECTRICAL CONNECTIONS
For the version without heating use a 2-wire cable with 0.5 mm2minimum wires sec-
tion, for the version with heating use a 4-wire cable with 2.5 mm2minimum wires
section.
Use a shielded cable over long distances. Slide the cable through the cable gland and
fasten it with the cable fastener located near the entry hole at the base of the rain
gauge.
Unscrew the terminal block protection cover and perform the connections as shown in
the following figures.
Connection of heating:
The heated version requires power (12 Vdc or 24 Vdc depending on the version sup-
plied) for the resistors: perform the connection as indicated at point 2 of fig.3.
If the connections are set correctly, the LED placed near the terminals will be lit up.
Connection of contact output:
The rain gauge contact output, indicated at point 1 in the figure 3, must be con-
nected to the input of the HD2013-DB rain gauge data logger (please see the
details in the manual of the data logger) or to a pulse counter or to a data logger.
To use the contact output in the versions with HD2013UA or HD2013UD option, set

HD2013 - 7 - V1.0
the SW1 switch down, towards the EXTERNAL indication (see the figures 4 and 5): the
analog or SDI-12 output is disabled.
Fig. 3 – Connections of contact output and heating
Connection of analog output (only with HD2013UA option):
Perform the connections as shown in figure 4. Set the SW1 switch up, towards the IN-
TERNAL indication (the contact output is disabled).
Fig. 4 – Connections of analog output
Connector of the
cone heater
RESET
line
GND
Analog output positive
Power supply positive
SW1 switch

HD2013 - 8 - V1.0
The current analog output is active. The maximum value of the load resistance de-
pends on the power supply value:
RLmax = 50 x (Vdc – 7) Ω
The minimum value of the load resistance for the version with voltage analog output is
10 KΩ.
In case of a measurement error, the analog output goes to the value 22 mA or 11 V.
The reset line allows the partial amount of rainfall measurement (amount of rainfall from
the last reset command) to be remotely reset. During the measurement, the reset line
must be connected to GND. To reset, disconnect the line from GND and apply a direct
voltage of at least 3 Vdc (and lower than or equal to the power supply) for at least 1 s,
then reconnect the line to GND.
Connection of SDI-12 digital output (only with HD2013UD option):
Perform the connections as shown in figure 5. Set the SW1 switch up, towards the IN-
TERNAL indication (the contact output is disabled).
Fig. 5 – Connections of SDI-12 digital output
The reset line is not used in the version with digital output: the reset is performed with
the appropriate SDI-12 extended command (aRES!, with a=address of the rain gauge).
Not connected
GND
SDI-12 output positive
Power supply positive
SW1 switch
To
SDI-12 bus

HD2013 - 9 - V1.0
3.2 CONFIGURATION OF ANALOG OUTPUT
The analog output is proportional to the partial amount of rainfall (amount of rainfall
from the last reset command). The analog output full scale (20 mA or 10 V) can be as-
sociated with different values of rainfall. The association can be implemented via hardware,
by using the dip switches on the circuit board, or via software, by connecting the serial
communication port COM PC of the rain gauge to the PC.
The dip switches allow setting three rainfall values: 25, 100 or 250 mm (1, 5 or 10
inches if the set unit of measurement is “inches”), as shown in figure 6.
If both the dip switches are set to ON, the rainfall value considered is the one set via
serial port with the command CRW (see the table of the serial commands).
Fig. 6 – Dip switches
Warning: after reaching the full scale value, the measurement is reset and
the analog output returns to the initial scale value.
COM PC serial por
t

HD2013 - 10 - V1.0
3.3 TIPPING BUCKET
The tipping bucket is locked for the transport of the rain gauge. To unlock the bucket,
remove the holders as shown in fig.7.
Fig. 7 – Locking and unlocking the tipping bucket
The oscillation of the tipping bucket can be adjusted through the two threaded rods
located under the bucket, as illustrated in fig.8.
Fig. 8 – Adjustment of the tipping bucket
For the
trans
p
ort
For the
operating
mode

HD2013 - 11 - V1.0
3.4 INSTALLATION MODES
Fig. 9 – Mechanical dimensions, installation modes
Fig. 10 – Base for ground fastening (HD2003.78)

HD2013 - 12 - V1.0
Fig. 11 – Ground installation

HD2013 - 13 - V1.0
Fig. 12 – Installation raised above ground

HD2013 - 14 - V1.0
4SERIAL COMMANDS
The rain gauges with HD2013UA or HD2013UD option allow editing or checking the
operating parameters of the instrument via serial commands. Proceed as follows:
•Connect the serial port COM PC of the rain gauge to the RS232 (via the RS27 ca-
ble) or USB (via the CP27 cable) port of the PC. If the CP27 cable is used, install
the corresponding USB drivers in your PC.
•In the PC, start a serial communication program (e.g. Hyperterminal), set the
baud rate to 9600 and the communication parameters to 8N2.
•Send the commands given below to edit or check the value of the rain gauge pa-
rameters. In the editing commands, the new value of the parameter follows imme-
diately (without spaces interposed) the command identifier.
The editing of the rain gauge parameters requires sending a password via the serial
command PWD. By default, the password is not set; therefore, it is sufficient to send the
command PWD without password to change the parameters. To protect the parameters
from unauthorized changes, it is advisable to set a password with the serial command
SUP.
The password remains active for 10 minutes, after which you must resubmit it.
In the serial commands described below, the column “PWD” indicates whether the exe-
cution of the command is password protected.
Password management
Command Description PWD
PWDx…x Sends the password x…x (8 characters max.).
Reply of the instrument:
USER ACCESS OK if the password is accepted
WRONG PASSWORD if the password is not accepted
---
SUPx…x Sets the string x…x (8 ASCII characters max.) as password.
Reply of the instrument:
PASS: x…x if the password is accepted
INVALID PASSWORD if the password is not accepted
Yes
Date and time
Command Description PWD
DSyyyy/mm/dd hh:mm:ss Sets the date yyyy/mm/dd (year/month/day) and the
time hh:mm:ss (hour/minutes/seconds) in the rain gauge.
Reply of the instrument:
&| if date and time are accepted
? if date and time are not correct
Yes
DG Reads the date (year/month/day) and the time
(hour/minutes/seconds) set in the rain gauge.
Reply of the instrument: yyyy/mm/dd hh:mm:ss
No

HD2013 - 15 - V1.0
General info
Command Description PWD
IR Reads the manufacturer, the model, the firmware version and the serial
number of the rain gauge.
Reply of the instrument: v…vm…mf…fs…s, with:
v…v (8 characters) = name of the manufacturer (DELTAOHM)
m…m (6 characters) = model (HD2013)
f…f (3 characters) = firmware version
s…s (max. 13 characters) = serial number
No
Unit of measurement
Command Description PWD
UWnSets the unit of measurement of index nfor the amount of rainfall:
n=0 ⇒mm, n=1 ⇒inches
Reply of the instrument:
&| if the unit of measurement is accepted
? if the index nis not correct
Yes
UR Reads the unit of measurement of the amount of rainfall set in the rain
gauge.
Reply of the instrument:
0 if the unit of measurement is “mm”
1 if the unit of measurement is “inches”
No
TUWuSets the temperature unit of measurement (*): u=C ⇒°C, u=F ⇒°F
Reply of the instrument:
&| if the unit of measurement is accepted
? if the character uis not correct
Yes
TUR Reads the temperature unit of measurement (*).
Reply of the instrument:
C if the unit of measurement is “°C”
F if the unit of measurement is “°F”
No
(*) The rain gauges with HD2013UA or HD2013UD option are equipped with a temperature
sensor which detects the internal temperature of the instrument (not the air temperature).
The temperature value can be read via the serial commands S1 / S2 or, in the rain gauges
with HD2013UD option, via the appropriate SDI-12 command described in the paragraph
“SDI-12 protocol”.

HD2013 - 16 - V1.0
Resolution
Command Description PWD
BWnSets the rain gauge resolution (amount of rainfall corresponding to an
emptying of the tipping bucket) of index n:
n=0 ⇒0.1 mm
n=1 ⇒0.2 mm
n=2 ⇒0.25 mm
n=3 ⇒0.5 mm
n=4 ⇒1.0 mm
n=5 ⇒0.254 mm (0.01 inches)
n=6 ⇒0.508 mm (0.02 inches)
n=7 ⇒1.016 mm (0.04 inches)
n=X ⇒custom value (set via the CCW command)
Reply of the instrument:
&| if the resolution is accepted
? if the index nis not correct
Yes
BR Reads the rain gauge resolution.
The reply of the instrument is the index nof the resolution according to
the list given in the description of the editing command BW.
No
CCWn…n Sets n…n as custom value of the resolution. The value must be between
0.001 and 10.00 and is considered in the unit of measurement (mm or
inches) set in the instrument.
Example: CCW+0.42 sets 0.42 mm or 0.42 inches, depending on the
unit of measurement set, as custom value of the resolution.
Reply of the instrument:
&| if the value n…n is accepted
? if the value n…n is not correct
Warning: the command CCW sets the value but not the use of the cus-
tom resolution; to use the cutom resolution, the command BWX shoul
be sent (see the command BW described above).
Yes
CCR Reads the custom value of the resolution. The value is considered in the
unit of measurement (mm or inches) set in the instrument.
No
Output contact type
Command Description PWD
TNWnSets the rain gauge output contact as normally open or normally closed:
n=0 ⇒Normally OPEN, n=1 ⇒Normally CLOSED
Reply of the instrument:
&| if the setting is accepted
? if the index nis not correct
Yes
TNR Reads the type of the rain gauge output contact.
Reply of the instrument:
0 if the contact is normally OPEN
1 if the contact is normally CLOSED
No

HD2013 - 17 - V1.0
Analog output (only with HD2013UA option)
Command Description PWD
CPOE Enables the offset of the analog output initial value: 4…20 mA or 2…10 V.
Reply of the instrument: &|
Yes
CPOD Disables the offset of the analog output initial value: 0…20 mA or
0…10 V.
Reply of the instrument: &|
Yes
CPOR Reads the enabling state of the offset of the analog output initial value.
Reply of the instrument:
0 if the offset is disabled (0…20 mA or 0…10 V)
1 if the offset is enabled (4…20 mA or 2…10 V)
No
CRWn…n Sets n…n as the amount of rainfall corresponding to the analog output
full scale. The value must be between 0.01 and 9999.00 and is consid-
ered in the unit of measurement (mm or inches) set in the instrument.
Example: CRW+80.00 sets 80 mm or 80 inches, depending on the unit
of measurement set, as value corresponding to 20 mA or 10 V.
Reply of the instrument:
&| if the value n…n is accepted
? if the value n…n is not correct
Yes
CRR Reads the amount of rainfall corresponding to the analog output full
scale. The value is considered in the unit of measurement (mm or inch-
es) set in the instrument.
No
Printing of the measurements (only with HD2013UA option)
Command Description PWD
S0 Stops the continuous printing of the measurements.
Reply of the instrument: &|
No
S1 Single printing of the measurement values, considered in the unit of
measurement set in the instrument.
Reply of the instrument:+ M1+M2+M3+M4, with:
M1= total amount of rainfall (from when the instrument is powered)
M2= partial amount of rainfall (from the last reset operation)
M3= amount of rainfall in the current day
M4= amount of rainfall in the previous day
Example: the reply +873.4+15.8+2.6+3.4 indicates that the amount of
rainfall is:
873,4 mm or inches from when the instrument is powered
15,8 mm or inches from the last reset operation
2,6 mm or inches today
3,4 mm or inches yesterday
Note: after reaching 99999.99, the total rainfall counter restarts from
zero.
No
S2 Continuous printing (once per second) of the measurement values, con-
sidered in the unit if measurement set in the instrument.
The reply of the instrument is in the same form described for the com-
mand S1.
No

HD2013 - 18 - V1.0
Reset
Command Description PWD
RES Resets the partial rainfall counter.
Reply of the instrument: &|
Yes
HRS Resets the electronic board (with consequent reset of all the measur-
ing counters).
Yes
Correction of the measurement
To increase the measurement accuracy, a measurement correction table as a function
of the rainfall rate can be stored in the rain gauge.
The correction is useful because during the emptying time of the tipping bucket, rain
is not collected from the bucket and the amount of rain in the absence of correction is
therefore underestimated. The correction to be made is greater the higher is the rain-
fall rate (greater number of cycles in the time unit).
The rain gauge allows you to set ten multiplication factors (numbered from o to 9) of
the nominal resolution, each corresponding to a range of rainfall rate.
By default, the multiplication factors are all set to 1. As option, you can request
that the correction factors of the specific rain gauge are already stored.
Command Description PWD
TE Enables the measurement correction as a function of the rainfall rate.
Reply of the instrument: &|
Yes
TD Disables the measurement correction as a function of the rainfall
rate.
Reply of the instrument: &|
Yes
TR Reads the enabling state of the measurement correction as a func-
tion of the rainfall rate.
Reply of the instrument:
0 if the correction is disabled
1 if the correction is enabled
No
CTS Starts the correction table writing procedure.
Reply of the instrument: CALIBRATION_STARTED
Yes
CTE Ends the correction table writing procedure and saves the entered
values.
Reply of the instrument: CALIBRATION_ENDED
Yes
CTWi+r…r+k…k Set the multiplication factor of index ito the value k…k. The multipli-
cation factor is applied if the rainfall rate is between r…r (considered
in mm/h or in/h depending on the unit of measurement set in the in-
strument) and the rate value defined for the multiplication factor of
index i+1 (see the example below).
The multiplication factor must be between 0.500 and 2.000. The
rainfall rate must be between 0 and 7200.
Reply of the instrument:
&| if the parameters are correct
? if the parameters are not correct
Yes

HD2013 - 19 - V1.0
Command Description PWD
CTRiReads the setting of the multiplication factor of index i.
Reply of the instrument: r…rk…k, with:
r…r = rainfall rate corresponding to the multiplication factor
k…k = value of the multiplication factor
Example: +50+1.05 indicates that the multiplication factor is 1.05
and the corresponding rainfall rate is 50 (mm/h or in/h).
No
When you set the correction table, it is mandatory to enter in ascending order all the
ten multiplication factors. The rate corresponding to the multiplication factor of index i
must be greater or equal to the rate corresponding to the multiplication factor of index
i-1.
Example
To implement the following correction table:
Rainfall rate (mm/h)
0…25 25…50 50…75 75…90 90…120
120…150
150…180
180…220 220…260
260...
K 1 1.02 1.04 1.06 1.08 1.1 1.12 1.15 1.18 1.2
send, exactly in the order shown, the following commands:
CTS
CTW0+0+1
CTW1+25+1.02
CTW2+50+1.04
CTW3+75+1.06
CTW4+90+1.08
CTW5+120+1.1
CTW6+150+1.12
CTW7+180+1.15
CTW8+220+1.18
CTW9+260+1.2
CTE
Note that the sequence of the CTW commands must be preceded by the command
CTS and follwed by the command CTE.

HD2013 - 20 - V1.0
5SDI-12 PROTOCOL
The rain gauge with HD2013UD option is equipped with an SDI-12 communication
interface compliant with the version 1.3 of the protocol, which allows the connection
to SDI-12 sensor networks.
The communication parameters of the protocol are:
•Baud Rate = 1200
•Data bits = 7
•Parity = Even (E)
•Stop bits = 1
Communication with the instrument is performed by sending a command in the follow-
ing format:
<Address><Command>!
With <Address> = address of the instrument the command is sent to
<Command> = type of operation requested to the instrument
The instrument reply is as follows:
<Address><Data><CR><LF>
With <Address> = address of the replying instrument
<Data> = information sent by the instrument
<CR> = ASCII character Carriage Return
<LF> = ASCII character Line Feed
The table below shows the available SDI-12 commands. For consistency with the do-
cumentation of the SDI-12 standard, the instrument address is indicated in the table
with the letter a. The rain gauge leaves the factory with address preset to 0. The ad-
dress can be changed by using the proper SDI-12 command reported in the table.
SDI-12 Commands
Command Instrument reply Description
a! a<CR><LF> Verifies the presence of the
instrument.
aI! allccccccccmmmmmmvvvssssssss<CR><LF>
with:
a = address of the instrument (1 character)
ll = SDI-12 compliant version (2 characters)
cccccccc = manufacturer (8 characters)
mmmmmm = instrument model (6 characters)
vvv = firmware version (3 characters)
ssssssss = serial number (8 characters)
⇒Example of response:
013DeltaOhmHD201310013201518
with:
0 = instrument address
13 = SDI-12 version 1.3 compliant
DeltaOhm = manufacturer’s name
HD2013 = instrument model
100 = firmware version 1.0.0
13201518 = serial number
Requests for information
from the instrument.
Table of contents
Other Delta OHM Industrial Equipment manuals
Popular Industrial Equipment manuals by other brands

Wallenstein
Wallenstein BA201 installation instructions
Vestil
Vestil CYL-D-1-PN instruction manual

Mid-West Instrument
Mid-West Instrument 109 Series Installation and operating instructions
Siemens
Siemens 3RV1.6 operating instructions
Balluff
Balluff BTL PF 400 Series user guide
Siemens
Siemens 3VL91125GA30 Assembly instructions
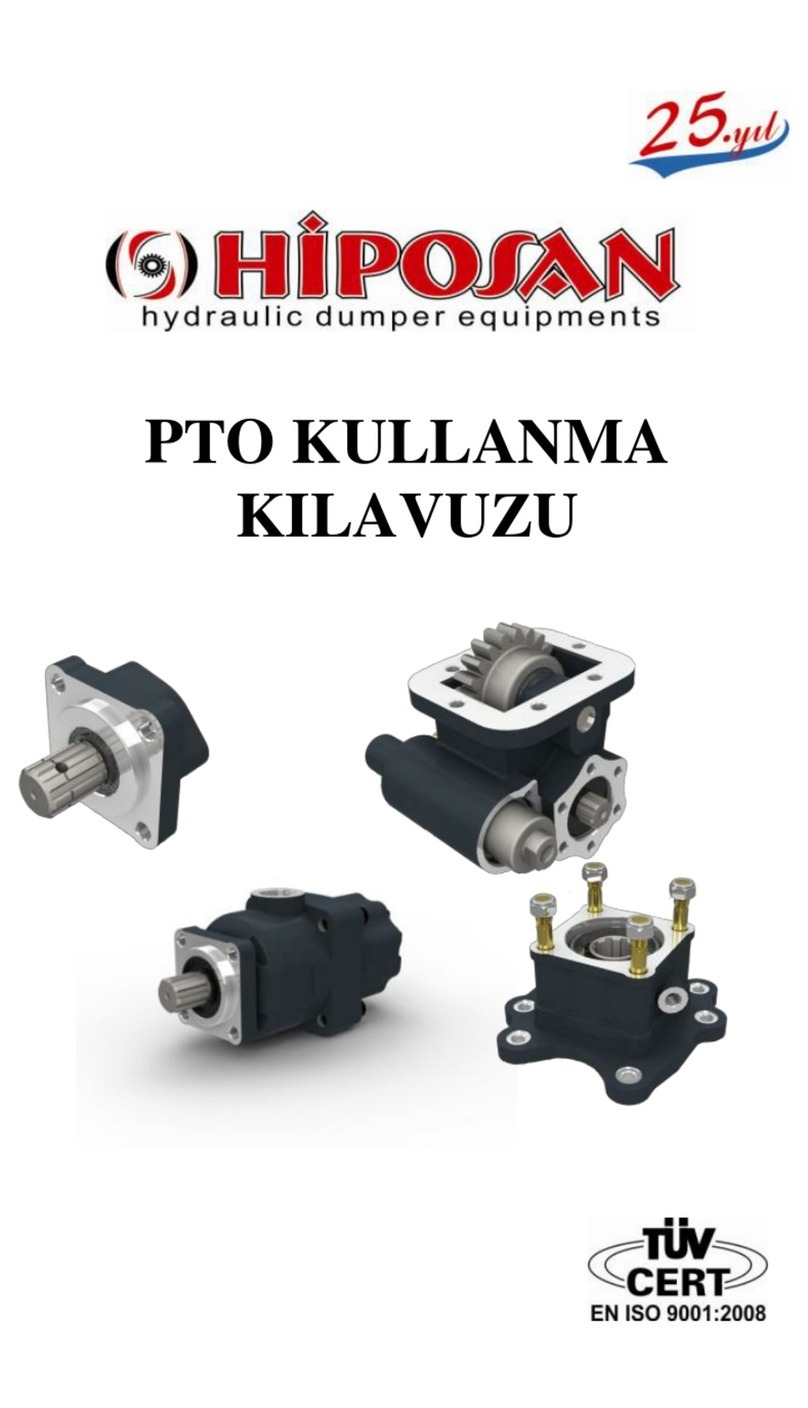
hiposan
hiposan PTO user manual
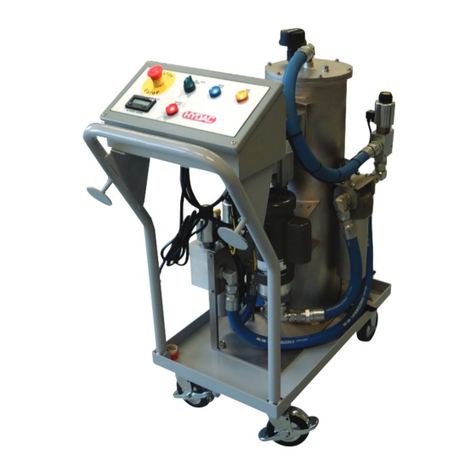
HYDAC International
HYDAC International MAFH-A Operating Maintenance and Troubleshooting Manual
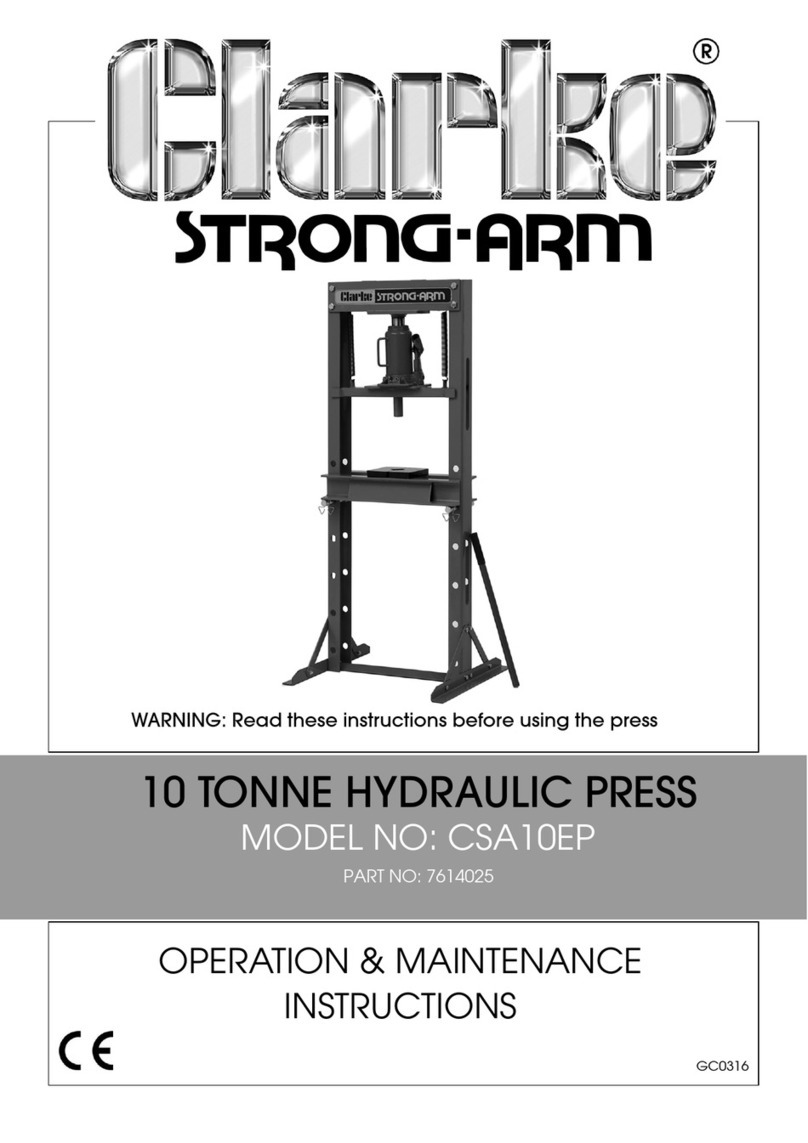
Clarke
Clarke CSA10EP Operation & maintenance instructions
ABB
ABB HT575027 Operation manual
Pratt Burnerd
Pratt Burnerd Atlas EZ Set manual
CD Automation
CD Automation Revo C 2PH Series user manual
