Playback
Basic operation 31
Turning the power on 31
Switching the power to standby 31
Selecting the input source 32
Adjusting the volume 32
Turning off the sound temporarily (Muting) 32
Listening to Internet Radio 33
Listening to Internet Radio 34
Playing back files stored on PC or NAS 35
Playing back files stored on PC or NAS 36
Playing a USB flash drive 38
Playing files stored on USB flash drives 39
Listening to music on a Bluetooth device 41
Listening to music on a Bluetooth device 42
Pairing with other Bluetooth devices 43
Reconnecting to this unit from a Bluetooth device 44
Listening to audio on Bluetooth headphones 45
Listening to audio on Bluetooth headphones 46
Reconnecting to a Bluetooth headphones 47
Disconnecting Bluetooth headphones 47
Getting the HEOS app 48
Setting up the HEOS app for the first time with a HEOS built-in
device 49
Adding the registration of HEOS built-in devices in the HEOS app 50
HEOS Account 51
Playing from streaming music services 52
Listening to the same music in multiple rooms 55
Playing CDs 59
Playing CDs 59
Playing tracks in a specific order (Program playback) 61
Playing DATA CDs 62
Playing files 63
Listening to FM/AM broadcasts 65
Listening to FM/AM broadcasts 65
Changing the reception mode (Tune Mode) 66
Presetting FM/AM stations 66
Automatically presetting FM stations (Auto Preset) 67
Listening to stations registered in the preset list 67
Deleting a station from the preset list 68
Contents Connections Playback Settings Tips Appendix
3
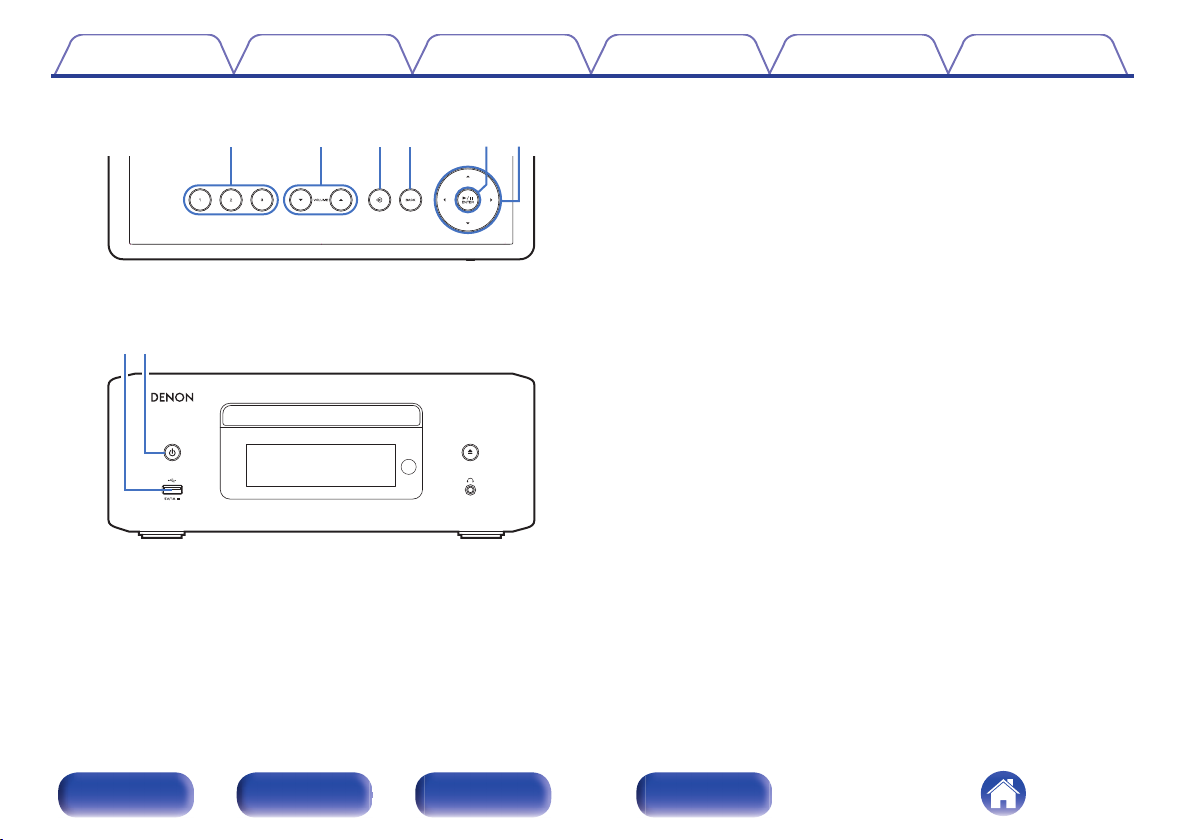
Front/Top
panel Rear panel
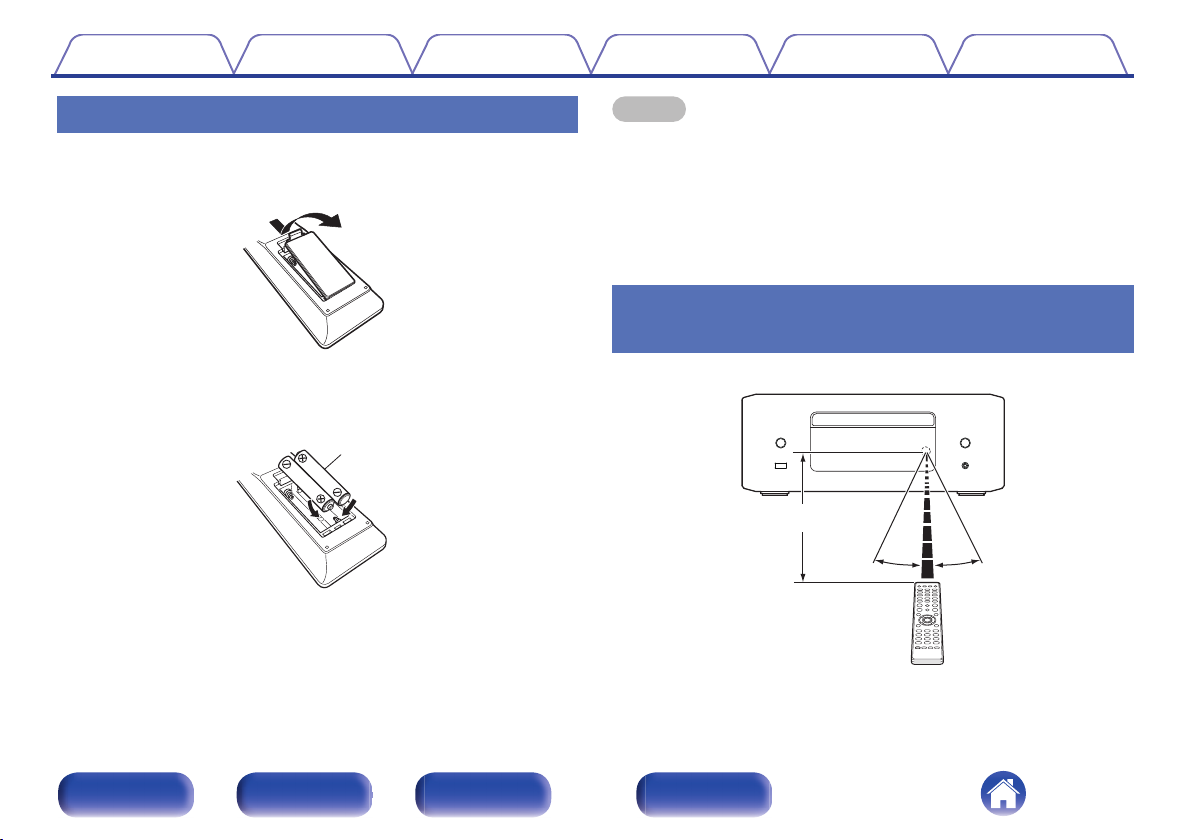
Remote control
unit
Index