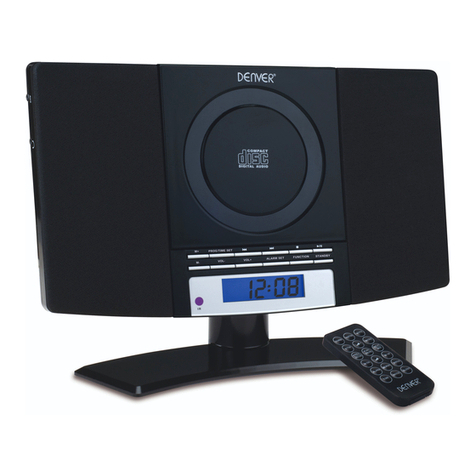
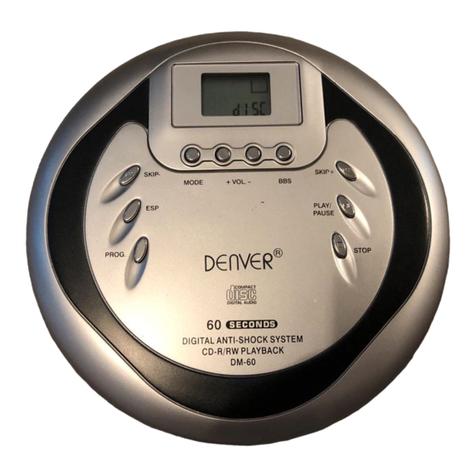
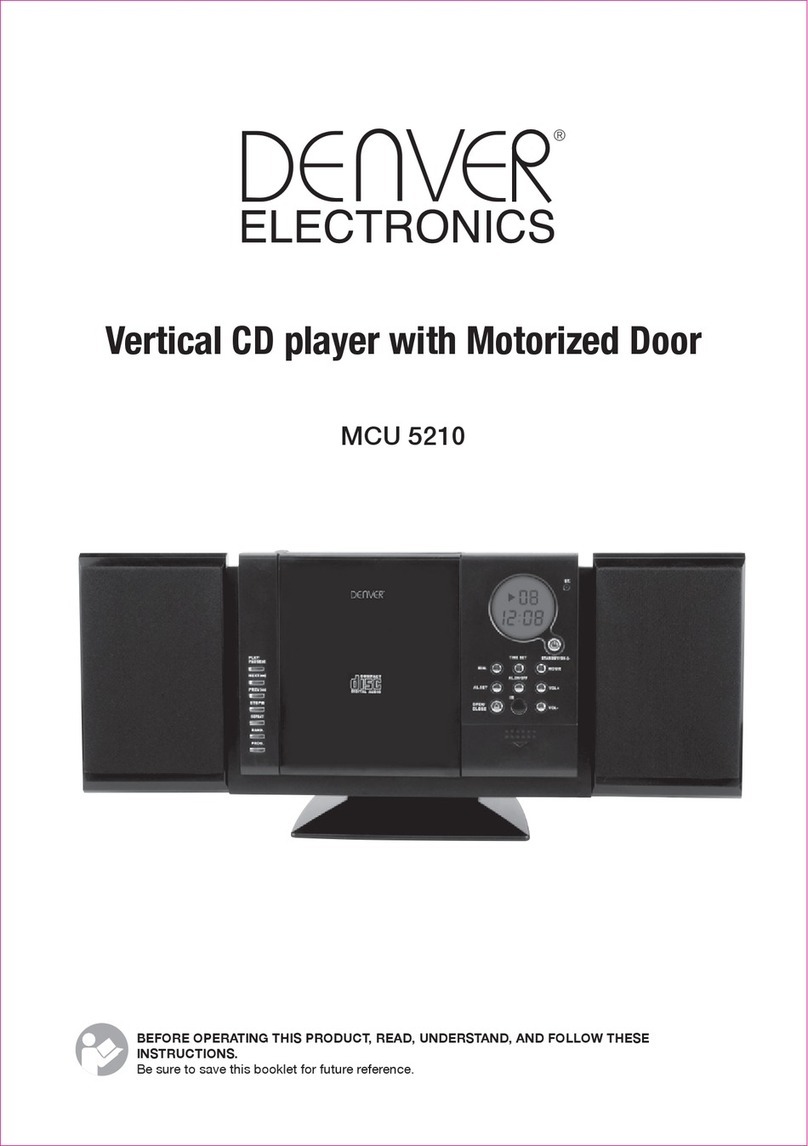
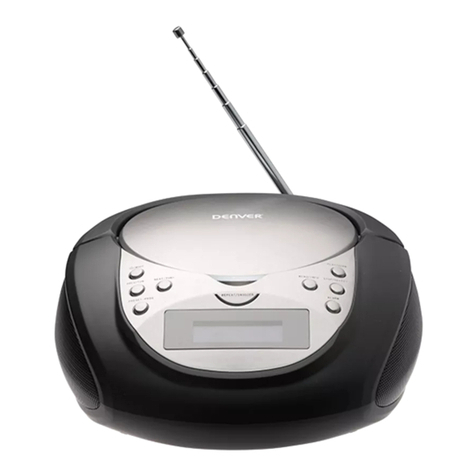
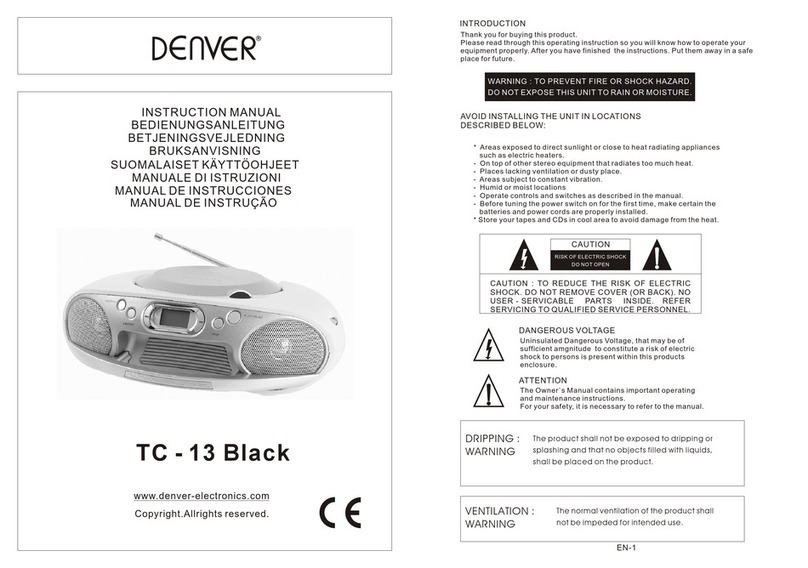
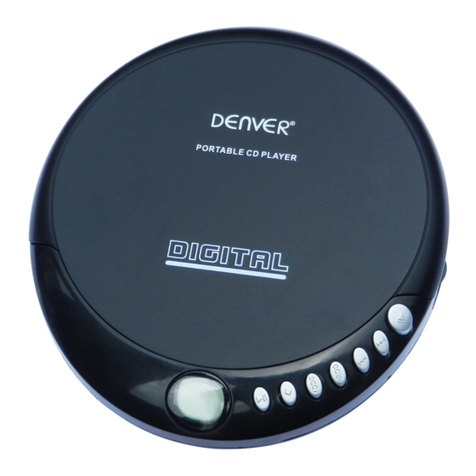
Denver DMT-400 User manual

DMT-400
INSTRUCTION MANUAL
CD/DISC PLAYER
WITH AM/FM DIGITAL TUNER

ConfidentialPage 2 2004-2-25
PLEASE READ THE IMSTRUCTIONS CAREFULLY BEFORE OPERATING THIS UNIT.
WARNING
TO prevent fire or shock hazard, do not expose this appliance to rain or moisture.
DANGER
Invisible laser radiation when open and interlock failed or defeated. Avoid direct exposure to laser beam.
Laser safety
This unit employs an optical laser beam system in the CD mechanism, designed with built-in safeguards. Do not attempt to disassemble, refer to
qualified service personnel. Exposure to this invisible laser light beam may be harmful to the human eye..
This is a class-1 laser product. Use of controls. Or adjustments or procedures other than those specified herein. May result in hazardous laser
light beam exposure.
SAFETY PRECAUTIONS
1. Do not open the cabinet. Refer servicing to qualified personnel only.
2. Do not expose to excessive heat, direct sunlight, dust, moisture, vibration or shock.
3. Use ONLY the AC adaptor provide, others may damage your unit. Disconnect from the wall outlet the set is not to be used for an extended
period of time.
4. When cleaning your unit, use a soft dry cloth, do not use solvents or commercially available cleaners as they may damage or discolor the
finish.
ENGLISH-2

ConfidentialPage 3 2004-2-25
ENGLISH-3
5. Do not wear headphones while operating a motor vehicle, this could create a traffic hazard and is illegal in many areas.
6. The headphones supplied with your unit provide superior stereo listening while allowing you to hear outside sounds when listening at normally
low volume levels. Listening at extremely high volume levels minimizes the intrusion of outside noise/sounds.
7. If you notice that the sound has become weak or distorted, this is an indication that your batteries are low. Replace with new batteries.

ConfidentialPage 4 2004-2-25
1
2
3
4
5
6
7
8
9
10
11
12
13
14
15
16
17
19
20
18
LOCATION OF CONTROLS
ENGLISH-4

ConfidentialPage 5 2004-2-25
ENGLISH-5
1. DISPLAY
2. B.SKIP/TUNING-BUTTON
3. F.SKIP/TUNING+BUTTON
4. RADIO/BANDBUTTON
5. PRESET UP BUTTON
6. PRESET DOWN BUTTON
7. POWERON/PLAY/PAUSEBUTTON
8. POWEROFF/STOPBUTTON
9. ANTI-SHOCK BUTTON
10. PROG BUTTON
11. CD MODE BUTTON
12. HOLD SWITCH
13. BBS BUTTON
14. VOLUME CONTROL SWITCH
15. PHONES/REMOTE OUT JACK
16. DC-IN JACK
17. CD DOOR OPEN SWITCH
18. BATTERY DOOR
19 LINE OUT JACK
20. CHARGE SWITCH

ConfidentialPage 6 2004-2-25
ENGLISH-6
FUNCTION
1. TACT SW in CD MODE
1) STOP KEY :Stops playing.
:Turns off the power during stop condition.
2) PLAY/PAUSE KEY :Turns on the power and starts playing.
:Pause on/off.
3) FF KEY :Count-up of track number on normal play.
:Count-up of program number on program number on programmed play.
:Count-up of registered track number on programmed play.
*It changes cyclical.
1 2 3 4 5 6 last
:Fast-forward operation during play (keep on pressing).
4)FR KEY :Count-down of track number on normal play.
:Count-down of track number on programmed play.
:Count-down of registered track number on programmed play.
*It changes cyclical.
last 6 5 4 3 2 1
:Fast-rewind operation during play (keep on pressing).

ConfidentialPage 7 2004-2-25
5)MODE KEY :Change play mode.
NORMAL ONE REPEAT ALL REPEAT
INTRO
SHUFF
6)MODE KEY :Change mode cyclically.
NORMALPLAY PROGRAM PLAYS
:Fixes the contents of program on program registration.
7) ESP KEY :Change mode cyclically.
NORMALPLAY ANTI-SHOCK PLAY
8)TUNER/BAND KEY :Stops CD playing and change into the TUNER Mode.
9)BBS KEY (OPTION) :Change Boost ON/OFF
2. TACT SW IN RADIO MODE
1) TUNER/BAND KEY :Turns on Power and start TUNER mode
:Change frequency band cyclically for FM and AM if not fm band only
FM AM
2) FR KEY :Step down the frequency of the current band once.
(Press the key less than 0.5 sec)
:Step down the frequency continuously.
ENGLISH-7

ConfidentialPage 8 2004-2-25
ENGLISH-8
(Press and hold the key more than 0.5 sec)
:Auto search down to the next received station in current band.
(Press and hold the key more than 0.5 sec and then released)
:Search operation can be interrupt by pressing other key once.
3) FF KEY :Step up the frequency of the current band once.
(Press the key less than 0.5 sec)
:Step up the frequency continuously.
(Press and hold the key more than 0.5 sec)
:Auto search up to the next received station in current band.
(Press and hold the key more than 0.5 sec and then released)
:Search operation can be interrupt by pressing other key once.
4)Pup KEY :Increase preset number and recall that preset station.
5)Pdn KEY :Decrease preset number and recall that preset station.
6)MODE KEY :Force Mono/Allowed Stereo.
:”MONO” icon can be lit in FM band if mono status in selected.(OPTTIONAL)
7)PROG KEY :Go into program mode at first pressed. “PROG” icon will on.

ConfidentialPage 9 2004-2-25
:Second pressed will store desired frequency to selected memory station. “PROG” icon will off.
:Use FF, FR, Pup or Pdn key to select to select the desired frequency and designated preset
number.
8)STOP KEY :Turns off the power.
9) PLAY/PAUSE KEY :Change to CD mode and starts playing.
10)BBS KEY (OPTION) :Change Boost ON/OFF
3. SLIDE SW
1) CHARGE SW :Charge ON/OFF
2) HOLD SW :Hold ON/OFF
4. HEAD PHONE VOLUME :10KΩ
5. HEAD PHONE JACK :STEREO
φ
3.5
6. LINE OUT JACK :STEREO
φ
3.5
7. DC IN JACK :STEREO 4.5V TYPE-1
ENGLISH-9

ConfidentialPage 10 2004-2-25
ENGLISH-10
POWER SOURCES-NORMAL BATTERIES/AC ADAPTOR
Battery Operation
1. Open the battery compartment cover and insert two “AA” alkaline batteries inside the battery compartment. Follow the polarity
as indicated in the battery compartment.
(1) Type of batteries: Ni-MH 3AA
(2) Time for chargeing: 16 hours
(3) Time for recharging: More than 300 times
(4) Playing time: 7 hours
2. Close the battery compartment cover.
AC Operation
1. Insert the DC plug, at the end of the AC adaptor into the DC input jack.
2. Plug the AC adaptor into AC power outlet socket. Use only with the provided AC adaptor and make sure the local voltage
corresponds to the adaptor’s required AC input voltage.
Note
1. White using power from AC adaptor, normal batteries must be taken out from battery compartment.
2. If the AC plug of this unit does not fit in your AC outlet, a plug adaptor (not included) should be used. Consult your local dealer
on the type of plug adaptor required.
LOW BATTERY ALERT
When the battery symbol( )is shown ,it means that the batteries are losing their charge .In this case the player will not function
properly and the batteries must be replaced.
2
DC 4.5V
1

ConfidentialPage 11 2004-2-25
ENGLISH-11
RECHARGEABLE BATTERY POWER
1 Insert one rechargeable battery into rechargeable battery sleeve as diagram shown so that negative polarity(-)position of
battery is inserted into the rechargeable sleeve.
2 Open the battery compartment and insert 2x LR6 (AA) size rechargeable nickel-cadmium batteries (not supplied) place
rechargeable battery with sleeve included as shown in diagram (only one battery need with the sleeve, the sleeve must be at
negative polarity(-), otherwise the battery cannot be recharged).
3 Close the battery compartment.
4 plug one end of the supplied AC adapter into the Dc4.5Vjack, then plug the other end of the AC power cord into a standard
electrical outlet.
5 When charging is completed, disconnect the AC adapter plugs from the unit and the AC outlet.
BATTERY SLEEVE
(The gap must be on the
upper side condition)
(SLEEVE)
Notes for recharging batteries:
The battery is fully charged approximately 16 hours after the AC adapter is connected, More time may be required for charging in cold
temperatures, but not more than 24 hours.
NOTE: AFTER HOURS PLEASE UNPLUG THE AC ADAPTER.
With care rechargeable batteries can be recharged over times. If the operating time decreases drastically even when the
rechargeable nickel-cadmium battery is properly recharged, purchase a new rechargeable nickel-cadmium battery. Do not use any AC
adapter other then one supplied with our product.
NOTE: ONLY NI-CAD BATTERIES CAN BE CHARGE IN THIS UNIT.
DO NOT CHARGE CONTINUOUSLY FOR HOURS OR MORE, DOING SO CANCAUSE THE PERFORMANCE OF THE
RECHARGEABLE BATTERY TO DETERIORATE.

ConfidentialPage 12 2004-2-25
ENGLISH-12
MAINTENANCE
Clean the Cabinet
Wipe with a soft cloth. If the cabinet is very dirty. dampen the cloth with a week solution of neutral detergent and water, and then wipe
clean.
Cleaning the lens
A dirty lens will cause sound skipping and, if the lens is very dirty, the CD may not work. Open the disc cover and clean the lens as
below.
Dust or Dry Particles
Using a camera lens brush/blower, blow on the lens a couple of times, then wipe it lightly with the brush to remove dust. Then,
blow on the lens once more.
Fingerprints
If the lens cannot cleaned by using a brush/blower, use a dry cotton swab starting in the middle and working to the outside
edge.
1
2

ConfidentialPage 13 2004-2-25
ENGLISH-13
HANDLING COMPACT DISCS
This unit is designed to play only compact discs bearing the identification logo below. Other discs may not conform to the CD standard
and may not play properly.
.Dirty, scratched or warped discs may cause skipping or noise.
Handle the disc only by the edges, to keep clean ,do not touch its surface.
Discs should be stored in their cases after use to avoid serious scratches.
.Do not expose disc to direct sunlight, high humidity, high temperatures or dust etc. Pro-longed exposure to extreme
temperatures can warp the disc.
Do not stick or write anything on either side of disc. Sharp writing instruments, or the inks used in some felttip pens, may
damage its surface.
Remove the disc
Hold the edge and gently press the center pivot as illustrated, to pick up the disc.
CAUTION:
Wait for the disc to stop rotating before pressing the OPEN button.
Note: This unit can play 3”(8cm)single CD’s without an adaptor. Do not use a CD single adaptor for these discs.
CLEANING DISCS
Fingerprints should be carefully wiped from the surface or the disc with a soft cloth. Unlike conventional records, compact discs have

ConfidentialPage 14 2004-2-25
no grooves to collect dust and microscopic. Wiping them with a soft cloth should remove most particles. Wipe in a straight motion from
the center to the edge.
Never use thinner, thinner, record cleaner or anti-static spray on a compact disc. Such chemicals can damage its plastic surface.
LISTENING WITH HEADPHONES
Connect the plug of the stereo headphones or earphones into the PHONES(GREEN) socket.
NOTE:
PHONES/LINE OUT jack can also be used for connecting the player to your HiFi system (with an optional cassette adapter or signal
lead).
Caution: Avoid excessive volume levels while listening to sound for a long period of time when using headphones.
ENGLISH-14

ConfidentialPage 15 2004-2-25
ENGLISH-15
HOLD FUNCTION
This switch prevents accidental selection of an unwanted function during playback, stop mode or tuner mode.
In the HOLD “ON” position, no function buttons on the unit can be operated except the “OPEN” switch.
At this mode, “HOLD” message will display on LCD.
Move the switch to the “OFF” position ,the unit returns to normal operation.
Turning Power on and off
To turn on and off, press the following buttons.
To turn on:-press PLAY/PAUSE button(playback starts), it will be in CD mode.
-Press RADIO/BAND button to turn on the radio mode.
To turn off:-At CD playing mode, press STOP button once to standby mode.
If press STOP button twice, it will turn off the power immediately.
On radio mode, press stop button to turn it off.
Auto power-off function(on CD mode only)
When the unit is stopped (standby mode)for approximately 30 seconds, the power is turned off automatically.
At tuner mode: Power on by press tuner/band key
Power OFF by press STOP key.
BASIC DISC PLAY
1. Connect the headphones to the PHONE(GREEN)socket.
2. Push the OPEN switch to open the CD compartment lid.
3. Adjust the VOLUME control to almost minimum.

ConfidentialPage 16 2004-2-25
4. Insert the disc with the label side facing up.
5. Close the lid securely until click is heard.
6. Press the PLAY/PAUSE Button to start playing.
ESP
CD Mode Button(For CD mode only)
It’s a toggle key. Every time the MODE button is pressed, the corresponding mode appears in the display window as below:
- On CD disc mode(Playing or stop)
NORMAL REPEAT 1 REPEAT ALL INTRO
SHUFF
Repeat 1:repeat to play current track
Repeat: repeat to play current album
Repeat all: repeat all tracks for the entire disc.
Intro: play all tracks for the first 10 seconds.
Random: play all tracks in random sequence.
ENGLISH-16

ConfidentialPage 17 2004-2-25
ENGLISH-17
PROGRAM(PROG)PLAY
This allows selected tracks on the disc to be played in any desired order.
To set the program play
.Program can be set in stop or play mode.
1. Press the PROG button, and then “PRG 00” will flash on LCD.
2. Press>>1 or 1<<button to select the track.
- Track number will flash, after selecting the track, pressed the PROG button once, it will jump to track number & flash.
3. When desired track is displayed, press PROG button to register.
4. Repeat step 2&3 to program the order of more tracks up to 20 tracks into memory.
To complete programming & start play
Press PLAY/PAUSE button, then PRG stops flash & starts to play soon.
To clear programming
Open the door, or
Change to RADIO mode, or
Power off

ConfidentialPage 18 2004-2-25
ENGLISH-18
USING ELECTRONIC ANTI-SKIP (ESP)FEATURE-A SANYO INVENTION
When playing a CD with CD Audio files, you can press ESP button to turn “ON” or “OFF” ELECTRONIC ANTI-SKIP function. If you
press it to turn “ON”, “ESP” will appear on LCD. If you press it to turn “OFF”, “ESP” will disappear from LCD.
REMINDER
If the unit si subjected to excessive and continuous repeated shocks, the memory butter becomes overloaded beyond its capacity
therefore causing the sound to skip.
NOTES
When the “ESP” is operating ,the battery consumption is higher because the disc rotates faster than normal and the memory
circuitry is activated.
When the digital anti-skip function is switched to “ON” or “OFF”, the sound is interrupted for a short time. This is normal.
Remember that conditions such as dirty, scratched or warped discs may cause skipping or noise thereby affecting performance
of “ANTI-SKIP” system.
The ESP button is for CD playback function only. When playback format disc, the ESP is always on.

ConfidentialPage 19 2004-2-25
ENGLISH-19
LISTENING TO THE RADIO
1. Press the RADIO BAND button to turn on the RADIO.
2. Press the RADIO/BAND button again to select the desired band.(AM or FM)
3. Press the TUNING button” ” or “ ”(momentarily(less than 0.5 sec.)to search down the receiving frequency in order to
select the desired station.
4. For auto tuning ,press and hole the TUNING button” ” or “ ”(momentarily(less than 0.5 sec.)until the displayed
frequency starts to change then release the button. Tuning will stop automatically when a station is received.
Note: To fine-tune the selected station, follow step 3 procedures to skip up or down to achieve best reception.
5. Press STOP button to turn off the unit.
TO IMPROVE BROADCAST RECEPTION
- For FM, extend the headphone cord. For AM, reorient the player itself.
Note: Keep the headphones connected to the PHONES jack of the player. The headphones cord works as the FM antenna.
TROUBLE SHOOTING FOR RADIO RECEPTION
When anto scanning does not stop at any station, or the reception is poor, it may be due to weakness of signal at the location you are
standing, or external interference. Please check as follows:
Change the location.
Use manual tuning to get the desired station if above still not getting satisfactory result.

ConfidentialPage 20 2004-2-25
ENGLISH-20
STEREO/MONO SELECT(in FM band only)
Press the MODE button. If an actual stereo broadcast station os being received.
“STEREO“ will appear on the display.
Press the MODE button. Change to MONO mode.
If it is hard to hear the FM broadcast, set the MODE button to MONO. The noise will be reduced but the radio will play in mono.
PRESET STATIONS
1. Press the RADIO/BAND button to select the desired band.(AM or FM)
2. Press the TUNING button “Pup” or “Pdn” for a desired station(refer operation to step 3and step 4 under “LISTENING TO THE
RADIO”)
3. When a desired station is tuned, press the PROG button(“M1” symbol will flash on the display)and then store the desired station
by pressing the PRESET UP button .You may select any memory program number for the desired station.
4. Press the PROGRAM button again to confirm the preset station (“M1”symbol will stop flashing)and the memory program
number.
5. Repeat steps 2 , 3 and 4 to enter remaining preset stations and memory program numbers.
RECEIVING PRESET STATION
To recall any preset station within the selected band, simply press PRESET UP button until preset memory program number selected
appears on the display.
Table of contents
Other Denver CD Player manuals

Denver
Denver DM-65 JOG/CARKIT User manual

Denver
Denver MC5220 User manual

Denver
Denver DMP-395B User manual

Denver
Denver MC5220 User manual

Denver
Denver TCM-381 User manual

Denver
Denver TDC-280 User manual

Denver
Denver TDA-65 User manual

Denver
Denver DMP-391 User manual

Denver
Denver MC-5220 MK2 User manual
Denver
Denver TCU-61 User manual

Denver
Denver MCA-230M K2 User manual

Denver
Denver DM-60 User manual

Denver
Denver TCM-230C User manual

Denver
Denver TCU-203C User manual

Denver
Denver MCU 5210 User manual

Denver
Denver DMP370 User manual
Denver
Denver DM-17 User manual

Denver
Denver TCM-103C2 User manual

Denver
Denver TC-12 User manual

Denver
Denver TCU-209 User manual