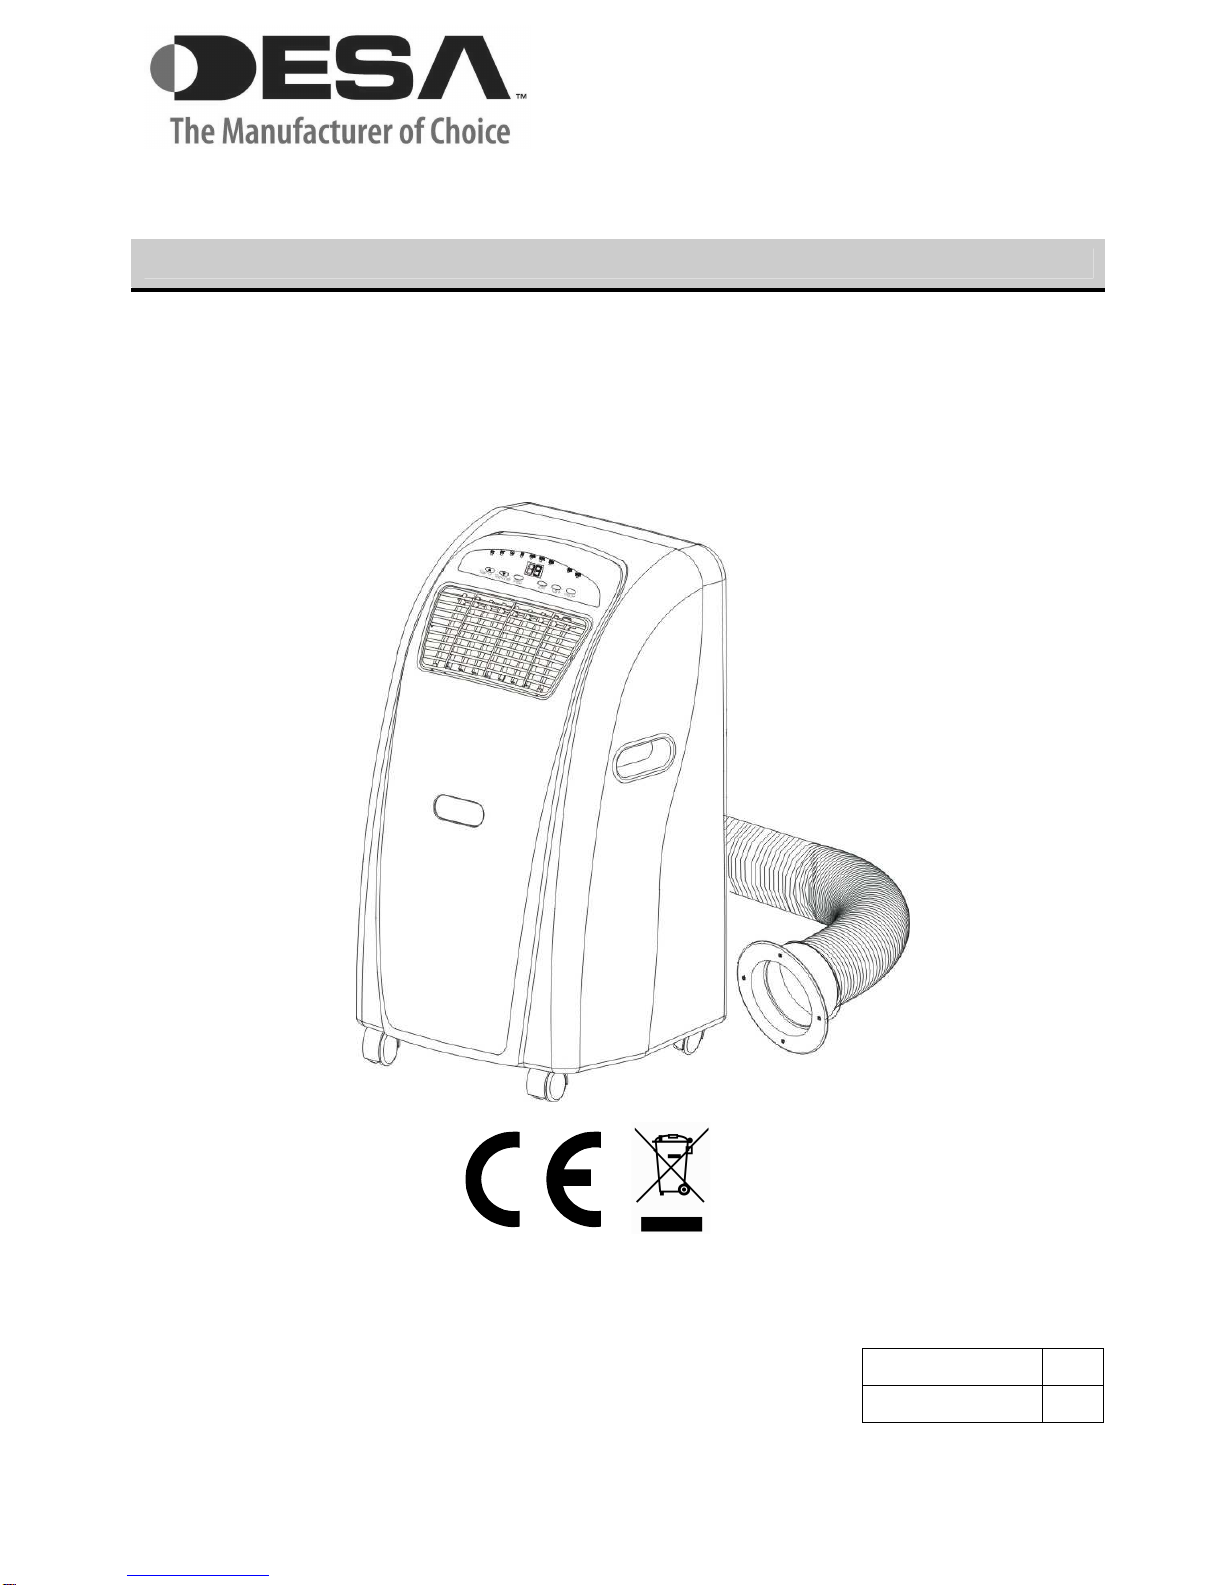
Desa AC 9410 EH User manual

DESA UK Ltd, Warrington, England
INSTRUCTION MANUAL
AC 9410 EH
AC 12410 EH
Please read and retain these instructions for future reference
PORTABLE AIR CONDITIONER

2
INDEX
•Index 2
•Specification 3
•Safety Information 4
•Parts 5
•Installation of the Exhaust Pipe 6
•Mounting of the Exhaust Pipe 7
•Installation of the Carbon Filter 8
•Operation 9
•Setting the Fan Speed 10
•Setting the Timer 10
•Regulating the Airflow 10
•Drainage 11
•Maintenance 13
•Fault Check List 14

3
SPECIFICATION
Model AC9410-EH AC12410-EH
Power Supply (Ph, V~Hz) 1Ph, 220-
240V, 50Hz 1Ph, 220-
240V, 50Hz
Capacity (BTU/hr) 8,000 10,000
Power Consumption (W) 830 1,030
Operating Current (A) 3.7 4.5
EER (BTU/w.h) 2.88 2.75
Cooling
Working Temperature (
o
C)
18 - 32 18 - 32
Capacity (BTU/hr) 8,000 10,000
Power Consumption (W) 870 1,180
Operating Current (A) 3.9 5.2
COP (BTU/w.h) 2.88 2.61
Heating
Working Temperature (
o
C)
5 - 27 5 - 27
Airflow Volume M
3
/hr 350 350
Dehumidifying L/hr 1.2 1.5
Refrigerant g/R410a 530 540
Noise Level db(A) ≤54 ≤54
Dimensions WxHxD
(mm) 400x750x377
400x750x377
Packing WxHxD (mm) 460x780x450
460x780x450
Net Weight (kg) 30 32
Suitable Area M
2
18-26 30-36
Please note:
1. Information may vary for technical reasons
2. Measuring condition for above is based on regulation EN14511

4
SAFETY INFORMATION
General Safety
•Only use in an upright position on a flat, level surface
•Always use the carry handles to move the product and NOT the electricity
cable
•Do not place objects on the unit or restrict the air inlet/outlet
•Always supervise children and pets when the unit is in use
Electrical Safety
•For Indoor use only
•Always switch the unit off and unplug when not in use
•Do not use in overly humid or wet environment
•If the power lead is damaged, it must be replaced immediately by a
qualified electrician
For Maximum Efficiency
•Do not exceed the recommended room size of 50m
3
(typically 20m
2
floor
area)
•Close all doors and windows in the room with the operating air conditioner
unit
•Keep curtains and blinds closed if the room is in direct sunlight
•Keep filters clean
•Once the room has reached the desired conditions, change the
temperature and ventilation settings as required
•Ensure the unit is at least 50cm from any object

5
PARTS
Front Back
1. Control Panel
2. Air outlet
3. Carrying handle
4. Caster
5. Air filter
6. Air inlet
7. Exhaust air outlet
8. Cord storage
9. Drainage point
Accessories
10. Inward adaptor - inserts
over hose and i
nto back of
the air conditioner
11. Outward adaptor - inserts
over hose and into foam
strip (supplied)
12. Extendable exhaust hose
13. Foam strip – allows the
exhaust hose to be held in
place in an open window
14. Round cap for filling the
hole in wall/window, when
the unit is not in use
15. Drain tube for continuous
drainage
16. Water tray
17. Active carbon filter
18. Remote control

6
INSTALLATION
Installation of the exhaust pipe
This unit is a portable air conditioner, which may be easily moved from room to
room, using the following methods
1. Using the foam strips
•Open a suitable window
•Place the unit at least 50cm away from the window
•Feed the exhaust hose through the foam strip and push through the
window
•Gently close the window so the foam strip is held securely
WARNING – to help prevent crime, close and lock the window when the unit
is not in use
2. Using the adaptor
•Carefully cut a 130mm diameter hole in the wall or window
•Feed the exhaust hose through the window or wall and attach the
threaded adaptor from the outside as shown
•When not in use, plug the hole with the cover provided
Foam strips
Wall or Window
Outward adaptor

7
INSTALLATION
Mounting of the exhaust pipe
•Using only the hose
provided, clip the exhaust
hose and unit adaptor to the
back of the air conditioner
•Avoid kinks and bends in
the exhaust hose as this will
cause expelled moist air to
build up causing the unit to
overheat and shut down
•The hose may be extended
from 300mm to 1500mm,
however for maximum
efficiency use the shortest
length possible
WARNING
The length of the exhaust
pipe is specially designed
according to the specification
of this product. Do not
replace or lengthen it with
your other hose products as
this could cause the unit to
mal-function

8
INSTALLATION
Installation of the carbon filter
1. Slide up and remove the filter frame from the unit
2. Separate the filter guard from the filter frame
3. Remove the active carbon filter from its plastic bag
4. Insert the active carbon filter into the filter frame
5. Fix the filter by reassembling the filter guard onto the filter frame
6. Carefully slide the filter frame back inside the unit

9
OPERATION
Control panel
1. Set Temperature indicator
2. Room Temperature
indicator
3. Low ventilation indicator
4. High ventilation indicator
5. Automatic function
indicator
6. Cooling mode indicator
7. Fan function indicator
8. Heating function indicator
9. Timer operation indicator
10. Compressor operation
indicator
11. Temperature Up button
12. Temperature Down button
13. Fan Speed button
14. Mode (function) button
15. Timer button
16. Power button
17. Display window
Turning the unit ON/OFF
Press ON/OFF button, the unit will start automatically, press again and the unit will
stop
If the ambient temperature is:-
- higher than 23
o
C, the unit will work in cooling function
- higher than 20
o
C but below or equal to 23
o
C, the unit will work in fan function
- below 20
o
C, the unit will work in heating function
Indicators for the function in use will light up and the ambient room temperature will
appear in the display window
Please Note:
The COMPRESSOR indicator will only light up when the compressor is in operation
Setting the mode/function
Press MODE button to select required working function: automatic, cooling, fan or
heating. The indicator light of the selected function will come on
Setting temperature
Press 'TEMP.UP' or 'TEMP.DOWN' button to regulate the desired temperature. The
display window will show the temperature set. If a temperature is not set, the display
will show the ambient temperature

10
OPERATION
Setting fan speed
1. Press SPEED button to choose the required fan speed. The indicator hi or lo
will light when a setting is chosen
2. If the unit is in AUTO function it will choose the fan speed automatically,
according to the ambient temperature (the speed switch is invalid when the
unit is in AUTO function)
Setting timer
1. The TIMER button allows operating hours to be set as desired
2. When the unit has been running for the set time, the machine will turn off
automatically
3. Once set, the timer indicator will light up and the display window will show the
hour(s) it is set for
4. Pressing the TIMER button, without turning on other functions, allows the
time for the unit to function to be PRE-SET. For example, if the timer is set to
‘2’, the unit will function automatically after 2 hours.
5. If the timer button is not presses, the unit will work continuously
All the above functions can also be performed with the remote control (supplied)
This remote control requires 2 x AAA batteries
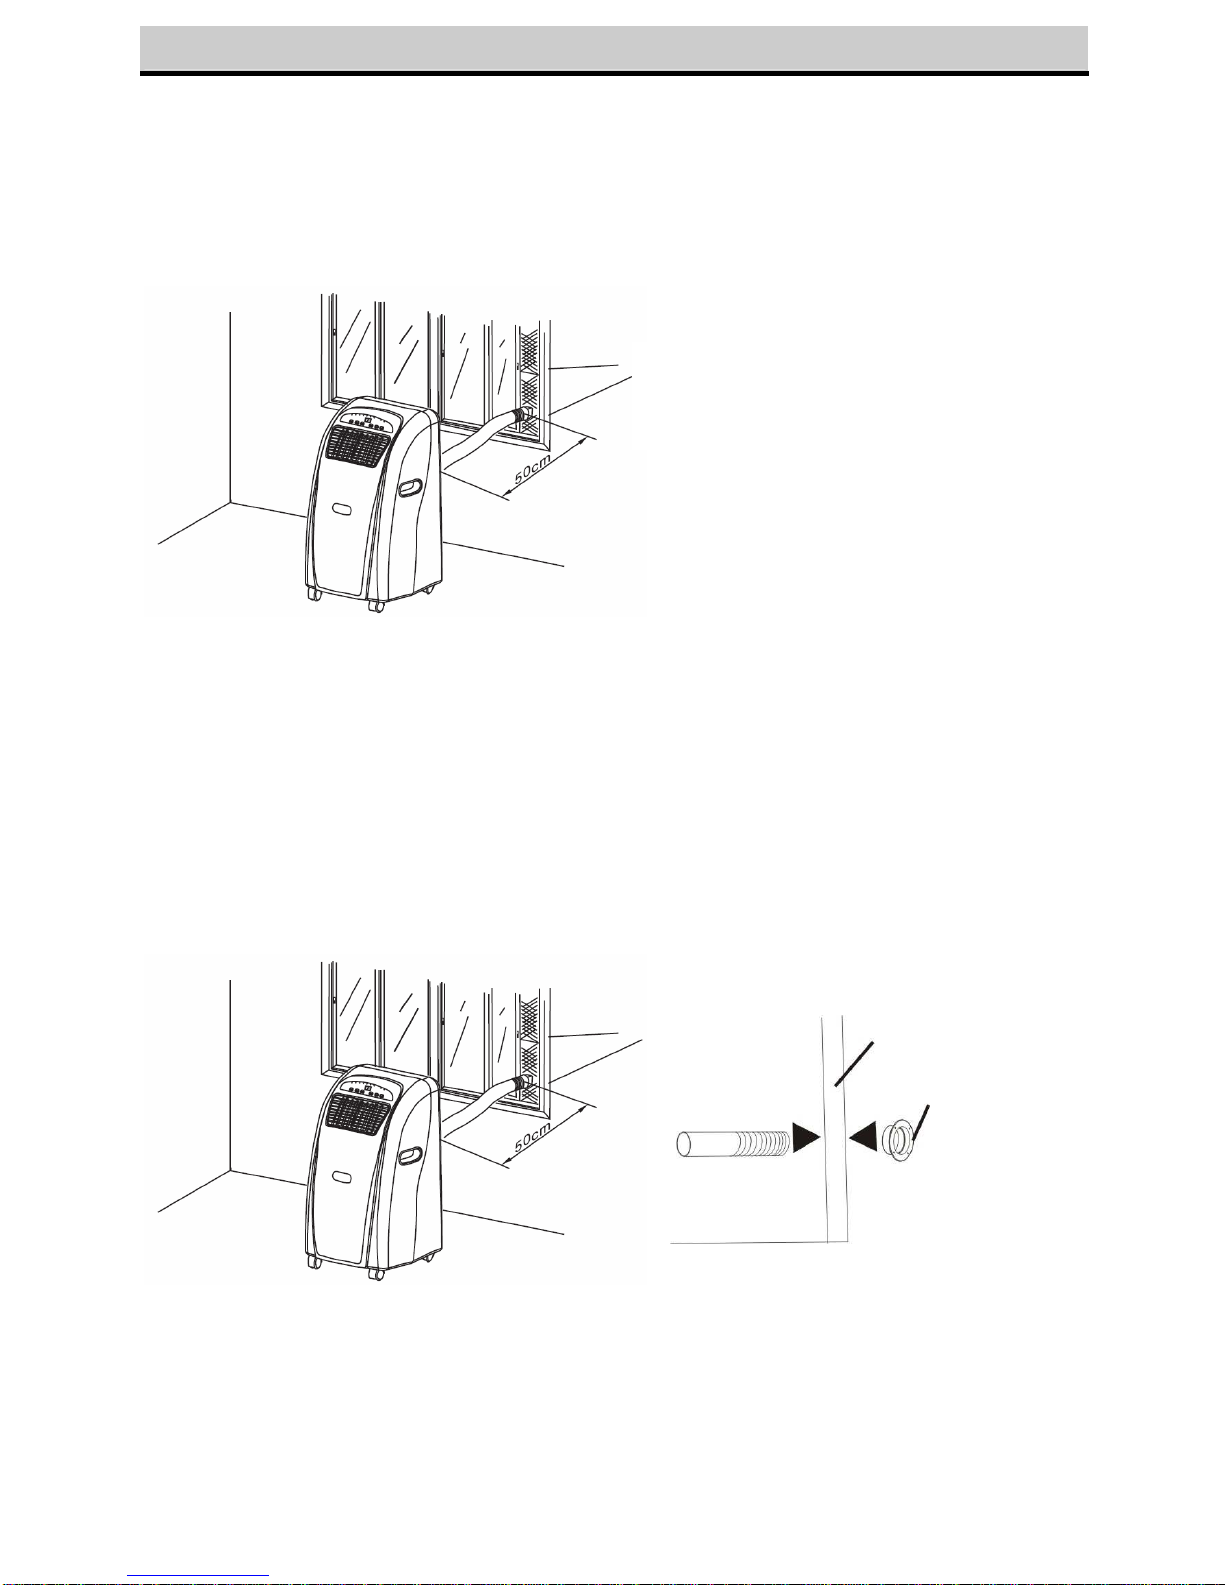
Regulating airflow direction
Turn the roller on the air vent to control the
airflow direction of the vertical louvers Move the air vent directly to adjust the airflow
direction of the horizontal louvers
Please Note
1. To prolong the compressor's life, after turning the unit off, please wait for at
least 3 minuites before turning on again
2. The cooling system will switch off if the ambient temperature is lower than
the one set one. However, if the ambient tempertaure rises above the
selected level, the cooling system will restart
3. The heating system will switch off if the ambient temperature is higher than
the one set. As the ambient temperature drops below the selected level, the
heating system will restart
4. The fan will continue to work on the set level regardless of the ambient
temperature
5. This machine is equipped with an ANTI-FROST function. While using the
heating function during low temperatures, the heating function will
occasionally stop for a short period of time, in order to melt the frost

11
DRAINAGE
During the process of cooling, some water will be extracted from the air into the
unit. If the reservoir is full, both the compressor and the motor will stop. When
this occurs, the ‘comp’ indicator will flash
For the unit to function again, the water must be drained in one of the following
ways:
1. Turn off the air conditioner
2. Position the water tray underneath
the drain hole
3. Remove the drain knob & rubber
plug from the drain hole and allow
the water to drain out
4. Replace the rubber plug in the drain
hole whilst emptying the water tray
5. Repeat stages 3 and 4 until the unit
is emptied
6. Replace the rubber plug and tighten
the drain knob firmly
7. Switch on the unit – (the ‘comp’ light
should not be flashing)
If you wish to operate the unit without the need to empty the water tank, please:
•Remove the drain knob and rubber
plug and retain for future use
•Connect the drain tube supplied to
the water outlet as shown and plac
e
the other end into a drain
•The drain tube may be extended by
adding an extension tube and using
a suitable connector (not supplied)

12
DRAINAGE
Please note
1. The drain must be at or below
the outlet level
2. Flashing ‘comp’ indicator will
not function with this method
of drainage
3. If you want to extend the
water tube, you can connect it
with another tube (OD: 18mm)
WARNING
Whilst using the heating function,
please note:
1. Ensure the exhaust pipe is
correctly fitted, in order to filter the
cool air outside
2.
Connect the drainage tube supplied
to the water outlet

13
MAINTENANCE
WARNING – Always unplug the air conditioner from the mains before
cleaning
To maximize the efficiency of the air conditioner, clean regularly
Cleaning the housing
Use a soft, damp cloth to wipe the body clean. Never use aggressive chemicals,
gasoline, detergents, chemically treated cloths or other cleansing solutions as
these could damage the unit
Cleaning the filter
WARNING – Never operate the unit without the filters in the correct position
Use a vacuum cleaner or tap the filter lightly to remove loose dust and dirt, then
rinse thoroughly under running water (no hotter than 40
o
C). Dry thoroughly
before replacing
End of season storage
•Drain away any water in the unit, then
operate the unit on fan function for a
few hours, to thoroughly dry the inside
•Clean or change the filter
•Unplug and store the power cord in the
correct position as shown
•Replace in the original carton or cover
for storage

14
FAULT CHECK LIST
The air conditioner will not run:
Is the air conditioner plugged in?
Is there a power failure?
Is the ‘comp’ indicator flashing?
Is the ambient temperature below the set
temperature?
The machine seems to do little:
Is there direct sunshine? (Please close
curtains)
Are too many windows or doors open?
Are there too many people in the room?
Is there some
thing in the room producing a
lot of heat?
The machine seems to do
nothing:
Is the filter dusty/contaminated?
Is the air intake or output blocked up?
Is the ambient temperature below your
selected temperature?
The machine is too noisy:
Is the floor underneath the machine
uneven?
The compressor does not run:
It is possible the overheat protection of the
compressor is on. (Wait for the
temperature to drop)
WARNING – Never try to repair or dismantle the unit yourself
This manual suits for next models
1
Table of contents
Other Desa Air Conditioner manuals
Popular Air Conditioner manuals by other brands

Friedrich
Friedrich MR09C1F installation manual

LG
LG AHU EEV KIT installation manual

Panasonic
Panasonic CS-YE9WKU1 operating instructions

Armcor
Armcor XCC Installation and operation manual

Soleus Air
Soleus Air KC-45H OPERATING AND INSTALLATION Manual

Technibel
Technibel MCAF92R5TA Technical data & service manual